Instant Pot Yogurt
Published Apr 05, 2024
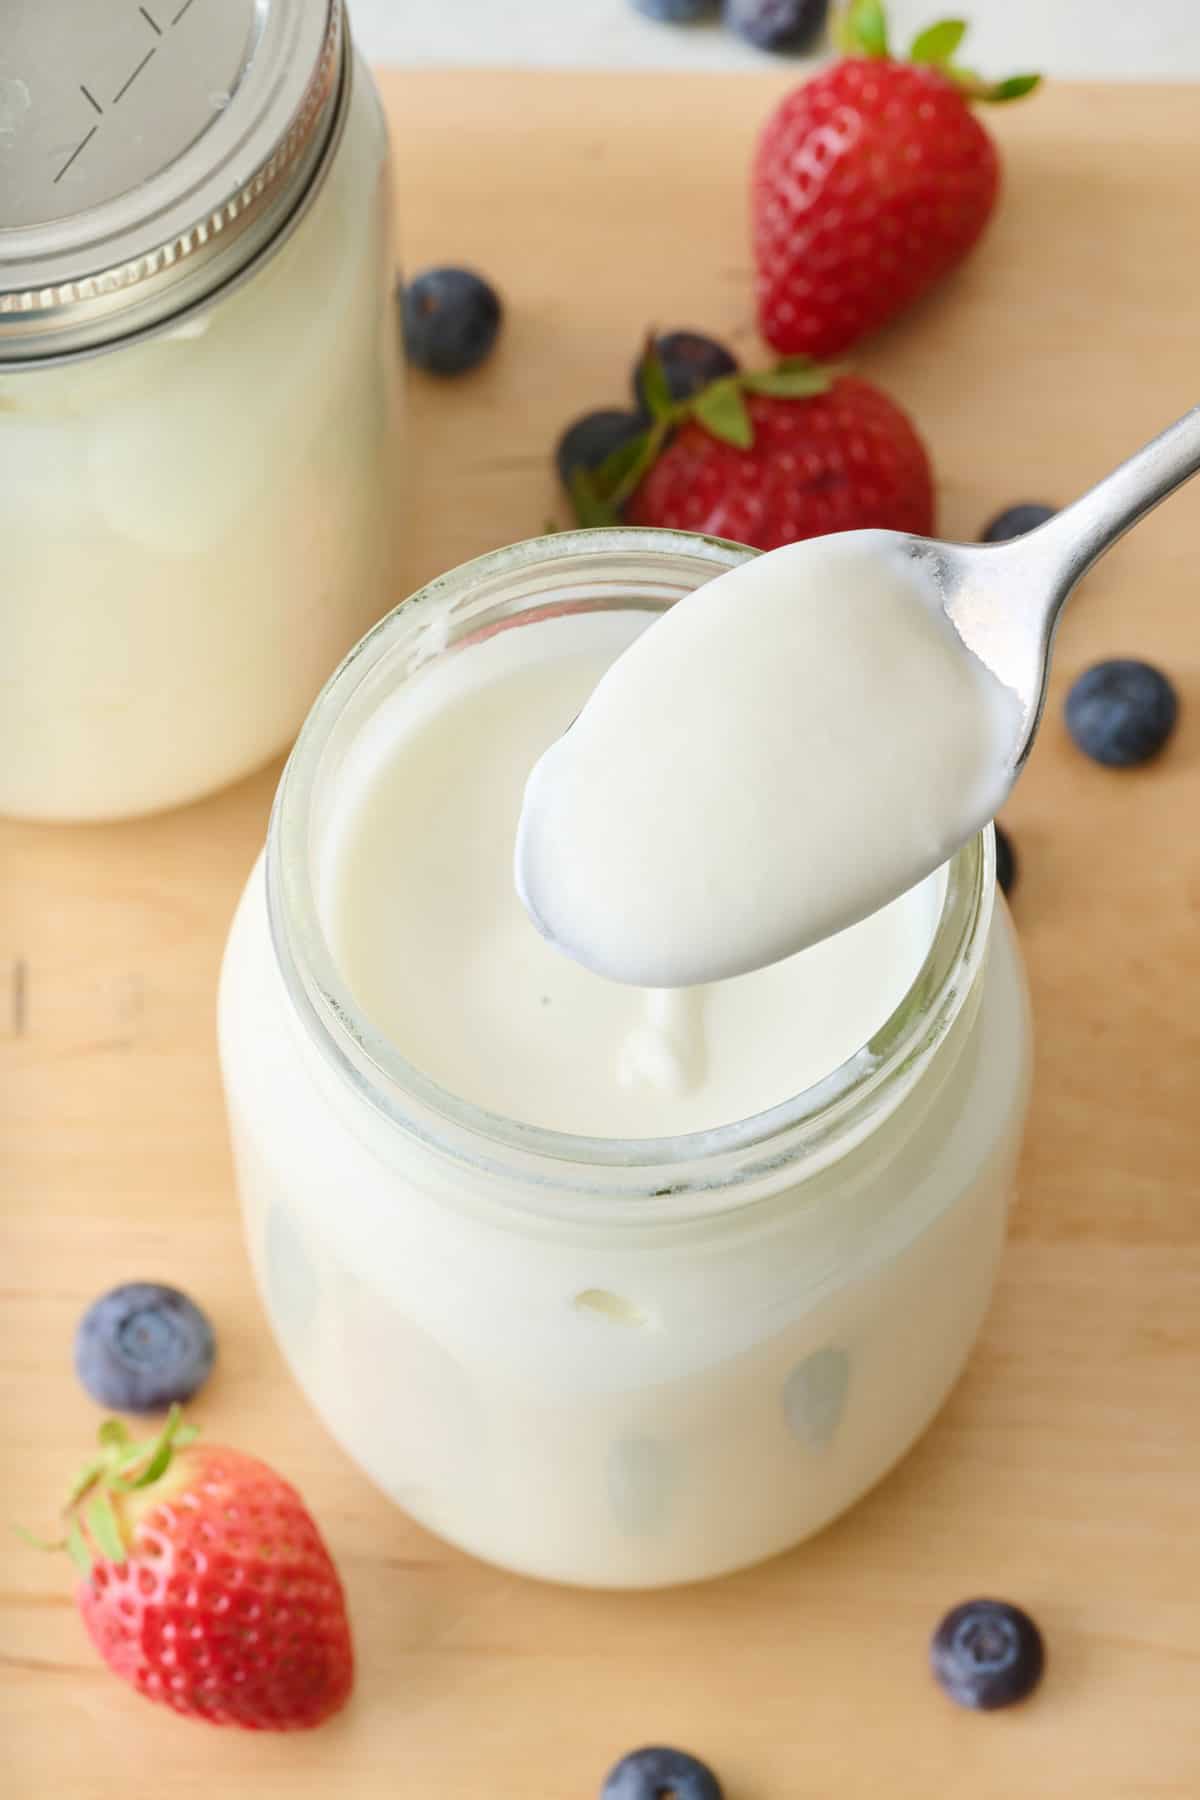
Making homemade yogurt to enjoy as a healthy breakfast or snack is so simple and easy with this Instant Pot yogurt recipe.
This post may contain affiliate links. Please read our disclosure policy.
Did you know you can make yogurt right in your Instant Pot? Not only is it possible, it’s a surprisingly simple process that takes only two ingredients and very little hands-on time. You’ll love how easy it is to make this homemade Instant Pot yogurt! It creates the perfect environment for fermentation, allowing good bacteria to multiply, transforming milk into silky smooth and creamy yogurt.
Jump to Section
- Recipe at a Glance
- Ingredients to Make Instant Pot Yogurt
- Popular Substitutions & Additions
- How to Make Instant Pot Yogurt
- Tips for Making the Best Homemade Instant Pot Yogurt
- Recipes To Make With This Instant Pot Yogurt
- How to Store Instant Pot Yogurt
- Frequently Asked Questions
- More Yogurt Recipes:
- Instant Pot Yogurt Recipe
Recipe at a Glance
Cuisine Inspiration: American
Primary Cooking Method: Instant Pot
Dietary Info: Vegetarian; Gluten Free
Key Flavor: Tangy and creamy
Skill Level: Easy
Summary
- Simple & easy: With just two ingredients and only a few minutes of work, this Instant Pot yogurt recipe is so easy to make.
- Gut-friendly probiotics: In addition to a full slate of beneficial nutrients, yogurt contains probiotics, also known as good bacteria, which are key to optimum gut health.
- Endlessly versatile: Enjoy your Instant Pot yogurt unsweetened or sweetened, or flavored with whichever toppings and mix-ins you like.
- Saves money: When you know how to make Instant Pot yogurt, you’ll love how much money you’ll save vs. when you buy yogurt at the store!
Ingredients to Make Instant Pot Yogurt
- Milk: I recommend whole or 2% dairy milk for the creamiest yogurt.
- Yogurt: Select plain yogurt with live active cultures. Scan the ingredients list on the yogurt and look for “active bacterial cultures.”
Popular Substitutions & Additions
- Go dairy-free: Substitute full-fat canned coconut milk for the dairy milk and the yogurt with a dairy-free yogurt with live active cultures. The result will be slightly thinner than dairy yogurt but still delicious!
- Sweeten it up: Stir honey and vanilla extract into to the finished yogurt for a sweet vanilla touch.
- Add berries: Add blueberries, raspberries, or diced strawberries and a drizzle of honey or pure maple syrup for a little added sweetness and fruity flavor.
- Get nutty: Serve your Instant Pot yogurt with a spoonful of peanut butter or almond butter, along with a drizzle of honey and a few chopped nuts. Add a handful of mini chocolate chips for a chocolate peanut butter variation or stir in a spoonful of jam to take it in a PB&J direction.
How to Make Instant Pot Yogurt
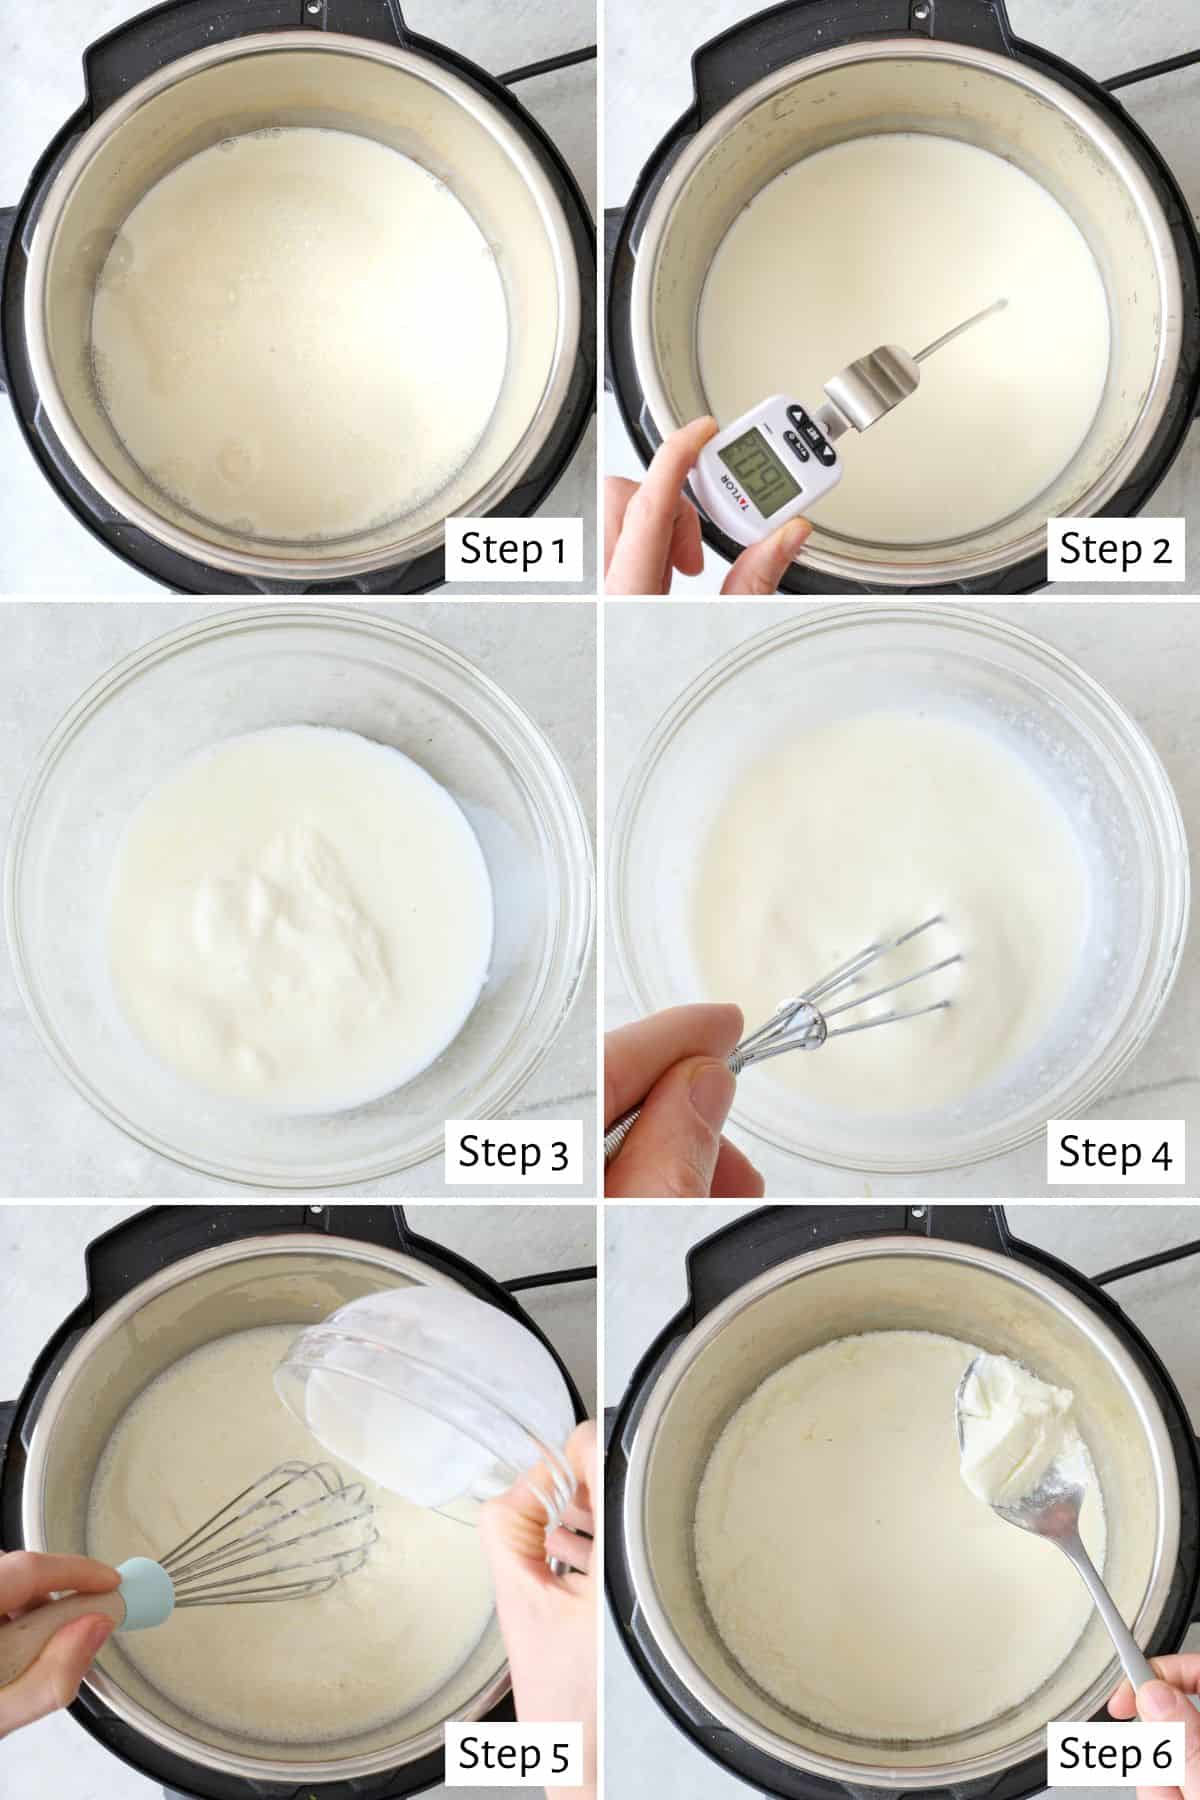
- Pour the milk into the Instant Pot.
- Close the lid and the seal, and set the Instant Pot to the “Yogurt” setting. Adjust the temperature to “Normal” and press “Boil.” Use an instant-read thermometer to make sure the milk has heated to 180°F. Allow the milk to cool.
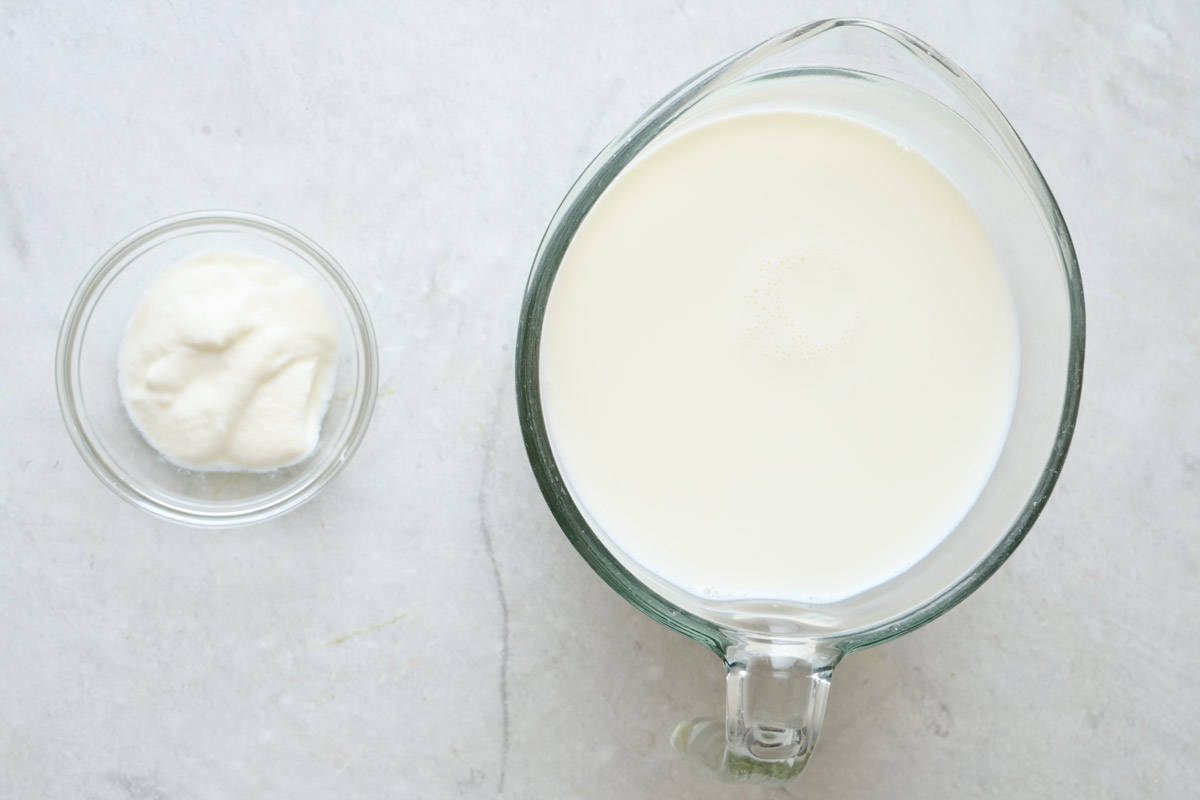
- In a small bowl, mix the yogurt with a bit of the cooled milk.
- Whisk the yogurt and milk together until smooth.
- Once the milk has cooled down, pour the yogurt mixture into the Instant Pot with the milk. Close the lid and set the Instant Pot to “Yogurt” again to begin the fermentation process.
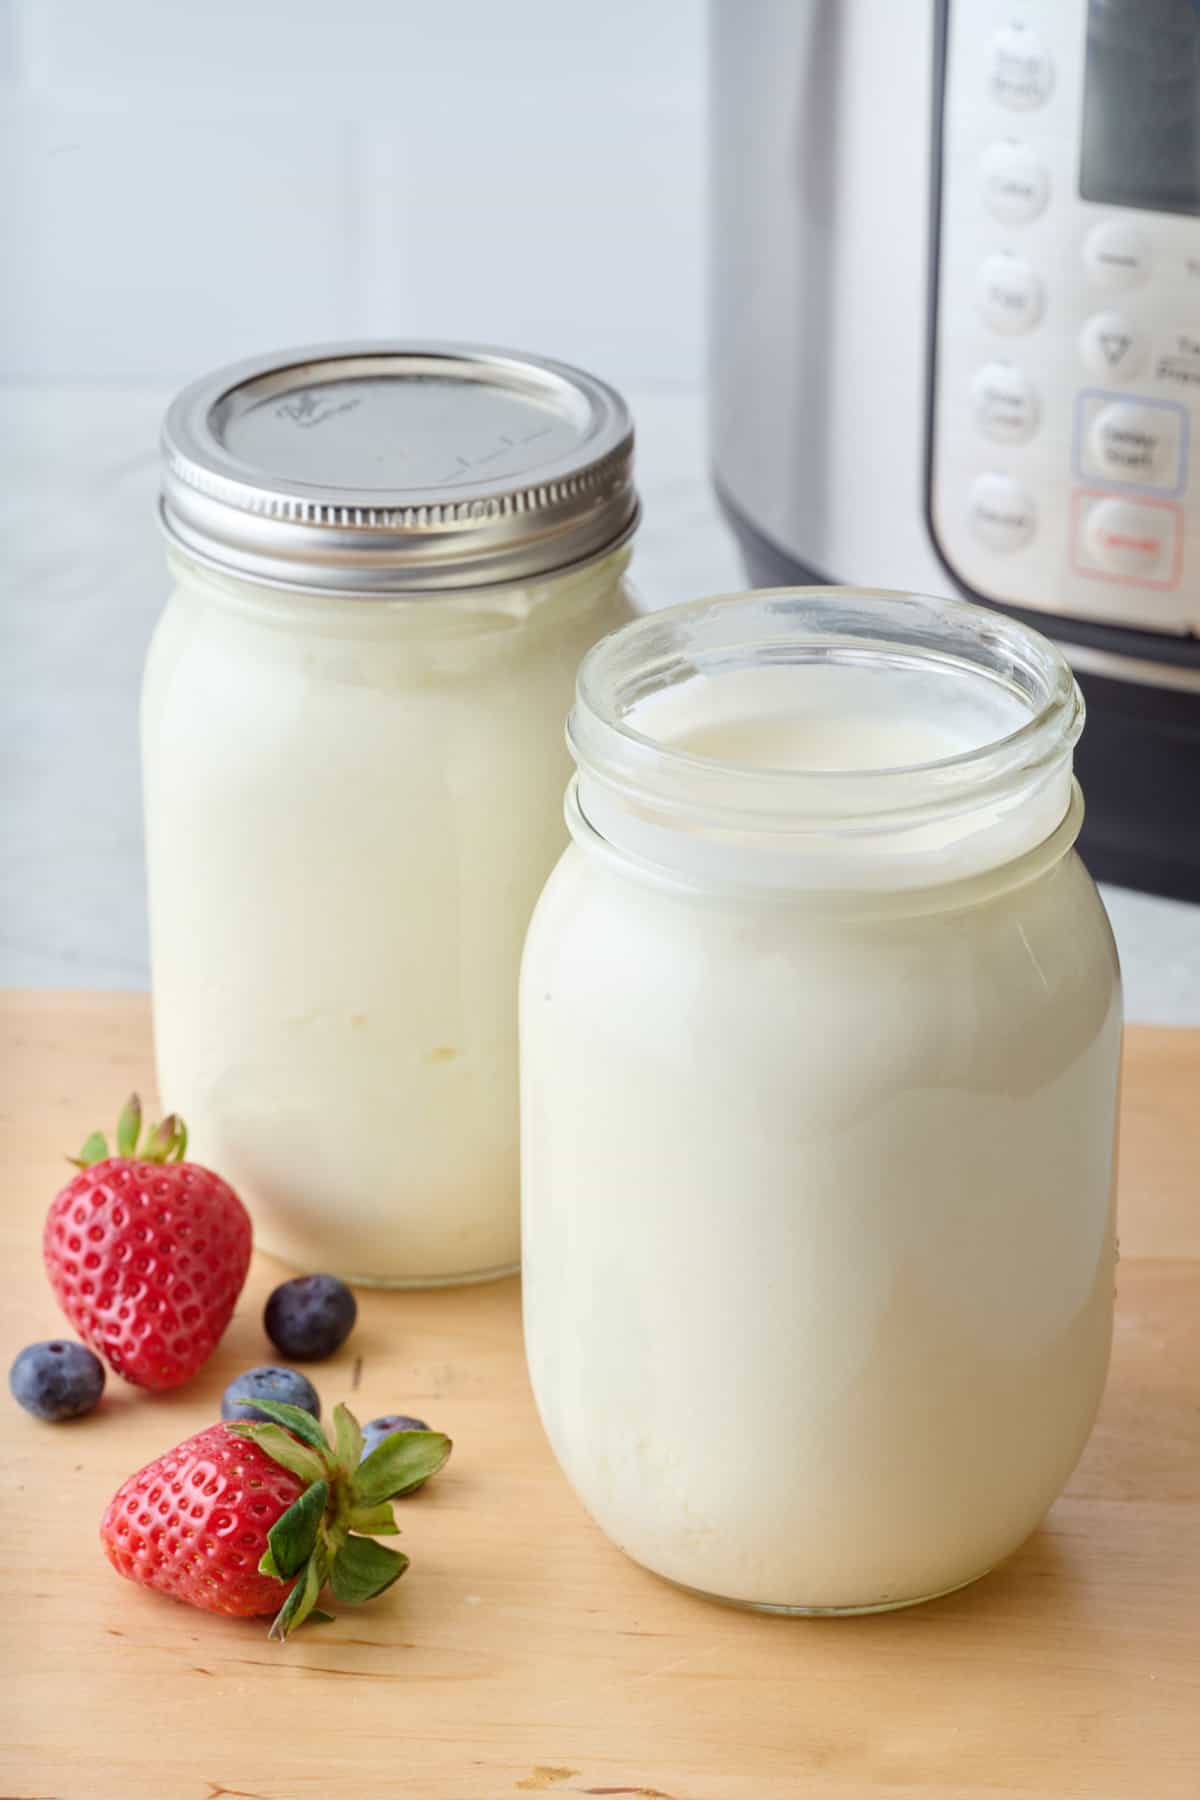
- Ferment until thick and creamy.
Tips for Making the Best Homemade Instant Pot Yogurt
- Choose the correct yogurt for your starter. You’ll want to use plain yogurt with live active cultures such as Lactobacillus acidophilus, Lactobacillus casei, and/or bifidobacterium adolescentis.
- Heat the milk then cool before introducing the live cultures. This helps ensure that any harmful bacteria is killed off before making your yogurt.
- Use an instant read thermometer: This will help you ensure that the milk is at the correct temperature for introducing the live cultures.
- Ferment longer for thicker, tangier yogurt: Fermentation will take 4-8 hours, but the longer you let it ferment (up to 12 hours), the thicker and tangier the yogurt will be.
Recipes To Make With This Instant Pot Yogurt
- Include it in dinner dishes like grilled chicken skewers, Lebanese spaghetti, or mashed potatoes.
- Use it in place of mayo to make a healthier version of tuna salad or egg salad.
- Make a cream cheese, peanut butter cinnamon, or chocolate PB dip to serve with fruit and other snacks.
- Incorporate into a labneh, creamy avocado, or Tzatziki sauce to drizzle on meat, sandwiches, or fresh veggies.
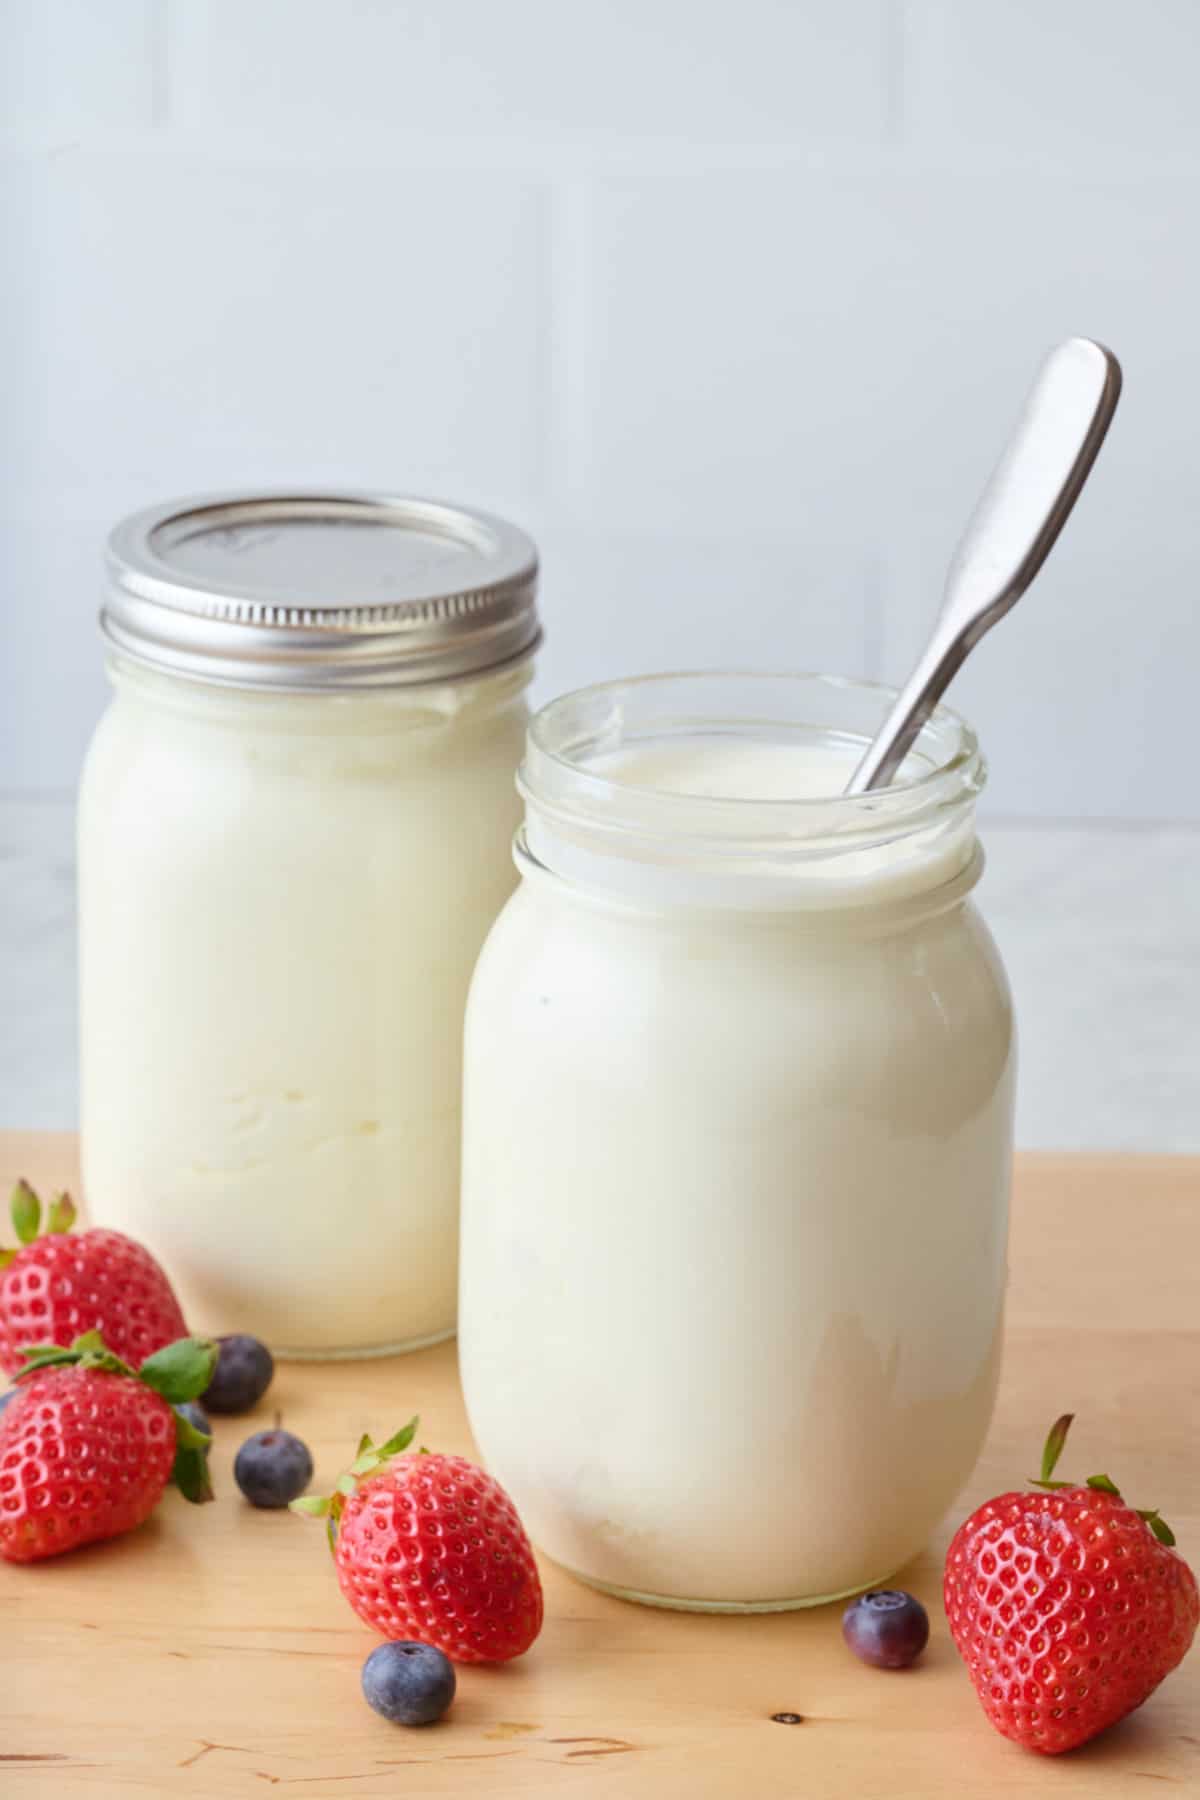
How to Store Instant Pot Yogurt
Transfer homemade Instant Pot yogurt to airtight containers. Store in the refrigerator.
How Long Will Instant Pot Yogurt Last in the Fridge?
This Instant Pot yogurt recipe will last up to 2 weeks in the refrigerator.
Can I Freeze Homemade Instant Pot Yogurt?
While you can freeze Instant Pot yogurt, I don’t recommend it because freezing it will alter the texture and taste.
Frequently Asked Questions
Greek yogurt is a thicker version of yogurt, with the whey strained off. While this recipe has not been tested for the added step of making it into Greek yogurt, all that needs to be done is to strain it. To do so, place a cheesecloth, paper towel, or coffee filter in a metal sieve set over a bowl and spoon the yogurt on top. Transfer the bowl, strainer, and yogurt to the fridge and let the whey strain out of the yogurt for at least three hours or overnight. What remains should be thick, delicious Greek yogurt!
Your temperatures may have not been quite right for the fermentation to happen. Be sure to use your instant-read thermometer. The milk should be 100-115°F before stirring the yogurt mix in, and then needs to stay at that temperature to ferment. Otherwise, the heat of the milk can kill the live bacteria.
The hot start, or the step of heating the milk and then cooling it, is crucial for killing any undesirable bacteria in your milk before introducing the live active cultures that will create yogurt. The cold start method eliminates the heating and cooling step, but the only type of milk that the cold start method works with is ultra-filtered milk or ultra-pasteurized milk. Do not try the cold start method with any other type of milk.
Once you know how to make Instant Pot yogurt, you’ll never want to stop! This recipe is so simple, needing just 2 ingredients and a few minutes of hands-on time–then the Instant Pot does the rest of the work. So for creamy, dreamy, tangy homemade yogurt, look no further than your Instant Pot!
More Yogurt Recipes:
- Strawberry Yogurt Parfait
- Berry Layered Smoothies
- Yogurt Berry Chia Pudding
- Frozen Yogurt Bark
- 4-Ingredient Strawberry Yogurt Smoothie
- Fruity Yogurt Popsicles
- Berry Yogurt Parfait
- Yogurt Banana Split
- PB&J Yogurt
If you try this feel good Instant Pot Yogurt recipe or any other recipe on Feel Good Foodie, then don’t forget to rate the recipe and leave a comment below! It helps others who are thinking of making the recipe. We would love to hear about your experience making it. And if you snapped some shots, share it on Instagram so we can repost on Stories!

Instant Pot Yogurt
Ingredients
- 1 quart (4 cups) milk (whole or 2% works best)
- 2 tablespoons plain yogurt with live active cultures (as a starter)
Instructions
- Make sure the Instant Pot is clean. Pour the milk into the Instant Pot.
- Close the Instant Pot lid and set it to the “Yogurt” setting. Adjust the temperature to “Normal” and press “Boil.” This will heat the milk to around 180°F.
- Once the boiling cycle is complete, open the lid and let the milk cool down to about 110°F.
- In a small bowl, mix the 2 tablespoons of plain yogurt with a small amount of the cooled milk to create a smooth mixture. Add the yogurt mixture back into the Instant Pot with the rest of the cooled milk. Gently whisk to ensure even distribution of the starter culture.
- Close the Instant Pot lid again. Set the Instant Pot to the “Yogurt” setting and adjust the time to 4-8 hours for fermentation. The longer you let it ferment, the thicker and tangier the yogurt will be.
- After the incubation period, open the lid and check the yogurt. It should be thickened and have a tangy flavor. If it’s not thick enough, you can let it incubate for a few more hours. Keep in mind that the yogurt will get thicker as it sets and chills.
- Once the yogurt is done, transfer it to glass jars or containers with lids. Refrigerate for at least 4 hours to chill and further set the yogurt.
Notes
Nutrition
Nutrition information provided is an estimate. It will vary based on cooking method and specific ingredients used.


Comments
This looks great. I am anxious to try the recipe with the berries and honey. When would I do this, once it is finished or add it during the fermentation process?
I like to stir these in once it is finished.
Do you stir it in to the entire batch and then put it in the container for storage? Just wondering if it breaks down the yogurt or anything
Yes, make a big batch and then transfer to smaller jars. It will thicken up further in the smaller jars.
I just wanted to say I was delighted to see this recipe. I love homemade yogurt and your instructions are very clear and appreciated. Ill be making yogurt and Crispy Falafel this weekend. I have made countless recipes from your web site and its the 1st thing I look at each & every day when I open my browser – just a peek too see whats new. lol- Your recipes are tasty and delicious and are health conscious. Ill be picking up your book in support of your wonderful content and all the time you spend working on your passion.
Thank you for making my life a bit easier and tastier.
Cheryl
Love this, thanks for sharing.
Can you add any flavoring to this (vanilla extract for example for vanilla yogurt)?
Yes! I like to flavor it once it is finished in the instant pot.
🙏I’m going to try this with coconut milk and coconut yogurt as the starter.
Let me know how it works out!
Will do!