Grilled Halloumi Cheese
Updated Jun 16, 2025
Grilled halloumi cheese is a simple and delicious appetizer and a fun way to cook this non-melting cheese! Cook on an indoor or outdoor grill!
This post may contain affiliate links. Please read our disclosure policy.
Jump to Section
My Grilled Halloumi is So Good!

Grilled halloumi cheese is a Lebanese fave, and it’s easy to see why. It’s tangy, salty, and has a unique texture that melts in your mouth (but not on the grill!). Plus, it’s so easy to make – all you need is halloumi cheese, olive oil, and a hot grill pan or non-stick pan!
Whenever I’m making a Lebanese breakfast spread, my showstopper item is definitely this grilled halloumi. I can make it in advance and leave it out at room temperature while I prep the rest of the breakfast dishes and everyone goes crazy for it! Halloumi is such a versatile cheese especially when grilled that it can be used in so many dishes especially for vegetarians. It tastes great on its own, served on a salad or in a sandwich.

What is Halloumi?
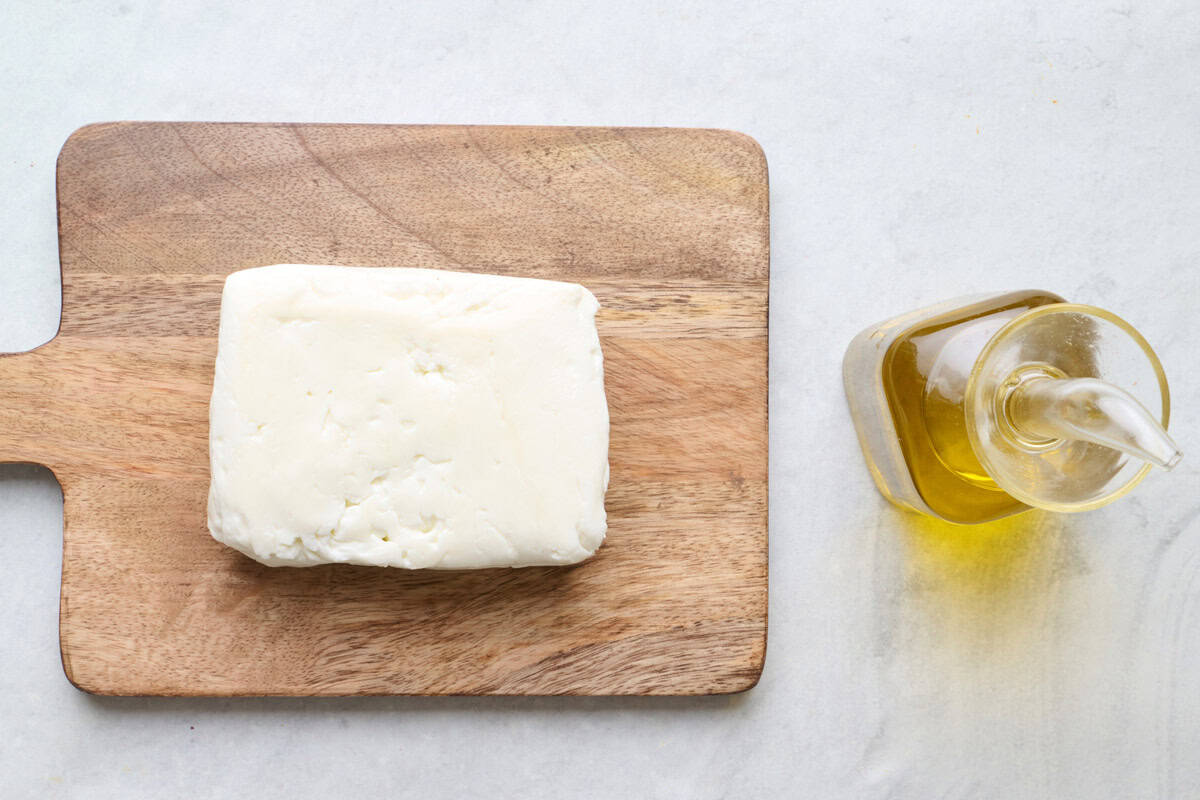
Halloumi is a non-melting cheese that is similar to Queso Para Frier, and in flavor, is somewhere in between feta and mozzarella. It is made with a mixture of goat and sheep’s milk and is semi-hard and brined. It originates from Cyprus and is very popular in Lebanon, where my parents are from.
How to Grill Halloumi
Grilled Halloumi
Ingredients
Instructions
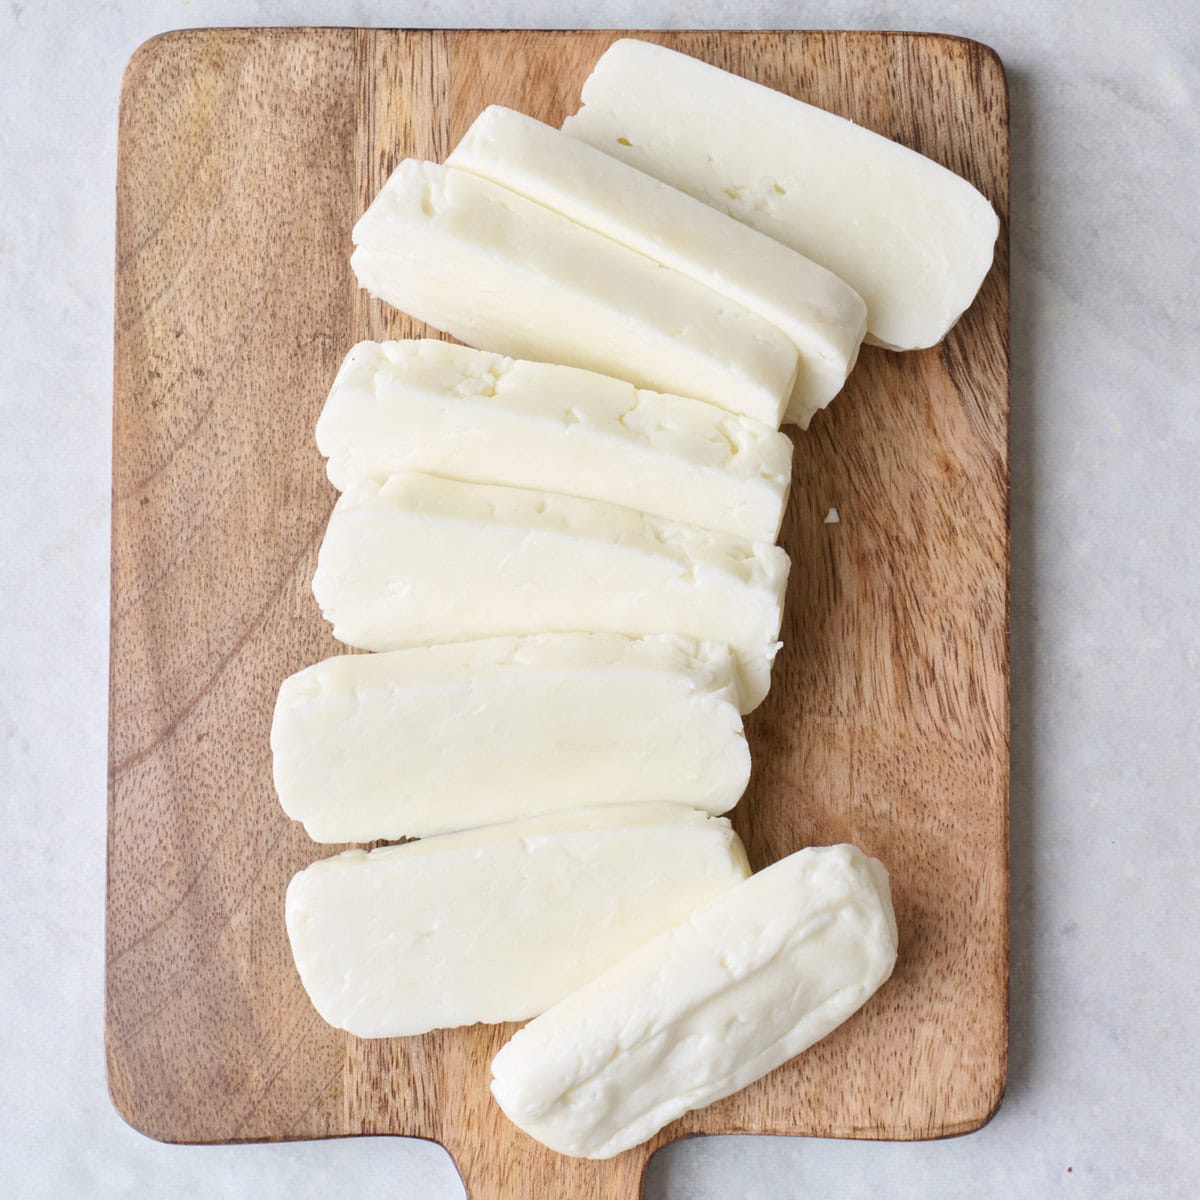
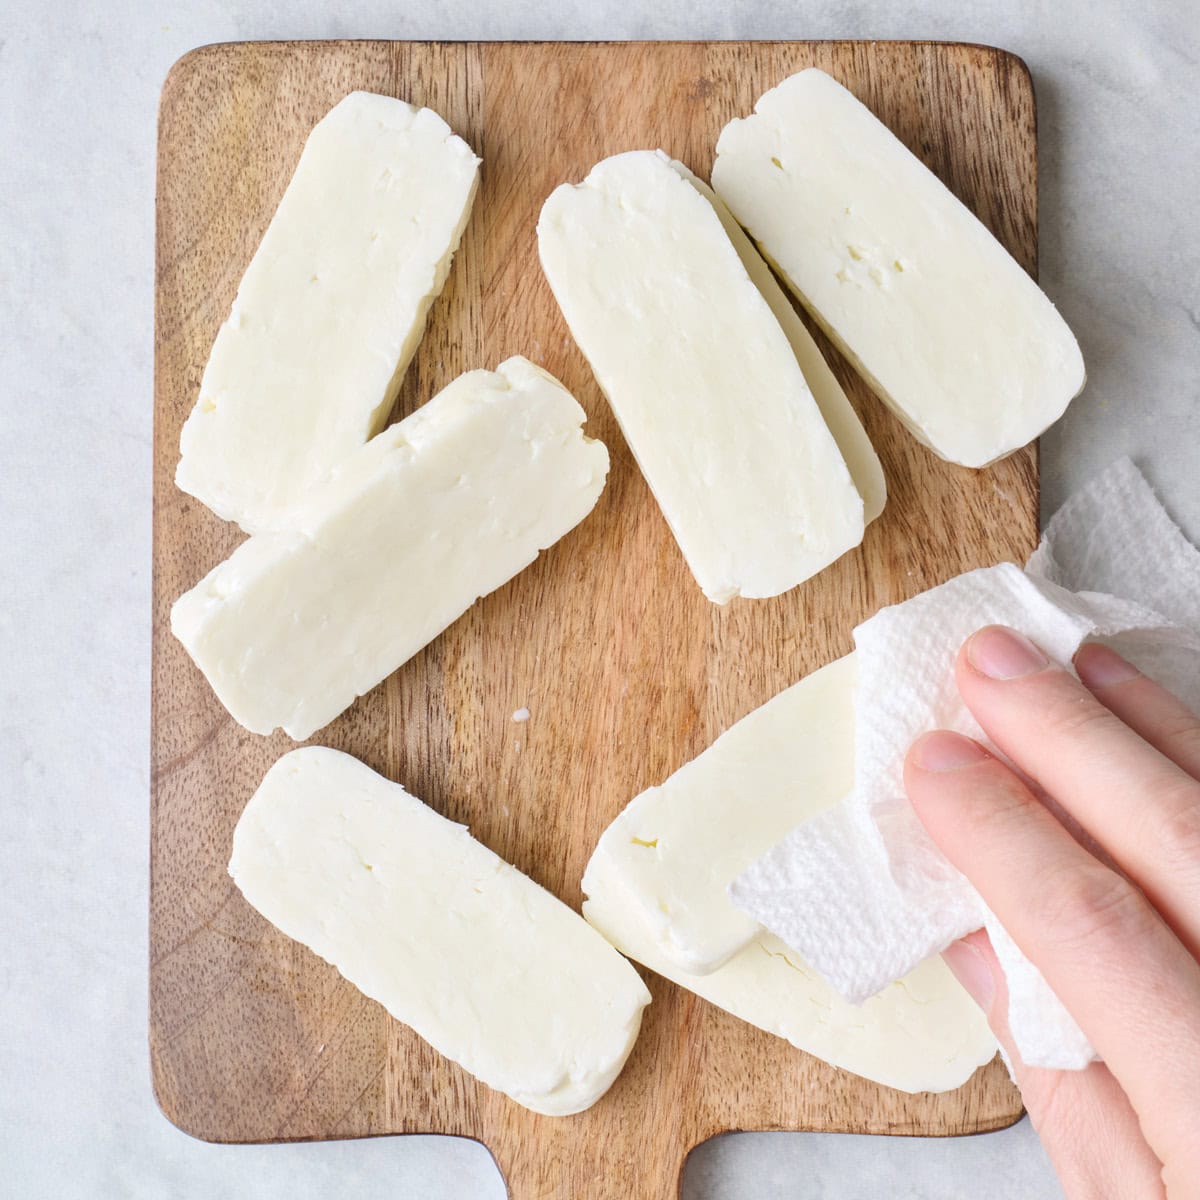
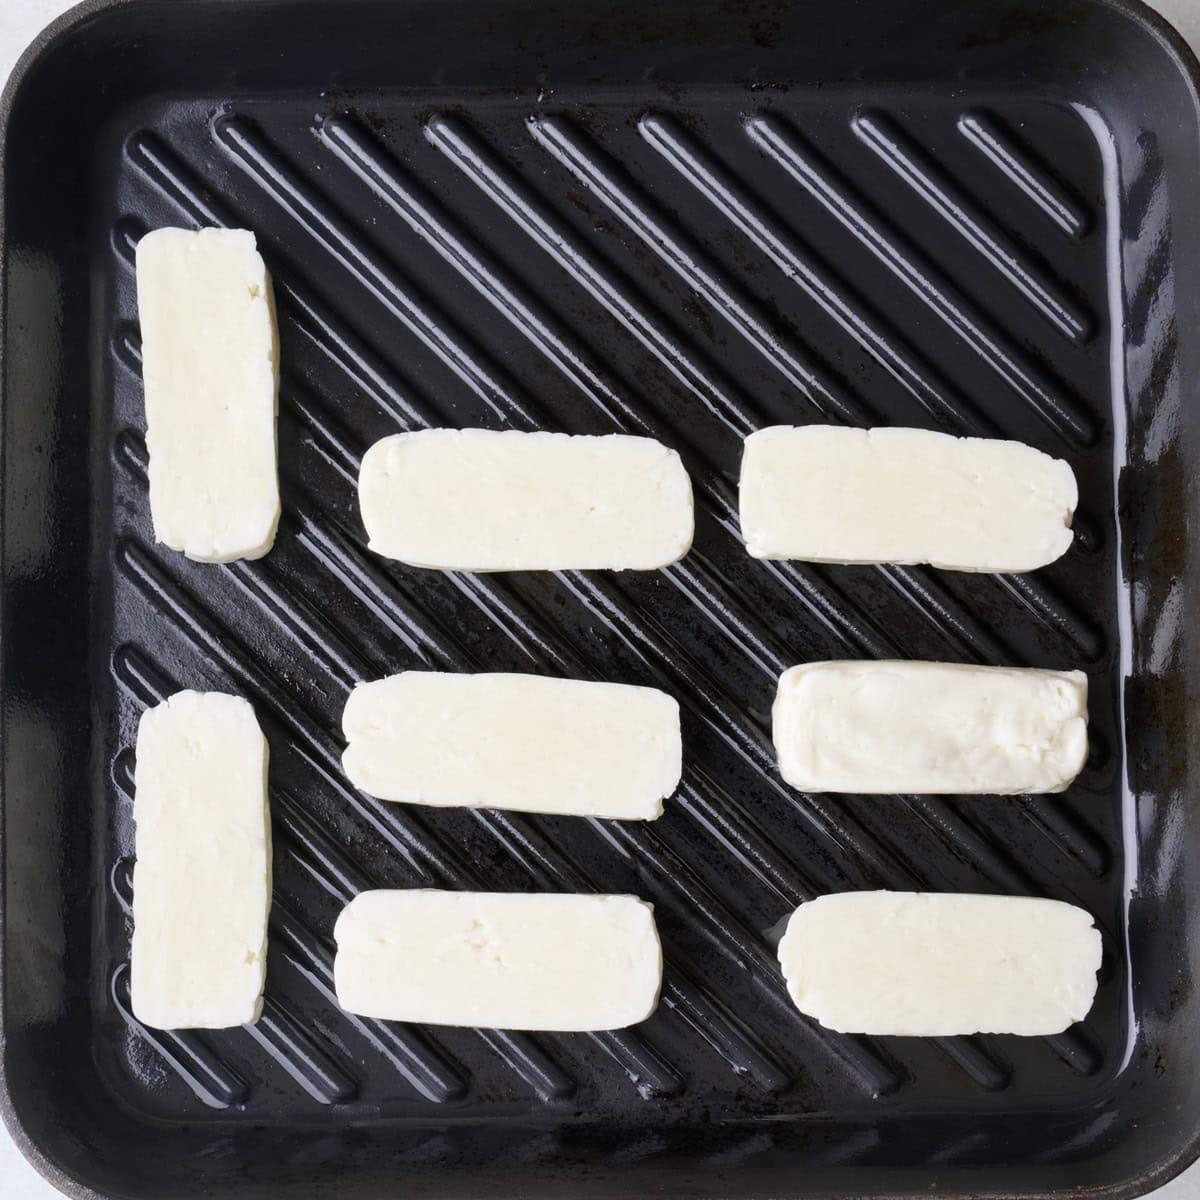
- Drain the halloumi, place it on a cutting board and slice in wide thin pieces, about 8 slices. Pat the slices very dry with paper towels.
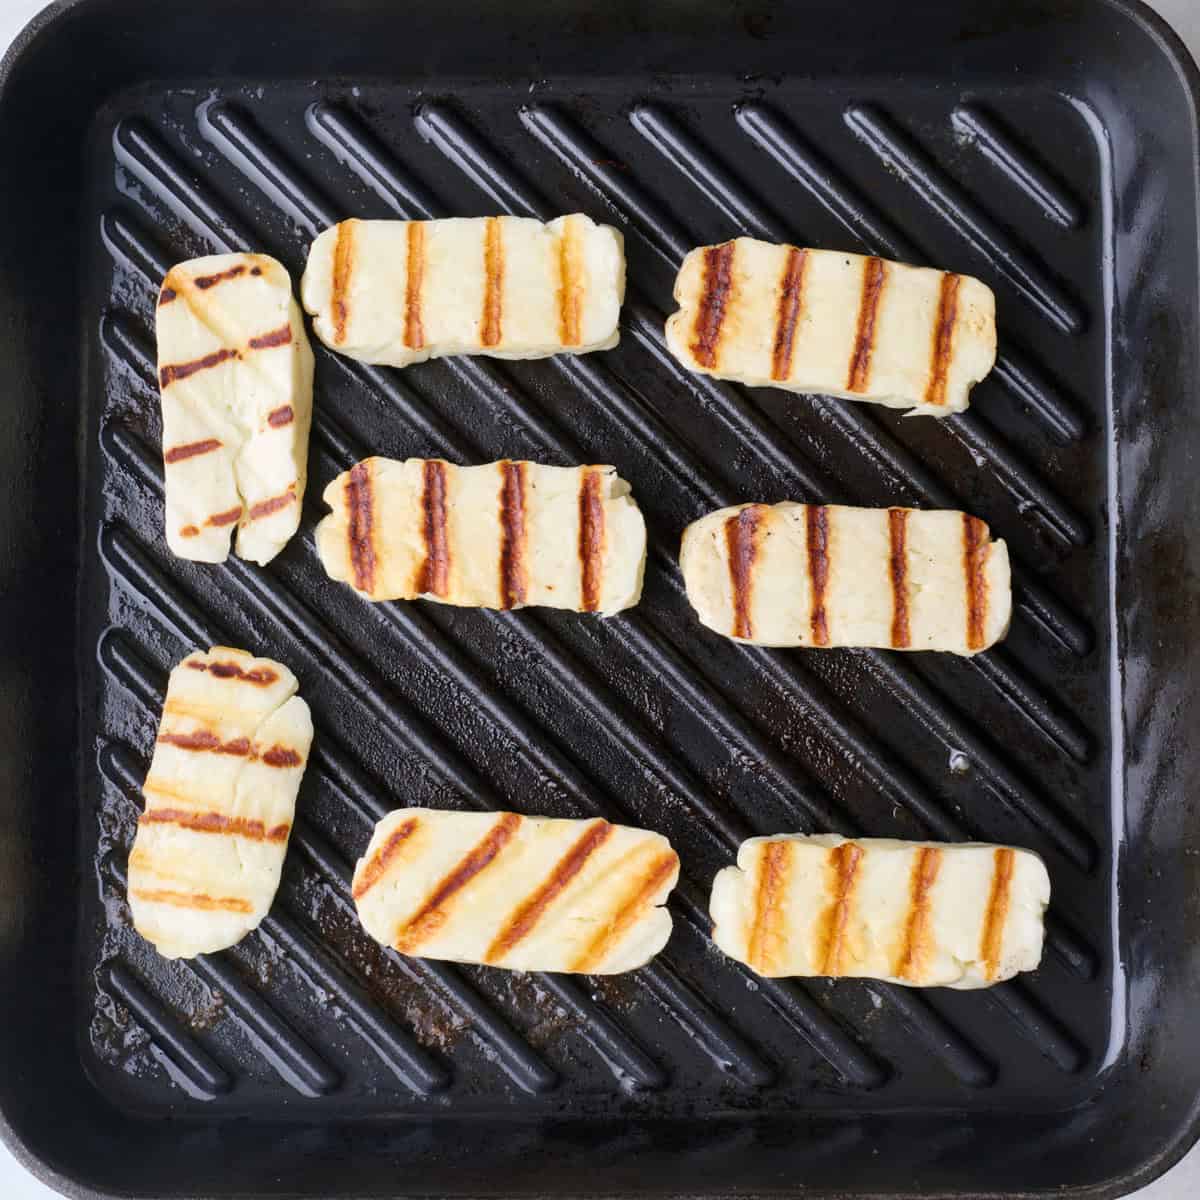
- Heat the oil in a grill pan or a non-stick skillet over medium-high heat. Add the sliced halloumi in a single layer. Cook, undisturbed, until the bottoms are golden brown, 3 to 4 minutes.
- Use a spatula to flip the halloumi and cook until the other side is also golden brown, 3 to 4 minutes longer. Transfer the halloumi to a plate; let cool for at least 5 minutes.
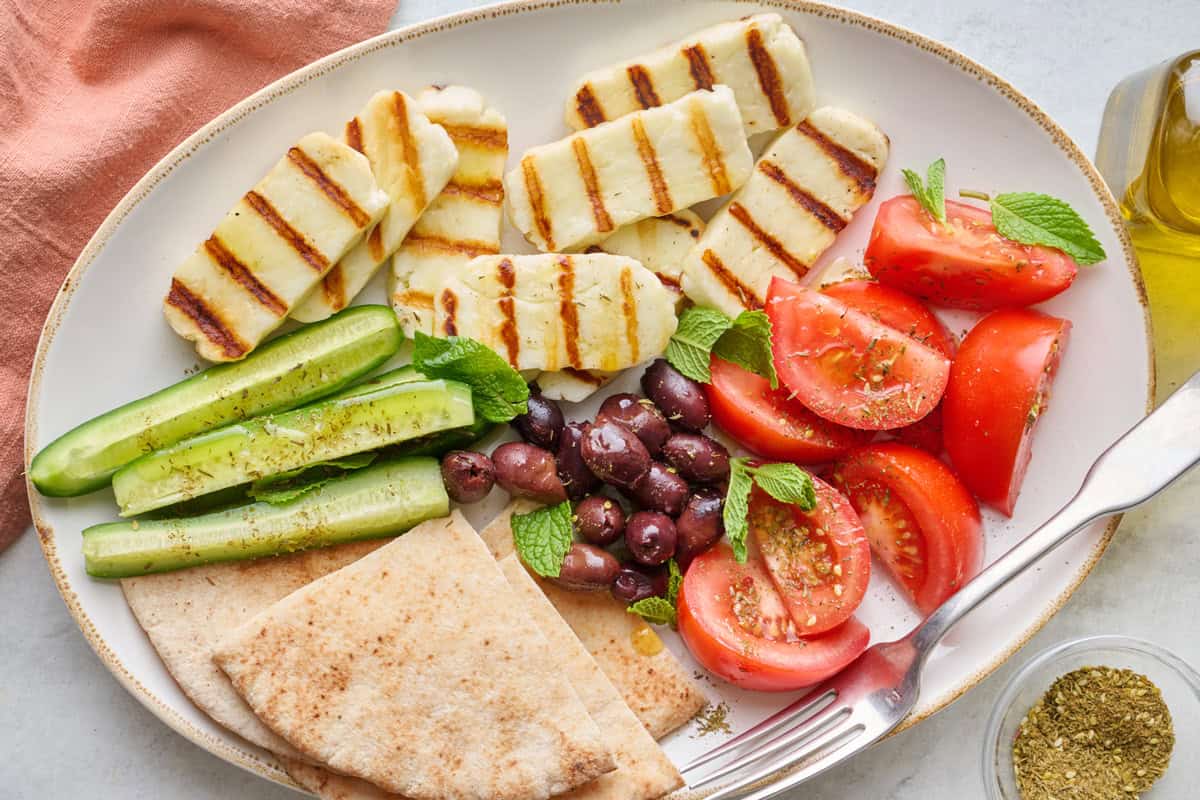
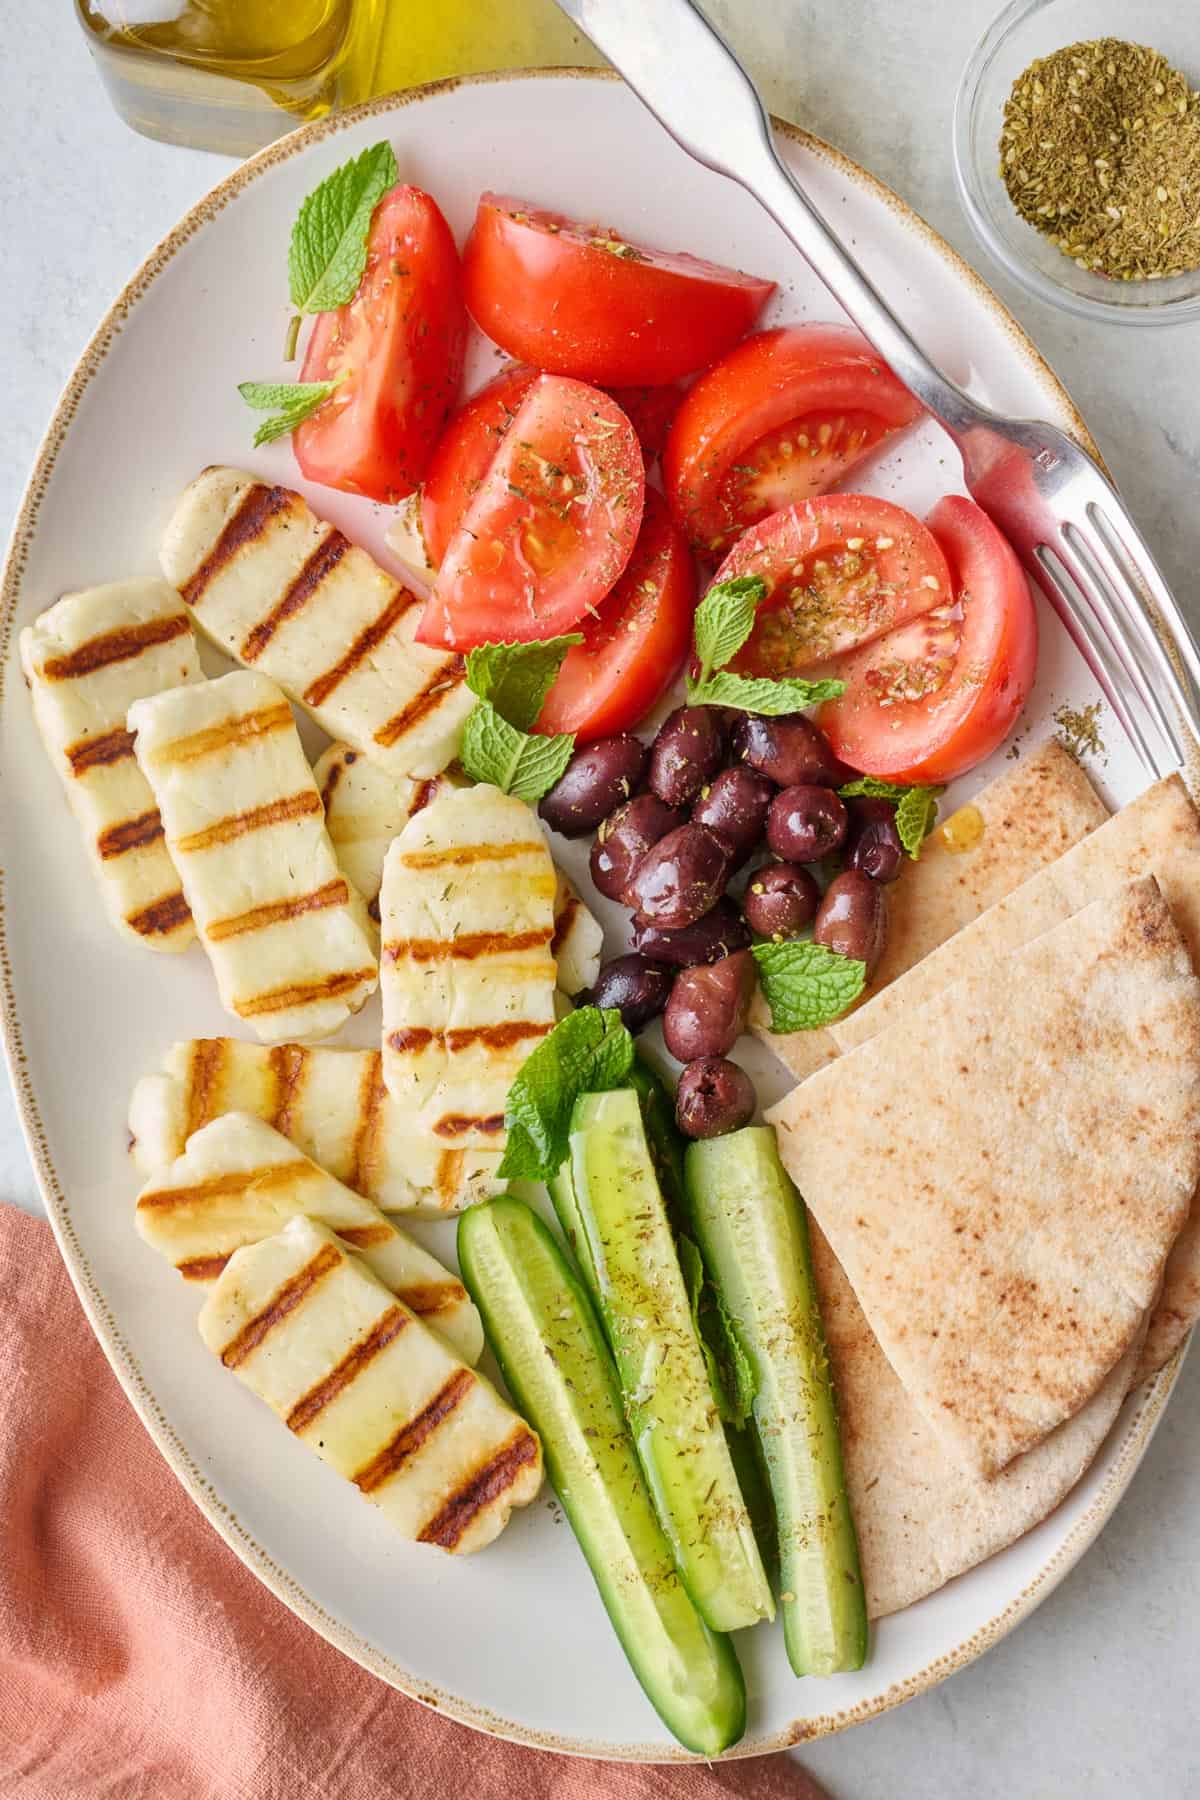
- Plate the grilled halloumi with sliced tomatoes, sliced cucumbers, fresh mint, zaatar and a drizzle of olive oil, if desired. Enjoy on its own or with pita bread.
Notes
Nutrition
Nutrition information provided is an estimate. It will vary based on cooking method and specific ingredients used.
Recipe Video Tutorial
My Best Grilled Halloumi Tips
- Soak the halloumi in water before grilling for 30 minutes or up to 24 hours to remove the salty taste. I love the salty taste of halloumi, so I prefer not to soak it. However, if you find the kind you have to be too salty, the soak will help minimize that.
- Allow the halloumi cheese to grill without touching it. There’s no need to move the cheese around once it hits the grill. This allows it to sear perfectly and gets beautiful grill marks.
- Enjoy the grilled halloumi immediately after making. While it’s fine to refrigerate it, it will get cold and firm and sometimes even rubbery after you place it in the fridge. It will likely lose the juiciness and texture that it has fresh off the grill.
- Don’t toss the olive oil used to cook the halloumi. If there is any leftover, you can pour it over the halloumi before serving if using on a salad, or use it took cook with. It’s great for frying eggs!
Serving Ideas
- Enjoy on its own: Enjoy the halloumi as a low carb snack with sliced tomatoes, sliced cucumbers, fresh mint, zaatar, and a drizzle of olive oil.
- Add to salads: Grilled halloumi is great to use eat on top of salads because it has a meaty texture that is satisfying to bite into. I love it with salads like Spinach Strawberry Salad, Watermelon Cucumber Salad, Peach Salad or Apple Walnut Salad because the saltiness of the halloumi pairs really well with sweet fruit.
- Make a sandwich with it: I personally love wrapping it with pita, zaatar and olive oil to make a simple Lebanese sandwich. But you can also use it to bulk up vegetarian sandwiches like White Bean Sandwiches, Avocado Sandwiches or Cucumber Sandwiches
- Chop it up for a grain bowl: Grain bowls are just the best because you can use up leftover rice, pasta, quinoa and vegetables. And the best part of them is usually something salty or meaty – the grilled halloumi is just that!
FAQs
Allow any leftover grilled halloumi to come to room temperature and then you can store them in an airtight container for up to 7 days. The texture of the halloumi may change after grilling and cooling though and may become rubbery, so it’s best to enjoy immediately.
Yes you can freeze halloumi, even if it’s already been grilled. Make sure it comes to room temperature, then wrap tightly in plastic wrap or place in an airtight container. Thaw in the fridge for a few hours before eating.
Halloumi is pretty widely available in most stores nowadays, and you should be able to find it in your deli section. If you have trouble at your local grocery store, try find a Middle Eastern market for better luck.
Halloumi is known as a non-melting cheese so as long as you keep the slices pretty thick and cook at medium-high heat, you shouldn’t notice any melting.



Comments
I love this recipe and grilled halloumi is my go-to comfort food. I like to squeeze some lemon on the halloumi at the end and just let the juice evaporate. It gives the halloumi an extra and delicious tang.
Yum sounds amazing!
Made grilled halloumi cheese. As you said I soaked it in water to get rid of the saltiness. Thanks a ton!🙏
I’m glad that tip helped! You’re so welcome!
What kind of grill pan do you use?
I use the one from Anolon: https://anolon.sjv.io/KeeY0z
Thank you for the tip! We now eat these in everything!
LOVE these in a eggplant burger. Also love them in my asian style soups with a little meat and loads of veggies!
Yumm
I love that! It’s so versatile!
I have eaten this grilled cheese delight and I cannot understand why it has not made the leap into general use as a every day salad with some thinly sliced big red tomato’s along with some thickly cut cukes. All drizzled with a decent Olive oil. So easy to make less then 10 min and it looks great on a large serving platter.
It truly is the best!! I could have it everyday on everything with everything LOL
Yummy!!