Strawberry Chia Jam
Updated Jun 11, 2026
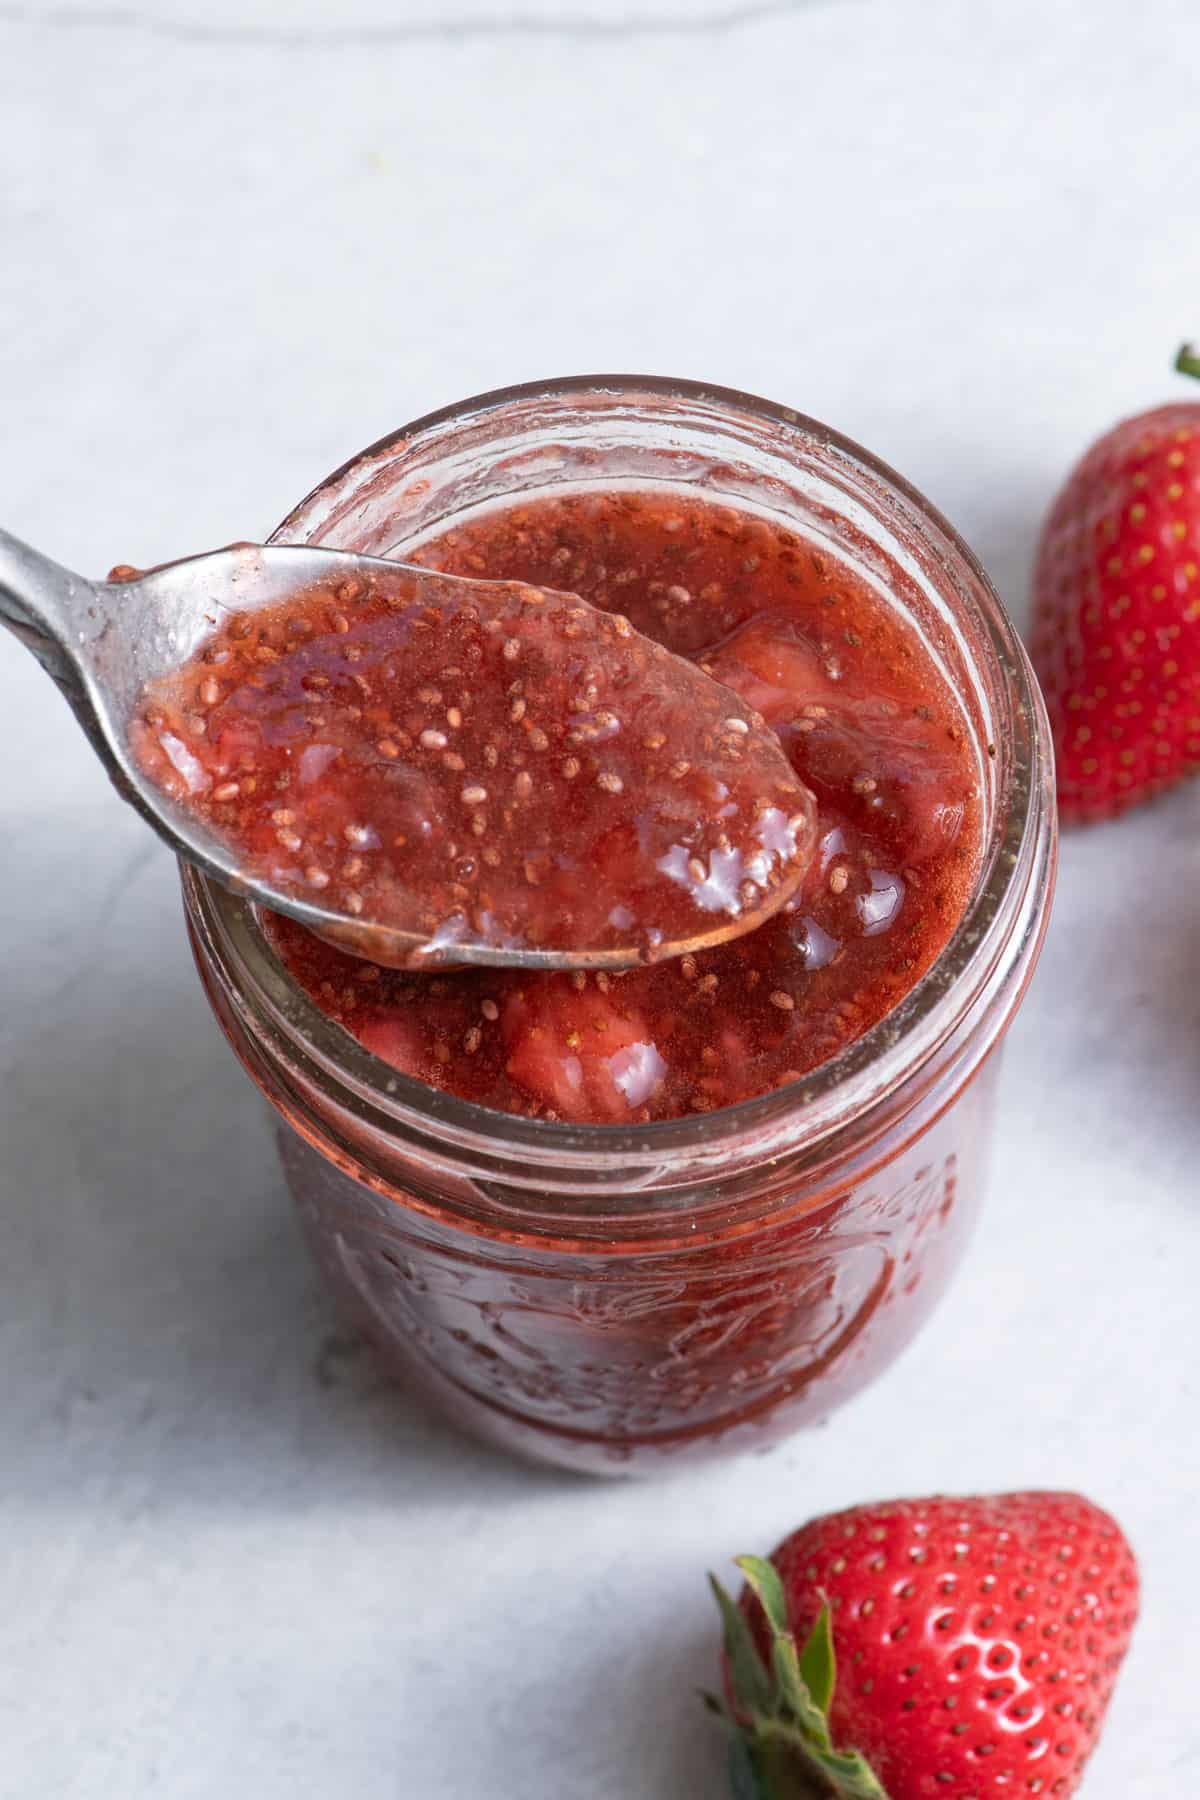
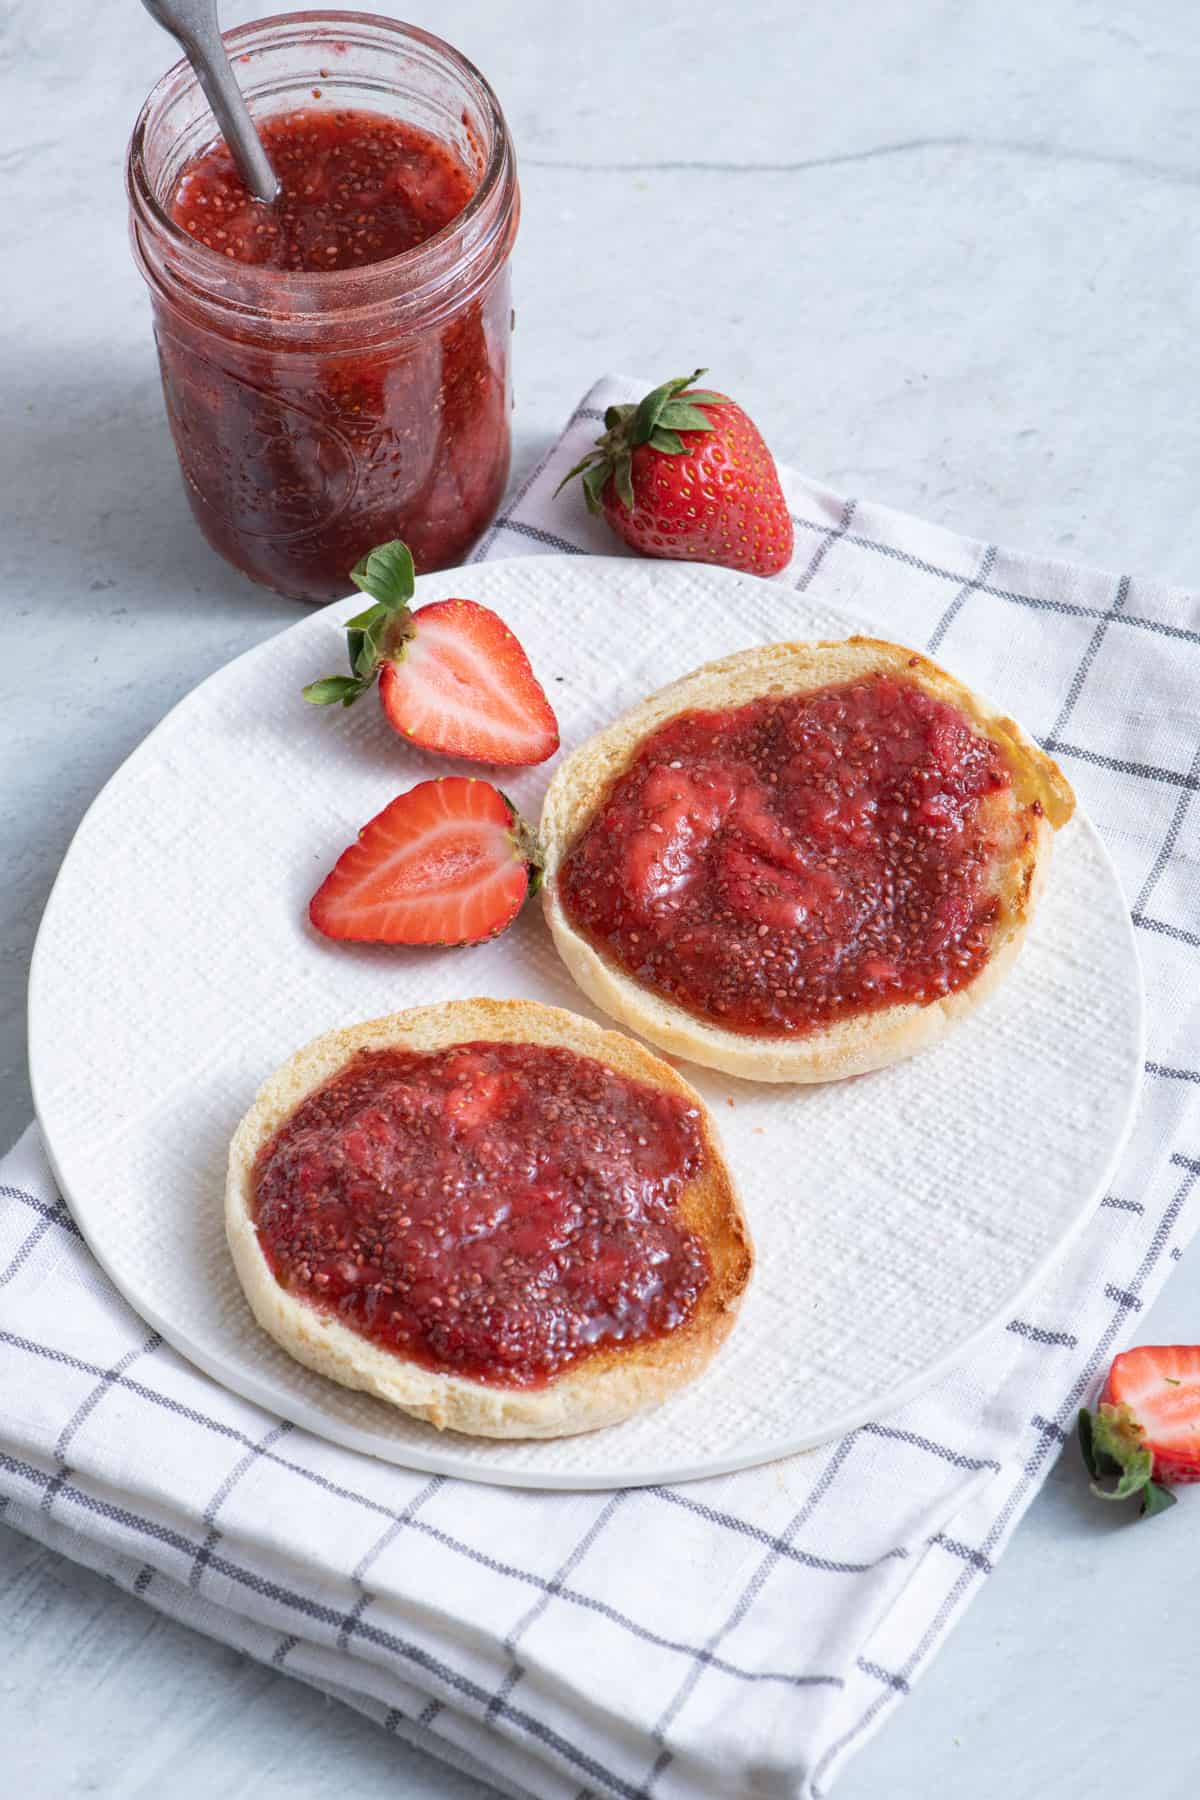
Homemade strawberry chia jam with frozen strawberries, maple syrup, and lime. No pectin, one skillet, and ready in about 15 minutes start to finish.
This post may contain affiliate links. Please read our disclosure policy.
Jump to Section
Make your own strawberry chia jam!

I know it sounds a little extra to make jam at home when there’s a whole shelf of it at the store, but once I tried this strawberry chia jam, I really did stop buying it. The ingredient list is short… frozen strawberries, lime juice, maple syrup, vanilla, and chia seeds. No pectin, no canning equipment, just one skillet. The whole thing takes about 15 minutes.
What I love most about this strawberry chia jam recipe is that it gets better the longer it sits. The chia seeds absorb all that liquid and thicken everything naturally, so the texture is actually better the next day than it is warm off the stove. I keep a jar in the fridge and use it all week. My kids put it on toast every morning, I stir it into yogurt or overnight oats, and it works on pancakes and protein waffles too. The lime zest at the end is what keeps it tasting fresh.
Happy Cooking!
– Yumna
Strawberry Chia Jam Ingredients
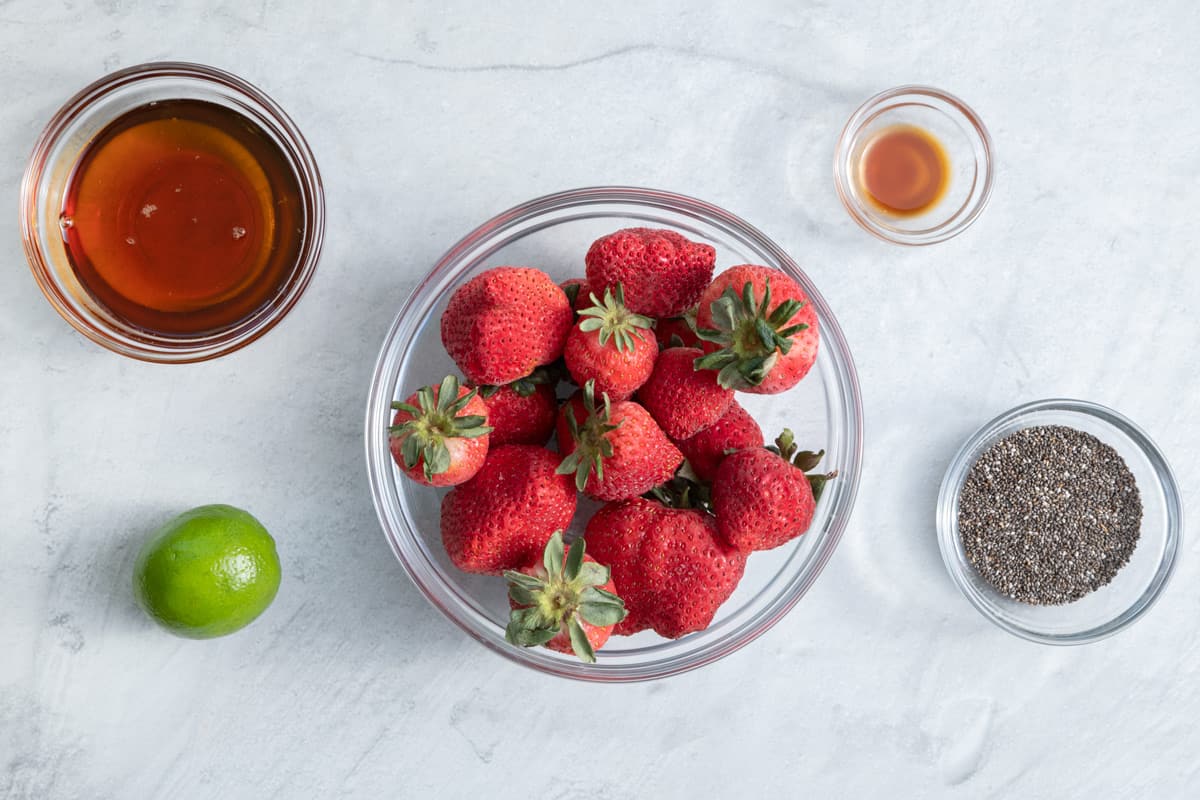
- Strawberries: Use frozen straight from the bag. No need to thaw first. If you want to use fresh strawberries instead, hull and halve them before adding them to the pan, and add an extra tablespoon of water at the start, since fresh strawberries release less liquid than frozen.
- Chia seeds: Three tablespoons is what gives this strawberry chia jam its thickness. The seeds absorb the liquid and swell as the jam cools, so don’t reduce the amount (or increase it, I’ve tested this recipe several times, and three tablespoons is perfect!), or the jam will stay too loose. Stir them in off the heat and give the pan 5 to 7 minutes before transferring to a jar.
- Lime juice and lime zest: For zesting, take only the outer green layer and stop before you hit the white pith underneath, which turns the jam bitter. Read my tips on how to zest a lime for more help. One large lime gives you about 2 tablespoons of juice and enough zest for this recipe. Lemon works as a swap if that’s what you have.
- Maple syrup and vanilla: Honey works as a 1:1 swap for the maple syrup. The amount can also be adjusted slightly based on how sweet your strawberries are. The vanilla is subtle and can be left out if you want a more straightforward fruit jam.
How to Make Strawberry Chia Jam
These step-by-step photos walk you through the full process. For measurements and full instructions, head to the recipe card or jump straight to the → Strawberry Chia Jam Recipe
1. Add the Strawberries
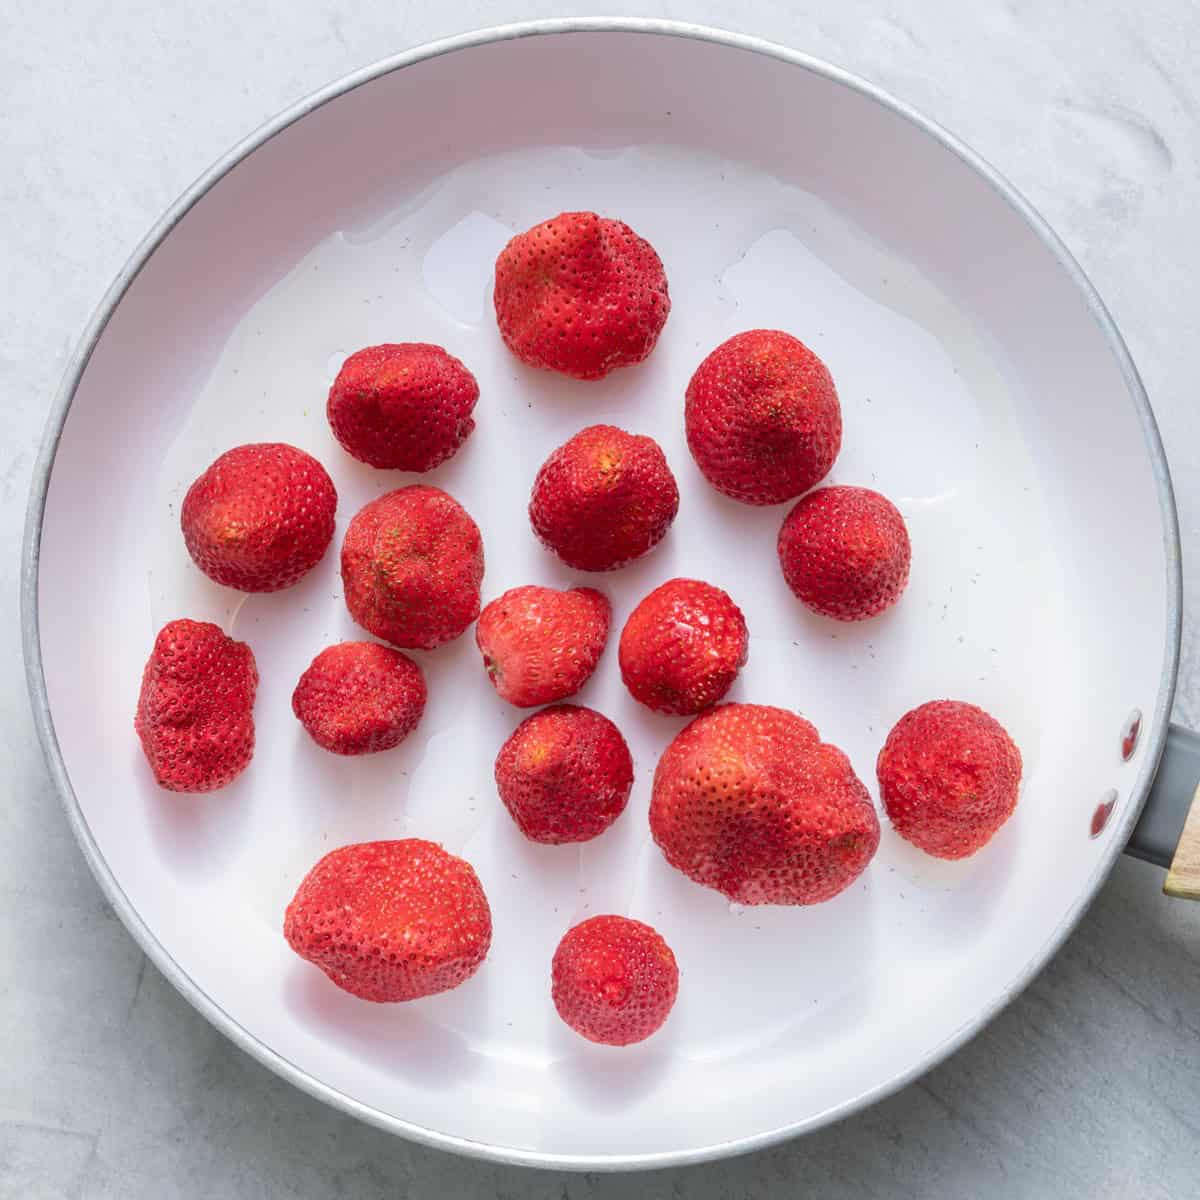
Go straight from the freezer to the skillet. Add the lime juice and water, set the heat to medium, and let everything start to simmer. Stir every couple of minutes as the strawberries begin to soften and release their liquid.
2. Smash the Berries
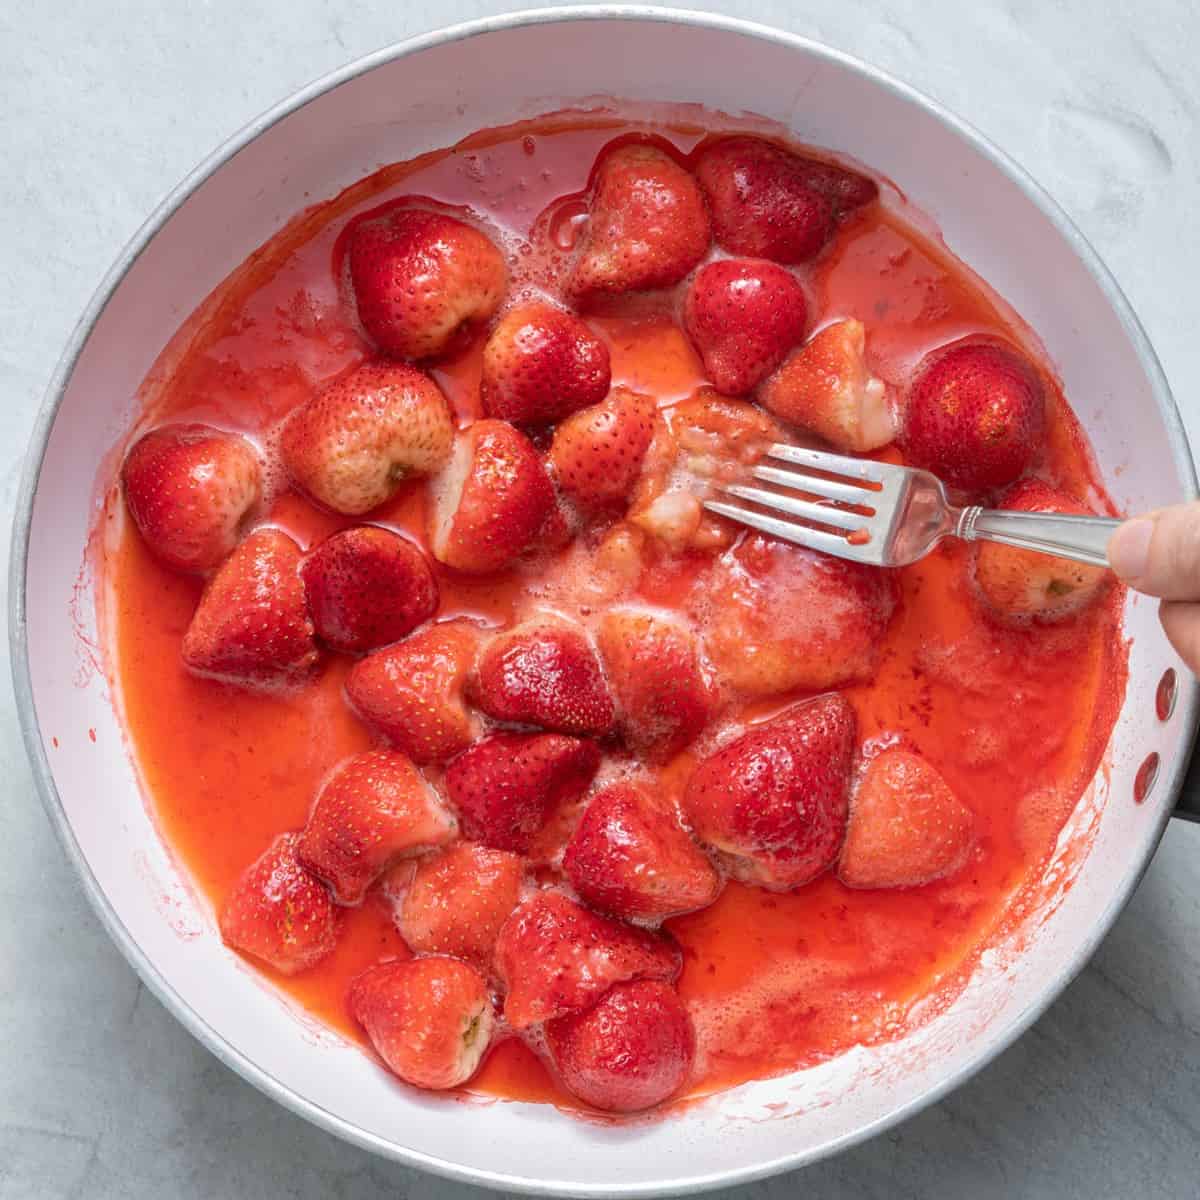
Around the halfway mark, break up the berries with a fork, pressing down until you have a chunky but mostly even texture. A few larger pieces are fine. You’re not going for smooth here.
3. Stir In the Chia Seeds
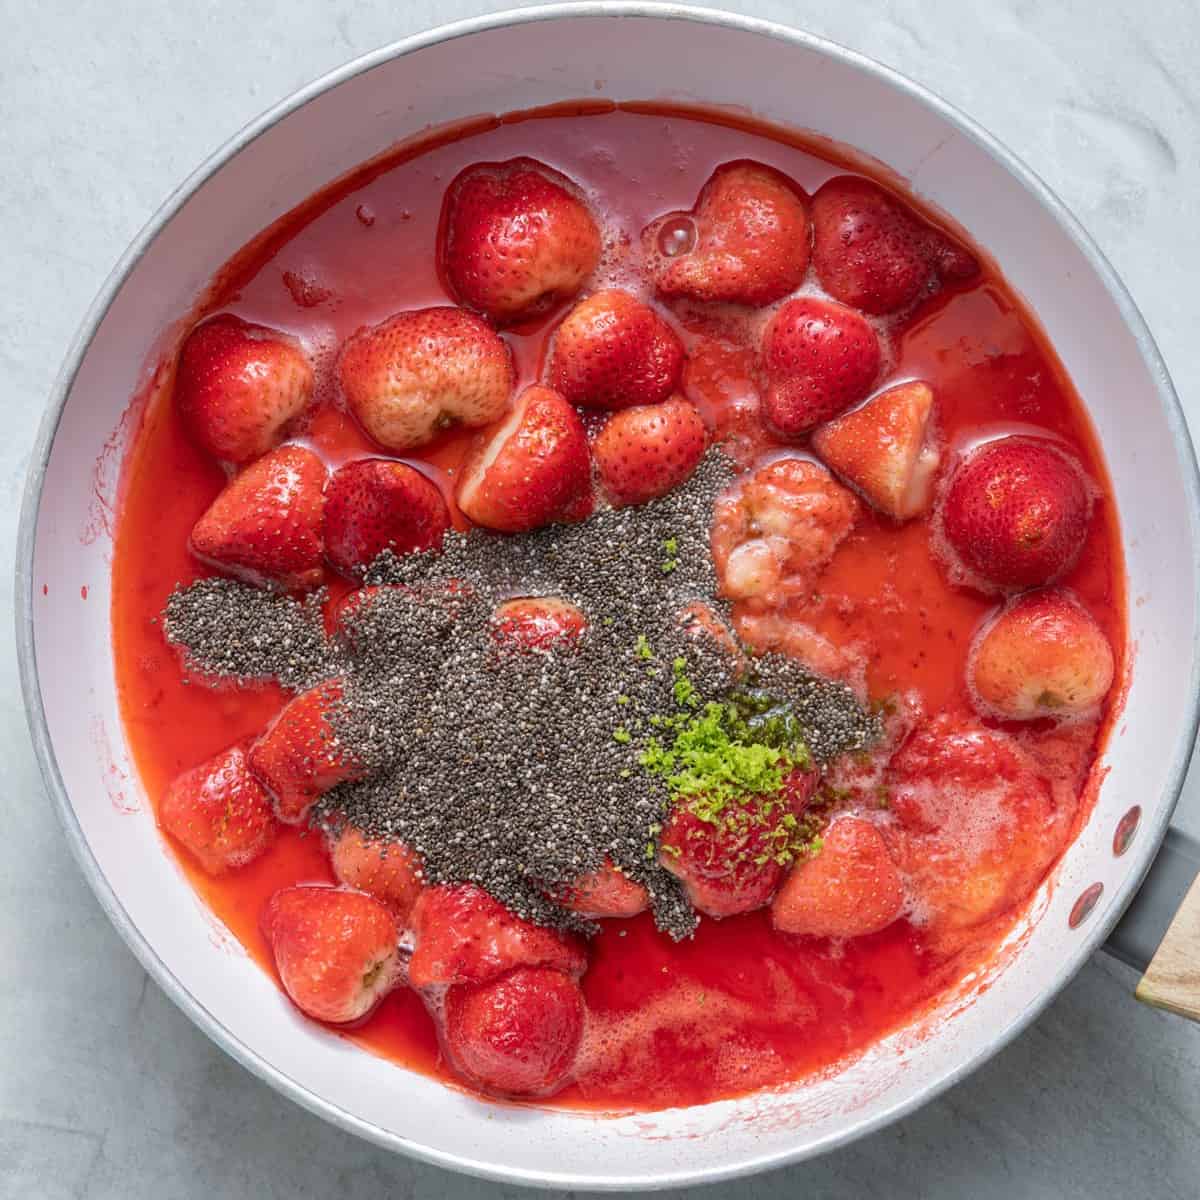
Pull the pan off the heat, then add the maple syrup, vanilla, chia seeds, and lime zest. Mix well and make sure there are no chia seeds clumping at the bottom of the pan.
4. Let the Jam Thicken

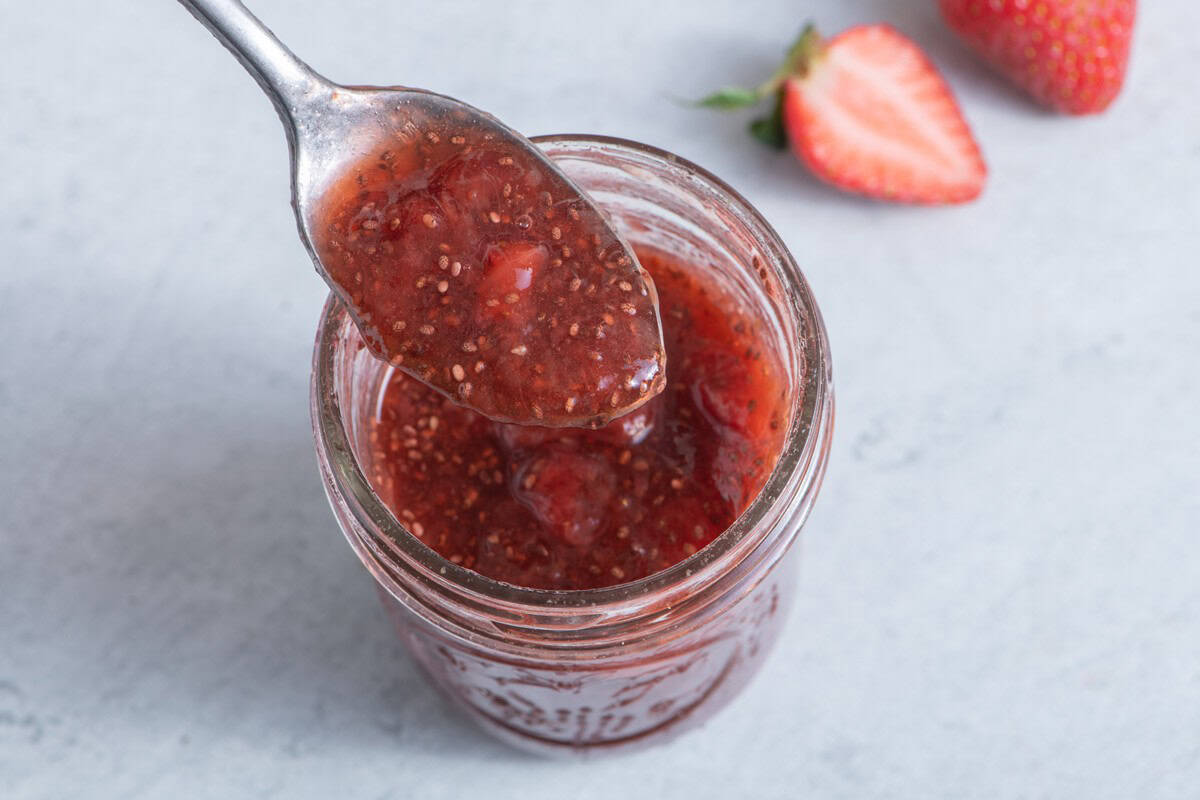
Give the pan 5 to 7 minutes off the heat before moving the jam to a jar. The chia seeds need that time to start absorbing the liquid. The jam will look loose when warm, but it sets up as it chills.
Full strawberry chia seed jam recipe

Strawberry Chia Jam Recipe
Ingredients
- 2 cups frozen strawberries
- 2 tablespoons lime juice plus zest 1 large lime
- 2 tablespoons water
- ⅓ cup Maple syrup
- 1 teaspoon vanilla extract
- 3 tablespoon chia seeds
Instructions
- In a small skillet, add the strawberries, lime juice, and water. Simmer over medium heat for 10 minutes, stirring occasionally. About halfway through the simmering time, begin breaking down the berries by smashing them with a fork into a chunky but uniform texture.
- Once the berries are broken down, stir in the maple syrup, vanilla extract, chia seeds, and lime zest until combined, about 30 seconds.
- Turn off the heat. Let the skillet sit for about 5–7 minutes until the chia seeds thicken the jam.
- Transfer to a jar and refrigerate; the texture will set even further when chilled.
Equipment
Notes
Nutrition
Nutrition information provided is an estimate. It will vary based on cooking method and specific ingredients used.
Recipe Variations
- Switch up the fruit: You can make this chia jam recipe with any type of fruit! Try cherries, peaches, apricots, or other berries. Just cook the fruit down with some lime juice and water until soft, and then add in the chia seeds.
- Add balsamic vinegar: Stir in 1 teaspoon of balsamic vinegar while the strawberries cook down.
- Mixed berry jam. Replace 1 cup of the frozen strawberries with another frozen berry, like blueberries, raspberries, or blackberries. The method and timing stay the same.
- Add a pinch of cinnamon. Stir in ¼ teaspoon of cinnamon along with the chia seeds and maple syrup for a slightly warmer flavor.
- Use fresh herbs: Stir in 1–2 tablespoons finely chopped fresh basil or mint after cooking.
So good! I didn’t add the zest but did everything else, and it was plenty limey without it. I had it with Dutch pancakes, and it was delicious! Thanks! – Chase
Recipe Tips
- Puree the strawberries first. If you want a smoother jam, use an immersion blender to puree the strawberries after they cook down.
- Use glass storage jars. Plastic can sometimes leach unwanted flavors into food (for example, that garlic spaghetti you saved last week may not taste so good with your chia jam). If you have a glass mason jar, use that instead!
- Give the jam time to set. This strawberry chia jam looks much looser when warm than it will after chilling. Let it sit in the fridge for at least an hour before making any adjustments. It thickens significantly as the chia seeds continue to absorb liquid.
FAQs
I don’t recommend it. Chia seeds help this jam thicken up and become more like a traditional jam. Pectin will also make the jam very thick and gel-like, but the cooking and setup process is different.
First, make sure you’re using enough chia seeds. I would start with at least three tablespoons. If that doesn’t work, you can cook the jam down for a little longer or add more chia seeds.
Yes! If you’re using frozen strawberries, you may need to increase the initial cooking time. Everything else can stay the same.
To me, it tastes pretty much like regular jam. It’s a little less sweet, since it doesn’t rely on sugar to set. And the consistency is a little more sauce-like, not as sturdy or compact as traditional store-bought jam. I still think it works just as well!


Comments
Hello…I just found this recipe today and it is amazing! I am looking forward to trying more of your recipes. Thank you for posting!
You’re welcome, Michelle! So happy you liked it!!
Would this jam still work if I froze it to use at a later date?
Yes! The jam will last for up to six months in a freezer-safe container. Once you’re ready to use it, just thaw it overnight in the fridge. Hope that helps!!
Thanks so much, will make this for our toast in the morning.
You’re welcome! I hope you enjoy!!
I had a pint of fresh strawberries going bad in the fridge and made this recipe. It couldn’t be easier and came out delicious! My strawberries were very sweet so I did 1/4 cup maple syrup and next time I make this I’ll do even less than that. Once it cooled a little I put a scoop on plain Greek yogurt with chocolate chips on top, it was the perfect dessert tonight. Great recipe!
I just made this, this morning. I substituted honey for maple syrup and it’s soooo good.
Yay so happy you liked it!
Was always looking for easy and good jam recipe, this couldn’t be better. Thank you!
It didn’t thicken after adding the seeds, should I add more seeds or the refrigerator will do the job?
Yes, the texture will set even further when chilled.
Can you use stevia or monk fruit sugar instead of the sweeteners you listed?
Hi Kendra, yes you can. Just make sure you adjust the amount to your preferred taste.
Hello, I just discovered your blog and I feel that it is the best cooking blog ever.
I like your pride in your country and your ancestry if I would just tell you to keep going.
I am also of Egyptian descent so I can feel your feelings a little bit.
Thanks so much, Roba!
Hi! Just made this instead of maple syrup can I just use a bit of monk fruit sweetener? I love it the way it is, but just curious if I can do this next time as well?
Yay! I haven’t tried this with monk fruit sweetener yet, but let me know if you do and how it turns out!
See All Comments