Peach Galette
Published Sep 08, 2022
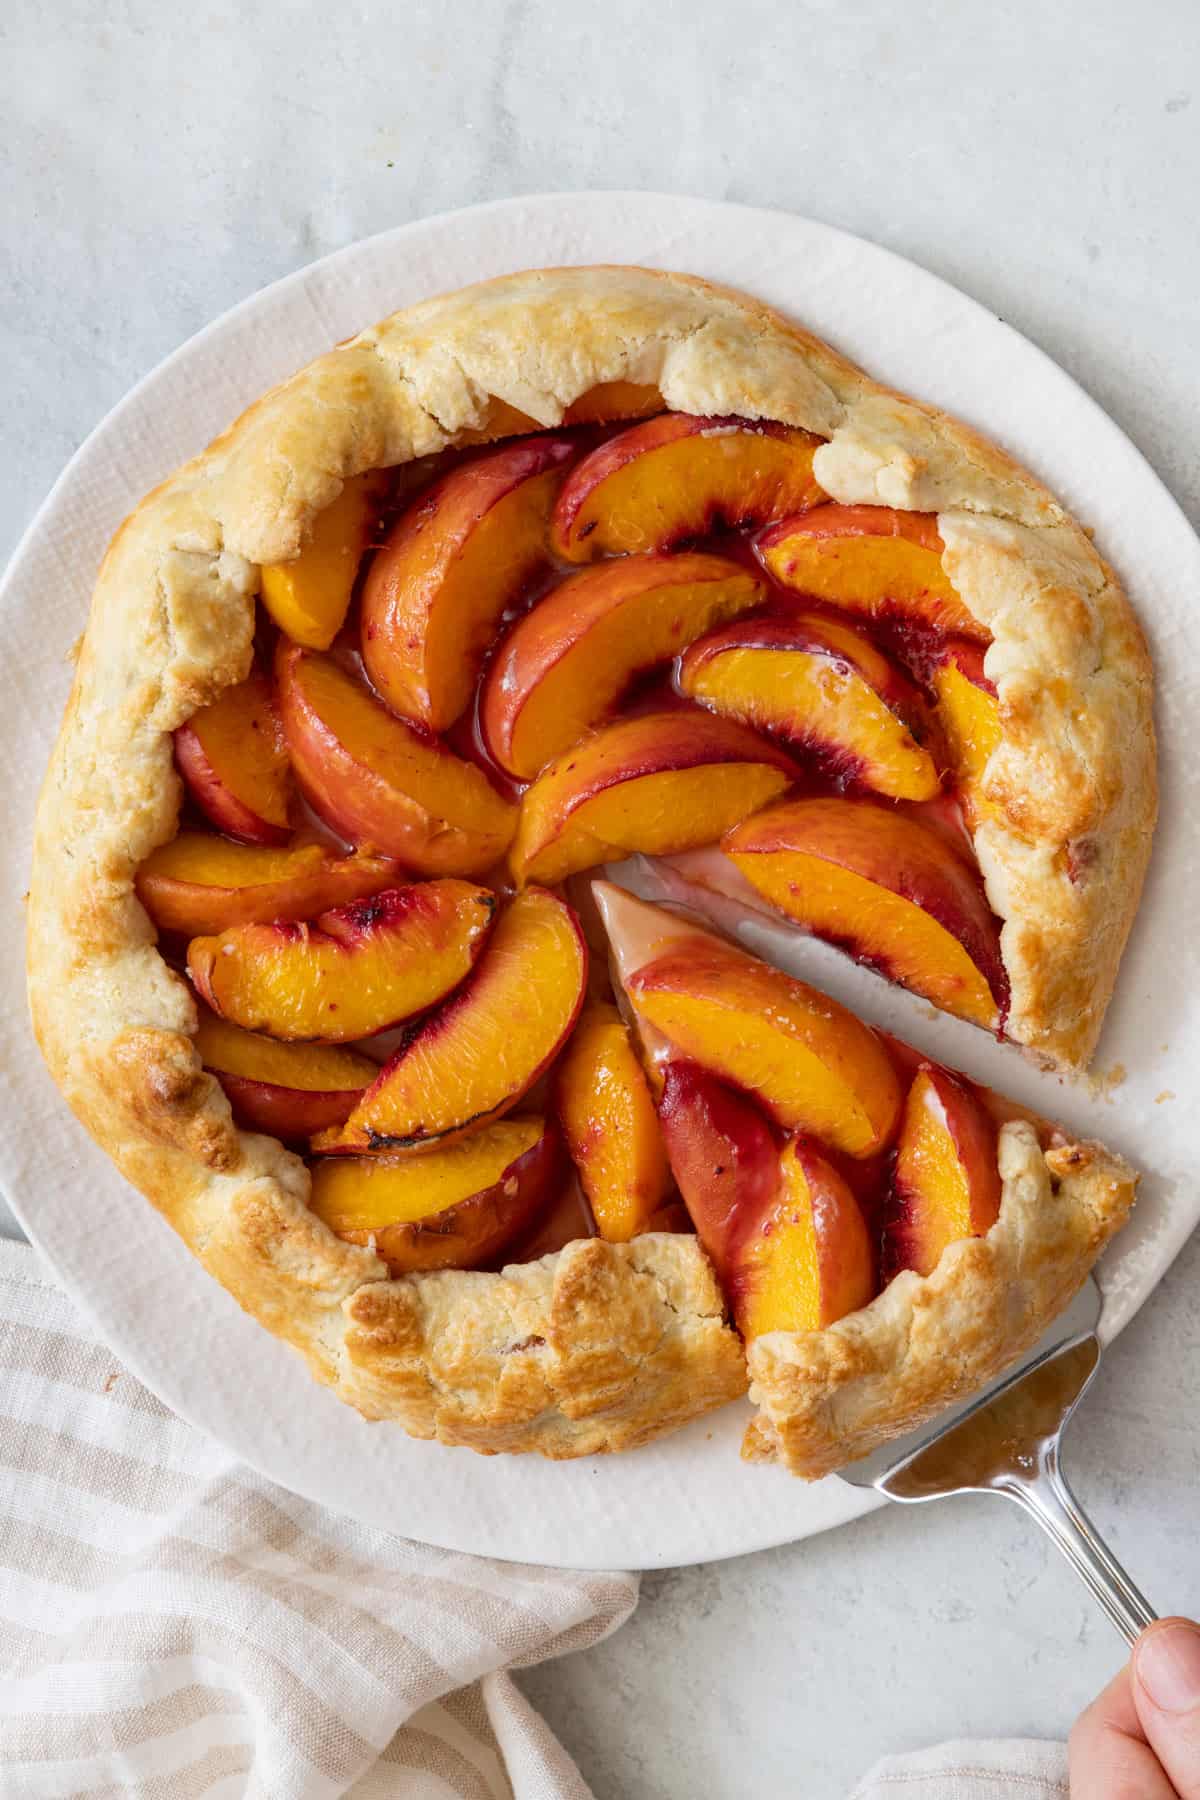
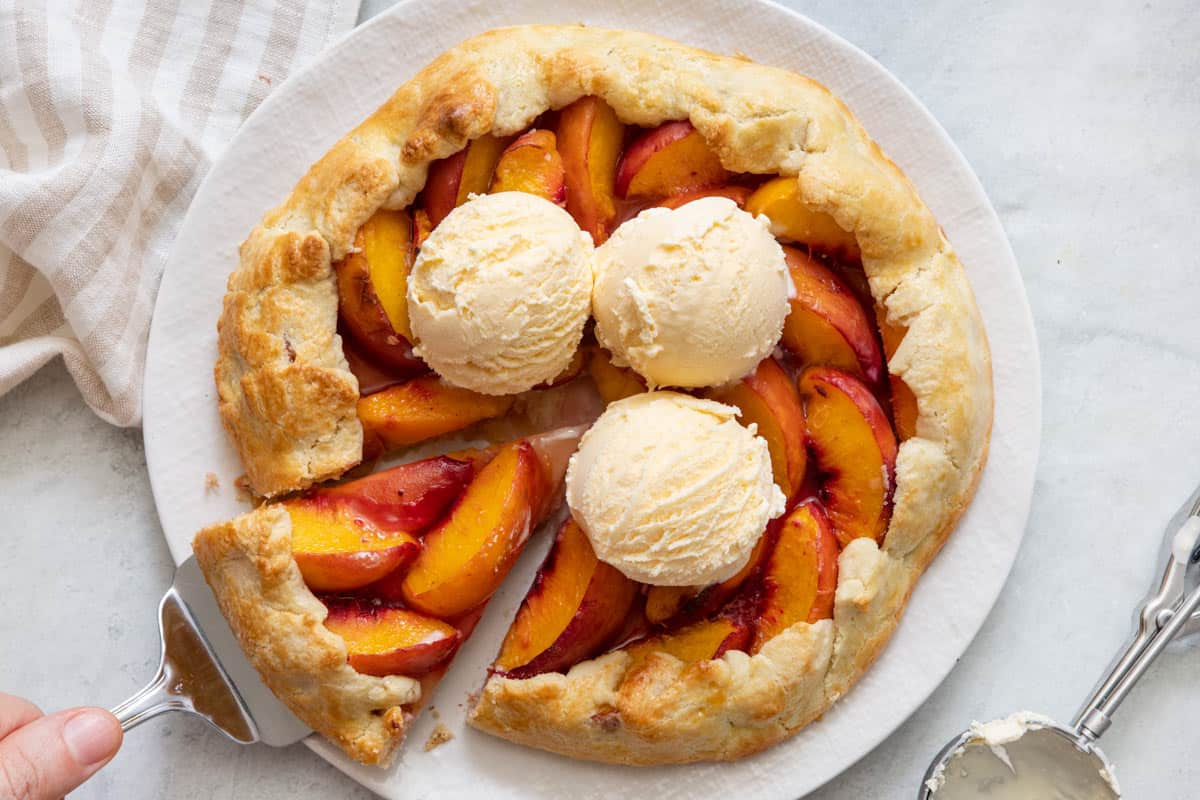
This simple Peach Galette is made with a homemade rustic pie crust that is flaky, buttery, and so delicious. Serve warm and top with ice cream!
This post may contain affiliate links. Please read our disclosure policy.
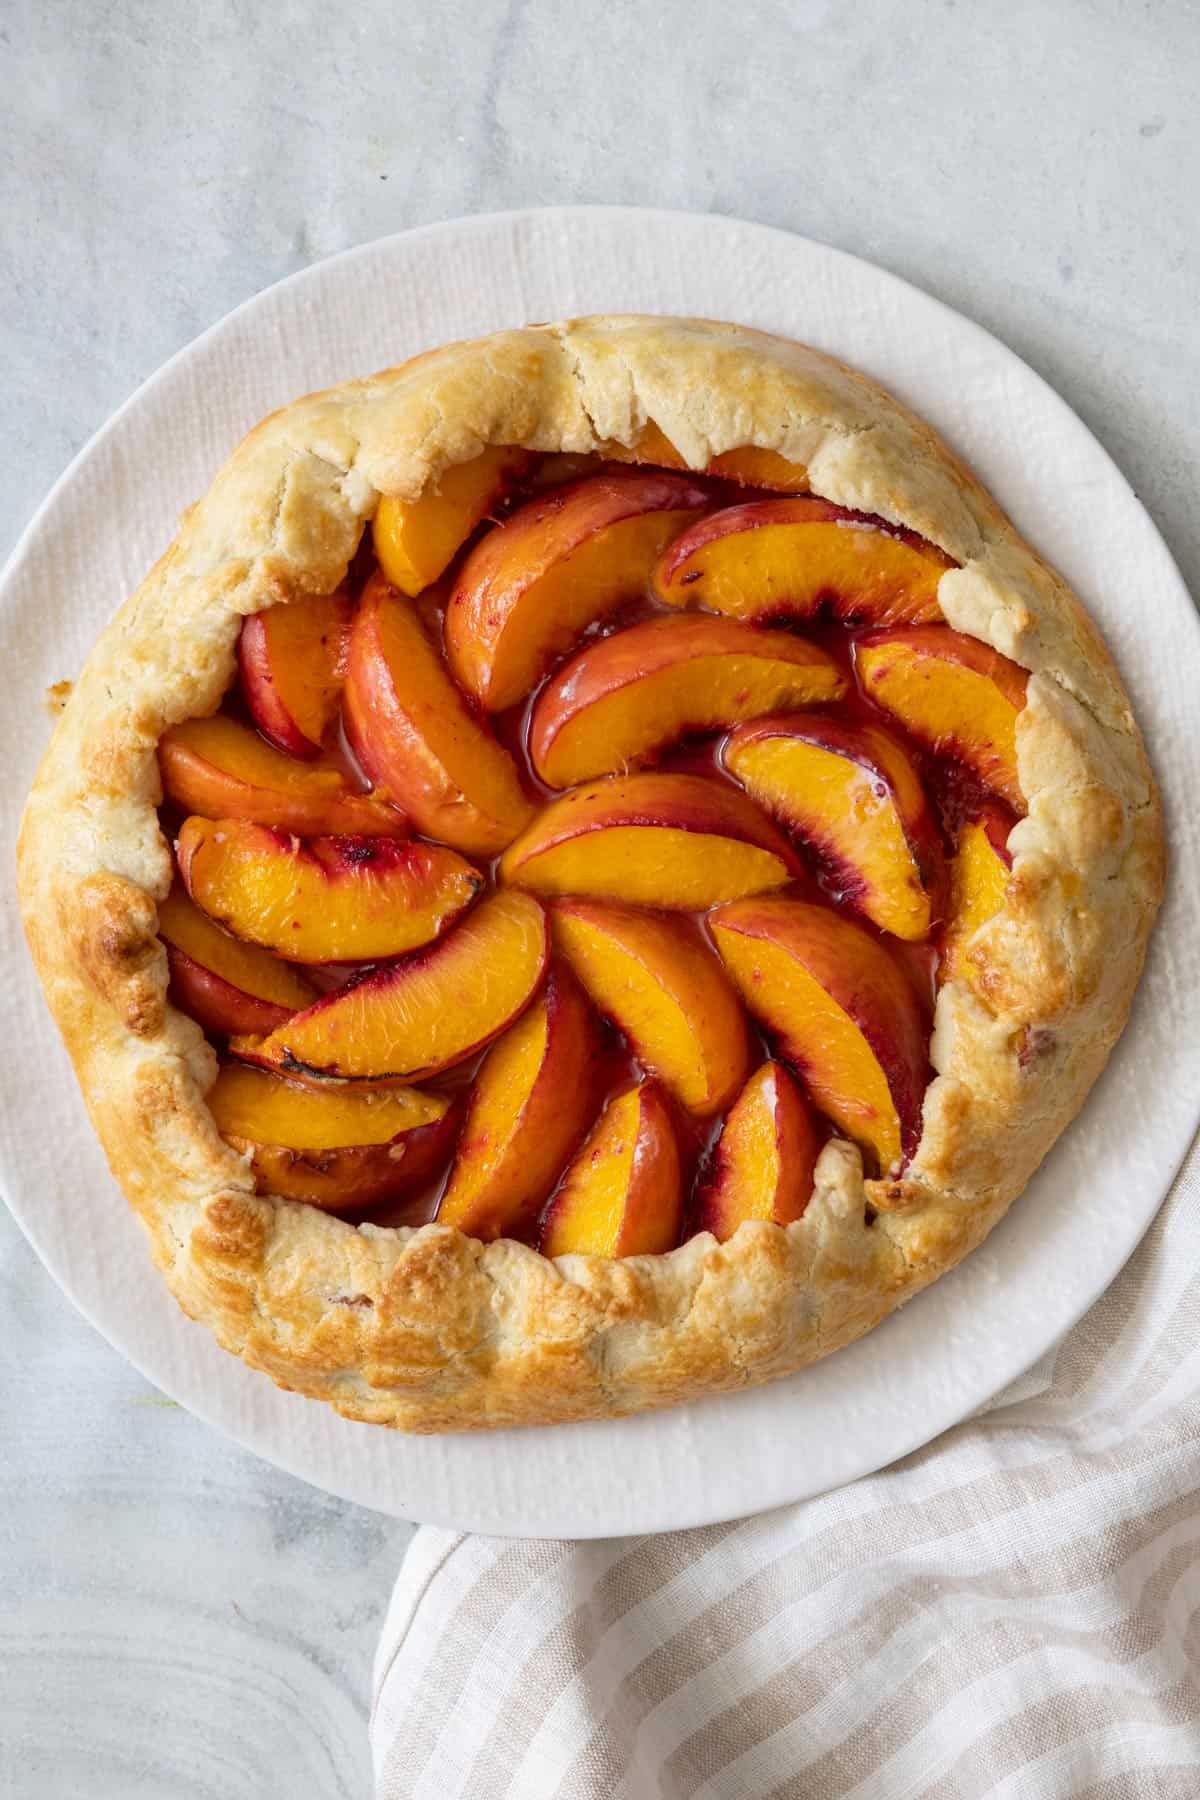
This peach galette is a combination of ripe peaches that have been glazed in a light sugar and lemon sprinkle and then baked in a rich, buttery crust. The result is a deliciously mouth-watering open-faced pie that is so good you’ll have to fight to keep everyone’s hands out of it until it’s time to serve!
If you’ve been looking for a delicious way to use up your fresh peaches, look no further than this fresh peach galette recipe! This open-faced peach pie is made with simple to assemble homemade crust. Seriously, with your food processor, it takes less than 5 minutes to come together! Plus, it’s loaded with juicy, ripe peaches. It’s perfect for summer gatherings, or simply as a sweet treat for any day of the week!
why you’ll love this open-faced peach pie
- Easy to make, looks like it took hours. I can not stress how EASY this recipe is to make. It’s easier than making a traditional peach pie (even with store-bought crust!). Plus, it looks like you slaved away in the kitchen for hours when really it only took you 30 minutes!
- It’s summer in a bite. This peach galette is summertime in dessert form. It’s got all the best flavors of summer – ripe, juicy peaches and a hint of lemon. Plus, it’s light and refreshing, but still satisfyingly sweet.
- It’s rustic and homey! This galette is the perfect balance of rustic and homey. The homemade crust is flaky and tender, while the peaches are glazed with a light sugar and lemon sprinkle. It’s the kind of dessert that will have everyone asking for seconds (or thirds!).
Ingredients to make a peach galette
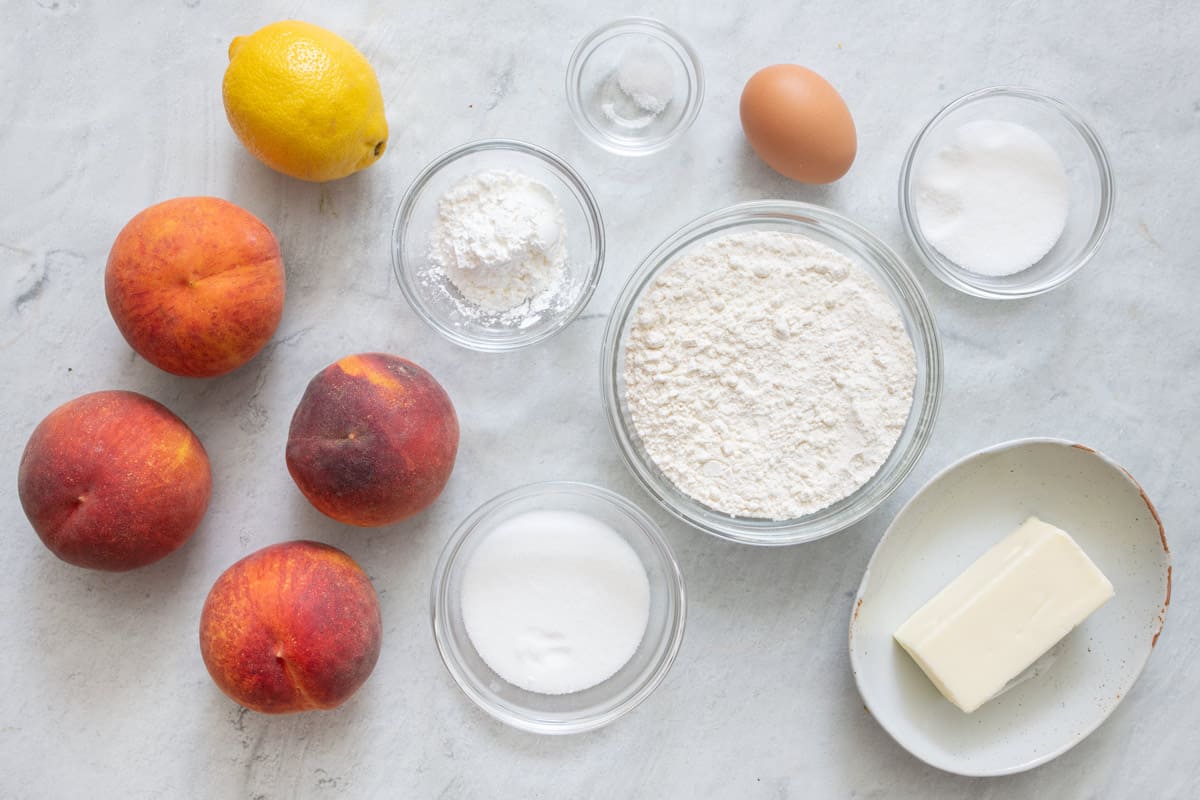
- Crust: The other great thing about this crust, besides its ease of assembly, is that it’s made with all pantry ingredients! You’ll need all-purpose flour, granulated sugar, a pinch of salt, unsalted butter, and a single egg! I bet you have everything you need on hand right now.
- Peach filling: A simple mixture of lemon juice, cornstarch, and granulated sugar with ripe peaches. That’s it!
How to make a peach galette
Now, let’s get into the good stuff – making your peach galette. Grab your food processor, and let’s get started!
Make dough
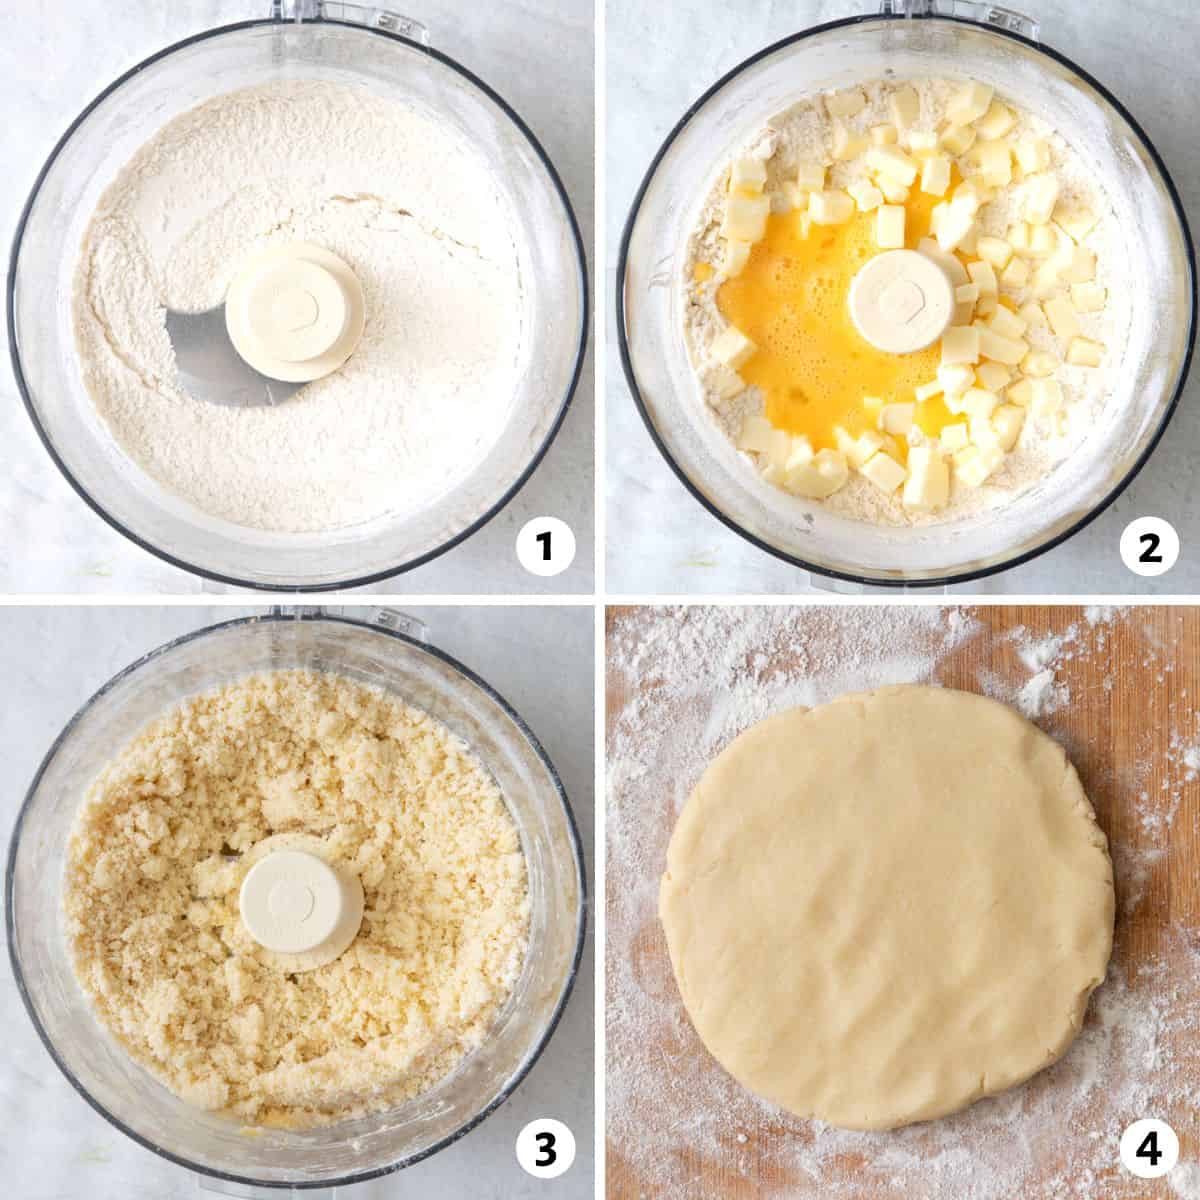
- Using the dough blade or paddle attachment, combine the flour, sugar, and salt in the bowl of a food processor or stand mixer. Pulse to ensure the mixture is evenly distributed.
- Add the cubed butter and egg and pulse a few times to break up the chunks.
- Add in the cold water and pulse until combined; it should form a rough dough.
- Transfer the mixture onto a floured work surface and form the dough into a thick disc using your hands. Wrap it tightly in plastic, and store it in the fridge for 1 hour.
Make the Filling
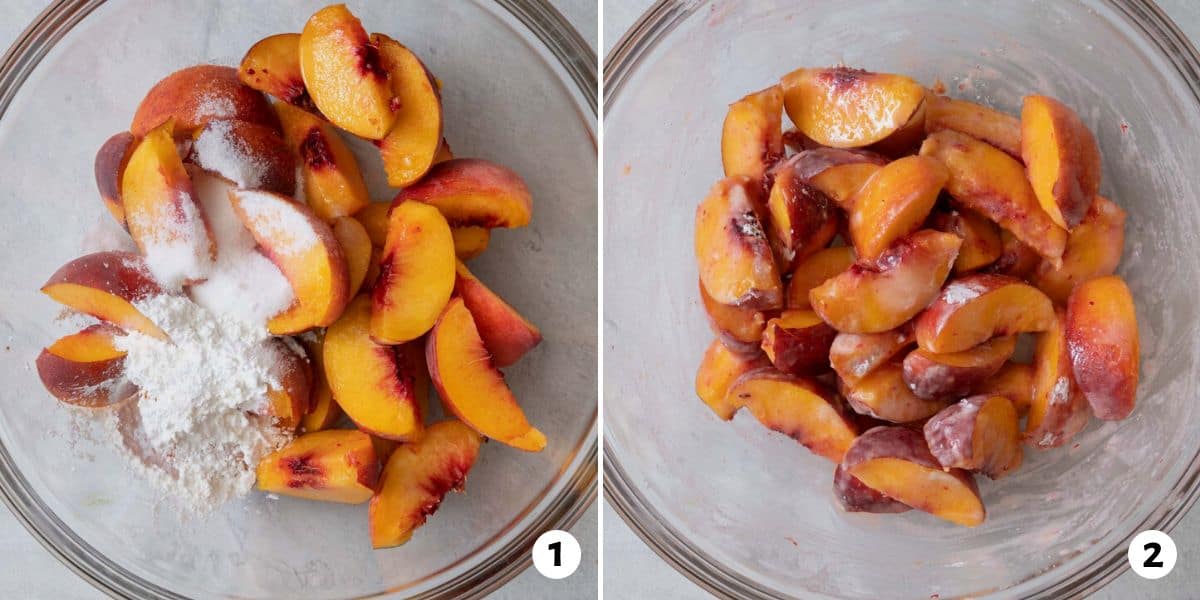
- Place the sliced peaches, sugar, cornstarch, and lemon juice in a large bowl.
- Stir gently to combine. Set aside.
Roll out and Fill
- Remove the dough disc from the fridge and place it on a lightly floured parchment paper. Use a rolling pin to roll the dough into a circle.
- Arrange the peaches on the flattened dough in a decorative pattern if desired, making sure to leave about a border around the edge.
- Fold the edges of the crust up and over the peaches, overlapping the edges as you fold.
- Brush the egg wash all over the top of the crust.
- Transfer to the oven.
- Bake, until the crust, is golden and the peach juices begin to bubble.

Tips for making this galette recipe
- Discard any extra juices from the peach mixture. While you roll out the dough, the peach filling may release some juices, but it’s best not to transfer those to the crust as they could make the end result soggier.
- Brush egg wash for an extra golden crust. You can whisk with some water and brush it lightly after folding the edges of the pie crust over the peach filling.
- Don’t skip flouring your parchment paper. The parchment paper does help keep your dough from sticking and cracking, but if you don’t flour it, the dough may stick to the paper. It’s like extra insurance for a smooth galette!
- Use a light hand when folding the crust. The dough is pretty forgiving, but if you overwork it, it may become tough. So use a light hand as you fold the edges of the dough up and over the peach filling.
popular substitutions & additions
- Mix up the fruit. This recipe can be used with any fruit! Try substituting nectarines, apricots, apples, or pears for the peaches. You can even do a berry one! Just like pie, the galette is an open canvas.
- Add some spice. If you want to add a little something extra to your galette, try adding a teaspoon of ground ginger or nutmeg to the dough. You could also sprinkle some cinnamon sugar over the top before baking!
- Make it a savory galette. If you’re not in the mood for something sweet, try making a savory galette! Add some shredded cheese, ground beef, or sautéed veggies. So good!
what to serve with your peach galette
- Ice cream: soft served, almond coconut, no churn, or nice cream.
- Whipped cream: homemade whipped cream, healthy cashew cream
- Candied walnuts
- Homemade granola
how to store & reheat a peach galette
This galette is best served fresh but will keep covered at room temperature for 3 days and in the fridge for even longer.
To reheat, place in a 350F oven for about 15 minutes, until warmed through.
how long will the peach galette last in the fridge?
The galette will last in the fridge for up to a week! I recommend reheating it before serving, as the crust may become soggy in the fridge.
can i freeze a peach galette?
Yes! This galette freezes well for up to two months. Simply wrap it tightly in plastic wrap and place it in the freezer. When you’re ready to enjoy, thaw overnight in the fridge and then reheat according to the instructions above.
Frequently asked questions
The cornstarch in the peach filling helps to absorb any extra juices, but if you’re worried about a soggy crust, you can cut your fruit, in this case, peaches, about an hour beforehand and set it in a colander to let any excess liquid drain naturally.
You can substitute cornstarch with arrowroot powder or potato starch.
Yes! If you don’t have a food processor, simply mix the flour, sugar, and salt in a large bowl. Then use a pastry cutter or two knives to cut in the butter until it resembles coarse crumbs. Stir in the egg until the dough comes together, then knead a few times until it’s smooth.
You can make the galette dough up to two days in advance and store it in the fridge, wrapped tightly in plastic wrap. Let it come to room temperature before using. You could also freeze it for up to a month. Just thaw overnight in the fridge before using.
The skin on the peaches is edible, but if you prefer, you can remove it. To do so, create a small X on the bottom of the peach, then blanch the peaches in boiling water for about 30 seconds. Remove with a slotted spoon and place in a bowl of ice water. The skin should peel right off! For full instructions on how to easily remove peach skin, click the underlined text!
There you have it, friends! A delicious and easy recipe for a fresh peach galette. I hope you enjoy it as much as we do! If you try it, be sure to tag me on Instagram @feelgoodfoodie so I can see your beautiful creations!
More dessert recipes:
- Peach Crisp
- Strawberry Oat Bars
- Classic Pecan Pie
- Easy Apple Crisp
- Mini Pumpkin Pies
- Cranberry Apple Mini Pies
- Trail Mix Cookies
- Banana Oatmeal Cookies
- Pistachio Bread
- Chocolate Mug Cake
- Almond Cake
If you try this feel good Peach Galette recipe or any other recipe on Feel Good Foodie, then don’t forget to rate the recipe and leave a comment below! It helps others who are thinking of making the recipe. We would love to hear about your experience making it. And if you snapped some shots, share it on Instagram so we can repost on Stories!
Peach Galette
Ingredients
Crust
- 1 ¼ cup all-purpose flour
- 2 tablespoons granulated sugar
- ¼ teaspoon salt
- ½ cup unsalted butter cut into small cubes
- 1 egg
- 2 tablespoons ice cold water
Filling
- 4 medium peaches sliced ¼-inch thick
- ¼ cup granulated sugar
- 2 tablespoons cornstarch
- 2 tablespoons lemon juice
Egg Wash
- 1 egg
- 1 tablespoon water
Instructions
- Using the dough blade or paddle attachment, combine the flour, sugar and salt in the bowl of a food processor or stand mixer. Pulse to ensure the mixture is evenly distributed.
- Add the cubed butter and egg pulse a few times to break up the chunks, but there will still be some pieces of butter unblended. Add in the cold water and pulse until combined; it should form a rough dough.
- Transfer the mixture onto a floured work surface and form the dough into a 1-inch thick disc using your hands. Wrap it tightly in plastic, and store in the fridge for 1 hour.
- When ready to assemble and bake, preheat the oven to 400°F. Place the peaches, sugar, cornstarch and lemon juice in a large bowl and stir gently to combine. Set aside.
- Remove the dough disc from the fridge and place on a lightly floured parchment paper. Use a rolling pin to roll the dough into about a 12-inch circle, about ⅛-inch in thickness. Transfer it with the parchment paper to a rimmed baking sheet.
- Arrange the peaches on the flattened dough in a decorative pattern if desired, making sure to leave about a 2-inch border around the edge.
- Fold the edges of the crust up and over the peaches, overlapping the edges as you fold. If you notice any cracks in the dough, you can use your fingertips to seal them.
- Beat the egg and water in a small bowl. Brush the egg wash all over the top of the crust. Bake for 30-35 minutes, until the crust is golden and the peach juices begin to bubble.
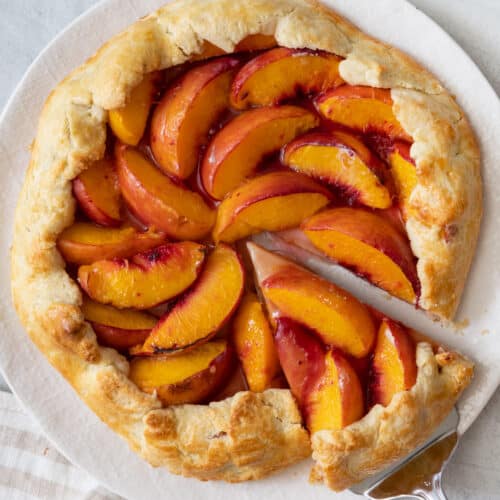
- Allow to rest for 15 minutes, then slice into 8 pieces and serve with vanilla ice cream if desired.
Equipment
Notes
Nutrition
Nutrition information provided is an estimate. It will vary based on cooking method and specific ingredients used.


Comments
Hi Yumna! In “making the dough” picture no. 2 , there is an egg in the flour and butter mixture, though there is no mention of it being added to the dough in the assembly instructions. The egg is mentioned again in the “FQA” section where they ask you about not having a food processor.
My question is: is there an egg in the dough or not? And if yes, 2 eggs are needed: one for the dough and one for the egg wash, right? Thank you so much for clarifying! I absolutely LOVE all your recipes!!!
Sorry for the confusion!! I think I went back and forth on whether or not to include the egg because it’s really not necessary. However, in the ended I decided that it gives the dough better coloring and binds better so I decided to leave it in. I’ve corrected the ingredient list to mention it and also clarified the instructions. Thank you so much for checking with me to clarify this!
So good!! And very easy. I can’t wait to make it again and with different fruits!!! Yummmymymymy
Thank you so much, Amila!
It’s a very easy recipe to make and not super sweet, which is something that I really appreciate in a dessert. And instead of using the egg wash in the crust I used a little bit of fig jam ( heat the fig to make it more soft and spreadable) because my husband don’t like the smell of the egg.
Thank you so much! I love that!!