How to Make Yogurt
Updated Oct 12, 2025
Whip up a batch of creamy homemade yogurt on the stovetop with just two simple ingredients and a few easy steps - no fancy equipment needed!
This post may contain affiliate links. Please read our disclosure policy.
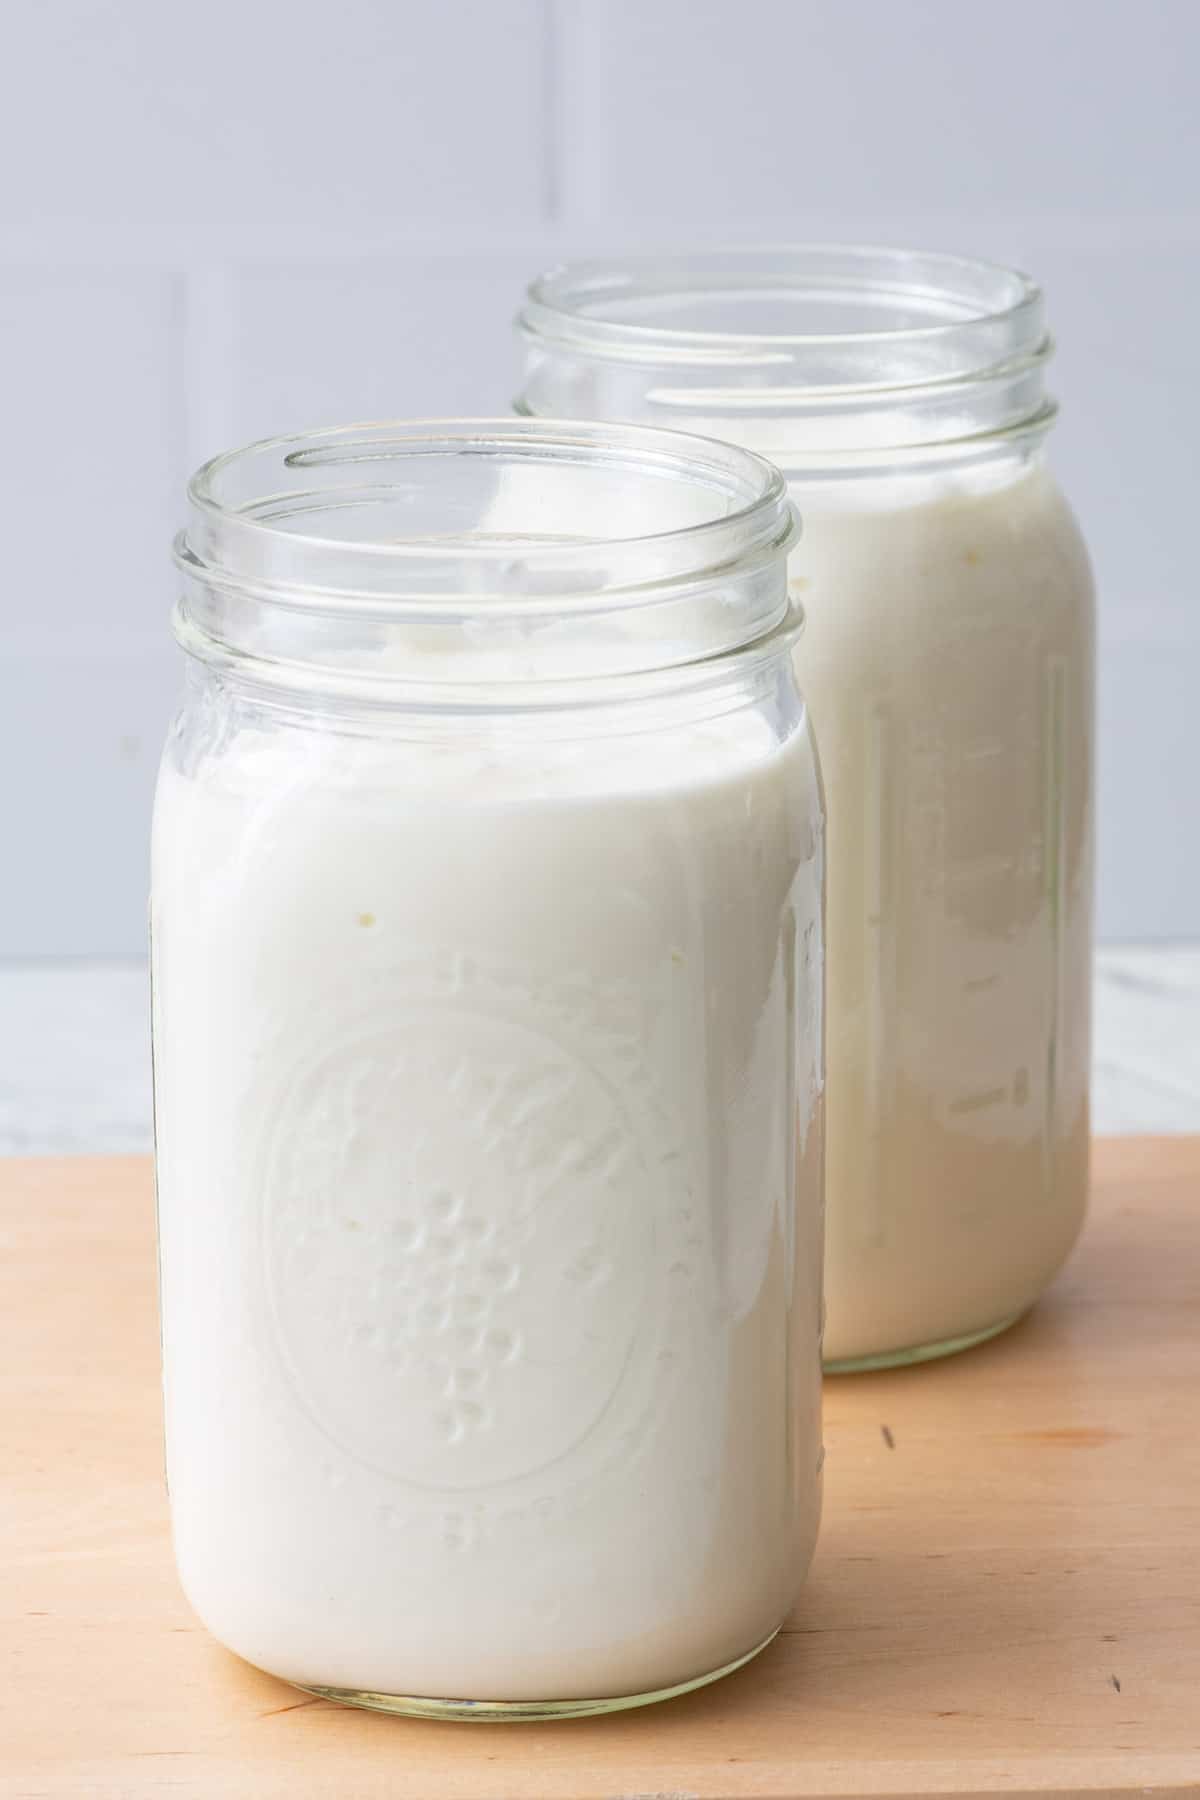
Have you ever wanted to try making yogurt at home but weren’t sure where to start? Look no further! With this simple recipe, I’ll show you how to make creamy, delicious yogurt in your own kitchen. Not only is it easy, but it’s also cost-effective and versatile. Instead of using a special order powdered starter culture, this recipe calls for plain whole-milk yogurt to get you going, making it accessible to anyone. In this tutorial, I’ll teach you how to make homemade yogurt, guiding you through each step, and include some helpful tips along the way.
Jump to Section
Making homemade yogurt is a fun and rewarding experience that also happens to produce some of the most delicious yogurt you’ll ever taste! I grew up with my mom making yogurt on the stovetop because it was easy and affordable. Nowadays, my mom just buys yogurt, but my mother-in-law still makes it from scratch, so I was intrigued to learn how she does it, and she shared her best tips with me.
Why Learn How To Make Homemade Yogurt
- Cost-effective. Learning how to make homemade yogurt from milk and yogurt saves you money. This recipe uses a half a gallon of milk and just 8oz of plain yogurt and yields 16 servings! A typical container of yogurt that runs upwards of $5+ dollars usually is only enough for 4-5 servings. Go big with a gallon of milk and make two large batches and you will for sure save money in the long run.
- Personally customized: One of the benefits of making homemade yogurt is the ability to control the flavor and ingredients. If you like it thick and creamy, go with whole milk. If you prefer a less tangy flavor, pop it in the refrigerator as soon as it thickens and sets to halt the continued fermentation.
- No need for a starter: Learning to make yogurt from yogurt is a great skill promoting self-sufficiency. You do not need to spend extra money on a separate starter culture when good-quality yogurt already has all the beneficial bacteria required.
Ingredients For Homemade Yogurt
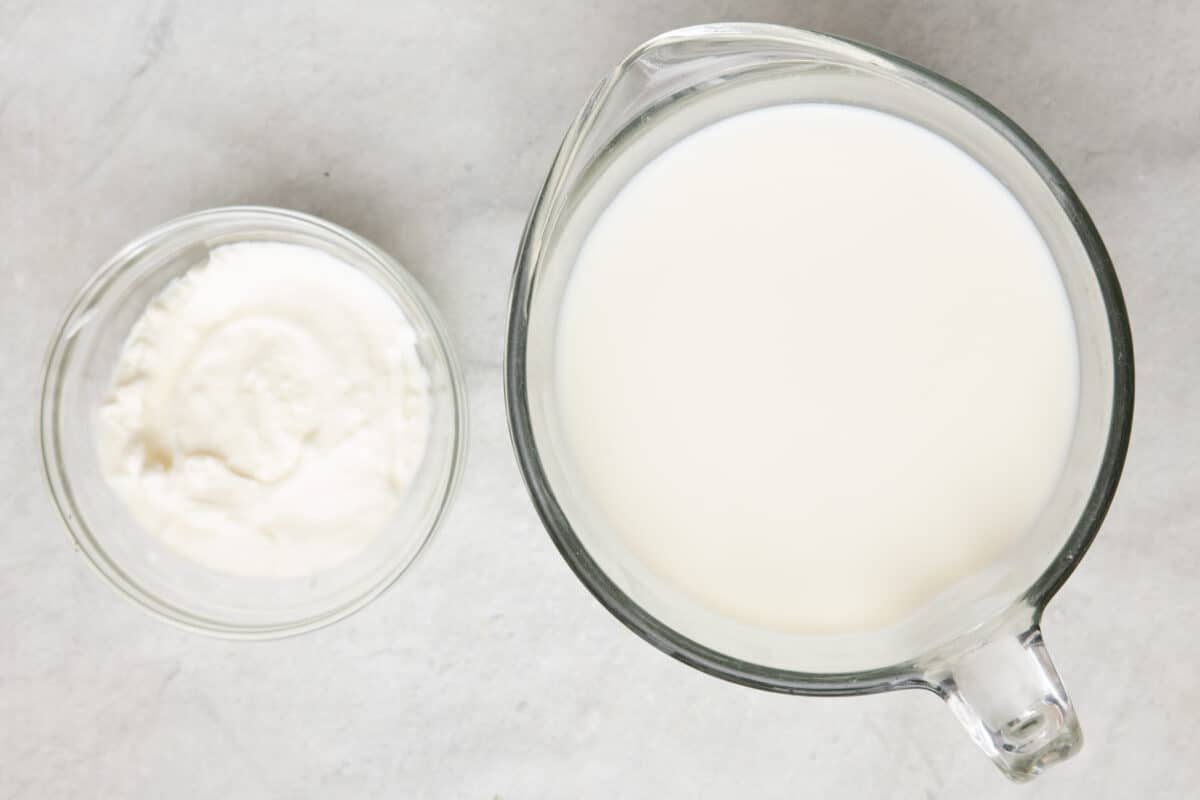
- Milk: This provides the base for the yogurt to form. Whole milk or 2% milk will both work but note that the more fat content in the milk, the creamier and richer your batch will be. Ensure the milk is fresh and, for best results, avoid ultra-pasteurized milk.
- Yogurt: This will be used as a starter culture to introduce beneficial bacteria necessary for the milk to ferment, thicken, and become yogurt. Using a good quality plain variety is essential to ensure the beneficial bacteria are present and active.
How To Make Yogurt At Home
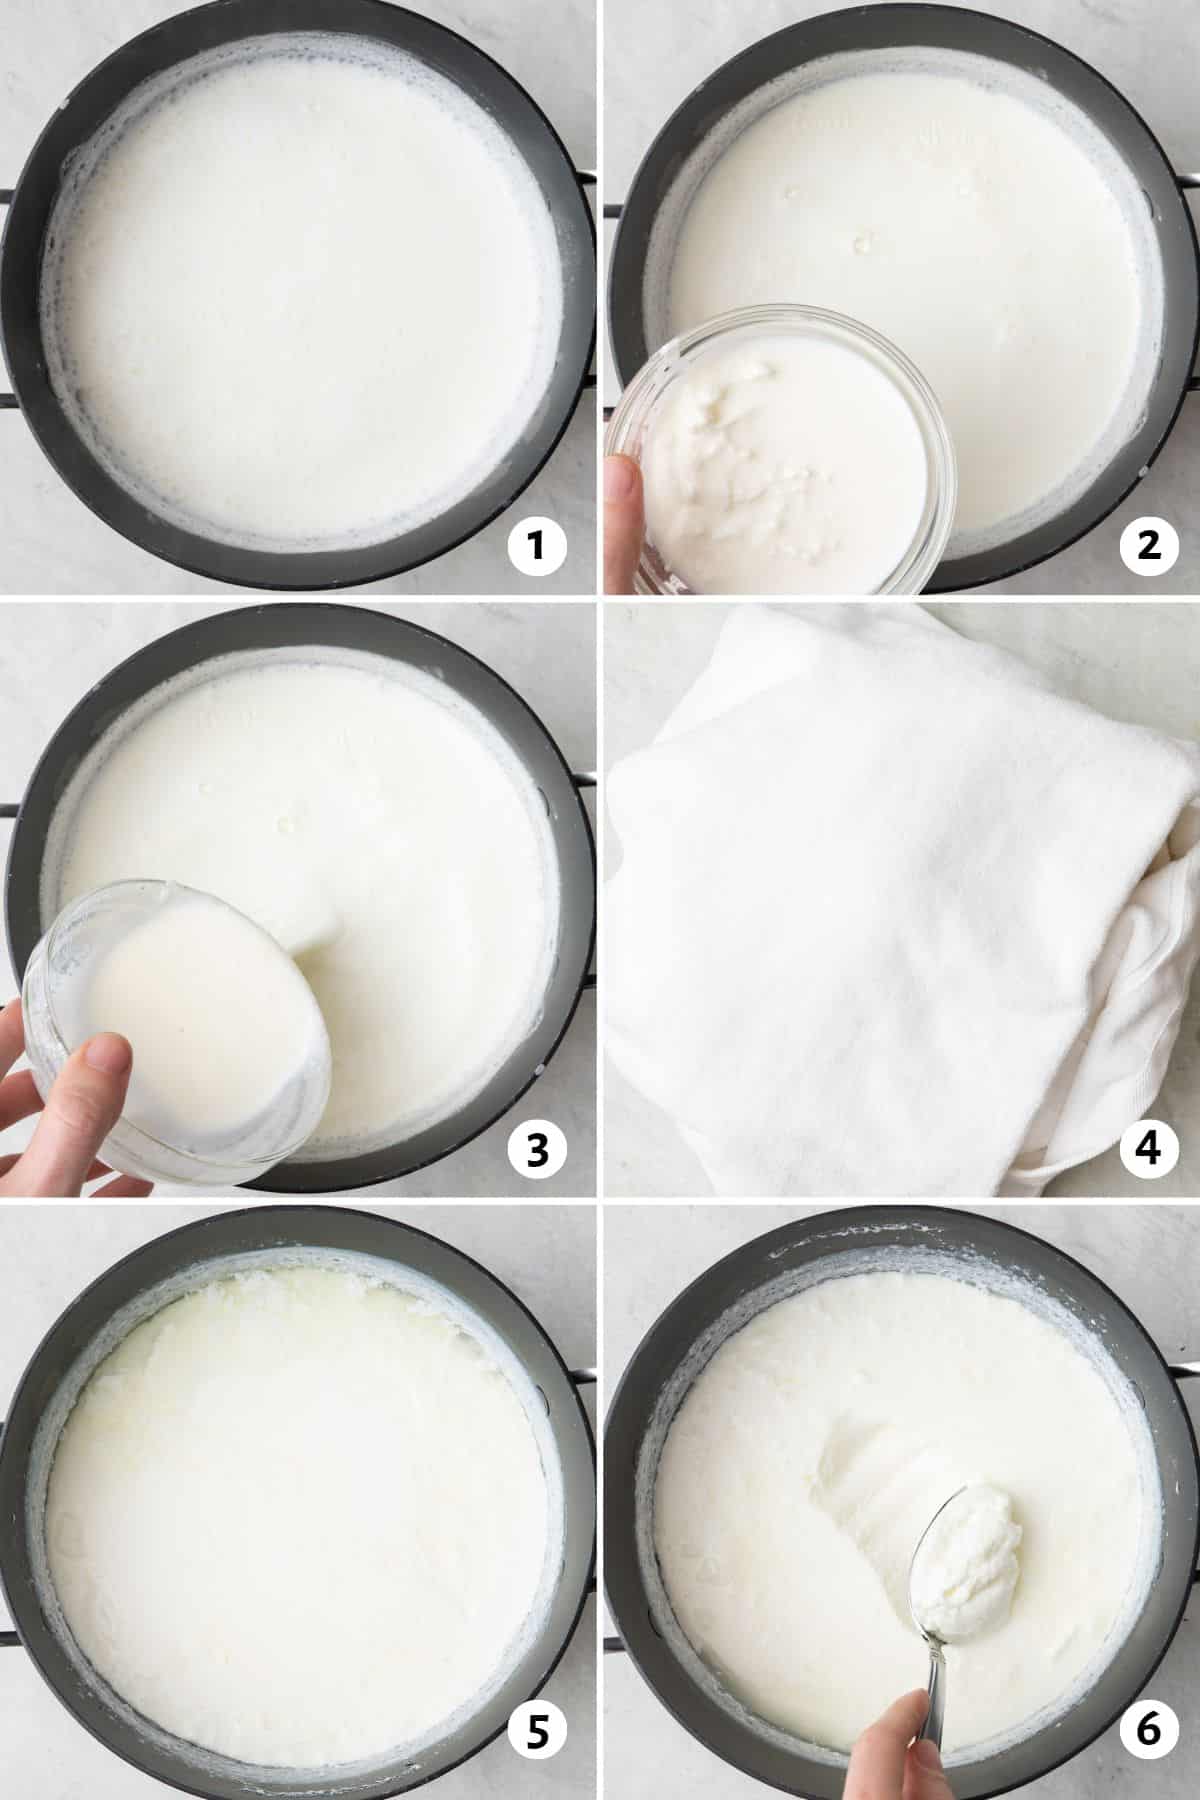
- Heat the milk until it just comes to a boil. Remove from heat immediately and set aside to cool.
- Combine the yogurt with warmed milk in a small bowl and stir to combine.
- Transfer the milk mixture to the pot of milk.
- Cover the pot with a tight-fitting lid and wrap it with large bath towels to keep it warm.
- Keep the pot warm in your kitchen for at least eight hours. Check to see if it is firm and tangy for your liking.
- Transfer to the refrigerator to allow it to thicken and cool.
Tips For Making The Best Homemade Yogurt
- Add your yogurt to warm milk. If your milk inadvertently cools off too much, reheat it on the stove to bring it to the right temperature before adding the yogurt starter.
- Mind the temperature. Making homemade yogurt is simple but can be difficult if the temperature is inconsistent or your kitchen gets too cold. That’s why it’s important to quickly cover the pot with towels (my mother-in-law uses four bath towels!) to maintain a warm temperature and cool down slowly.
- Change the taste and texture with more time setting. You can leave the yogurt at room temperature for up to 48 hours. The longer it sits out, the more sour the taste and the thicker the consistency. Check on it occasionally until it reaches the desired consistency and flavor.
- Strain for a thicker consistency. Strain yogurt through a cheesecloth to separate the whey liquid. This will create a very thick, creamy Greek-style yogurt. You can add whey to smoothies, shakes, marinades, and even baking recipes.
Recipes To Make With Homemade Yogurt

How To Store Homemade Yogurt
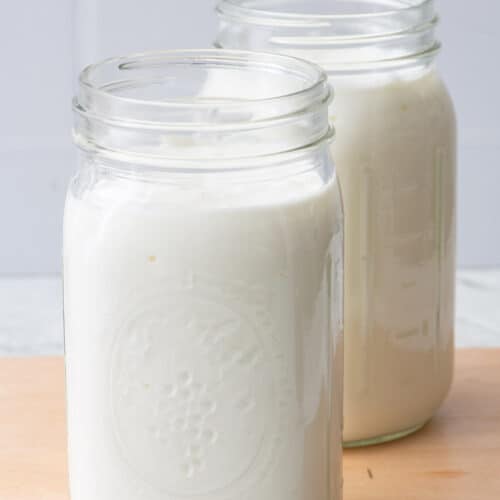
After fermented and cultured to your liking, transfer homemade yogurt to an airtight container or mason jar and store it refrigerated to prevent the growth of harmful bacteria.
HOW LONG WILL YOGURT FROM SCRATCH LAST IN THE FRIDGE?
Store homemade yogurt in the fridge for up to two weeks. After this time, the yogurt’s quality, flavor, and texture may deteriorate. If you plan on making more yogurt, save some for a starter next time, but it’s best to use that starter within seven days.
CAN I FREEZE HOMEMADE YOGURT?
Freezing yogurt is not recommended as dairy does not freeze and thaw well.
Frequently Asked Questions
Yes, but not in the same way you make it with cow’s milk. You do need some type of culture starter as well as other thickening agents, like agar agar. I wouldn’t try this recipe with plant-based milk and a plant-based yogurt.
I have not made this recipe with a starter packet, so I am not sure how it would turn out or what the exact ratio would be. If you choose to use a starter packet, make sure you follow the directions for the best results. PS. I have heard of people using a probiotic capsule to make yogurt – so cool!
The yogurt is ready when thickened and set and has a tangy flavor. You can check the consistency by tilting the pot, and the yogurt should move as one mass. You can also use a spoon to see if it is thick and creamy.
No, this yogurt has the flavor profile of a traditional unsweetened yogurt – you wouldn’t want to use it as is for recipes that you’d like a bit of sweetness in, like chia pudding or yogurt bark. To make it sweet, you can add ¼ a cup of your sweetener of choice during the heating process and adjust to taste from there.
An easy way to make this yogurt flavored is by adding an extract of choice like vanilla, lemon, or almond during the cooking process. Start with 1 teaspoon and adjust to taste. If you want to add fresh flavors like lemon juice, raspberries, blueberries, etc. I recommended adding them after the cooking process.
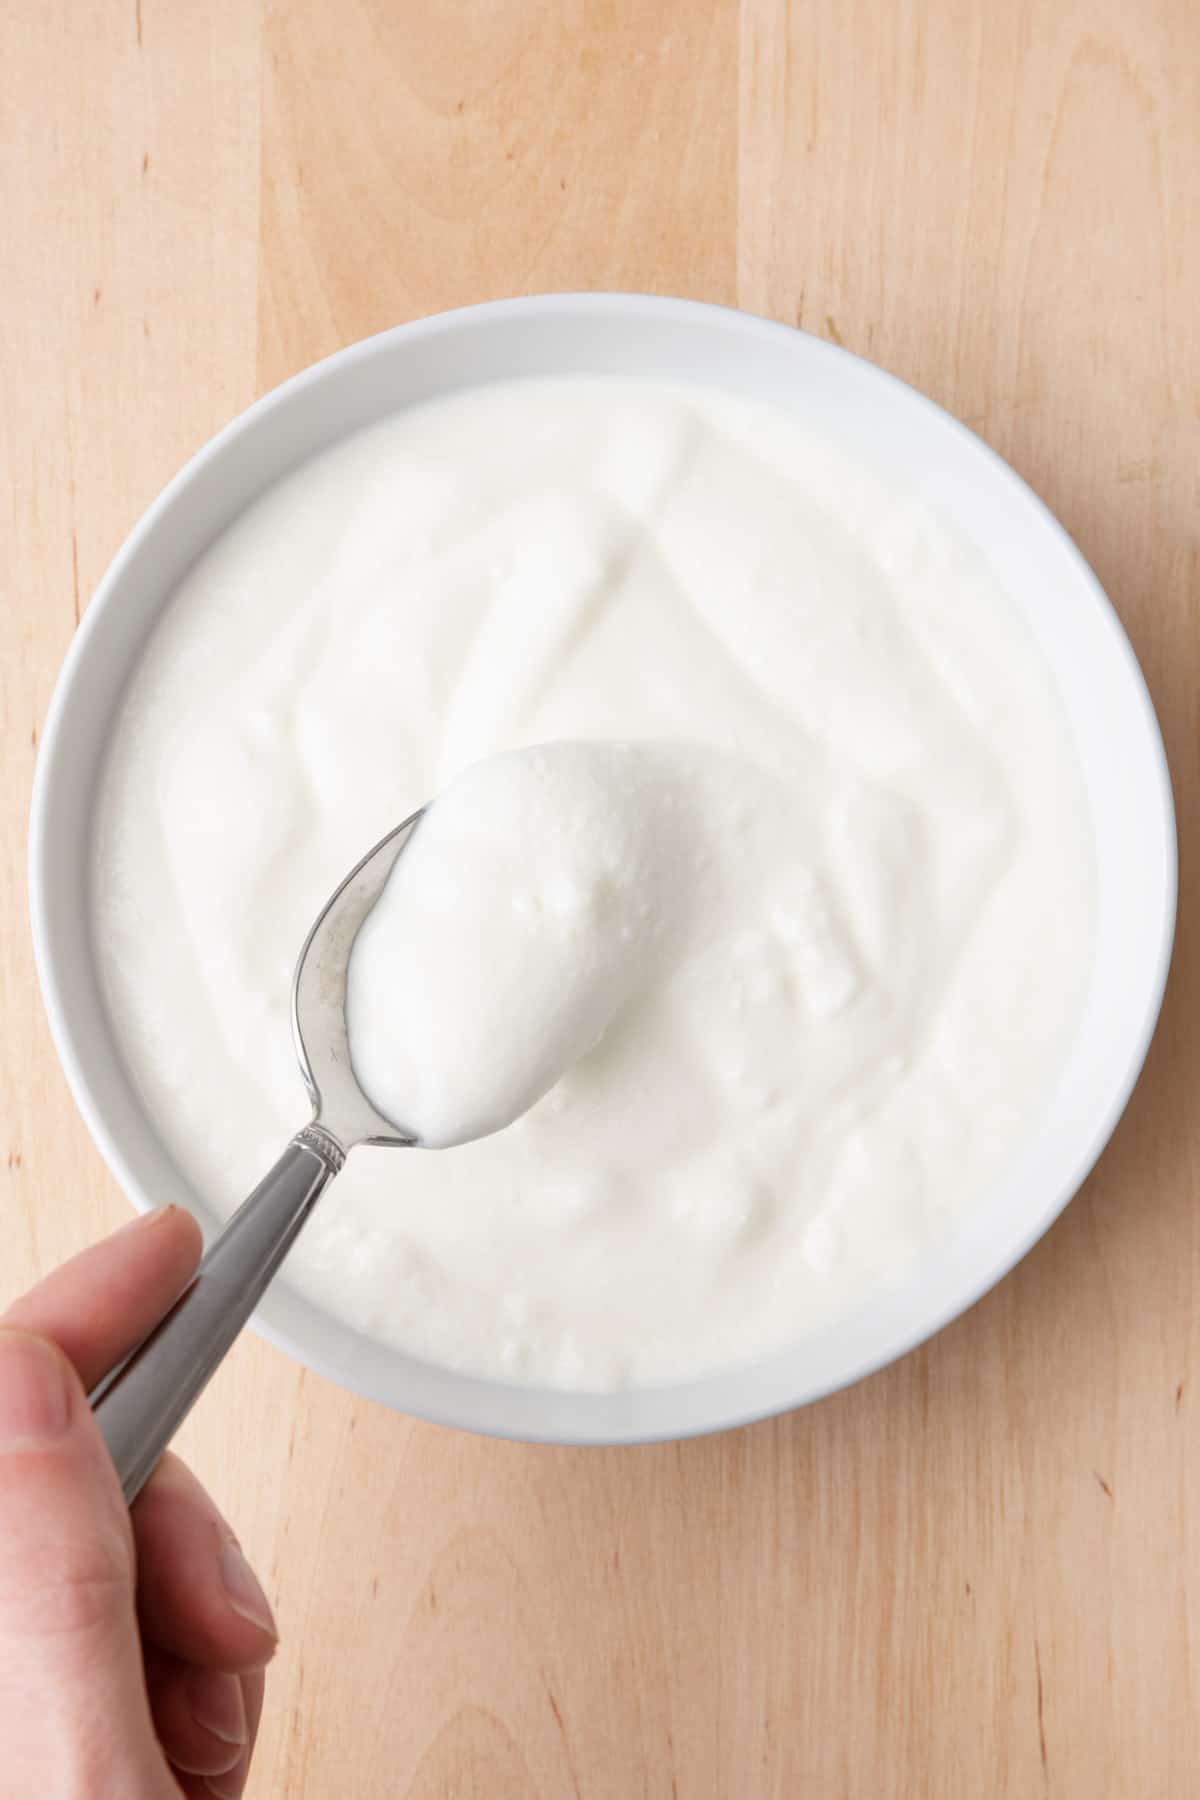
Learning how to make yogurt from yogurt can be a rewarding and delicious experience. Plus, this naturally fermented food is a versatile ingredient that can elevate your favorite dish.
More Cooking Tutorials:
- How to Make Self Rising Flour
- How to Make Ganache
- How to Make Cashew Butter
- How to Press Tofu
- How to Pickle Turnips
- How to Make Harissa Paste
- How to Roast Sunflower Seeds
- How to Make Chimichurri
- How to Make Salad Dressing
- How to Freeze Avocados
If you found this tutorial for How to Make Yogurt helpful or if you try any recipe on Feel Good Foodie, then don’t forget to rate the recipe and leave a comment below! It helps others who are thinking of trying out this tutorial and we would love to hear about your experience. And if you snapped some shots, share it on Instagram so we can repost on Stories!
How to Make Yogurt
Video
Ingredients
- ½ gallon whole or 2% milk
- ½ cup plain whole-milk yogurt room temperature
Instructions
- Pour the milk into a large pot over high heat. Stir occasionally until it just comes to a boil or a temperature of at least 200℉, about 10 minutes. Remove from the heat immediately.
- Allow it to cool down enough that you can stick your pinky finger in and handle the heat for 10 seconds. It will have a temperature between 110-115℉, which should take about 30 minutes, depending on the temperature of your kitchen.
- Place half a cup of the milk at this temperature into a small bowl with the yogurt starter and stir to combine. Transfer that mixture into the milk in the pot and whisk to combine. If a skin forms on the surface of the milk you can remove or stir into the mixture.
- Cover the pot with a tight-fitting lid and lay 2 large bath towels over to keep it warm in a warm spot in your kitchen, for at least 8 hours or overnight. The longer you leave it outside, the more firm and tangy it will become.
- After that time, place the pot in the fridge to allow it to continue to thicken for at least 8 hours. After that point the yogurt is ready to be enjoyed.
Notes
Nutrition
Nutrition information provided is an estimate. It will vary based on cooking method and specific ingredients used.


Comments
This worked so well. This is way more cost effective than buying yoghurt, but tastes fresher and with nothing artificial. I haven’t strained it yet but I will next time to try it Greek style. Thank you for such an easy recipe!
You’re welcome, Larissa! So happy you liked it!!