Homemade Nutella
Updated Nov 18, 2025
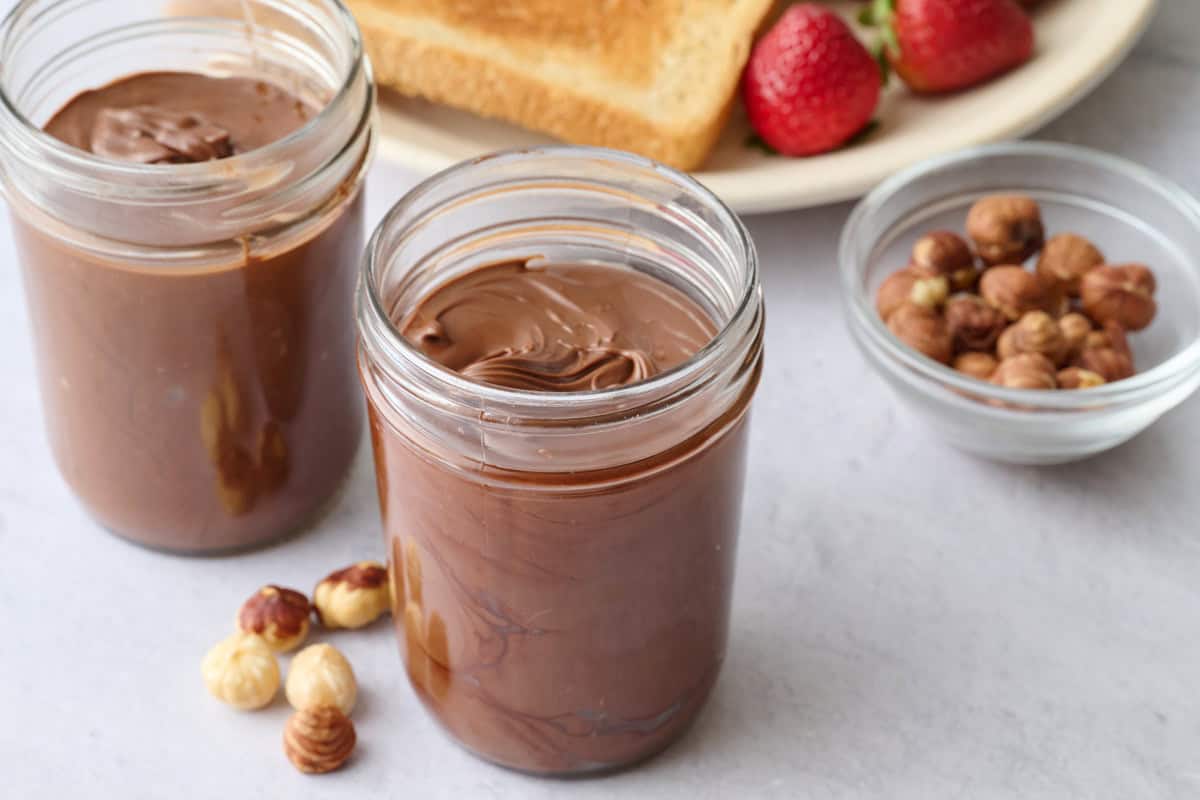
A simple homemade Nutella recipe using real hazelnuts and cocoa, blended into a creamy chocolate spread that thickens as it cools.
This post may contain affiliate links. Please read our disclosure policy.
Jump to Section
Try my healthy-ish homemade Nutella recipe!

Homemade Nutella is soo good! Unlike store-bought, it’s vegan and only calls for four totally natural and completely pronounceable ingredients. I like to use homemade Nutella in baked goods like my Nutella Mug Cake and Nutella Cookies, spread it on toast, or use it as a dip for fresh fruit. Did I mention making Nutella is such a fun activity to make with the kids?! It really helps them understand more about the meaning of good-for-you ingredients and how our foods are made.
Happy Cooking!
– Yumna
Homemade Nutella Ingredients
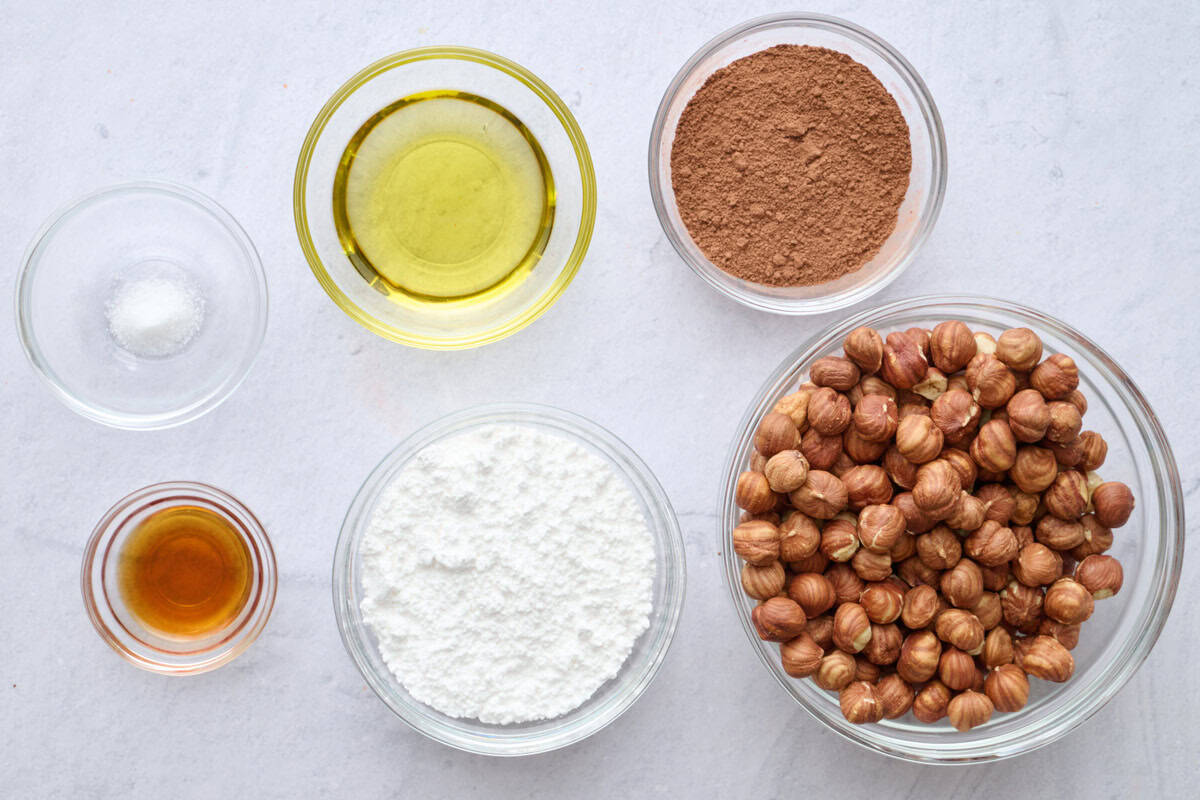
- Hazelnuts: There’s no substitute for hazelnuts in Nutella spread! I suggest buying raw hazelnuts and roasting them yourself. It’s okay if they still have their skin, because it’ll come off easily after roasting.
- Unsweetened cocoa powder: Make sure you get cocoa powder, not cacao powder.
- Dry ingredients: Powdered sugar and salt.
- Wet ingredients: Avocado oil and vanilla extract (or vanilla paste).
How to Make Homemade Nutella
Homemade Nutella Recipe
Video
Ingredients
- 8 ounces raw hazelnuts
- ½ cup powdered sugar
- ¼ cup unsweetened cocoa powder
- 2 tablespoons avocado oil
- 1 teaspoon vanilla extract
- ¼ teaspoon salt
Instructions
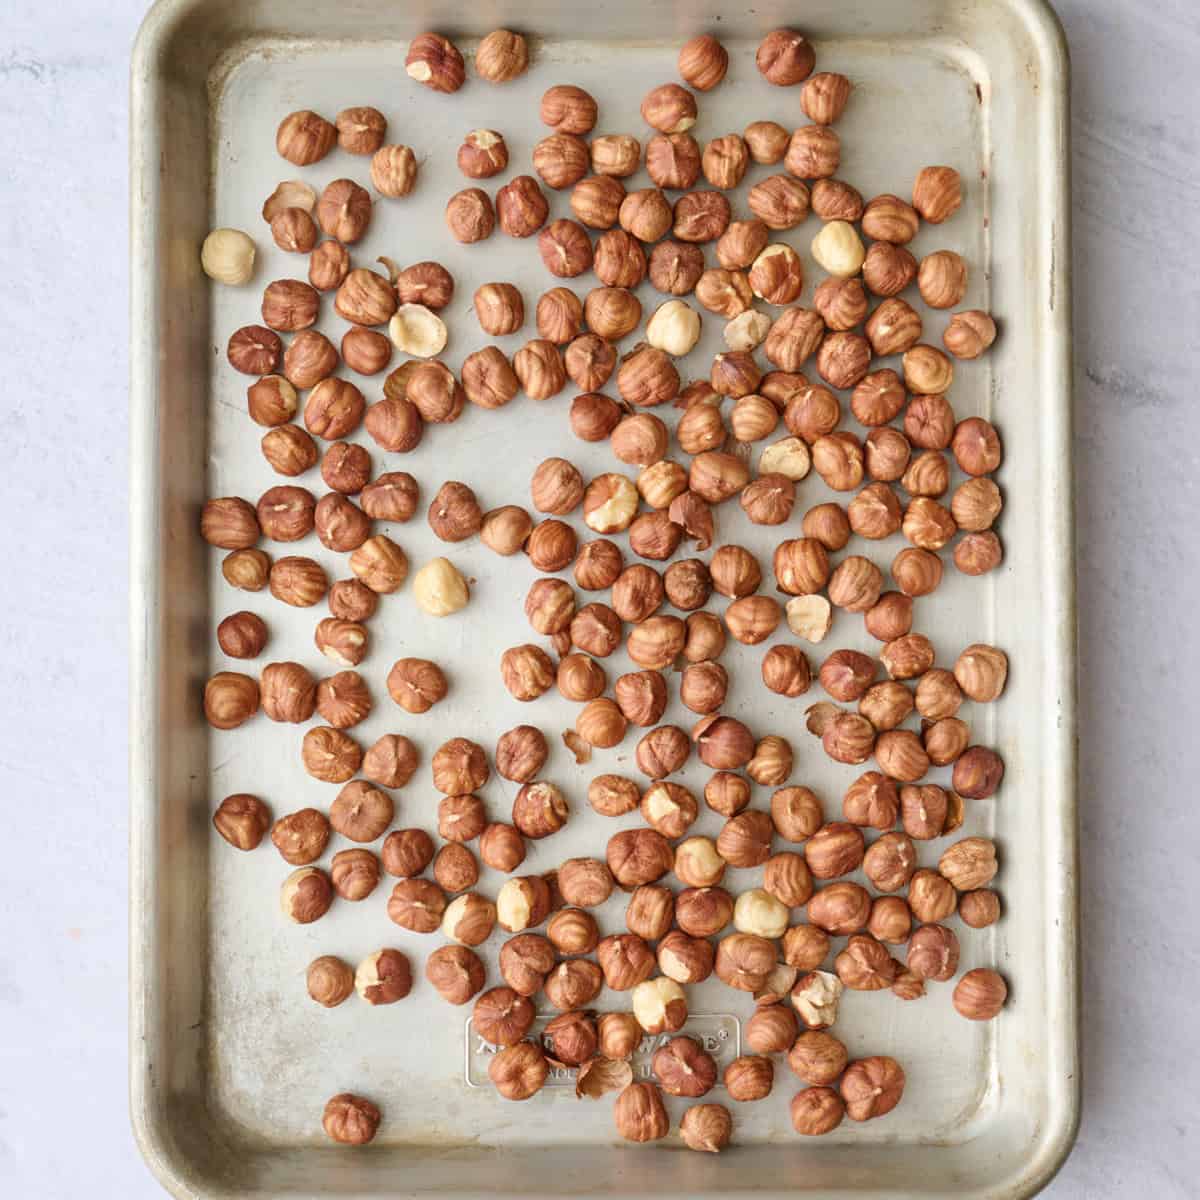
- Preheat the oven to 350°F. Spread the hazelnuts on a baking sheet and roast for 12–14 minutes until fragrant and the skins crack.
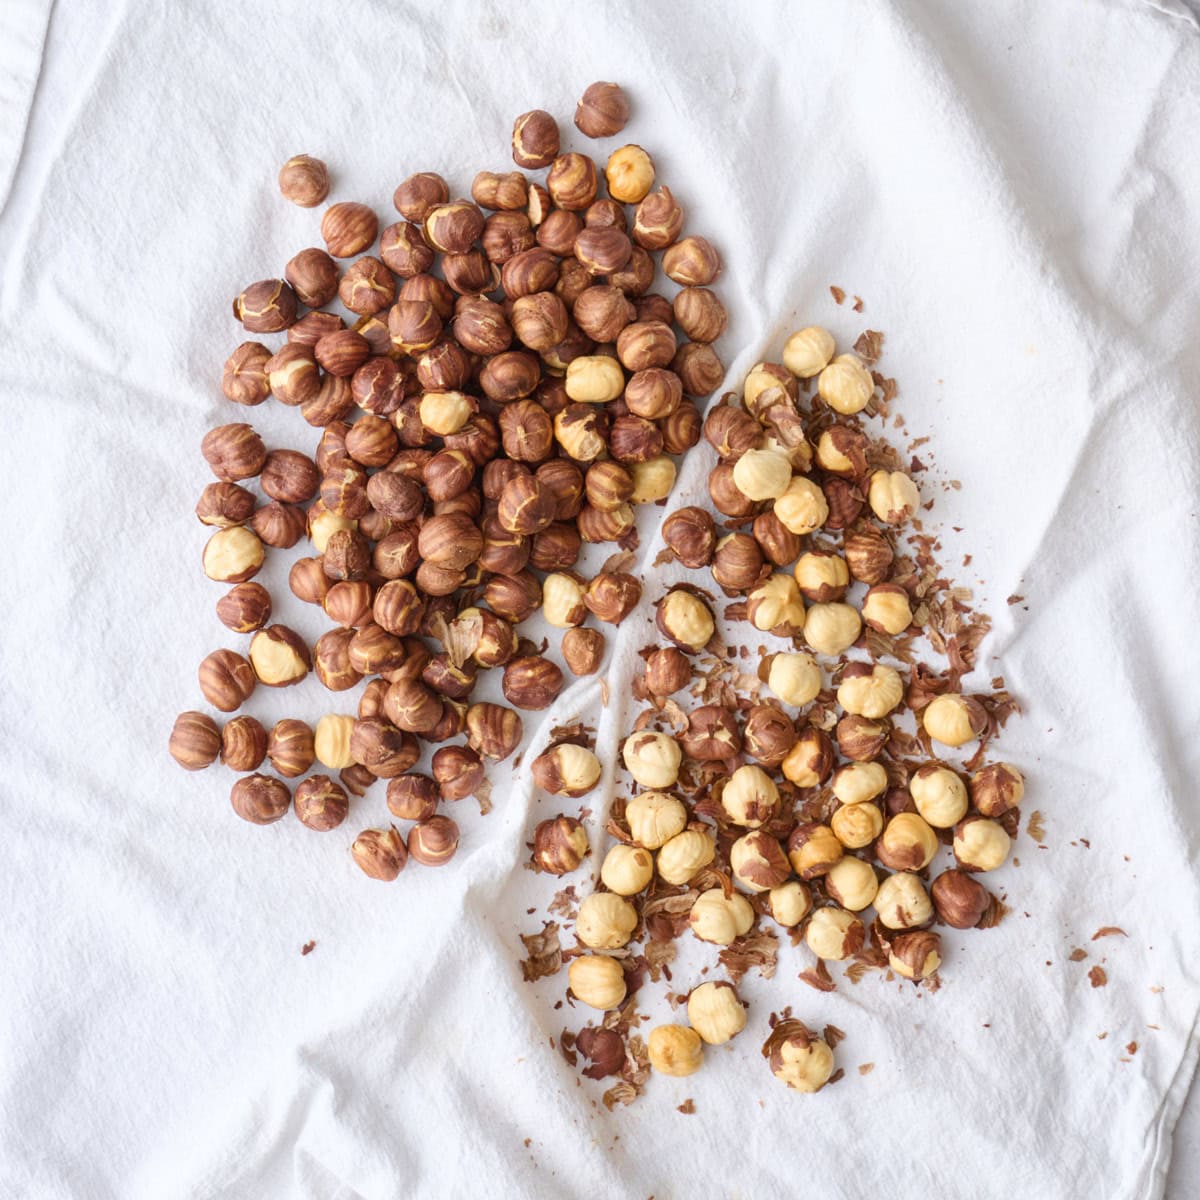
- Transfer the warm hazelnuts to a clean kitchen towel. Rub them together to remove most of the skins (it's okay if a few bits remain).
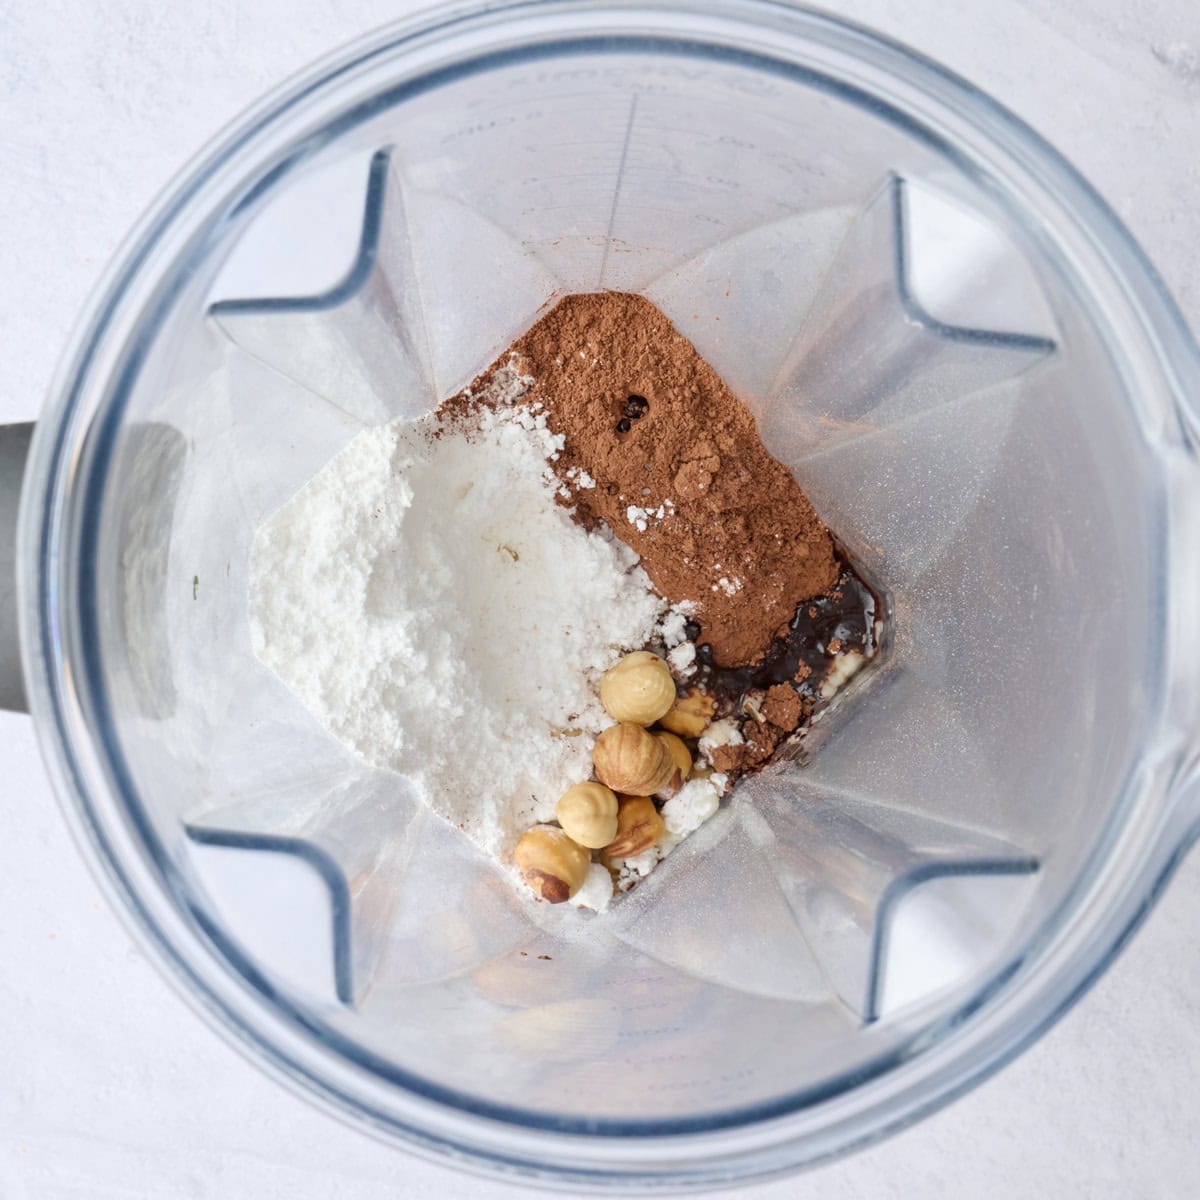
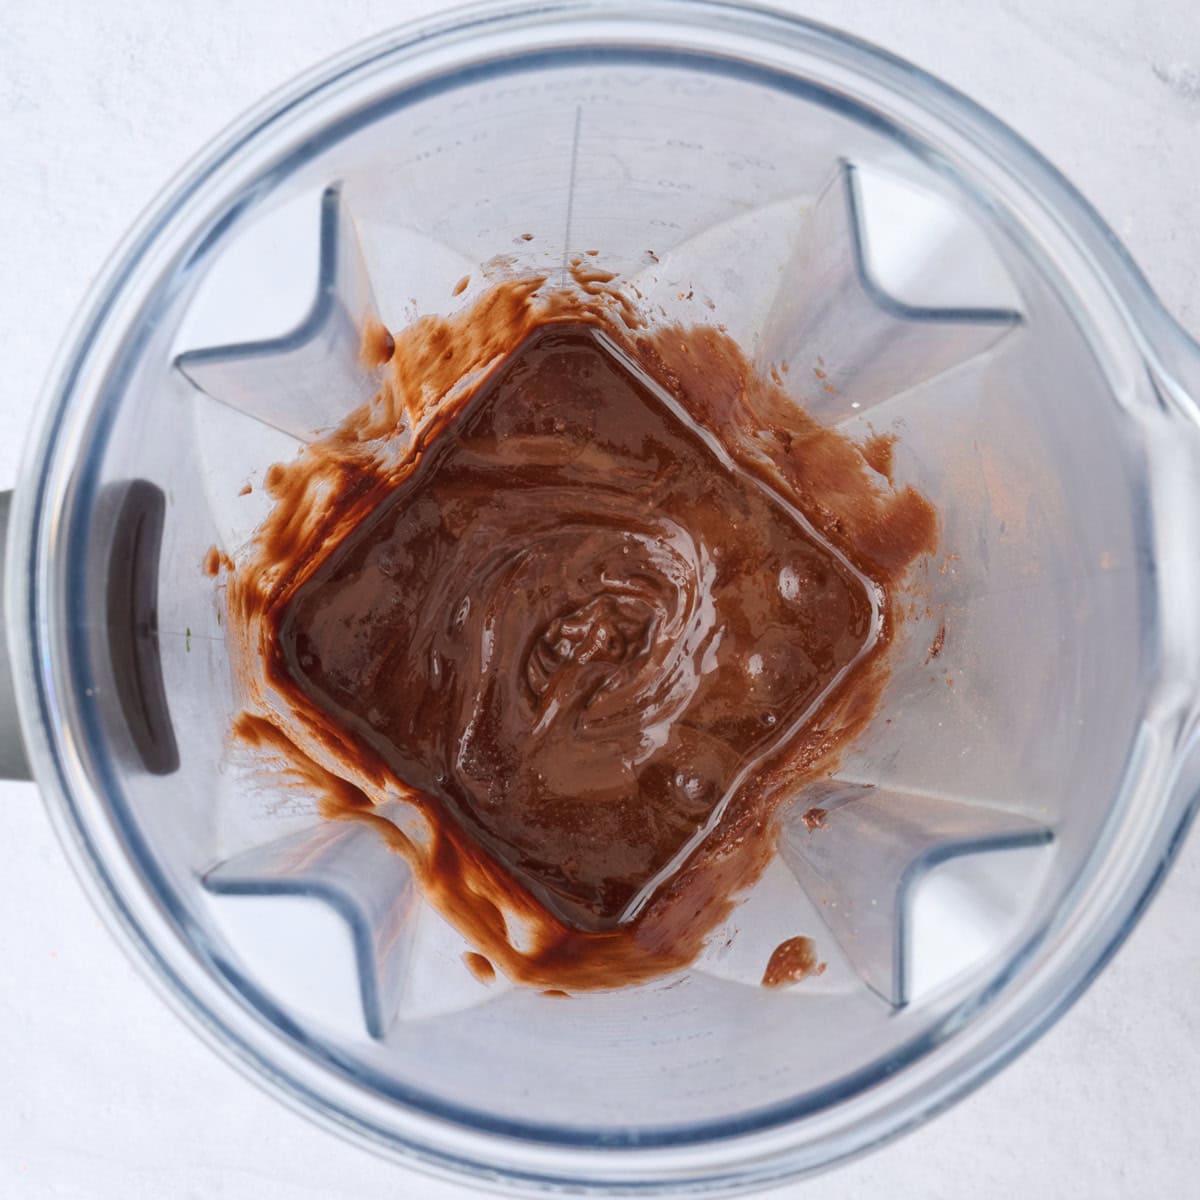
- Place the hazelnuts, powdered sugar, cocoa powder, oil, vanilla, and salt in a food processor. Blend until they turn into a smooth and glossy paste, stopping to scrape down the sides as needed.
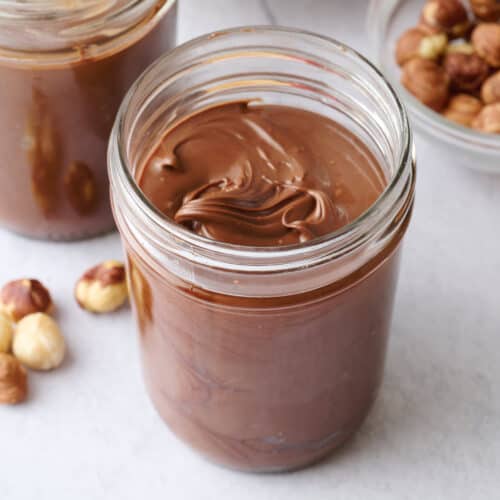
- Transfer to a clean jar. The spread will thicken as it cools.
Notes
- My Top Tip: Remove as much of the hazelnut skin as possible because it tastes bitter. It’s okay if a few pieces remain, but try to rub off as much as you can.
- Storage: Store the homemade Nutella in an airtight container. It’ll last at room temperature for 1–2 weeks, or in the fridge for up to 1 month.
Nutrition
Nutrition information provided is an estimate. It will vary based on cooking method and specific ingredients used.
Recipe Variations
- Make crunchy Nutella. When you finish blending, fold in chopped toasted hazelnuts.
- Go extra chocolatey. For a richer taste, add about 2 ounces of milk or dark chocolate. You can also add an extra tablespoon or two of cocoa powder.
- Make it mocha-y. Add up to 1 teaspoon of instant espresso powder for a mocha spread.
Recipe Tips
- Remove as much of the hazelnut skin as possible. Hazelnut skin tastes bitter. It’s okay if a few pieces remain, but try to rub off as much as you can.
- Let it process for a while. Depending on your food processor, it could take up to 5 minutes for the Nutella spread to achieve the right consistency. And remember, it will thicken as it cools.
- Adjust the sweetness to your liking. When you stop the food processor to scrape down the sides, taste the mixture and adjust with more powdered sugar as necessary.
Recipes to Make With Nutella
- Use it in: Nutella Mug Cake, Chocolate Hazelnut Cookies, Easy Overnight Oats
- Add it to: Stuffed French Toast, Crepes, Dirt Pudding Cups
- Spread it on: Chocolate Biscotti, Greek Yogurt Brownies, Peanut Butter Oatmeal Cookies
FAQs
Make sure you roast the hazelnuts until fragrant. If the nuts are raw, they won’t soften enough to create a creamy spread.
You probably didn’t let it blend for enough time. It can take up to 5 minutes to fully come together until smooth.


Comments
Hi,
I was wondering if this spread can be frozen.
Thanks
Hi! I haven’t tried freezing it, but it should work. I’d store it in an airtight freezer-safe jar or container for up to 3 months. Thaw it overnight in the fridge, then let it sit at room temperature and stir well before using. The texture may be a little thicker or slightly separated after freezing, but it should come back together with a good stir. Hope that helps!
Hi I’d love to try this can you substitute avocado oil for coconut oil?
Hi Kerry, I haven’t tested it with coconut oil, but you could definitely try it. Let me know how it turns out if you do!
Can I use pre roasted hazelnuts?
I don’t see why not! I hope you like it, Tamara!
I don’t have avocado oil. Could I substitute it with Olive oil?
Hi Michaela, I haven’t tested it with olive oil, but you could definitely try it. If you do, let me know how it turns out!
I have looking for years for a health Nutella recipe. I avoid eating sugar. What could I use instead of sugar?
Hi Sandy, I’ve only tested the Nutella recipe with powdered sugar. One commenter said they tried date sugar instead of powdered sugar, and it came out excellent without any compromise on the taste, so you could give that a try. If you do, let me know how it turns out!
Can I use maple syrup or honey instead of sugar?
I’ve never used honey or maple syrup before, I think it would change the flavor profile and texture of the recipe.
Omg this was amazing!! I grew up eating Nutella but stopped because of bad ingredients. This is so good!! But it definitely took longer than 5 minutes with my food processor. A good 10 minutes + . Thanks for the amazing recipe!!!
The processing time does vary for sure, depending on the type of food processor you use. Glad it ended up working out!
Keen to try
Let me know what you think if you do!
Hi can I use maple syrup?
I wouldn’t add maple syrup to this recipe, as it will change the flavor profile.
See All Comments