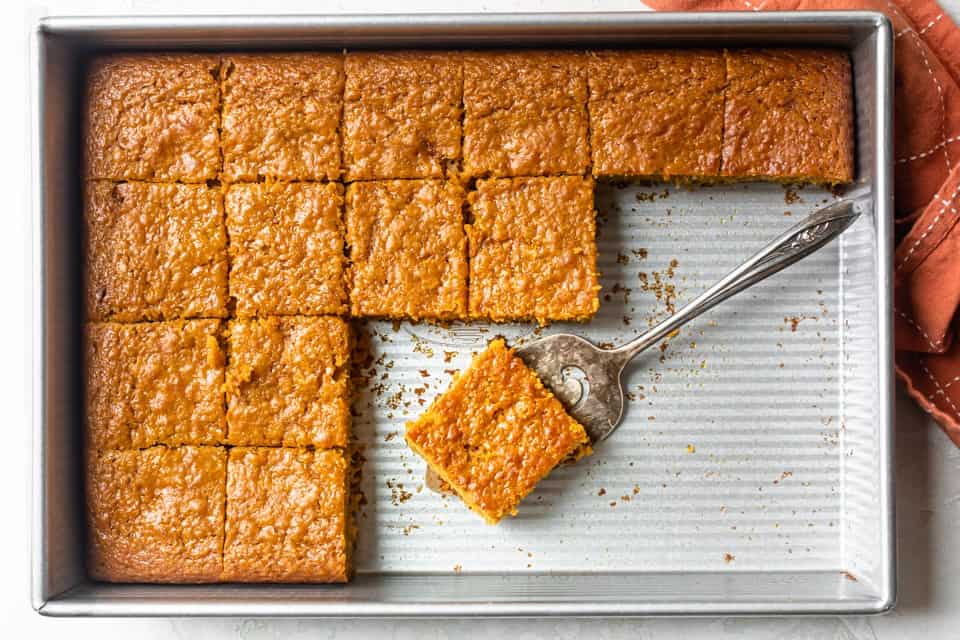
Easy Pumpkin Bars
Updated Oct 24, 2025
These pumpkin bars are easy to make with pumpkin puree and a few pantry staples. Super easy to make.
This post may contain affiliate links. Please read our disclosure policy.
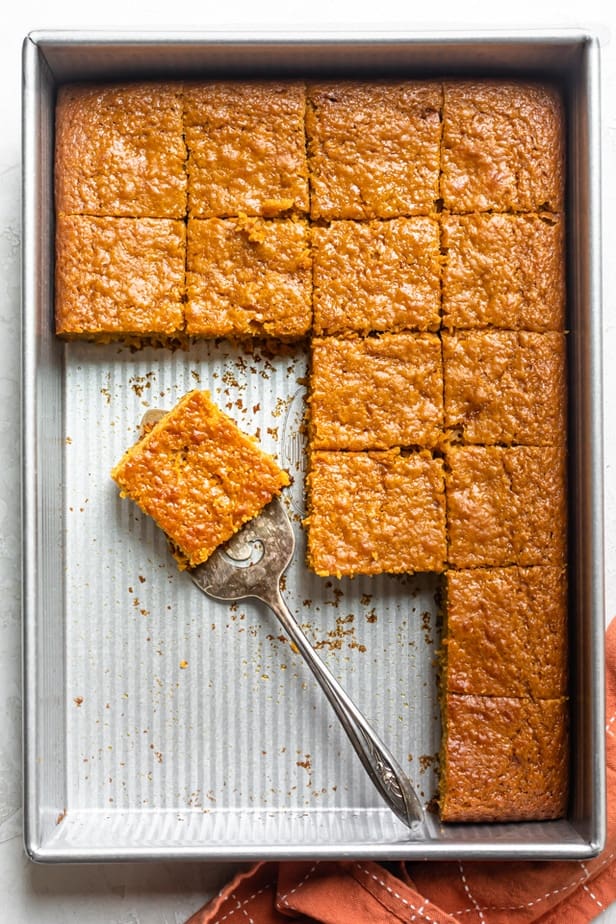
These are the best pumpkin bars!

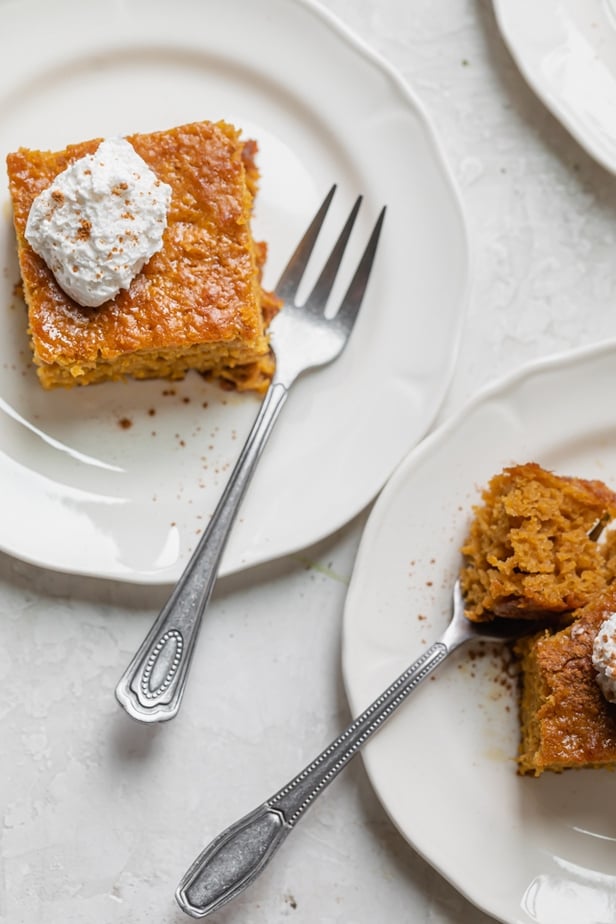
If there’s one dessert I never skip making in the fall, it’s these pumpkin bars. They’re light, fluffy, and spiced, kind of like if pumpkin bread and cake had a baby. I usually make a big batch because they disappear fast, especially when the house smells like cinnamon and everyone suddenly remembers they “love pumpkin.”
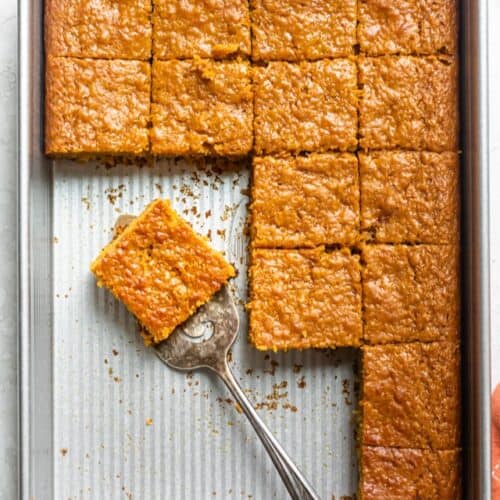
What I like most about these pumpkin bars is how simple they are. No frosting, just mix, bake, and you’re done. It’s the kind of recipe you can throw together on a busy weeknight or make ahead for a get-together without stressing over it.
Happy Cooking!
– Yumna
Pumpkin Bars Ingredients
- Pumpkin puree: Use canned or homemade pumpkin puree, not pumpkin pie filling.
- Unsweetened applesauce: You can make your own applesauce or use store-bought. If you don’t have applesauce, you can use vegetable oil or coconut oil.
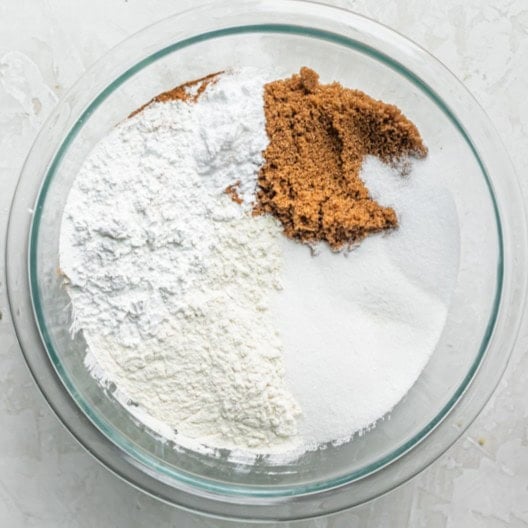
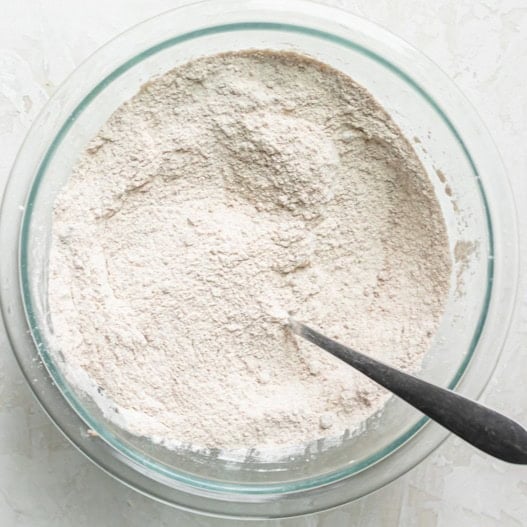
- Dry ingredients: All-purpose flour, baking powder, baking soda, cinnamon, and salt.
- Wet ingredients: Eggs, cane sugar, and dark brown sugar.
How to Make Pumpkin Bars
Pumpkin Bar Recipe
Video
Ingredients
- 2 cups all-purpose flour
- 2 teaspoons cinnamon
- 2 teaspoons baking powder
- 1 teaspoon baking soda
- 1/4 teaspoon salt
- 4 eggs room temperature
- 2/3 cup cane sugar
- 2/3 cup dark brown sugar
- 15 ounces pumpkin puree
- 1 cup unsweetened applesauce
Instructions
- Preheat the oven to 350°F.
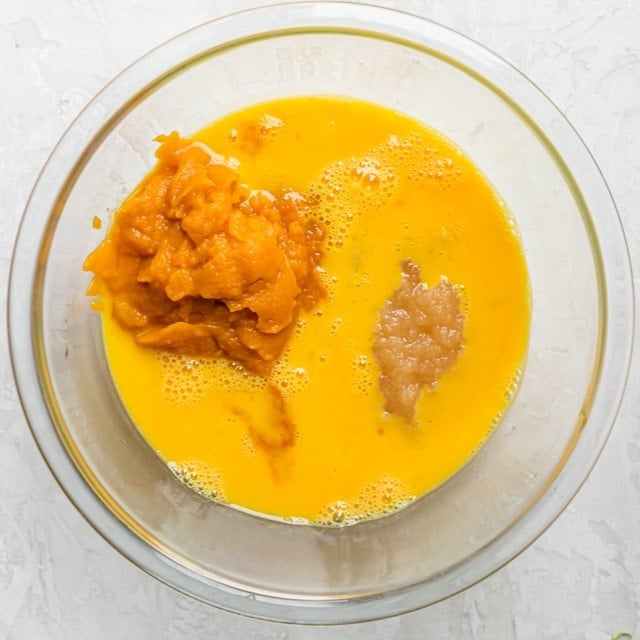
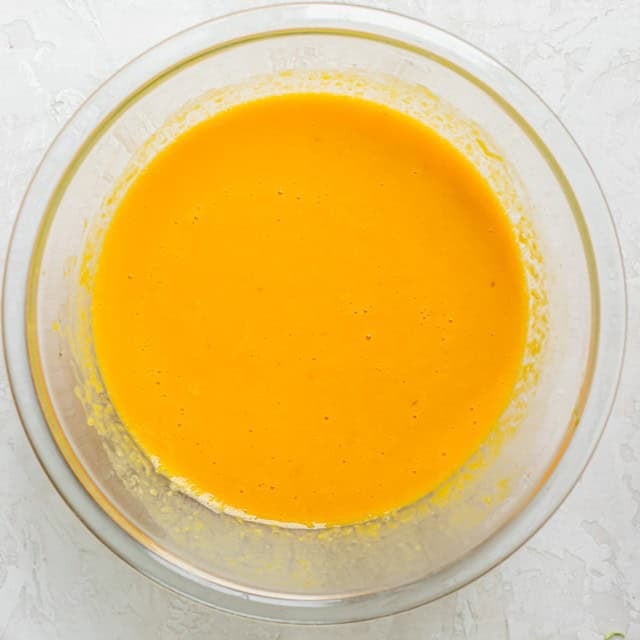
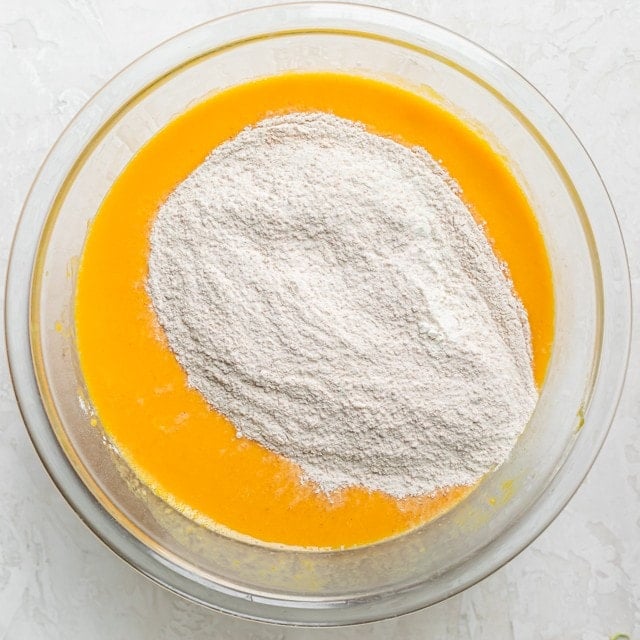
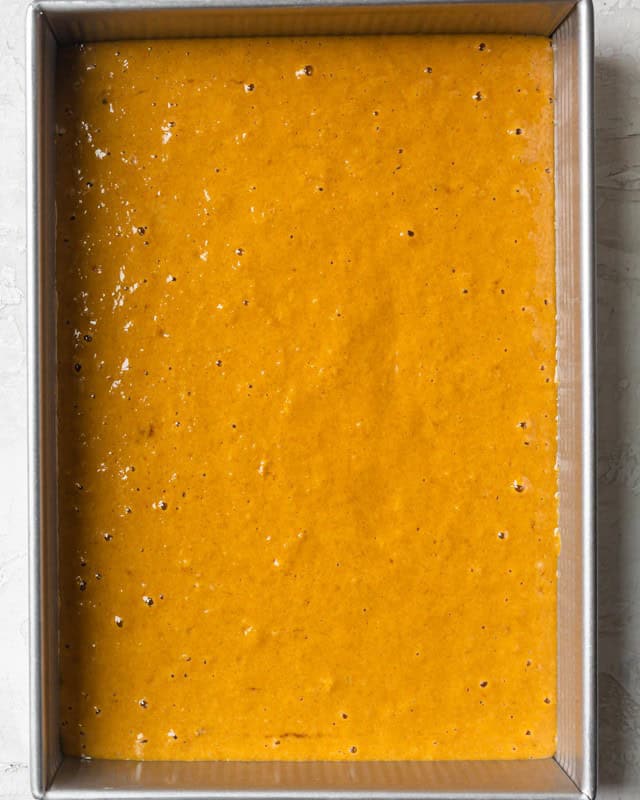
- Whisk the flour, cinnamon, baking powder, baking soda, and salt in a large bowl. Beat the eggs, sugars, pumpkin, and applesauce in another large bowl.
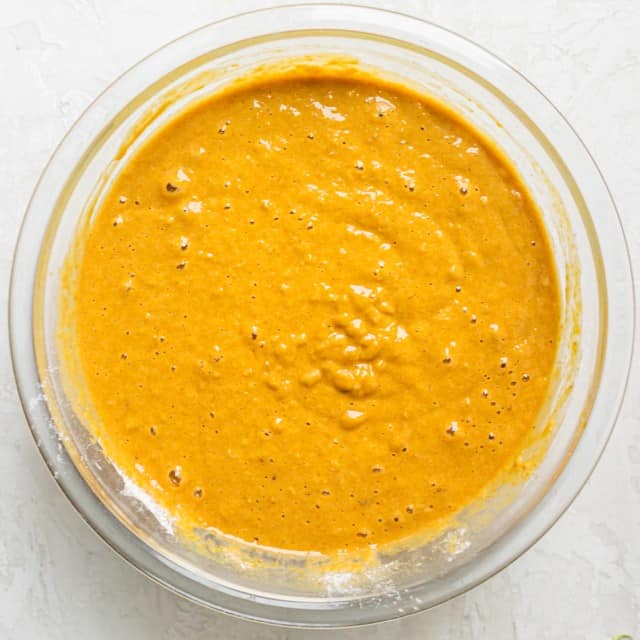
- Gradually pour the dry ingredients into the wet ingredients and mix until just combined.
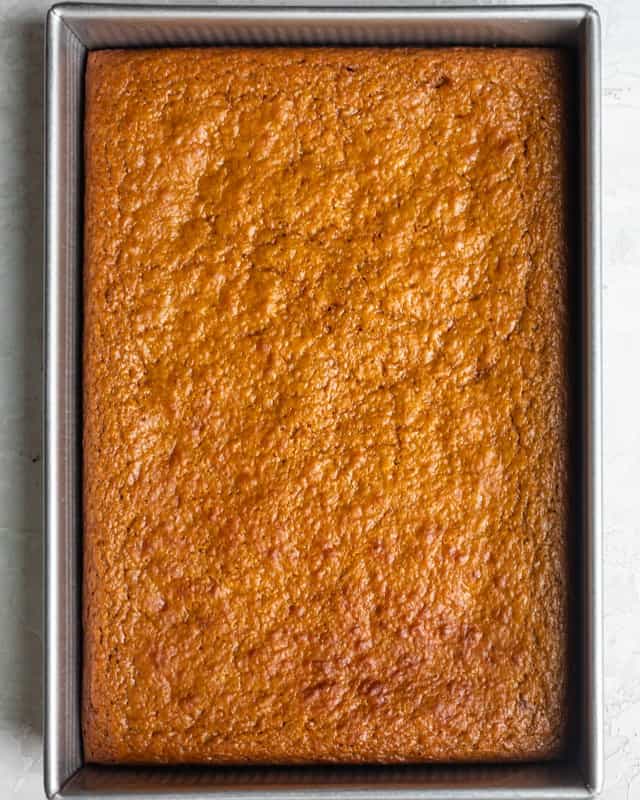
- Pour the batter into an ungreased 9×13-inch baking pan and bake for 25–30 minutes or until set. Remove from the oven and let the pumpkin bars cool completely in the pan set on a wire rack.
Equipment
Notes
- My Top Tip: Use room-temperature eggs. The yolks are softer at room temperature and easier to incorporate into the batter.
- Storage: Store the pumpkin bars in an airtight container in the fridge for up to 5 days. Warm them up in the microwave for about 20 seconds, or in the oven at 350ºF for about 5 minutes.
- Freezing: Tightly wrap the entire pan or the individual bars in plastic wrap or aluminum foil. Place them in a freezer-friendly storage bag or an airtight container for up to 3 months. Thaw in the fridge or at room temperature.
Nutrition
Nutrition information provided is an estimate. It will vary based on cooking method and specific ingredients used.
Recipe Variations
- Add nuts. Stir a handful of walnuts, pecans, or almonds into the batter for extra texture and flavor.
- Or, fold in chocolate chips. For something sweeter, stir in some semi-sweet or dark chocolate chips before baking.
- Top them with frosting. Make a batch of my cream cheese frosting before serving.
Recipe Tips
- Use room-temperature eggs. The yolks are softer at room temperature and easier to incorporate into the batter.
- Don’t over-mix the batter. When you add the dry ingredients to the wet ingredients, fold gently until just combined. If you overmix the batter, the pumpkin bars can turn out dense. A few lumps are definitely okay!
- Use a different-sized pan. For thinner pumpkin bars, use a 15×10-inch pan.


Comments
I made these for Thanksgiving and topped them with FGF’s cream cheese icing and they were amazing. Everyone raved about how moist and flavorful they were and came back for seconds. This has gone into my cache of favorite recipes to repeat for holidays to come.
Yay!! So happy they were a hit! Thank you so much, Courtney!!
Used gluten free flour, made my own pumpkin puree. Prep time without making the puree took half an hour. Baking took 40 mins. I added some nutmeg, and hopefully didn’t add too much as I then read it can be dangerous! I’ll add some dollop cream on top and chocolate shavings.
Yum, that sounds so good!! How did they turn out?
I think they turned out pretty good! I can’t taste or smell but when I went home after the party there were only 3 pieces left:)
Aww, I’m so glad!! Thank you for coming back to let me know they were a hit!!
I would put the wet ingredients into the larger bowl since you will be adding the dry to them. I made this with egg substitute to make it vegan. So good!
Great tip!! Thanks, Lynne! So happy you liked it!
Hi, can I use gluten free flour?
Yes, it should work if you use a 1:1 gluten-free flour mix. Enjoy!
Mine came out as pumpkin cake. It’s very moist and delicious, but was actually cake texture and size and not a bar. Thank you for sharing your delicious recipe!
So happy you liked it, Karla! Thank you!!
Super easy to follow even when really multiplying the recipe. Feeding 150 Catholic School folks your bars for our Thanksgiving lunch. They look great, I just need a bit more time cooling before I do my job of keeping kids safe by sampling. Peace
Aww, so glad the recipe worked well feeding 150!! That’s amazing! Thanks for sharing, Tim!!
Very yummy. My husband has eaten 4 already! I love that it uses applesauce instead of butter. I used my own homemade pumpkin puree. I looked at other reviews and made these changes based on them: I used 3 eggs, but they were super jumbo size brown eggs from my niece’s chickens. I baked for 30 min but it didn’t pass the “knife test” so I baked 10 min longer. I saved the recipe but I will note to bake for 40 min. I also added walnuts. I will definitely make these again!
Yay!! So happy you liked them! Love that you used your own pumpkin puree too. Yum! Thanks, Jill!!
Hi, can I use light brown sugar? Will they be as good? Thanks!
Yes, absolutely!
They are delicious but they smell little eggy even after using pumpkin spice and cinnamon next time I will add some vanilla extract
So happy you liked them, Maya! Thanks!!
Love all your recipes Yumna! Hah I realize as I typed your name that Yum is in your name!! Sorry, I digress. I made these, followed the recipe exactly and they turned out delicious. Loved each bite! The only thing was that I did have to bake for an extra 10 mins as it looked a little soft in the middle after 30 mins. It was perfect after the extra 10 mins of baking. Thanks for the recipe.
Thanks for your kind words, and thanks for the note about the baking time! Different brands of pumpkin puree can contain more moisture than others so that would possibly explain the additional baking time needed.
I followed the directions, but the bars came out too wet so I had to re-pop them in the oven at a lower temperature for about 20 minutes. I think there is just too much liquid in this recipe. Otherwise, the flavour is very good.
Glad you liked them, Marsha! So sorry to hear they took a little bit longer to bake. Did you use the exact ingredient measurements and bake in a 9×13 baking pan?
Mine turned out more like a cake for thickness, I used a 9 x 13 pan. Still letting them cool. Yours looked more like a bar. I used four eggs wondering if that was correct?
Yes, that’s correct! These bars do end up having a cake-like consistency. It sounds like yours turned out great!!
Best, moistest bars I have ever tasted. One can makes so many pumpkin bars! I absolutely love this recipe! So very easy to make!
Yay! So happy you liked the bars and found the recipe easy, Delores!! Thank you!
We absolutely love these pumpkin bars!!! So moist and full of flavor!!! I added some raisins and it’s delicious!!!! So glad I found this recipe.
Yay! I’m so glad you found it too!! Thanks, Victoria!!
I made these and they turned out delicious!!! Great recipe!!!
Thanks, Angela! So glad you loved them!!
This recipe is fantastic & versatile. I baked the batter in 2 loaf pans for 40 minutes at 350 and I’m telling you it’s the most tender pumpkin bread you’ve ever eaten. I tipped it with heath bar bits once before baking and sort of swirled the bits around on top. That was a hit. Another time I put a sprinkle of Chinese 5 spice in as I love that spice in baked goods and that was a hit too. Another time I added chocolate chips. Thank you for this recipe – it’s seriously a game changer for avoiding underdone, not-baked-in-the-inside pumpkin bread!
So happy you enjoyed it!
The recipe itself was fine, although I added a few tablespoons of pumpkin pie spice just to give it some more flavor. Without it, they would have turned out quite bland.
Thank you for the feedback!
I’m wanting to try your recipe I hear that yours is the best
Aww thank you, I hope you enjoy them!
Hi Yumna,
Can u give me instructions for making the pumpkin puree at home? How do u cook it before pureeing?
Thanks in advance. Looking forward to trying it.
Pumpkin puree is really easy. I just cut a small pie pumpkin in half and scoop out the seeds, then place the halves cut side down on a cookie sheet lined with foil and then parchment paper (for no stick) then roast in an oven at 420ish (you can go a little hotter, just watch it a little more) and then I leave it for 20 to 30 minutes and then poke it. If it’s soft and squishy, it’s probably done, if not, roast for another 10, then 5 if needed. Then just scoop the puree out.
Thanks for sharing this tip!
Followed the recipe with these exceptions. I made fresh applesauce and added 1 cup of nuts to the batter. Baked in mini loaf pans, 4”x2”x1 1/2”, for 30 minutes. Recipe made 12 loaves. Froze them and put them in gift bags for breakfast for guests who were staying in a local hotel after my granddaughter’s wedding. They were delicious.
What a wonderful idea, thanks for sharing!
Just made this yummy treat, and I can’t wait to share with my neighbours! They turned out more like pumpkin cake than a bar, but that is fine by me! I added chopped pecans and I made a maple cinnamon cream cheese glaze for the top. Tasty!!
Just made this yummy treat, and I can’t wait to share with my neighbours! They turned out more like pumpkin cake than a bar, but that is fine by me!
I made a maple cinnamon cream cheese glaze for the top. Tasty!!
That topping sounds so good!
These look delicious! I’d love to add some rolled oats for texture – do you think it would work to swap 1/2 a cup of flour for some oats?
I would do a 2:1 ratio if you’re swapping some oats for flour, so maybe swap 1/4 flour for 1/2 oats since oats are less absorbent than flour. However, I’ve never tried this before. Let me know if you try it an how it works out!
I love pumpkin baked goods. These bars were so delicious and super easy to make. Mmmm 😋
These are delicious!!!! So moist, flavorful and simple to make. Definitely a family hit, and we will be making these again soon.
Thank you so much! I am glad to hear that!
Loved making this bars (with my two year old daughter!). They were super flavorful, moist, easy and definitely fail-proof. We added chocolate chips and both my kids loved them! I also cooked in a 9″ x 9″ baking dish (we didn’t have 9″ x 13″) which added about 15 minutes to the bake time for the center to cook through. They were delicious, thank you so much! We will definitely will be making them again!!!!
I am so happy to hear it! Yay!! Chocolate chips are always a yummy addition. You’re so welcome!
These pumpkin bars are delightful. So moist and flavorful.
Thank you so much! Exactly what I was going for!
Can I use pumpkin pie purée instead of regular pumpkin purée??
I recommend sticking to pumpkin puree not pumpkin pie filling. The cans sit right next to each other on shelves, so it’s easy to mistake them for each other. But you want to make sure the only ingredient is pumpkin puree since you’ll be adding the sugar and spices to make the pumpkin bars.
So moist and delicious! Really easy to pull together last minute. This is going to be a go to in our house year round. I have already been asked to make this recipe again.
I used an organic store brand pumpkin purée instead of the name brand and had to bake them 15 minutes longer. Different brands of pumpkin require a different bake time in my experience. Use the toothpick test! You will not be disappointed by this recipe.
Thank you! I love that so much.
Can you use sugar instead of applesauce? how much?
I swapped the oil entirely for applesauce. So instead of applesauce, you can use canola oil, vegetable oil or coconut oil instead or swap half the amount.
So easy to make and turned out perfectly….they were a big hit!!
That’s great to hear! Yay!!
What brand do you use for cane sugar?
Just one from my local grocery store, but you can use any!
These bars were like a cake. Very moist with a great pumpkin taste. I put cream cheese frosting on them and a candy pumpkin on top of the each piece. I highly recommend this recipe for a crowd.
That sounds like a delicious way to enjoy it!
So delicious! I used coconut sugar instead of the cane sugar (kept the brown sugar as is), and these were gone in no time. Thank you!
Thank you! Glad it still worked out that way, and you enjoyed!
How many eggs are in the recipe?
4 eggs room temperature
I followed the directions exactly and they ended up not being cooked, like, at all. I didn’t know until they had cooled and I went to cut them and they were all goopy and runny. I would add at least 10 minutes to cook time.
I’m so sorry to hear that. In this case, I’d have baked until set (which can be done by poking a toothpick into the center to check if it fully cooked through).
I had the same experience. I did the toothpick test but when I cut them they looked uncooked.
The toothpick test should work! But make sure to allow the bread to cool completely in the pan set on a wire rack.
So easy and good! We love something like this in the morning with our first cup of coffee and a nice little treat in the afternoon too. I can’t keep my husband away from the goodies.
That sounds wonderful! I’m so glad you both enjoyed it!
Hi wondering if you thought they would still be delicious using oat flour instead of all purpose. I would like them to be GF but I also want my kids to enjoy them. 😉
Unfortunately, it won’t work with oat flour since it’s gluten free. However if you buy a 1:1 GF flour mix, then that should work! Try Bob’s Red Mill!
Hi there! I’m excited to make these but wondering if I can substitute the sugar for maple syrup? If so, any idea what the conversion would be? Thanks so much!
Sure, I think that should work. Normally the substitution would be 3/4 cup maple syrup for every one cup of granulated sugar. Try to keep the brown sugar in there if you can. If you have to substitute both sugars, then reduce the applesauce to 1/2 cup so it’s not too liquidy. I haven’t tried this before, but would love to hear about your experience if you do! It should work just fine.
Easy recipe and great result! Very fluffy and spongy ?
Perfect for breakfast or for a snack with a cup of tea! Delicious
So glad to hear that you enjoyed it! Thank you!!
Delicious!!
Yay! Glad you liked it!
Hi! how much gram are 1 can 15 ounces pumpkin purée?
It’s 450grams of pumpkin puree.
Would love to try this one!! Yum