Easy Pumpkin Bars
Updated Oct 24, 2025
These pumpkin bars are easy to make with pumpkin puree and a few pantry staples. Super easy to make.
This post may contain affiliate links. Please read our disclosure policy.
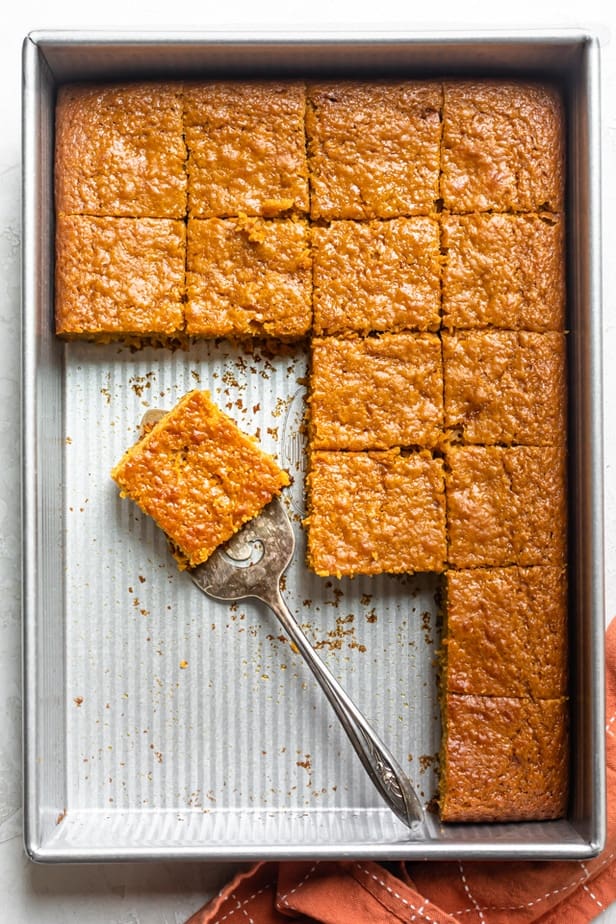
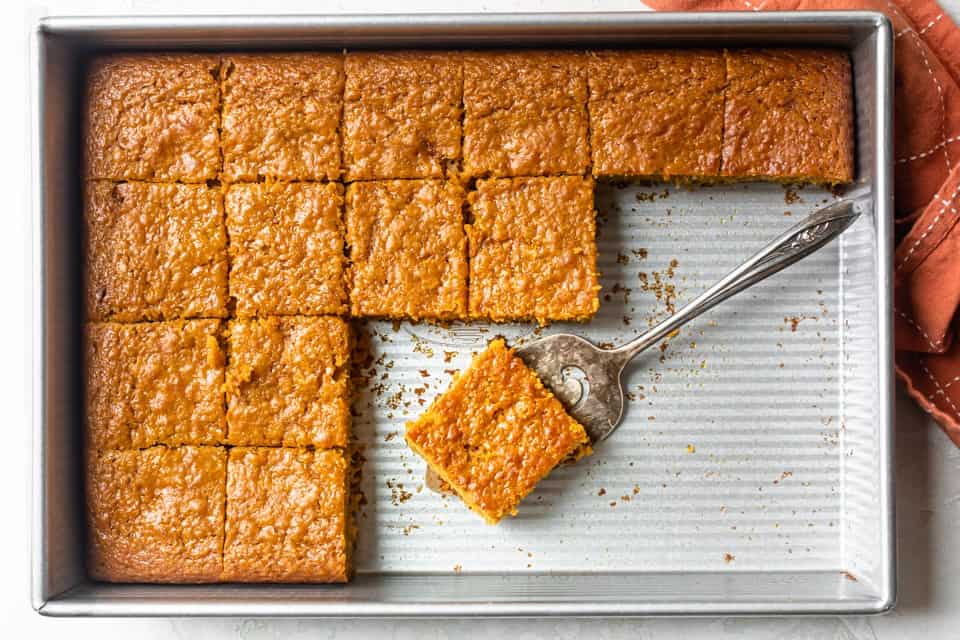
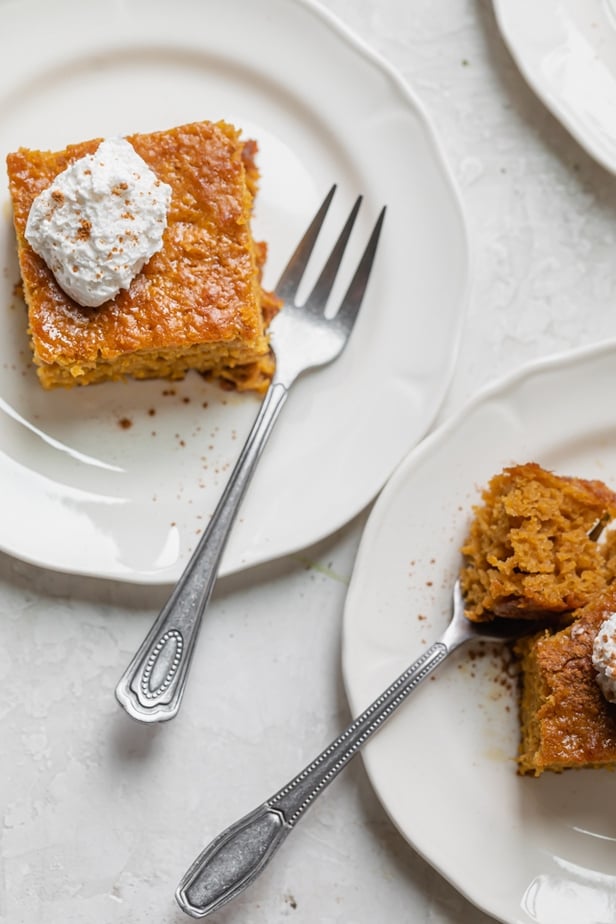
These are the best pumpkin bars!

If there’s one dessert I never skip making in the fall, it’s these pumpkin bars. They’re light, fluffy, and spiced, kind of like if pumpkin bread and cake had a baby. I usually make a big batch because they disappear fast, especially when the house smells like cinnamon and everyone suddenly remembers they “love pumpkin.”
What I like most about these pumpkin bars is how simple they are. No frosting, just mix, bake, and you’re done. It’s the kind of recipe you can throw together on a busy weeknight or make ahead for a get-together without stressing over it.
Happy Cooking!
– Yumna
Pumpkin Bars Ingredients
- Pumpkin puree: Use canned or homemade pumpkin puree, not pumpkin pie filling.
- Unsweetened applesauce: You can make your own applesauce or use store-bought. If you don’t have applesauce, you can use vegetable oil or coconut oil.
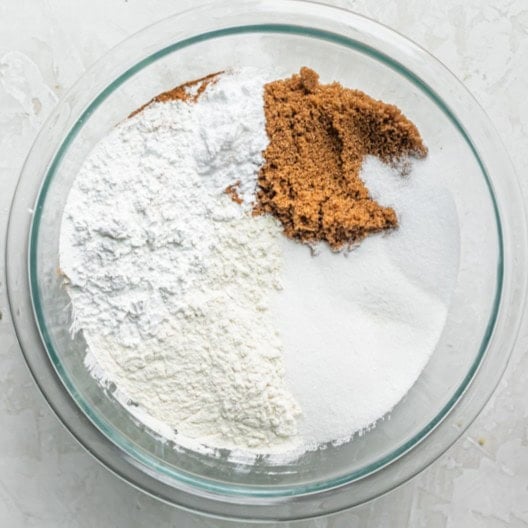
- Dry ingredients: All-purpose flour, baking powder, baking soda, cinnamon, and salt.
- Wet ingredients: Eggs, cane sugar, and dark brown sugar.
How to Make Pumpkin Bars
Pumpkin Bar Recipe
Video
Ingredients
- 2 cups all-purpose flour
- 2 teaspoons cinnamon
- 2 teaspoons baking powder
- 1 teaspoon baking soda
- 1/4 teaspoon salt
- 4 eggs room temperature
- 2/3 cup cane sugar
- 2/3 cup dark brown sugar
- 15 ounces pumpkin puree
- 1 cup unsweetened applesauce
Instructions
- Preheat the oven to 350°F.
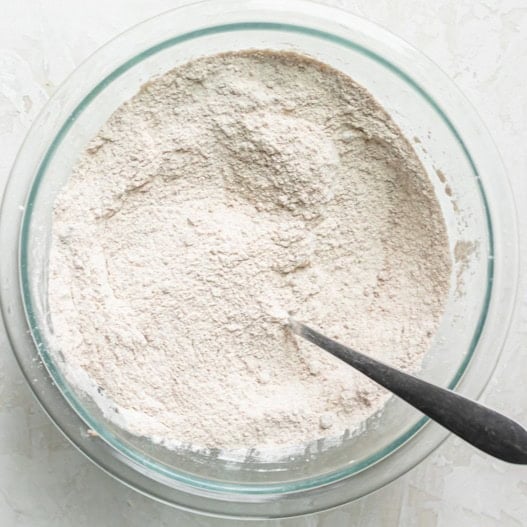
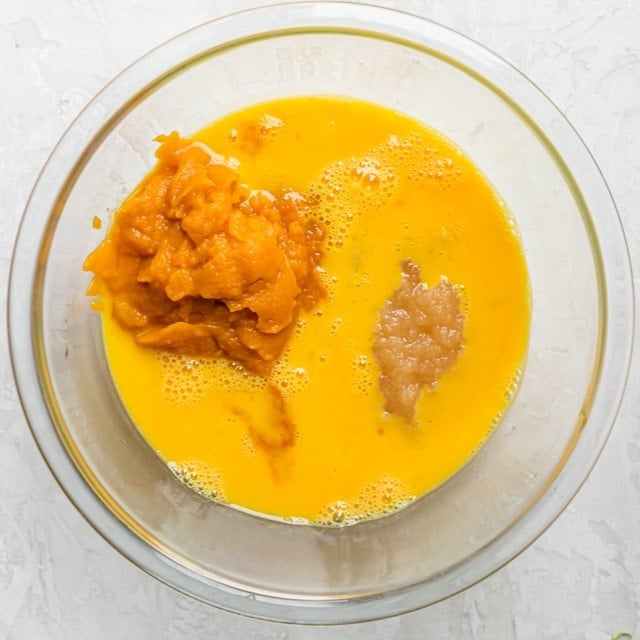
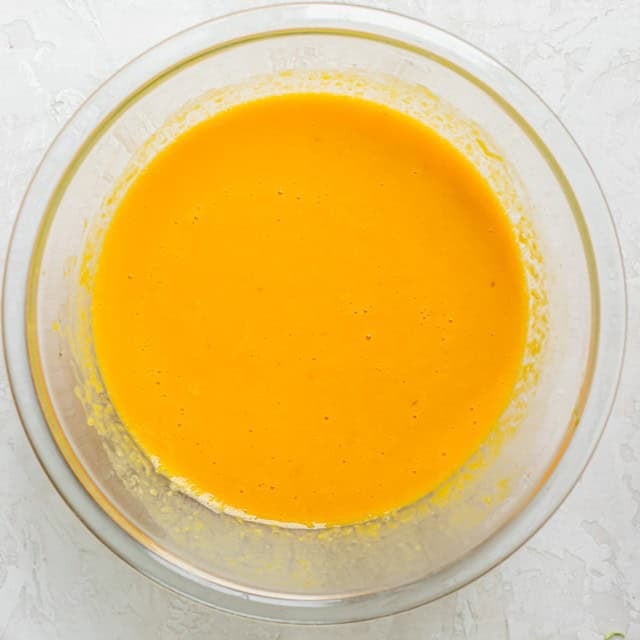
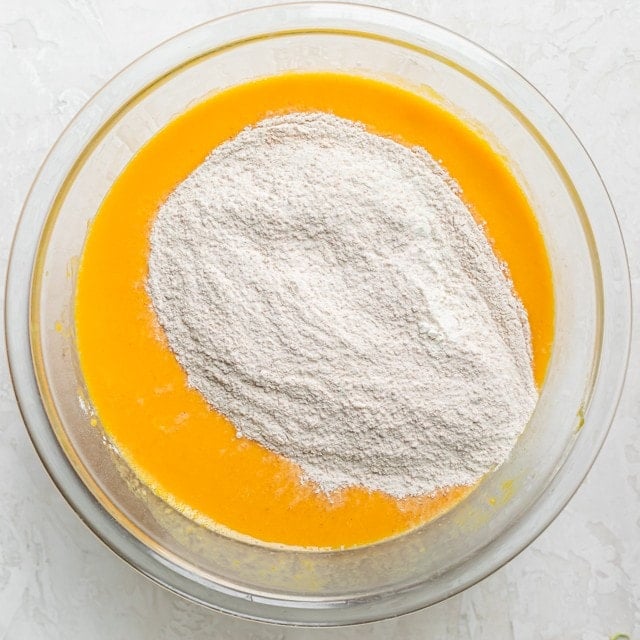
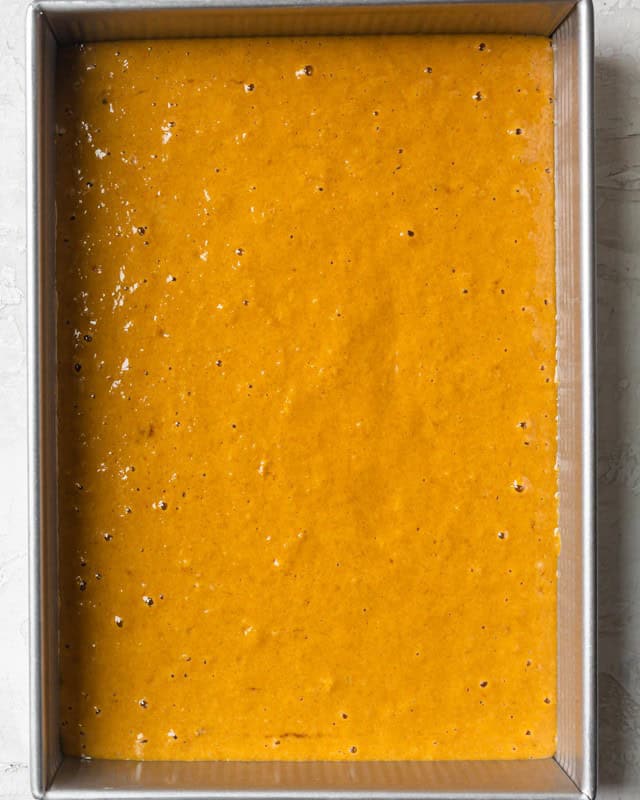
- Whisk the flour, cinnamon, baking powder, baking soda, and salt in a large bowl. Beat the eggs, sugars, pumpkin, and applesauce in another large bowl.
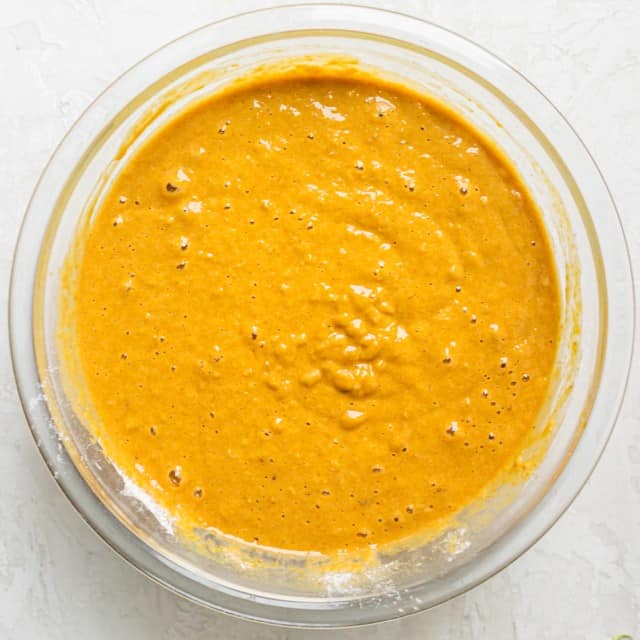
- Gradually pour the dry ingredients into the wet ingredients and mix until just combined.
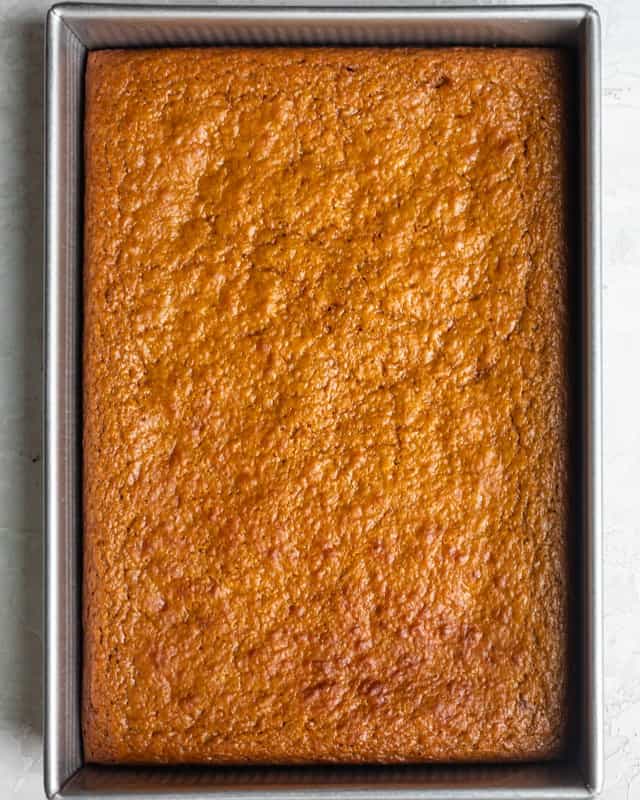
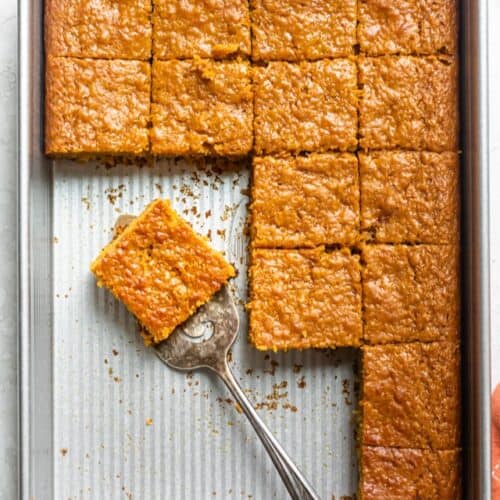
- Pour the batter into an ungreased 9×13-inch baking pan and bake for 25–30 minutes or until set. Remove from the oven and let the pumpkin bars cool completely in the pan set on a wire rack.
Equipment
Notes
- My Top Tip: Use room-temperature eggs. The yolks are softer at room temperature and easier to incorporate into the batter.
- Storage: Store the pumpkin bars in an airtight container in the fridge for up to 5 days. Warm them up in the microwave for about 20 seconds, or in the oven at 350ºF for about 5 minutes.
- Freezing: Tightly wrap the entire pan or the individual bars in plastic wrap or aluminum foil. Place them in a freezer-friendly storage bag or an airtight container for up to 3 months. Thaw in the fridge or at room temperature.
Nutrition
Nutrition information provided is an estimate. It will vary based on cooking method and specific ingredients used.
Recipe Variations
- Add nuts. Stir a handful of walnuts, pecans, or almonds into the batter for extra texture and flavor.
- Or, fold in chocolate chips. For something sweeter, stir in some semi-sweet or dark chocolate chips before baking.
- Top them with frosting. Make a batch of my cream cheese frosting before serving.
Recipe Tips
- Use room-temperature eggs. The yolks are softer at room temperature and easier to incorporate into the batter.
- Don’t over-mix the batter. When you add the dry ingredients to the wet ingredients, fold gently until just combined. If you overmix the batter, the pumpkin bars can turn out dense. A few lumps are definitely okay!
- Use a different-sized pan. For thinner pumpkin bars, use a 15×10-inch pan.


Comments
I made these for Thanksgiving and topped them with FGF’s cream cheese icing and they were amazing. Everyone raved about how moist and flavorful they were and came back for seconds. This has gone into my cache of favorite recipes to repeat for holidays to come.
Yay!! So happy they were a hit! Thank you so much, Courtney!!
Used gluten free flour, made my own pumpkin puree. Prep time without making the puree took half an hour. Baking took 40 mins. I added some nutmeg, and hopefully didn’t add too much as I then read it can be dangerous! I’ll add some dollop cream on top and chocolate shavings.
Yum, that sounds so good!! How did they turn out?
I think they turned out pretty good! I can’t taste or smell but when I went home after the party there were only 3 pieces left:)
Aww, I’m so glad!! Thank you for coming back to let me know they were a hit!!
See All Comments