Hot Cocoa Bombs
Updated Nov 25, 2025
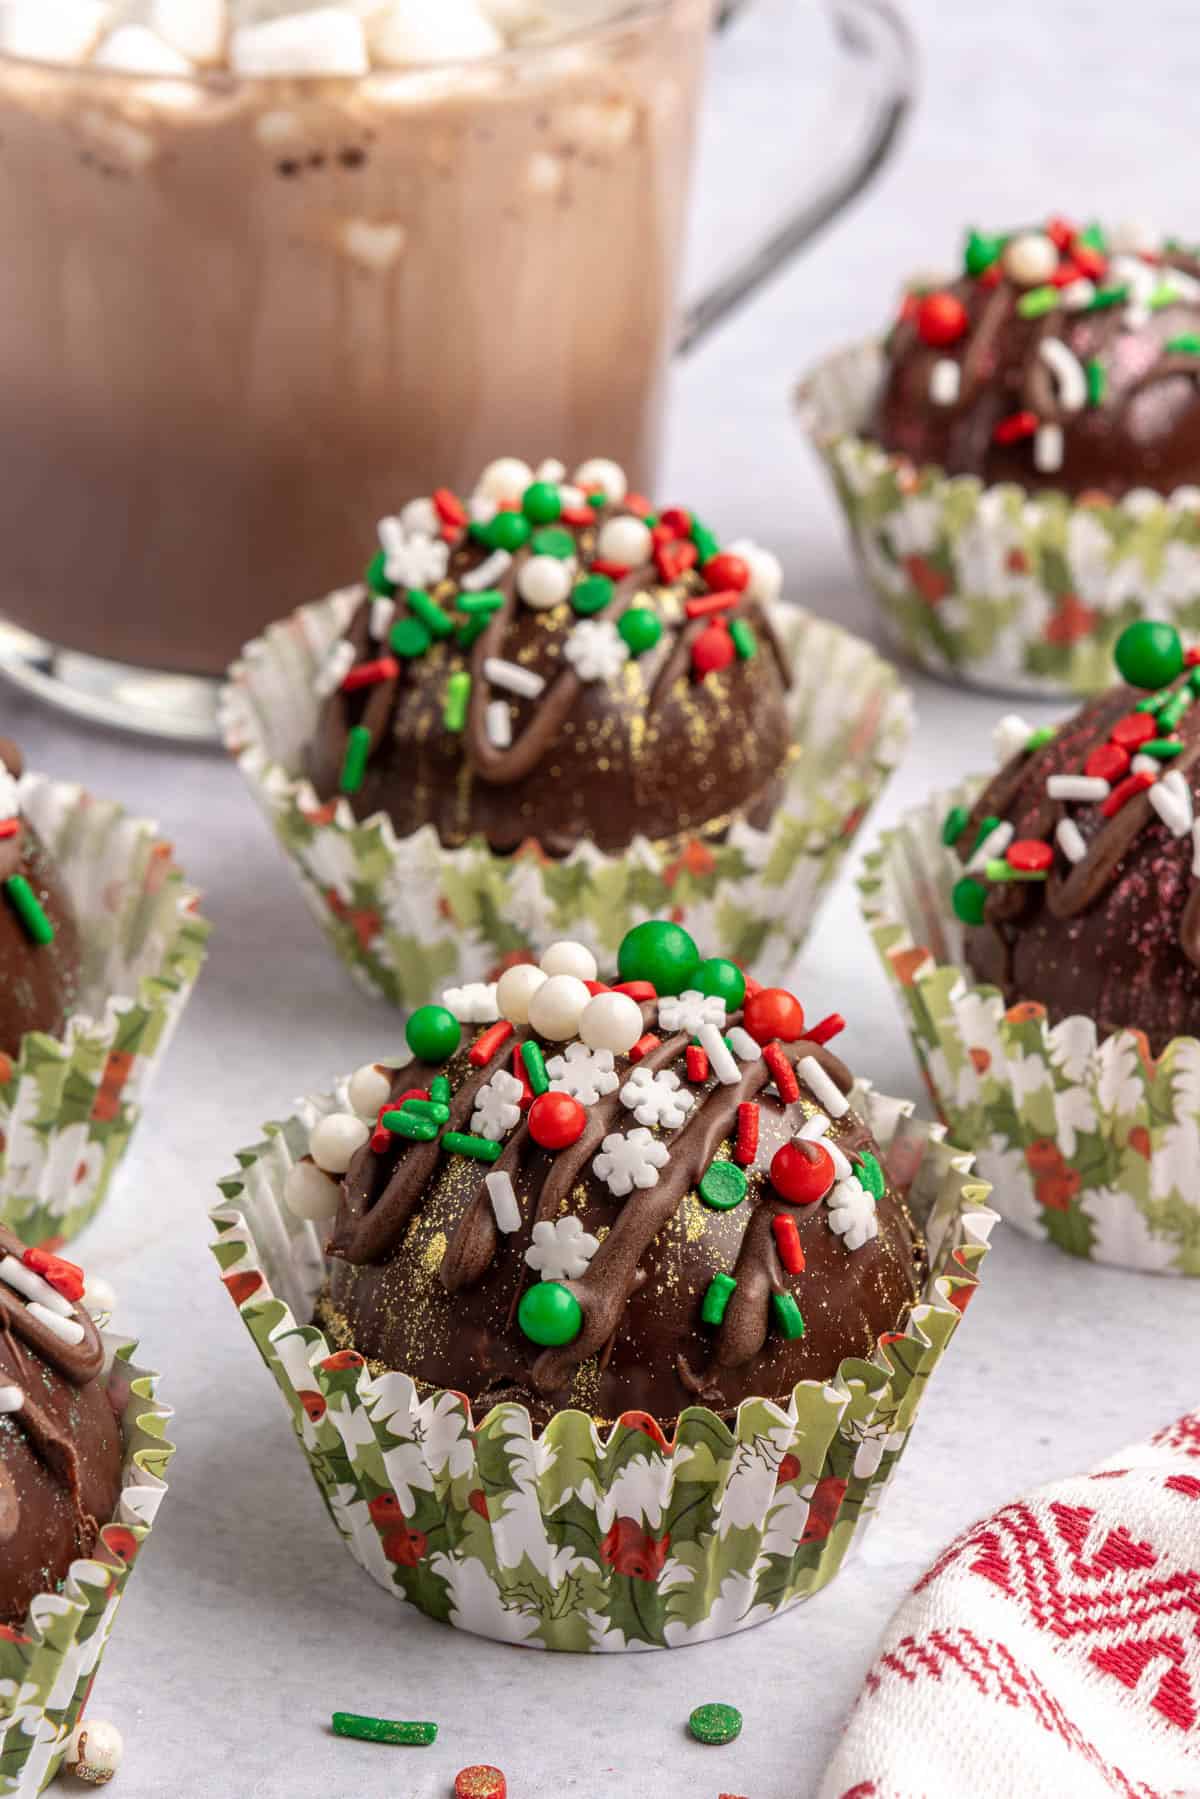
DIY hot chocolate bomb recipe with 3 ingredients filled with cocoa mix and marshmallows, and ready to melt in warm milk.
This post may contain affiliate links. Please read our disclosure policy.
Jump to Section
Make your own hot cocoa bombs!

I love making hot cocoa bombs because they are just plain fun, they’re literally just three ingredients, and way cheaper than buying them at the store. It’s just melted chocolate brushed into molds, filled with hot cocoa mix and marshmallows, then sealed into a little chocolate bomb (circle) that melts when you pour warm milk over it. Hot cocoa bombs are fun to make with kids (and by myself), and they make great little gifts without costing a fortune. Every time I make a batch to give, I end up keeping at least a few because it’s impossible not to.
Happy Cooking!
– Yumna
Hot Cocoa Bombs Ingredients
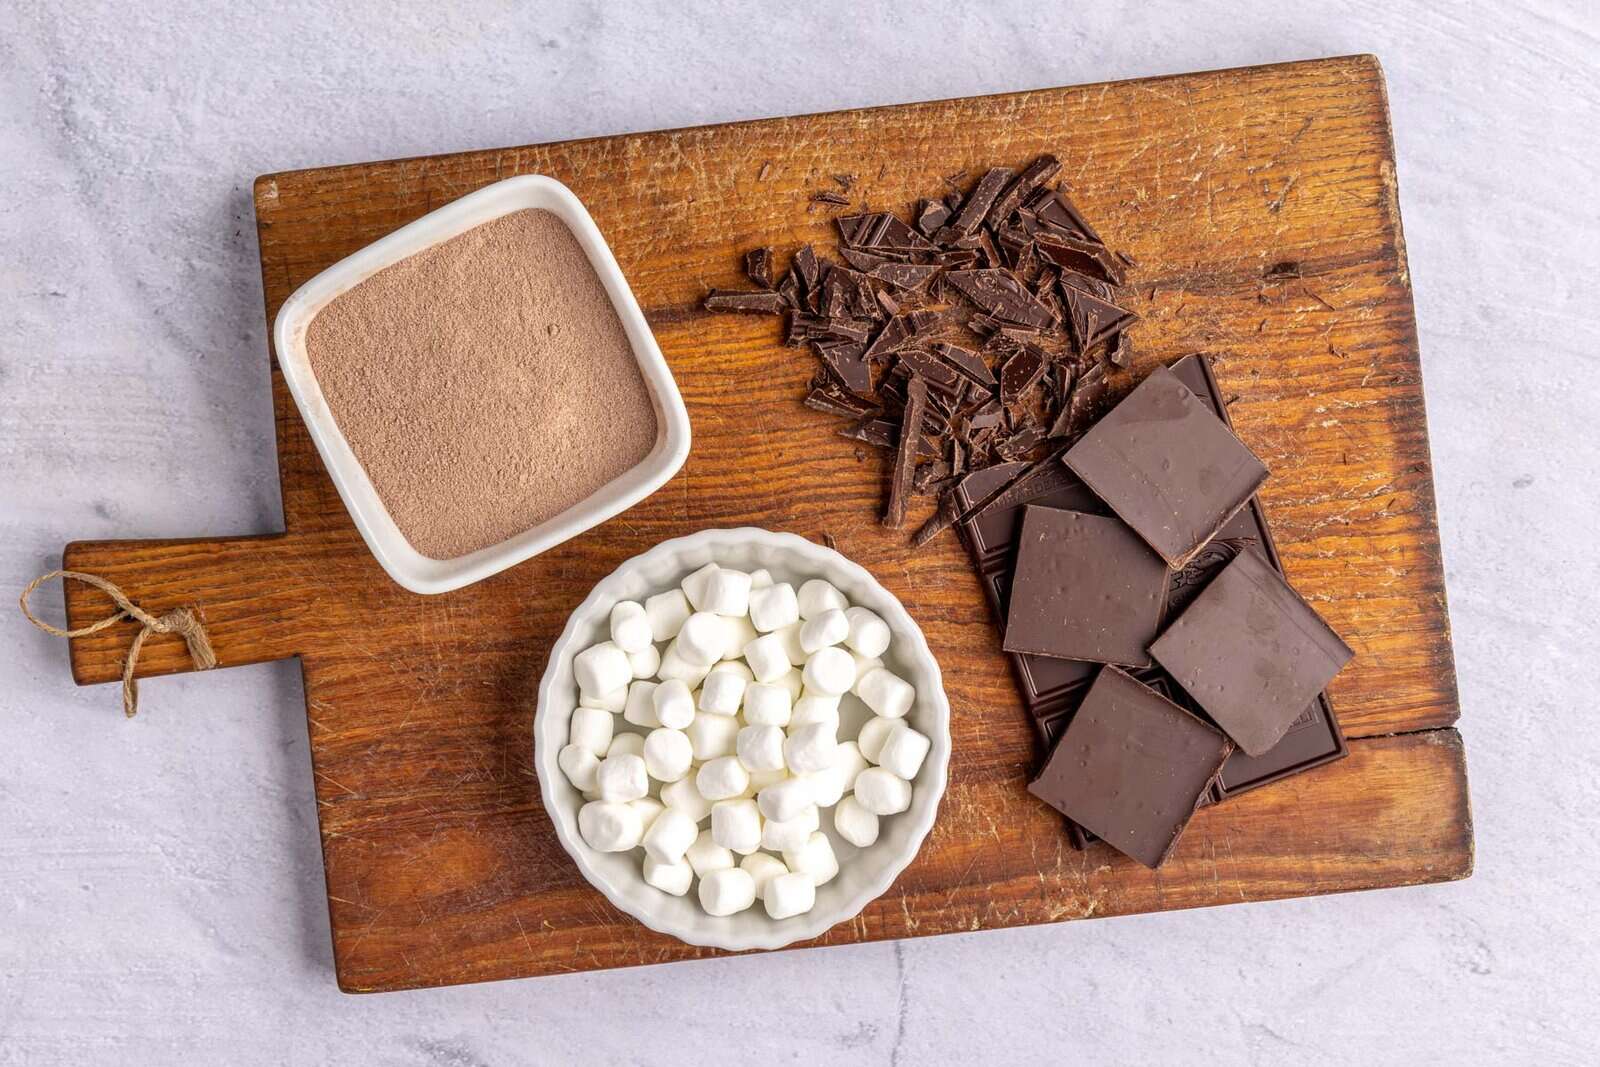
- Semi-sweet chocolate: I use a high-quality chocolate bar with at least 60% cacao. Dark chocolate is classic, but you can also use milk, white chocolate, or flavored chocolate! I don’t recommend using chocolate chips or candy melts because the quality isn’t as good.
- Hot cocoa mix: I use a homemade hot chocolate mix, but any store-bought powdered mix works.
- Mini marshmallows: Any mini marshmallows work. You don’t need to use dehydrated marshmallows, but you can!
How to Make Hot Cocoa Bombs
Besides the 3 main ingredients, you’ll need a silicone mold to make these hot chocolate bombs. A circle mold is the most popular, but there are festive options, too, like a Christmas tree, snowflake, and gingerbread man.

Hot Cocoa Bomb Recipe
Ingredients
- 6 ounces high-quality semi-sweet chocolate bar chopped
- 6 tablespoons hot cocoa mix
- ¾ cup mini marshmallows
Instructions
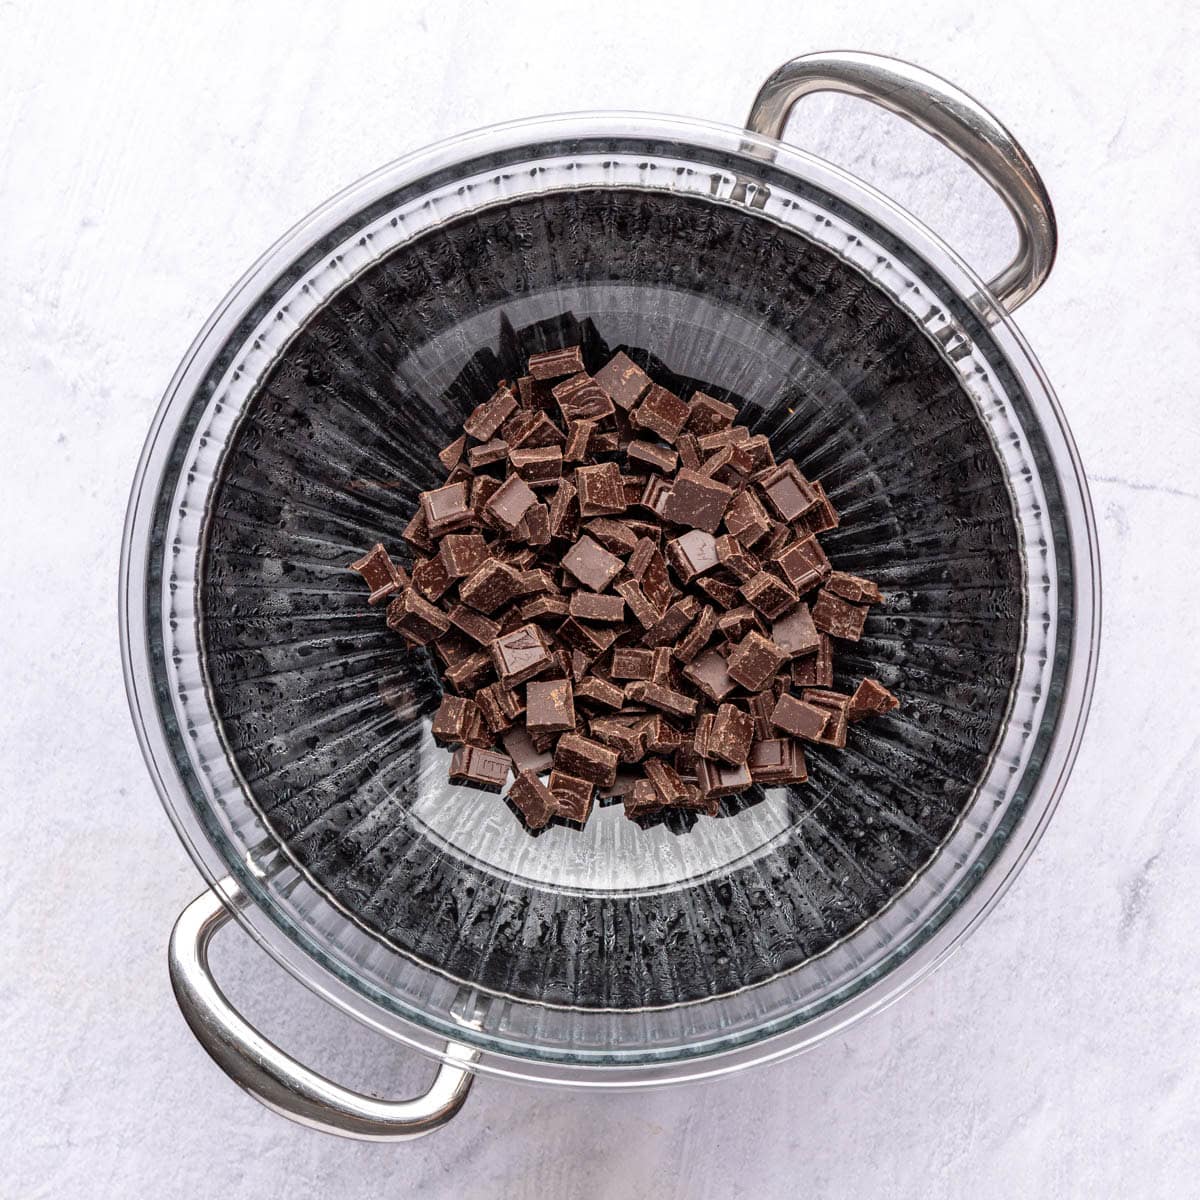
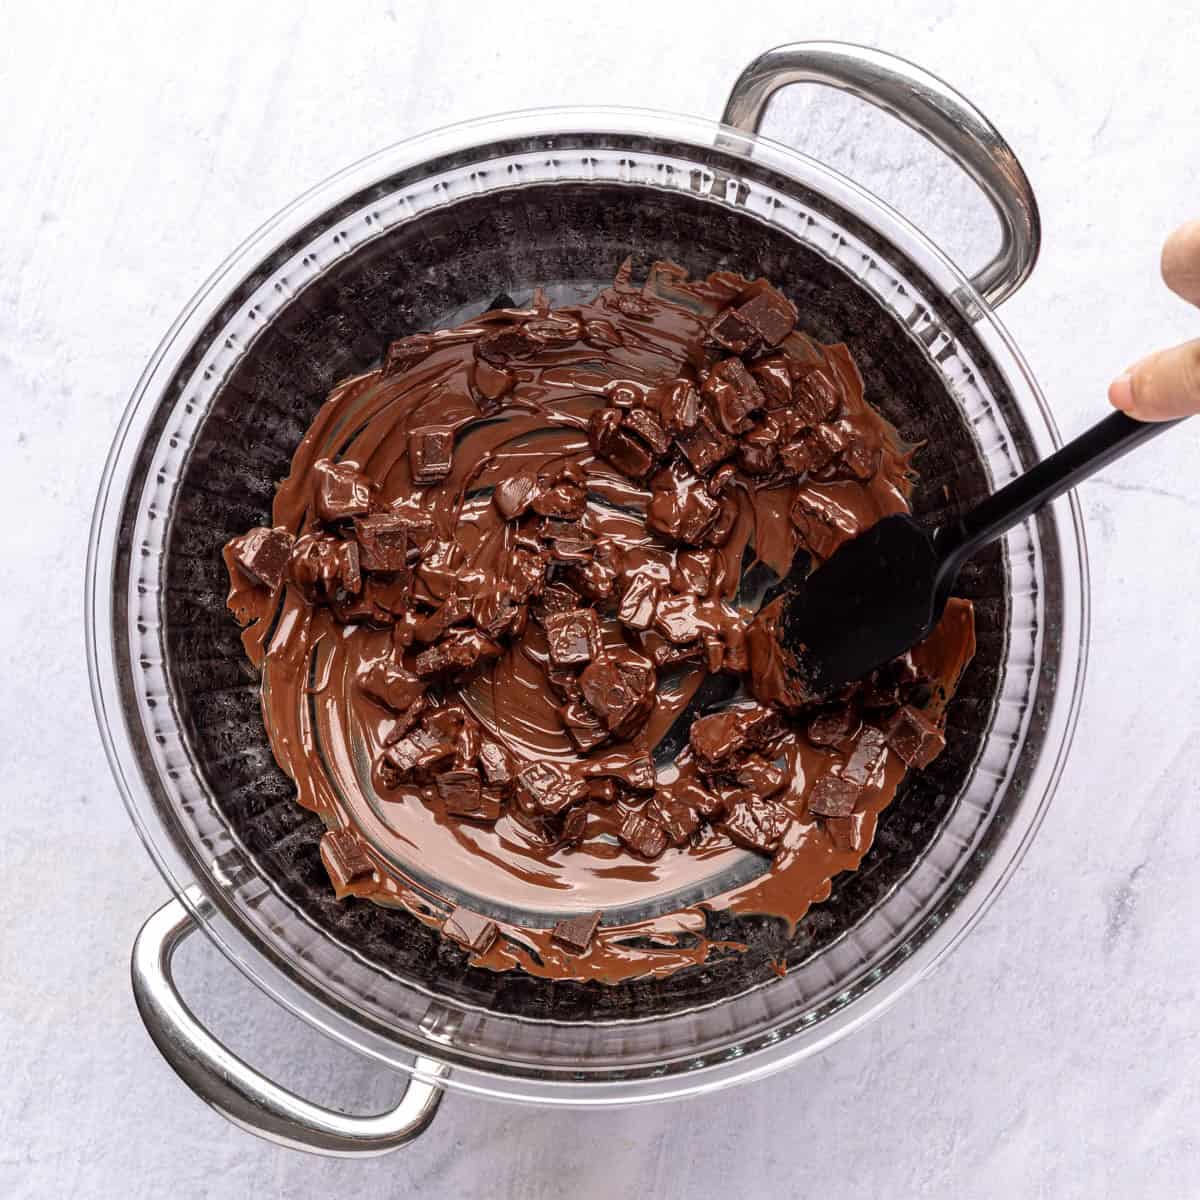
- Fill a 4-quart pot with water and set over medium-high heat. Place a heat proof bowl sitting securely on top of the pot without touching the water.
- Place the chopped chocolate in the bowl and stir with a silicone spatula until the chocolate melts, about 5 minutes. Remove the chocolate immediately after it melts, being careful not to overheat it, and let it cool for 5 minutes.
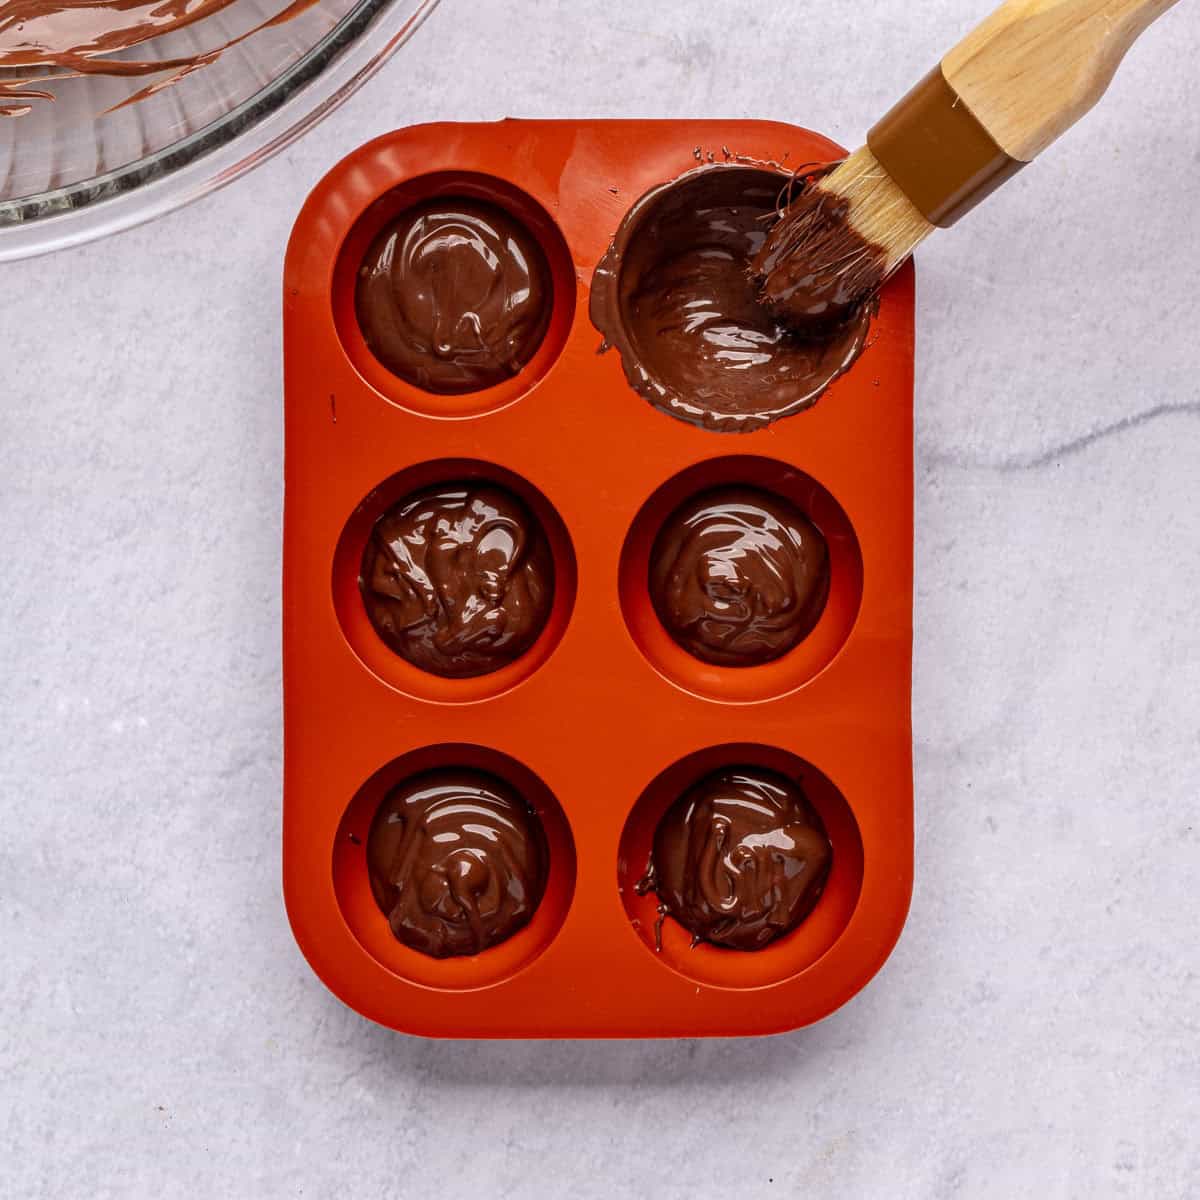
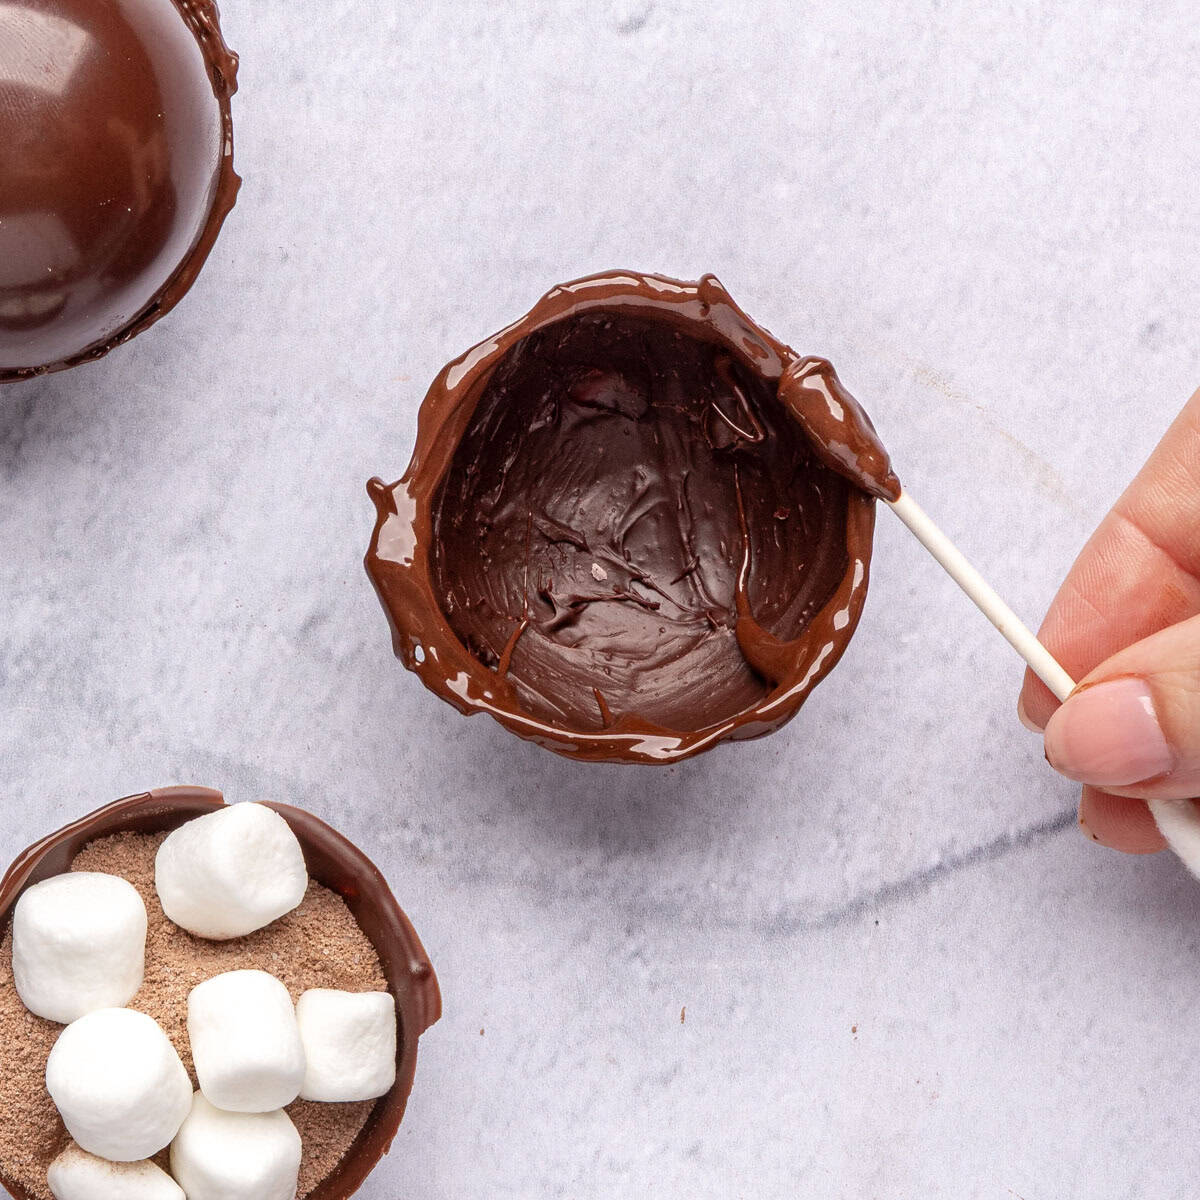
- Place 1 tablespoon of the tempered chocolate into each of the silicone mold cups (12 total). Brush a thin layer of the chocolate up the sides and slightly over the edges of the molds by just a bit. Let it sit at room temperature until the chocolate hardens, 5–15 minutes. Apply another thin coating of the tempered chocolate and let it sit at room temperature again until the chocolate hardens, about 15–30 more minutes.
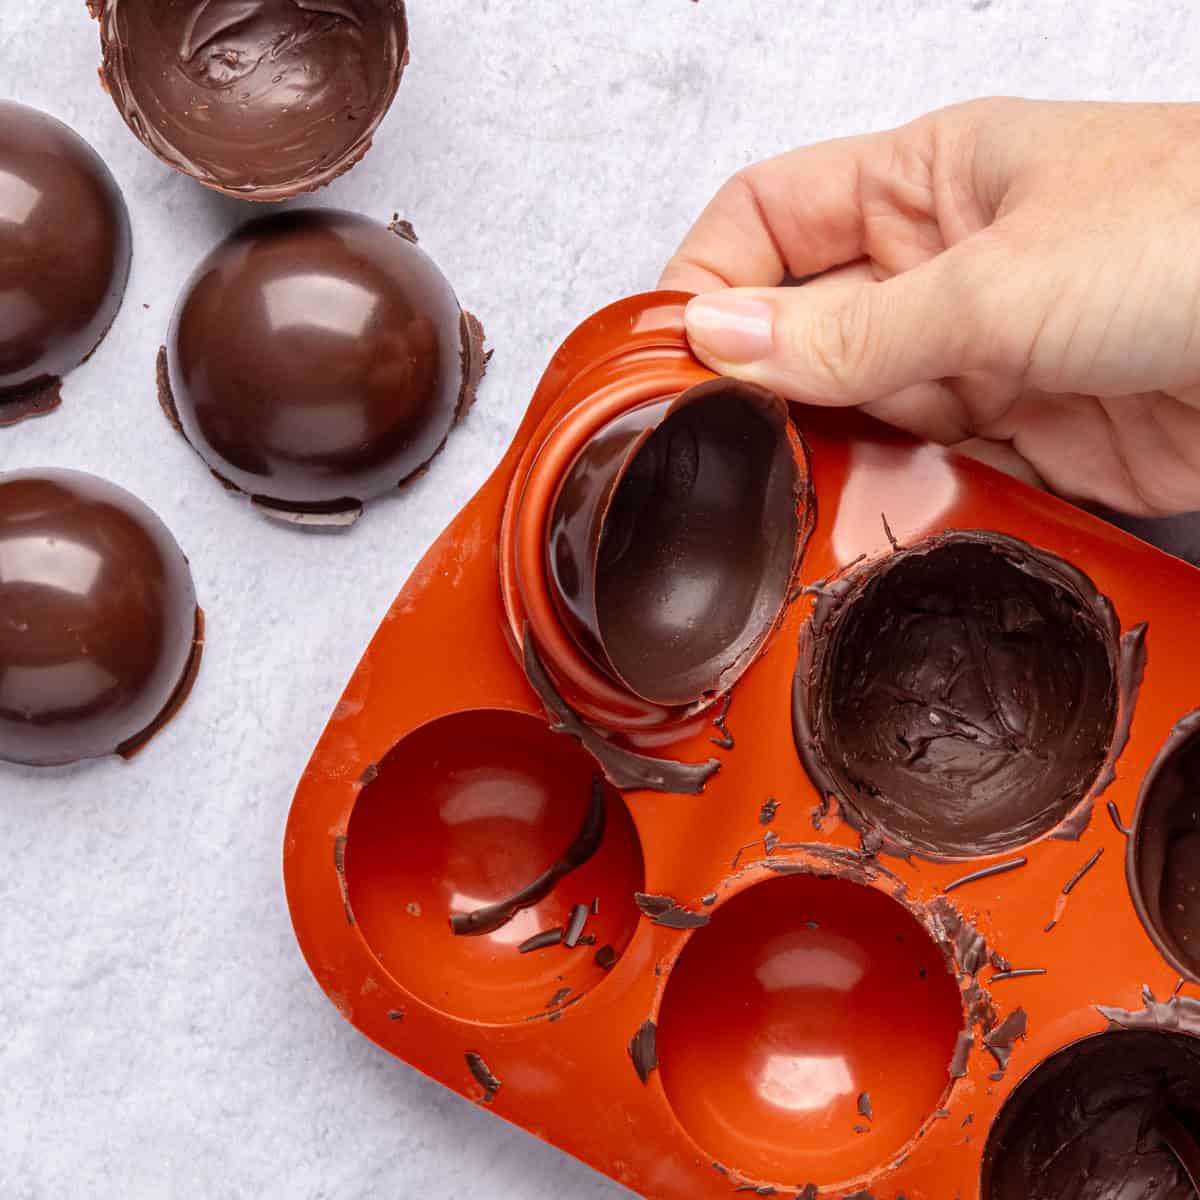
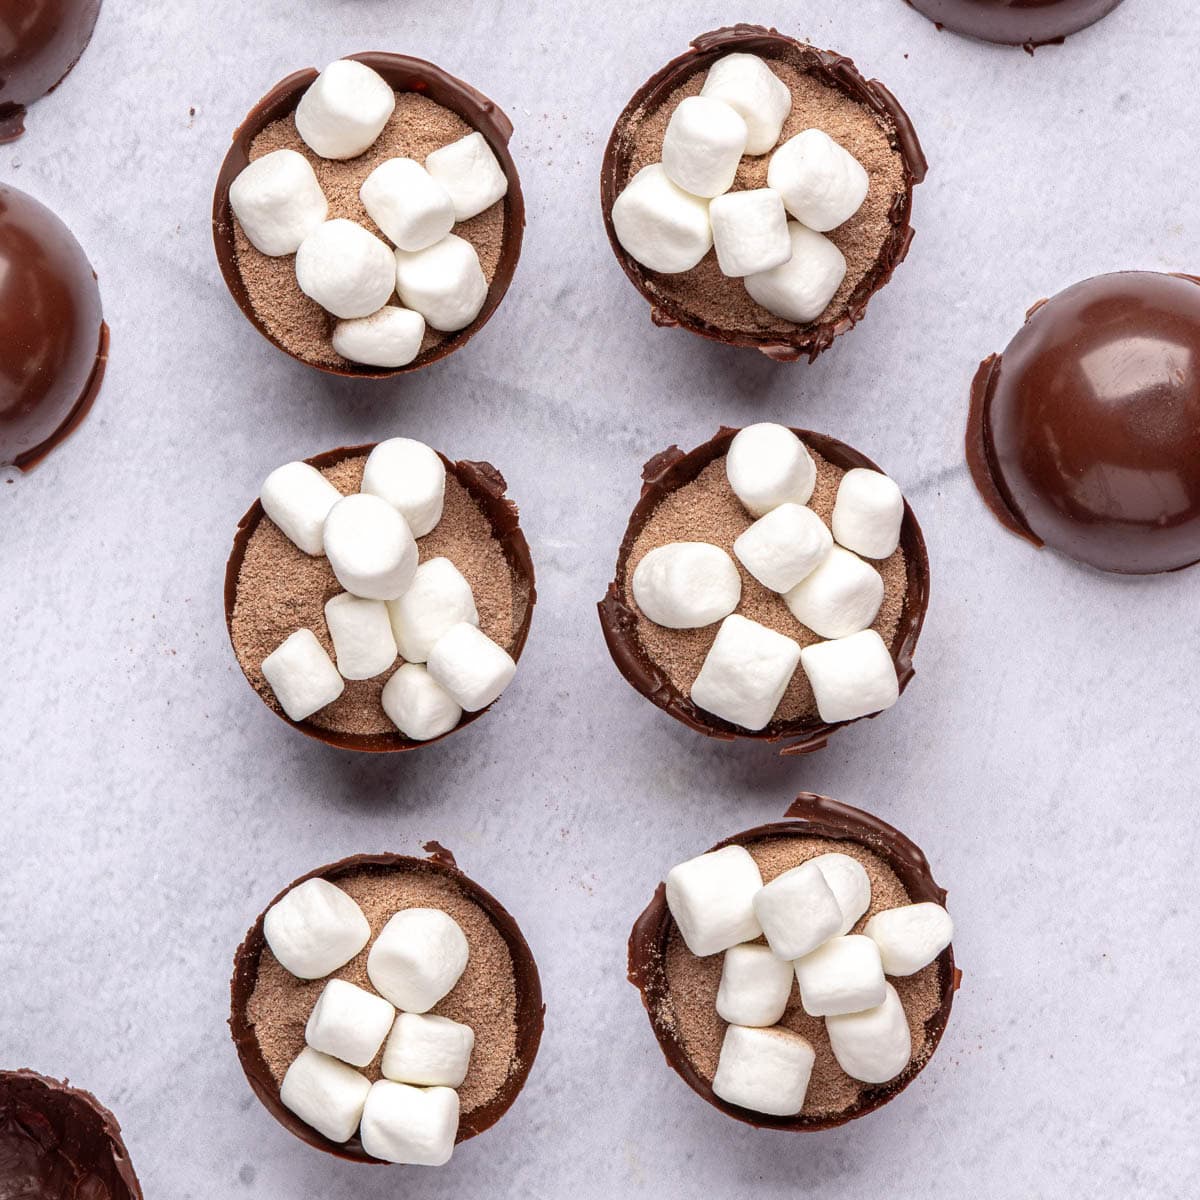
- Carefully remove all the chocolate from the molds. Divide the cocoa mix and marshmallows into 6 of the molds, filling all the way to the top.
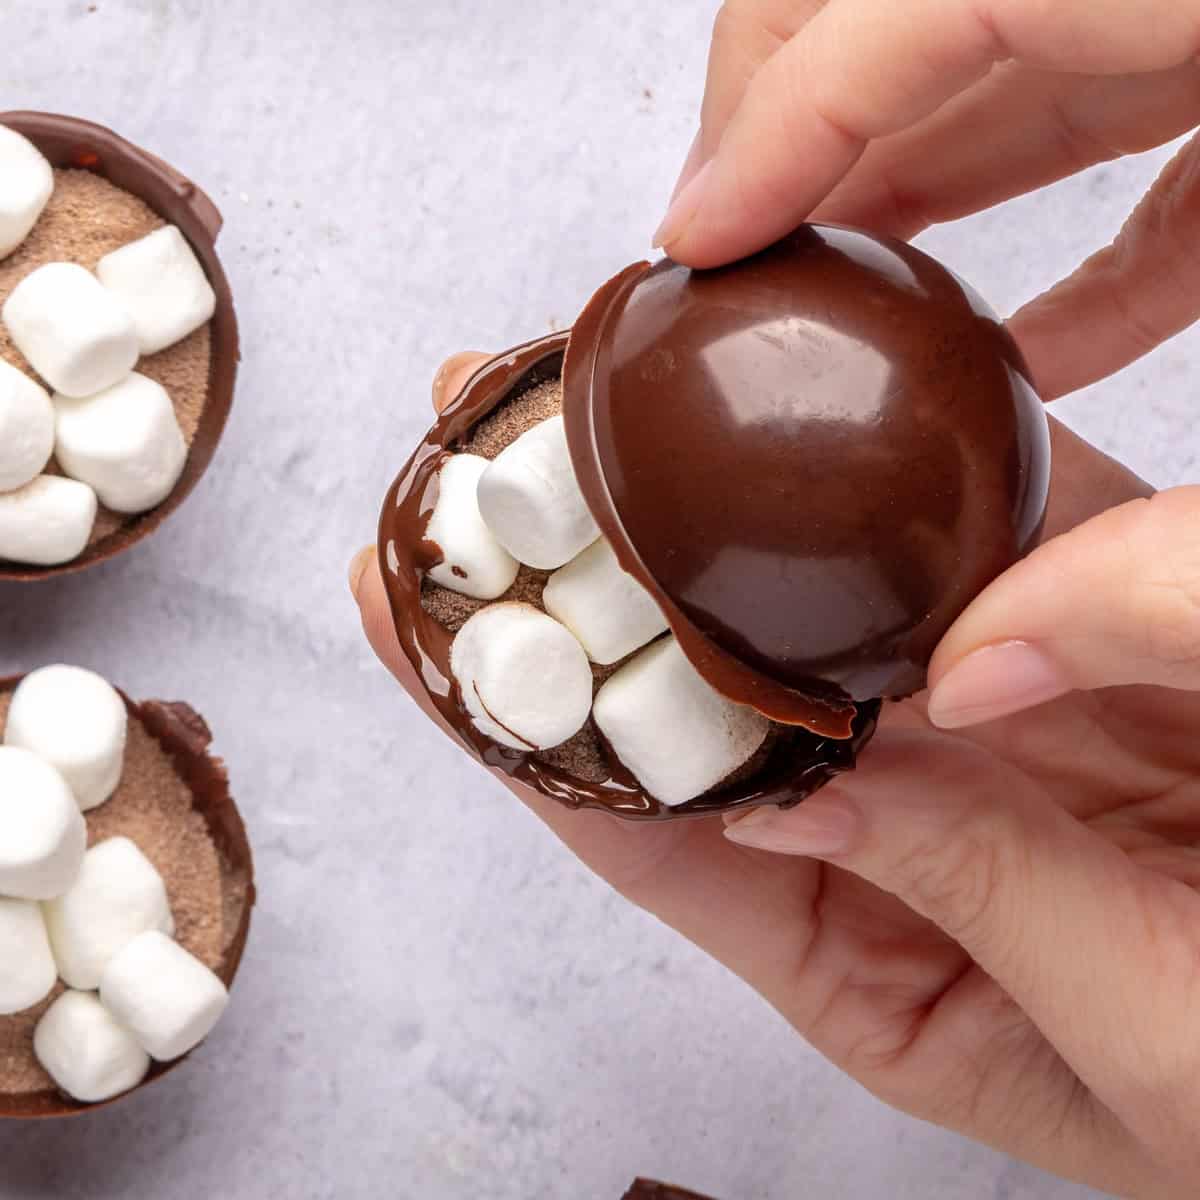
- Use a Q-tip to outline a border of the melted chocolate on the 6 unfilled chocolate molds. Place an unfilled mold on top of a filled mold and close to form a sphere. Repeat for the remaining 5 hot cocoa bombs and let sit at room temperature again until the chocolate hardens and sets, about 30 more minutes.
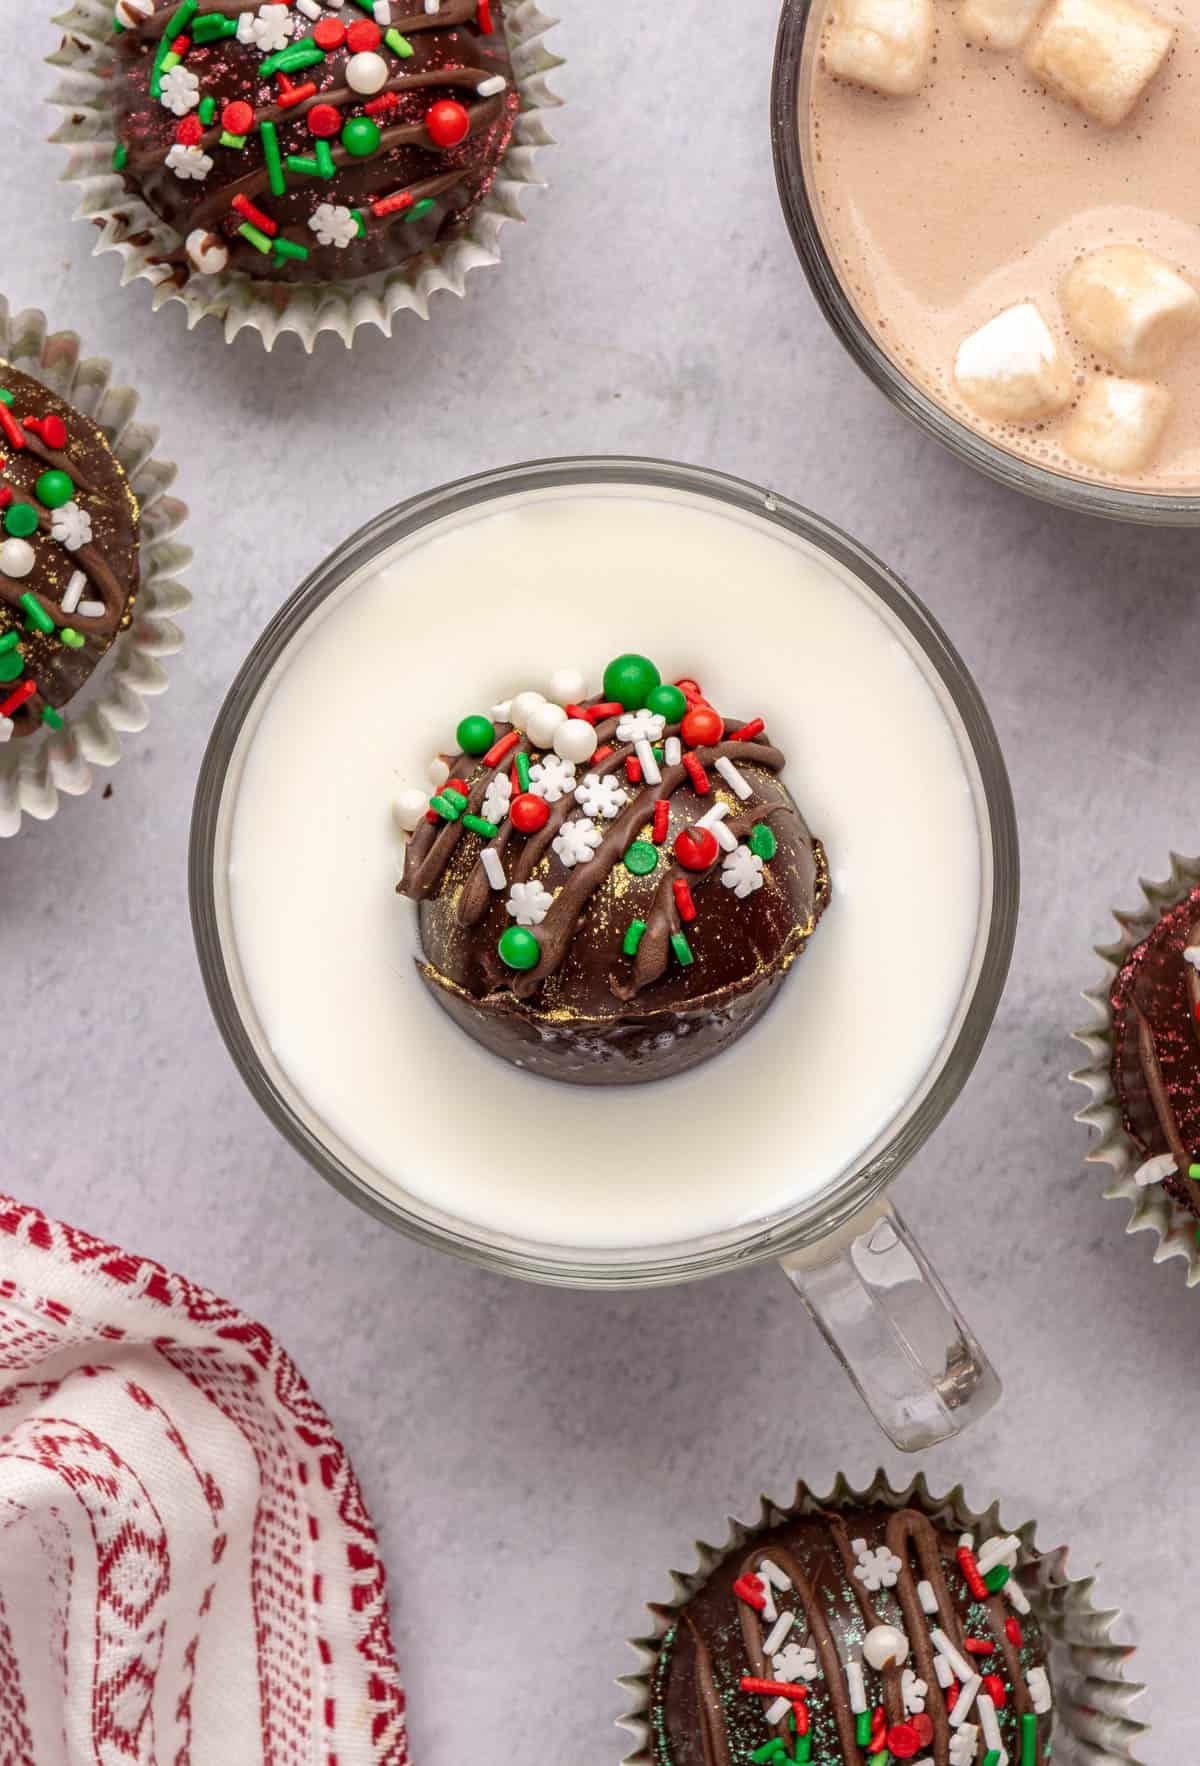
- When ready to use, serve with warm milk.
Equipment
Notes
- My Top Tip: Let the melted chocolate cool slightly before adding it to the mold. If the chocolate is too hot, it won’t stay in place.
- Storage: Store the hot chocolate balls in an airtight container or zip-top bag for up to 2 weeks. Keep them in a cool, dry place and away from direct sunlight or heat. Or, refrigerate them for up to 4 weeks.
- Freezing: Place the hot chocolate balls in an airtight container or freezer-safe bag. They’ll last in the freezer for up to 3 months. Let them sit at room temperature for a few minutes before you use them so they don’t crack when added to hot milk.
Nutrition
Nutrition information provided is an estimate. It will vary based on cooking method and specific ingredients used.
Recipe Variations
- Give the hot cocoa powder a pinch of flavor: Add a dash of espresso powder, instant coffee, pumpkin pie spice, cinnamon, nutmeg, or sea salt for extra flavor.
- Get creative on the inside: In addition to mini marshmallows (or instead of them), add festive sprinkles, crushed cookies, or mini meringues to the hot cocoa mix. Or, try one jumbo marshmallow in each mold instead of minis! This recipe for hot chocolate bombs is super versatile.
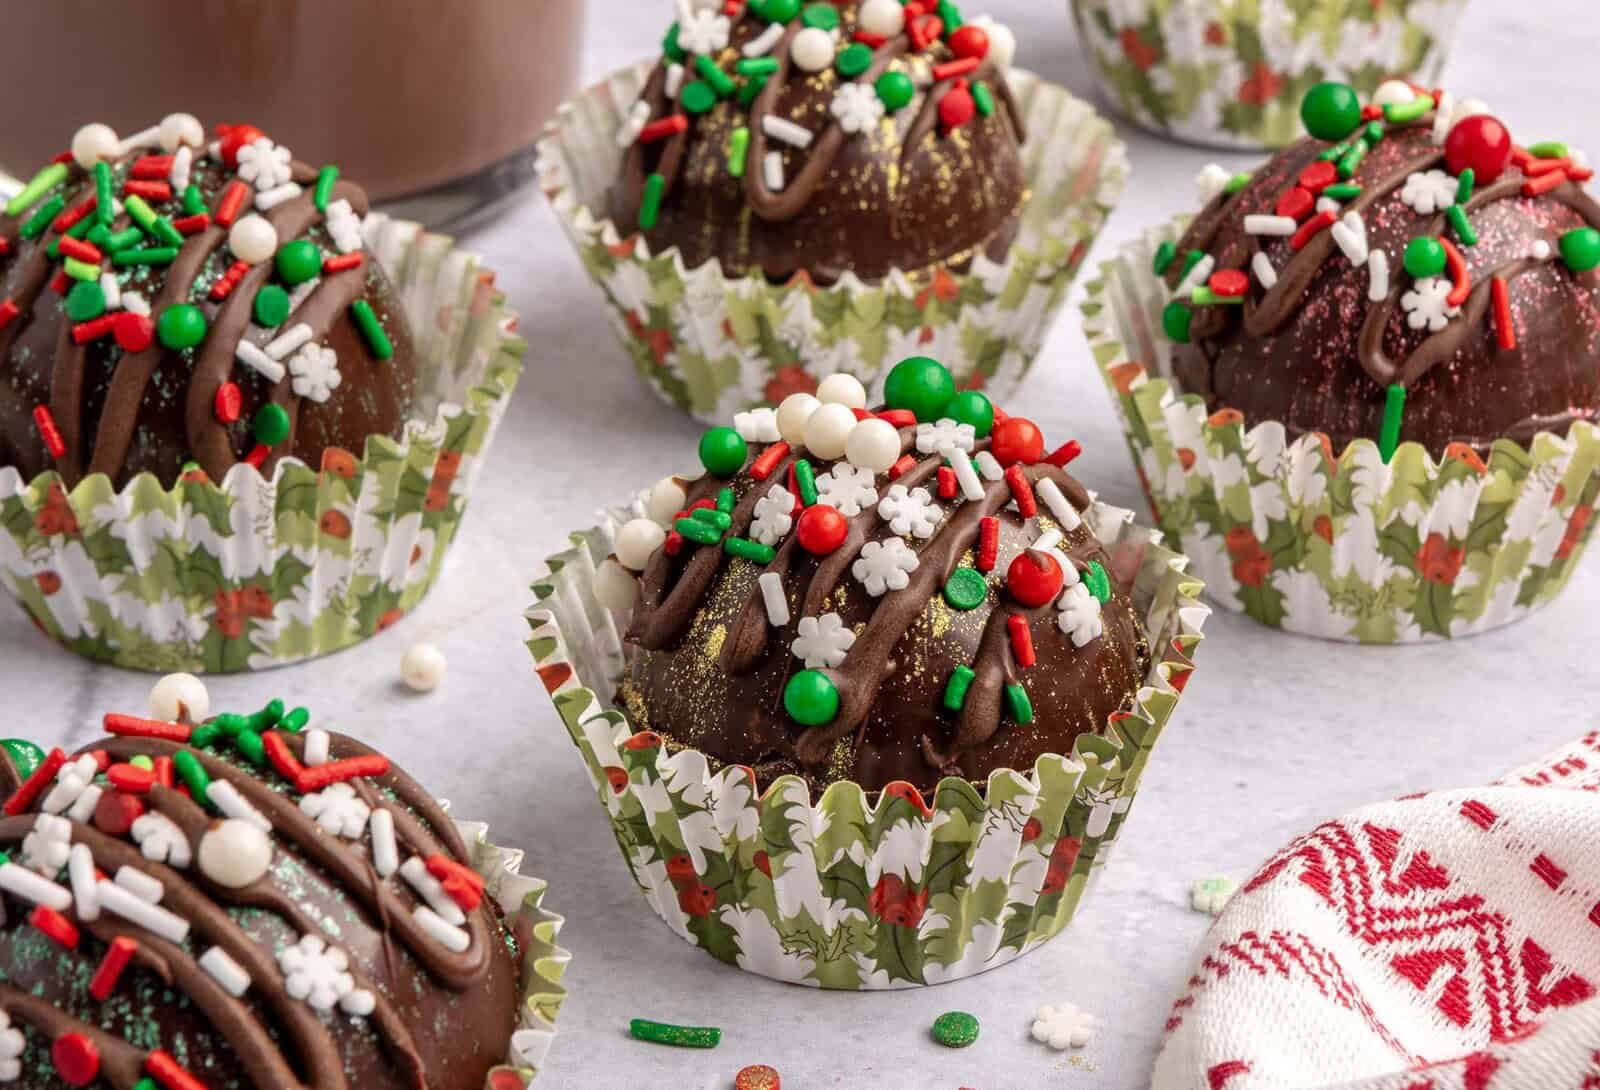
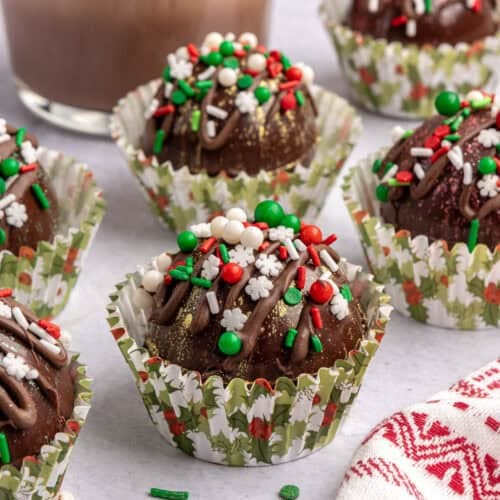
- Decorate the outsides: Once the hot cocoa bombs cool completely, dress them up with a chocolate drizzle and sprinkles, crushed candy canes, or edible glitter. Then, serve them in festive cupcake liners.
Recipe Tips
- Watch your chocolate closely so it doesn’t burn. While it is difficult to burn chocolate using a double-boiler method, it can happen. And if you melt your chocolate in the microwave, it’s even more likely that it will burn. Keep a close eye on it while it melts and remove it from the heat immediately after it melts.
- Let the melted chocolate cool slightly before adding it to the mold. If the chocolate is too hot, it won’t stay in place.
- Find that “just right” shell thickness. You want your hot cocoa bombs to stay intact when held. But you also don’t want them to melt. It may take a few tries, but play around with the thickness of the outer shell to get a good idea of how thin or thick it should be.
- Use sprinkles to conceal imperfections. When you seal the two molds together, you may have some imperfect edges or extra chunky chocolate parts, and that’s okay! If you want to hide it, add some melted chocolate around the rim and then coat it with sprinkles.
FAQs
You can if you don’t have any other options, but I don’t recommend it. The chocolate gets hot in the microwave and is much more likely to burn. The double-boiler method uses steam to melt the chocolate gently so it doesn’t burn.
You temper chocolate by heating it up and cooling it back down. Tempered chocolate is smooth, shiny, and hardens properly at room temperature.
It may need more time to cool. Let the melted chocolate rest for a few minutes off the heat, then try to spread it in the molds again. If it’s still too runny, I recommend starting over.
You likely burned it with direct heat, in the microwave, or by rushing the melting process. Try adding a small amount of boiling water and whisking until smooth. If it’s still too thick, I recommend starting over.
Heat the milk to just below boiling to make sure the chocolate shell melts completely and releases the hot cocoa mix. The melting process may take a few minutes, so stir the milk occasionally to help speed things up.
You can, but the hot chocolate won’t taste as rich and flavorful.


