Chocolate Peppermint Bark
Updated Nov 30, 2025
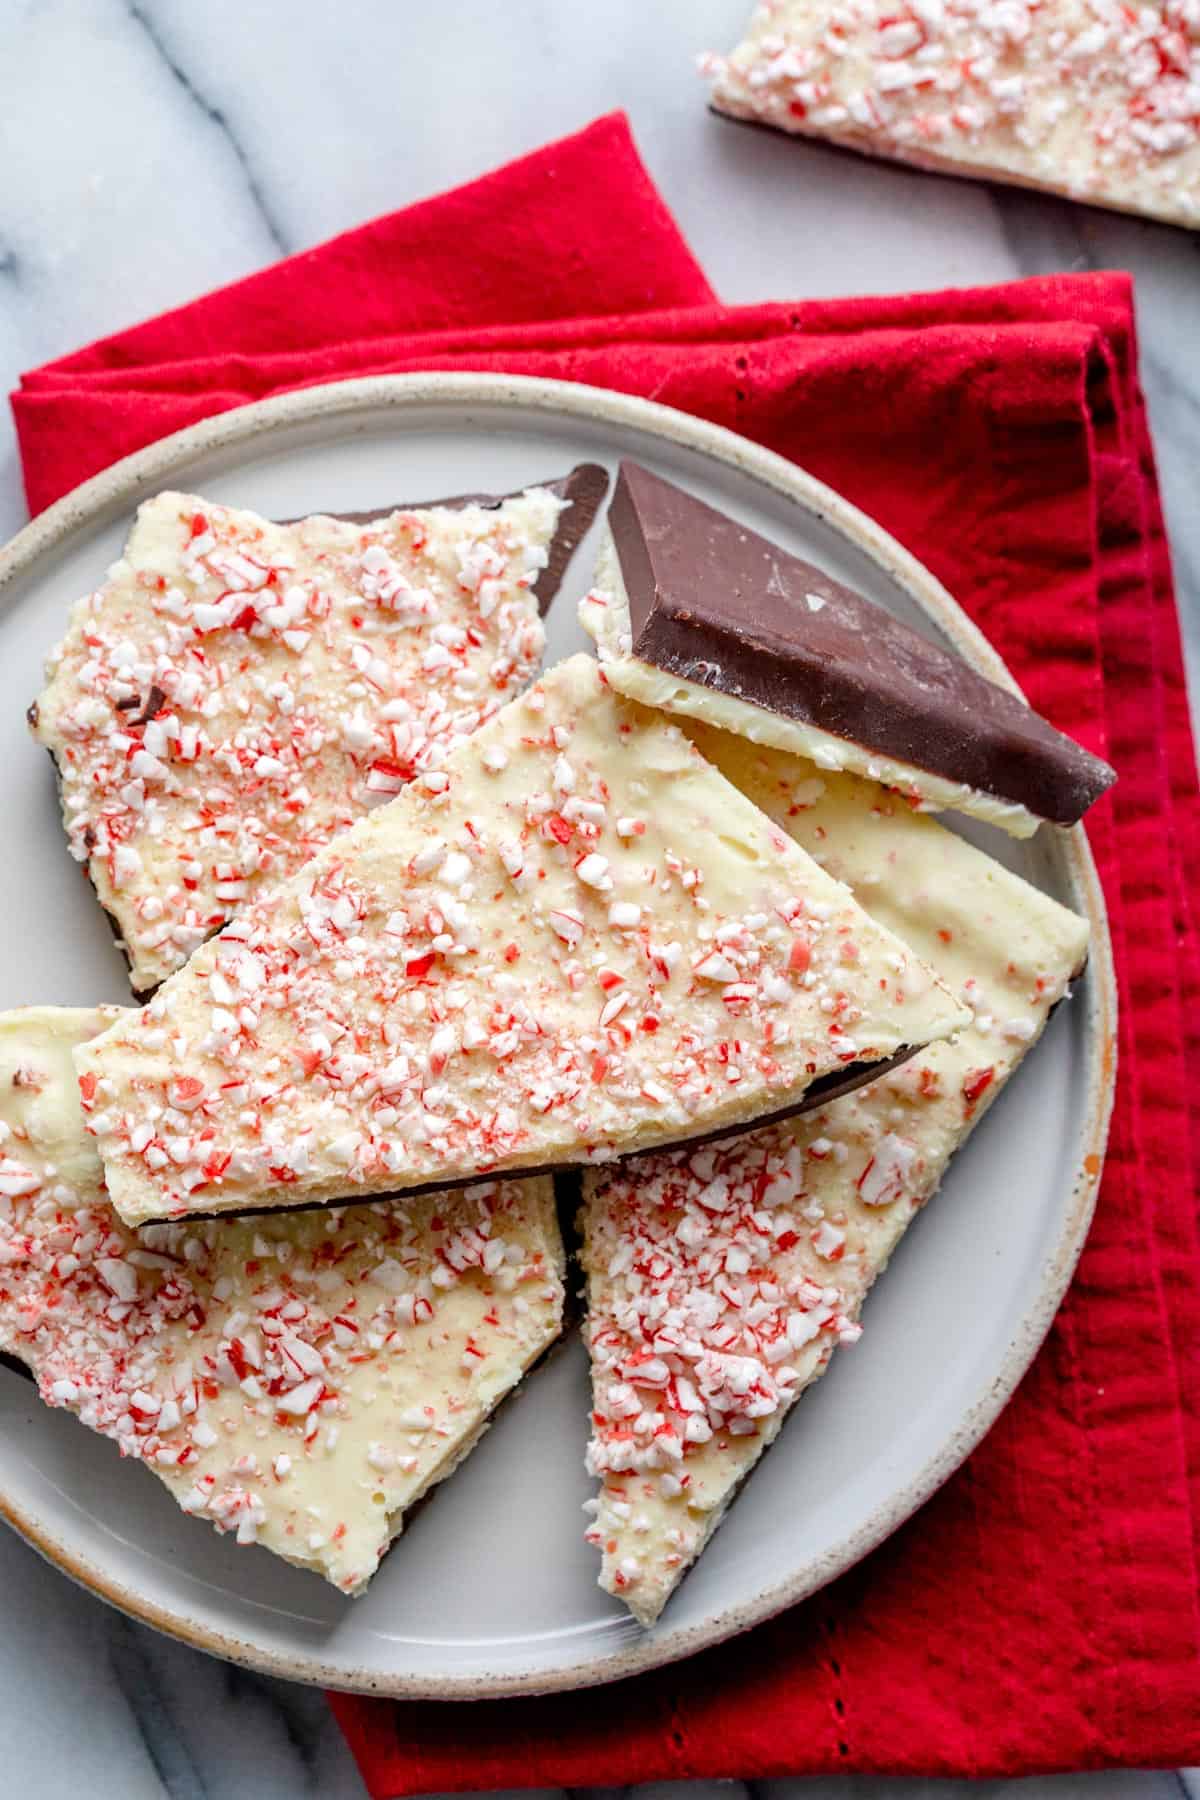
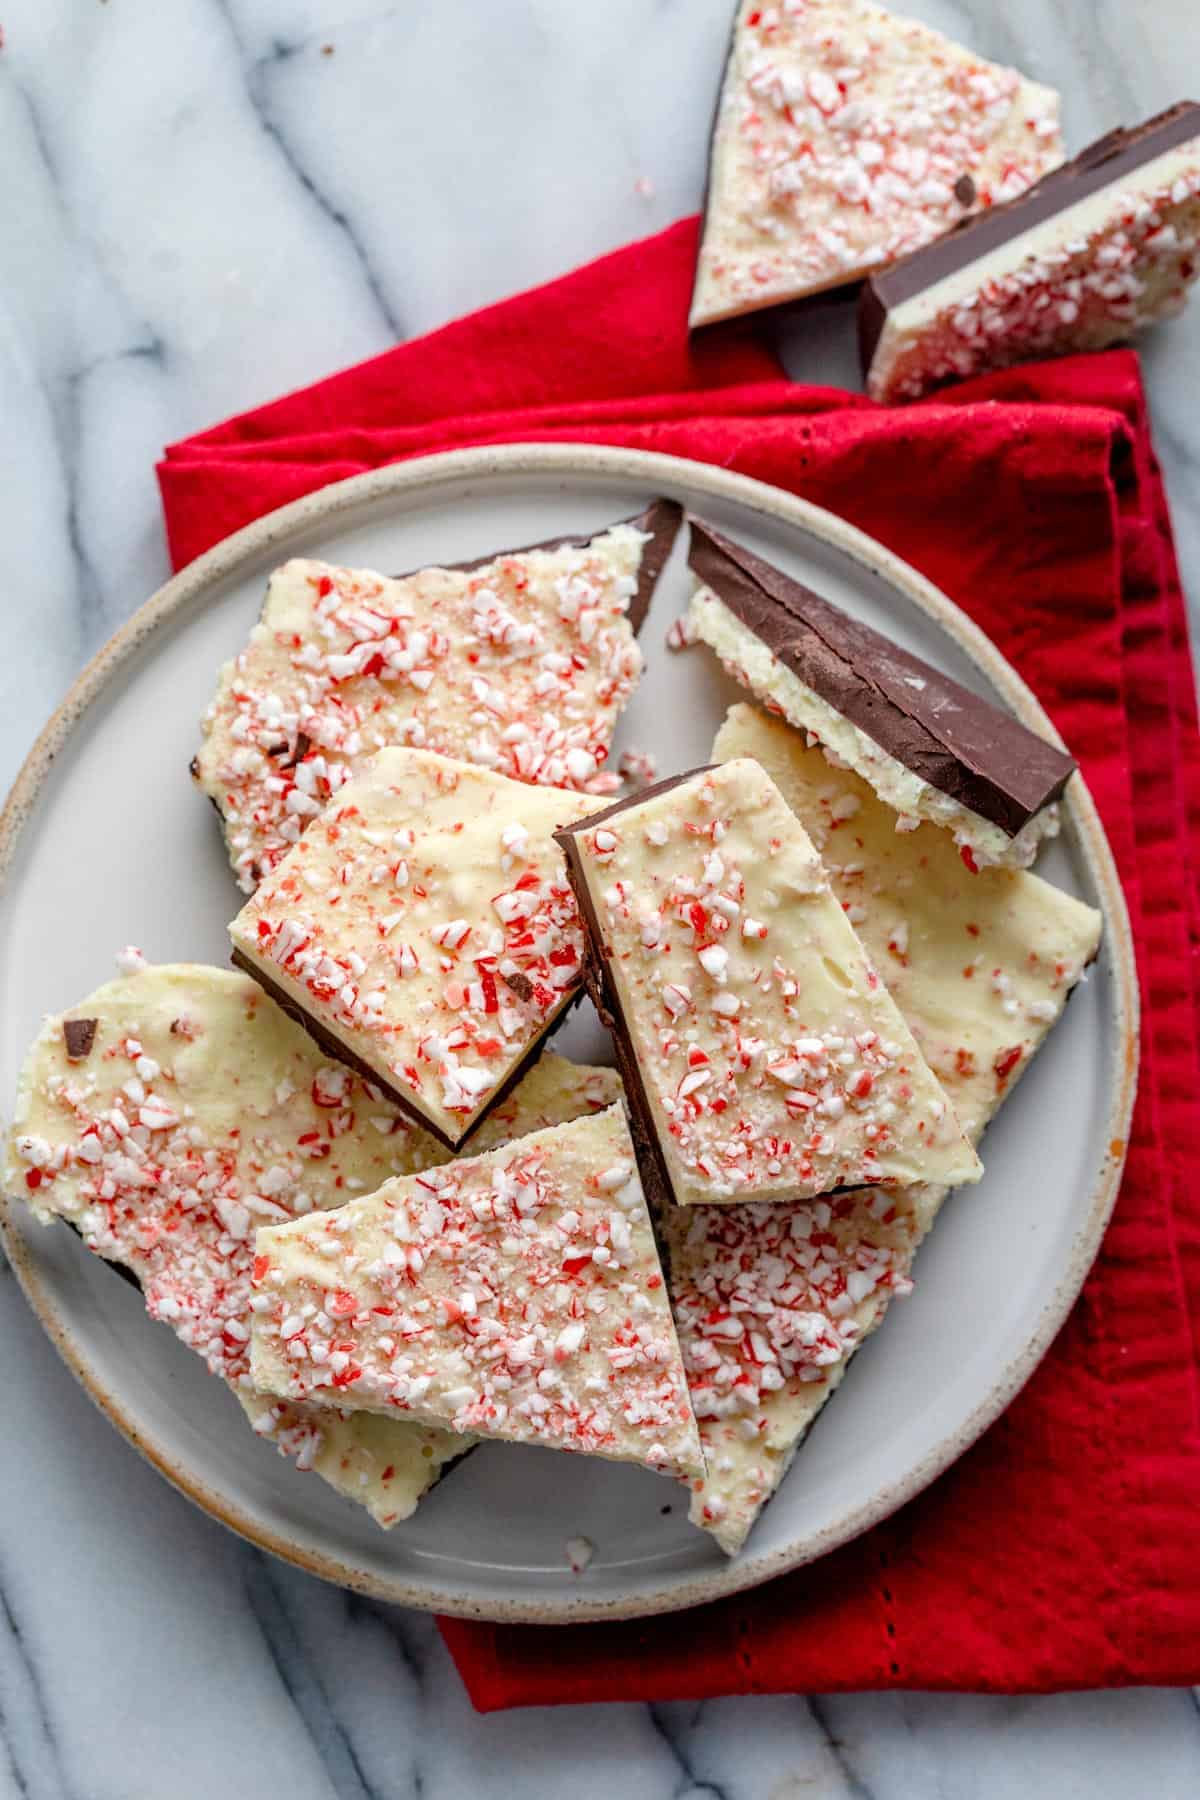
Easy chocolate peppermint bark made with two layers of melted chocolate and crushed peppermint candy. Melt, layer, chill, and break into pieces.
This post may contain affiliate links. Please read our disclosure policy.

Jump to Section
My Chocolate Peppermint Bark is Soo Good!

I make this chocolate peppermint bark every year because it’s fast, only needs a few ingredients, and everyone grabs a piece the second it hits the counter. Melt the chocolate, layer it, sprinkle crushed peppermint, chill, and crack into pieces. Chocolate peppermint bark doesn’t need to be complicated to be really good.
Happy Cooking!
– Yumna
How to Make Chocolate Peppermint Bark


Make the White Chocolate Layer and Combine


Chocolate Peppermint Bark Recipe
Ingredients
- 4 3.5 oz bars good quality dark chocolate
- 4 3.5 oz bars good quality white chocolate
- ⅓ cup Peppermint candy crushed and divided
- 1 teaspoon pure peppermint extract optional
Instructions
- Line a 9"×12" sheet pan with parchment paper.
- In a microwave-safe bowl, melt the dark chocolate until smooth and glossy, in 30-second intervals for 2–3 minutes, stirring after each interval. Pour the melted dark chocolate on the parchment paper and use a rubber spatula to spread it out evenly. Refrigerate until it sets, about 30 minutes.
- In another microwave-safe bowl, melt the white chocolate until smooth and glossy, in 30-second intervals for 2–3 minutes, stirring after each interval. Stir in half of the crushed peppermint candy and the peppermint extract, if using. Pour the white chocolate on top of the solid dark chocolate and spread it out evenly. Sprinkle the remaining crushed peppermint candy on top.
- Place back in the refrigerator until set, about 1–2 hours. Remove from the parchment paper, break into smaller pieces, and enjoy.
Notes
- My Top Tip: Before pouring the white chocolate mixture, make sure the dark chocolate sets completely. If it’s still wet, the layers will blend together. It’ll still taste great, but might not have the clean presentation you hoped for.
- Storage: Store the chocolate peppermint bark at room temperature or in the fridge for up to 2 weeks.
- Freezing: Individually wrap the pieces of chocolate peppermint bark in parchment or wax paper, and then again with plastic wrap or foil. Then, place it in an airtight container. It’ll keep in the freezer for 2–3 months. If you don’t wrap the bark well, you may experience “sugar bloom,” a white discoloration that happens when moisture makes the sugar separate. It’s safe to eat, but again, it might not have the clean presentation you hoped for.
Nutrition
Nutrition information provided is an estimate. It will vary based on cooking method and specific ingredients used.
Recipe Variations
- Make the bark in molds: Instead of making the bark on a sheet pan and breaking it into pieces, make it in festive silicone molds for fun holiday shapes.
- Have fun with toppings: In addition to crushed peppermint candies, you can top the bark with sprinkles, nuts, toffee bits, dried fruit, or crushed cookies.
- Or, have fun with extracts. Chocolate bark is versatile. Instead of peppermint, try vanilla, almond, coffee, orange, pumpkin, or even berry extracts.
Recipe Tips
- Let the dark chocolate set completely. Before pouring the white chocolate mixture, make sure the dark chocolate is ready. If it’s not set, the layers will blend together. It’ll still taste great, but might not have the clean presentation you hoped for.
- Add the topping right away. If you wait too long, the chocolate will set, and the crushed peppermint candy won’t stick to it.
- Bring the bark to room temperature before cutting. Let it sit for 5 minutes before cutting it into pieces.
FAQs
For chocolate to set properly, you need to cool it down gradually. It might be too warm in your kitchen, or there might be excess moisture in the air. Or, you may have layered the chocolate too thickly. Try spreading it thinner next time.
Before cutting, let the bark come to room temperature for 5 minutes. This helps the layers bond together. Use a sharp knife and cut gently.


Comments
Looks delish!
Would it be weird to make it without white chocolate? I don’t like – but like peppermint bark. Any alternate ideas?
Thanks!
K
Thank you! Nope, you can definitely do that and use more dark or milk chocolate.
Which layer would u add the peppermint extract too? We skipped but may use next time:)
I’d add it to the white chocolate layer, but you could also add it to the dark chocolate layer!
Wow. Yum yum yummy
beckandbulow
Aww, thank you!
Made these as a Christmas gift for my grandparents and they loved both the taste and the looks of these😍 ok, I may have eaten some too🤫 Thank you Yumna for these recipes! Will be testing more.. 😉 Xo
I’m so glad to hear that! And, I can’t blame you! Thank you so much.
I am inspired to try some of these recipes!
Thanks for sharing.
Thank you!
Thanks so much! And yes, love the idea of adding the peppermint essential oil! Thank you!
Do you have any tips for how to avoid the two chocolates from smearing together? When i poured the white chocolate on and tried to spread, it did just that. Thanks!
There’s two ways to do it, the first way is the way I did it which is to pour the dark first and then the white immediately and barely spread with a spatula. This helps to ensure that both layers stick together. But what a lot of others do is actually let the first layer set at room temperature for 10 minutes and then pour the second layer on top and spread. Hope that helps!