Greek Yogurt Pizza Dough
Updated Feb 26, 2025
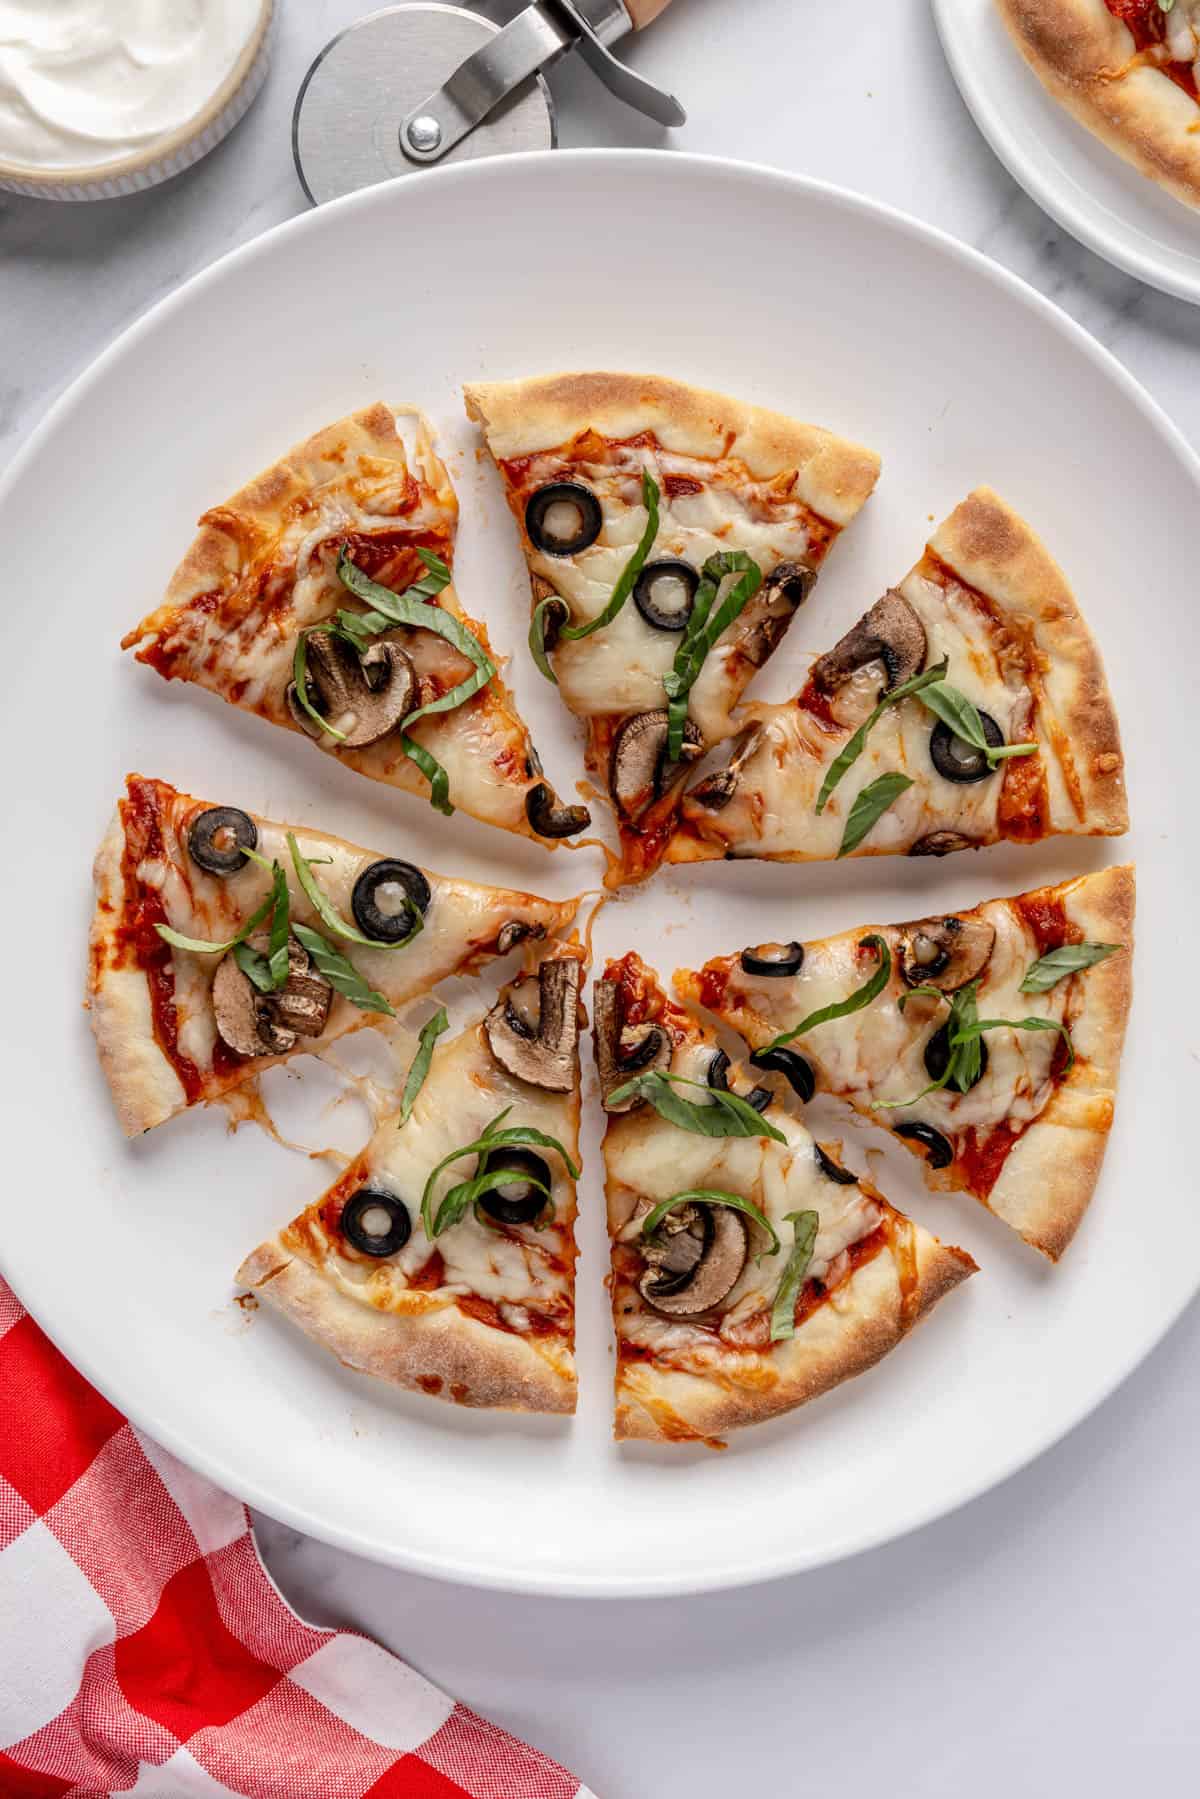
This 2 ingredient pizza dough is made with Greek yogurt and self-rising flour. It takes pretty much no time to make and blind bake making it ready for toppings!
This post may contain affiliate links. Please read our disclosure policy.
Jump to Section
My Greek Yogurt Pizza Dough is So Good!

Even though my kids try so many different recipes (perks of running and recipe testing for this site!), they still say their favorite food is pizza. Because of that, I’m always trying to come up with new pizza recipes that are also a bit healthier (like my broccoli pizza crust and pizza muffins). This Greek yogurt pizza dough is one of those creations!
I remember the first night I made this 2-ingredient pizza dough: My kids wanted pizza and I didn’t want to run out to the store for pizza crust or have the time for a yeasted dough! By mixing yogurt and self-rising flour (meaning it has baking powder already added to it), I created a pizza dough that can be mixed, kneaded, and then immediately shaped and baked. Even I’m impressed with myself!

Ingredients You’ll Need
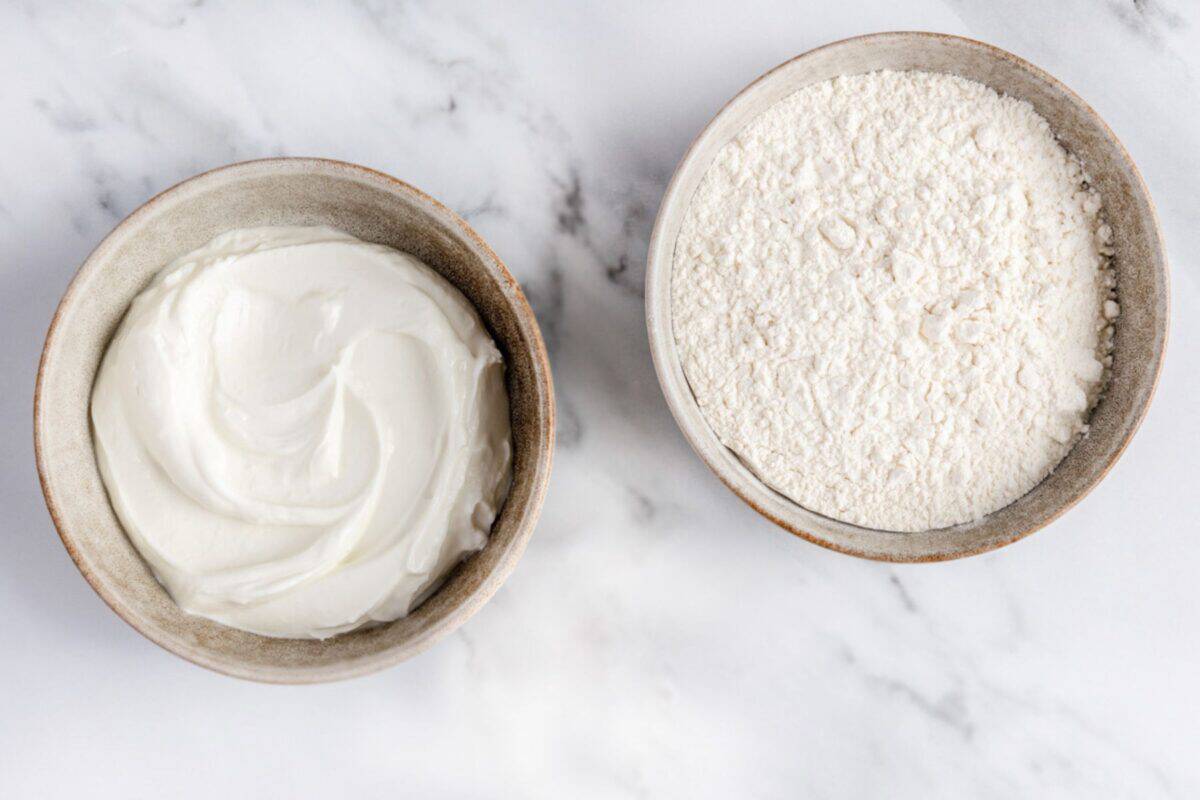
- Greek yogurt: I think whole milk yogurt adds the best flavor, but you can use low-fat or 2%.
- Self-rising flour: If you can’t find self-rising flour at the store, you can easily make your own! (This is what I usually do.)
Popular Additions
- Dried herbs: Mix a teaspoon of dried oregano, basil, or Italian seasoning into the dough.
- Cheese: Try adding ¼ cup of grated parmesan to the yogurt pizza dough.
- Roasted garlic: I haven’t tried this, but it sounds so good. You can mince as much roasted garlic as you want and add it to the crust!
How to Make Greek Yogurt Pizza Dough

My Best Yogurt Pizza Dough Tips
- Knead the dough well. I know that 6-8 minutes seems like a long time to knead pizza dough, but this is what will help make it stretchy and allow you to roll it into a circle without the dough ripping!
- If the dough isn’t rolling well, let it rest. The gluten in the dough might just need to relax a little! Let the dough rest for a few minutes, then try rolling it out again.
- Make sure to flour the counter well. If you don’t, the dough will stick when you’re to kneading and rolling it. You can even use a fine mesh strainer to evenly dust the counter with flour!
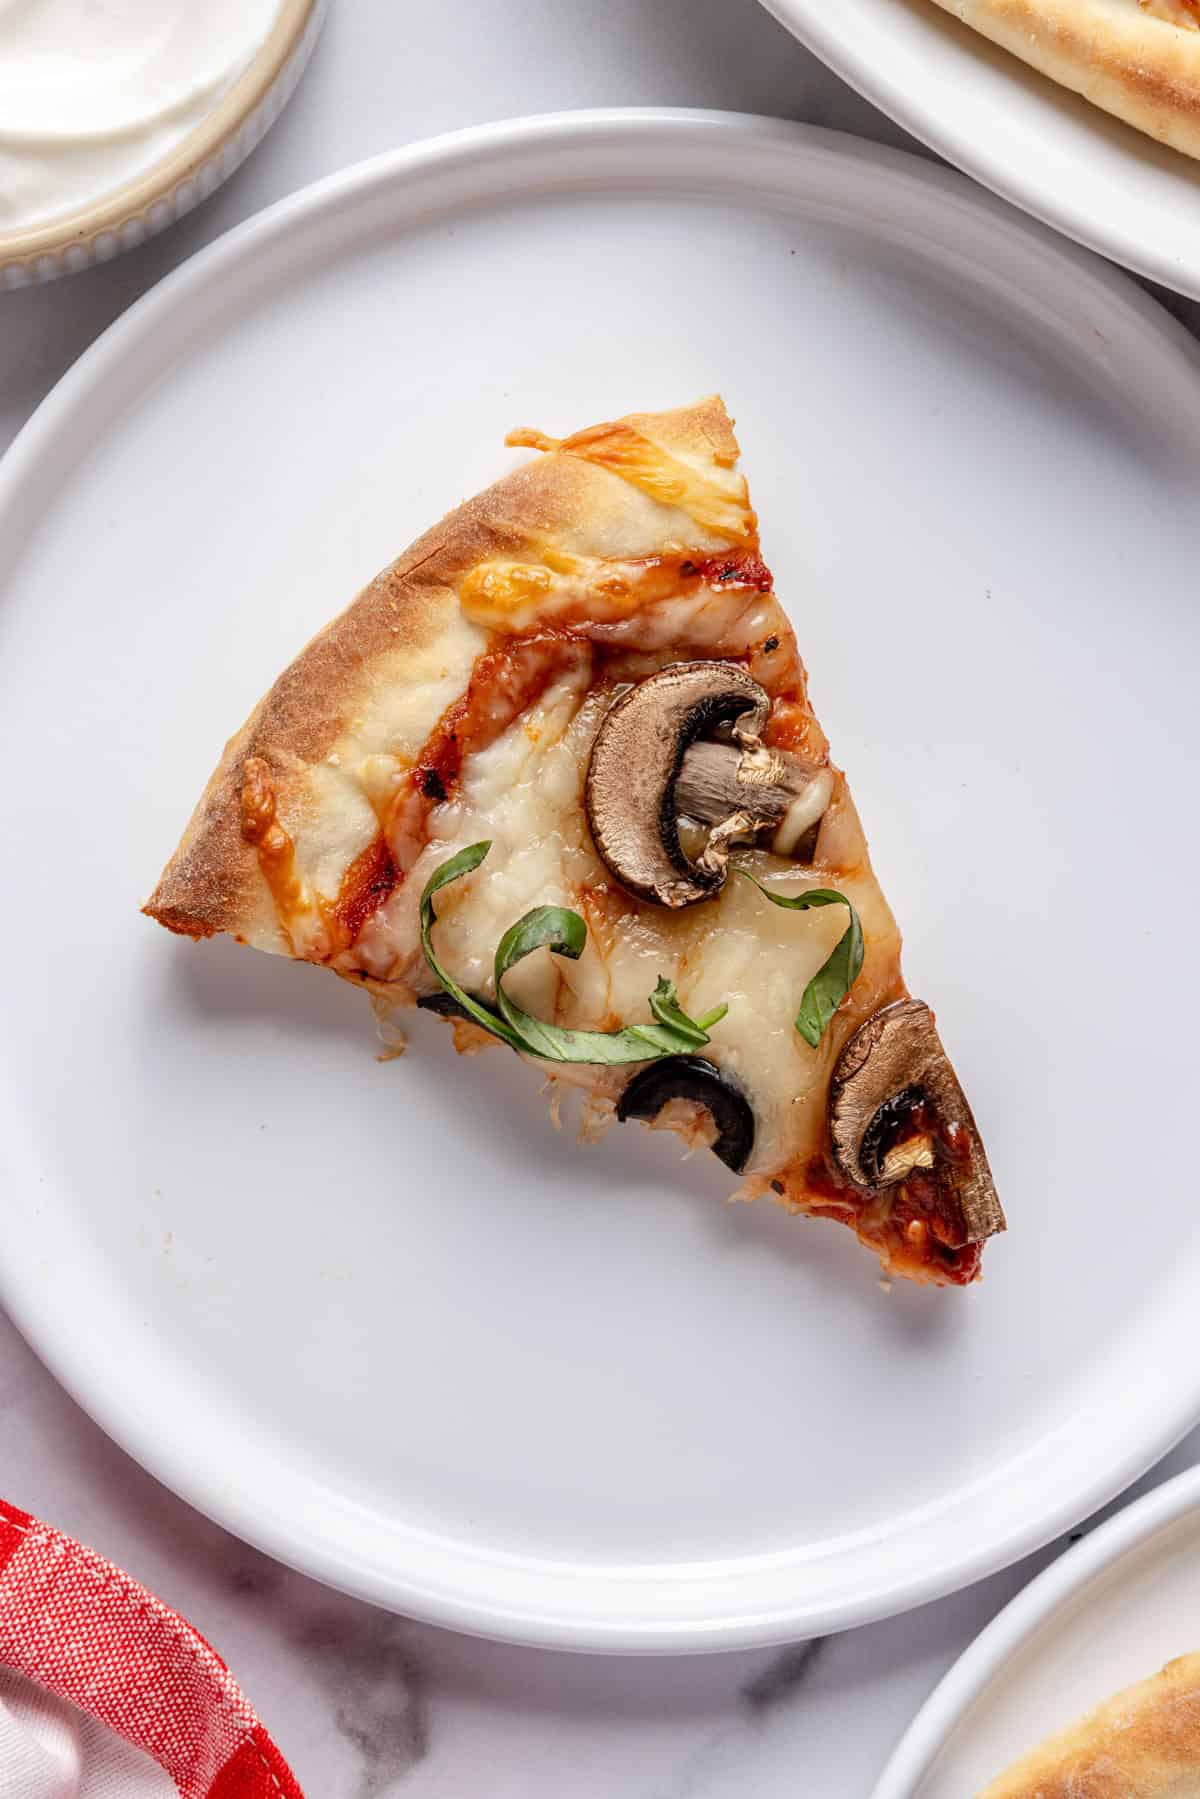
- Bake the dough before adding toppings. This will help it crisp and allow you to easily slice the pizza.
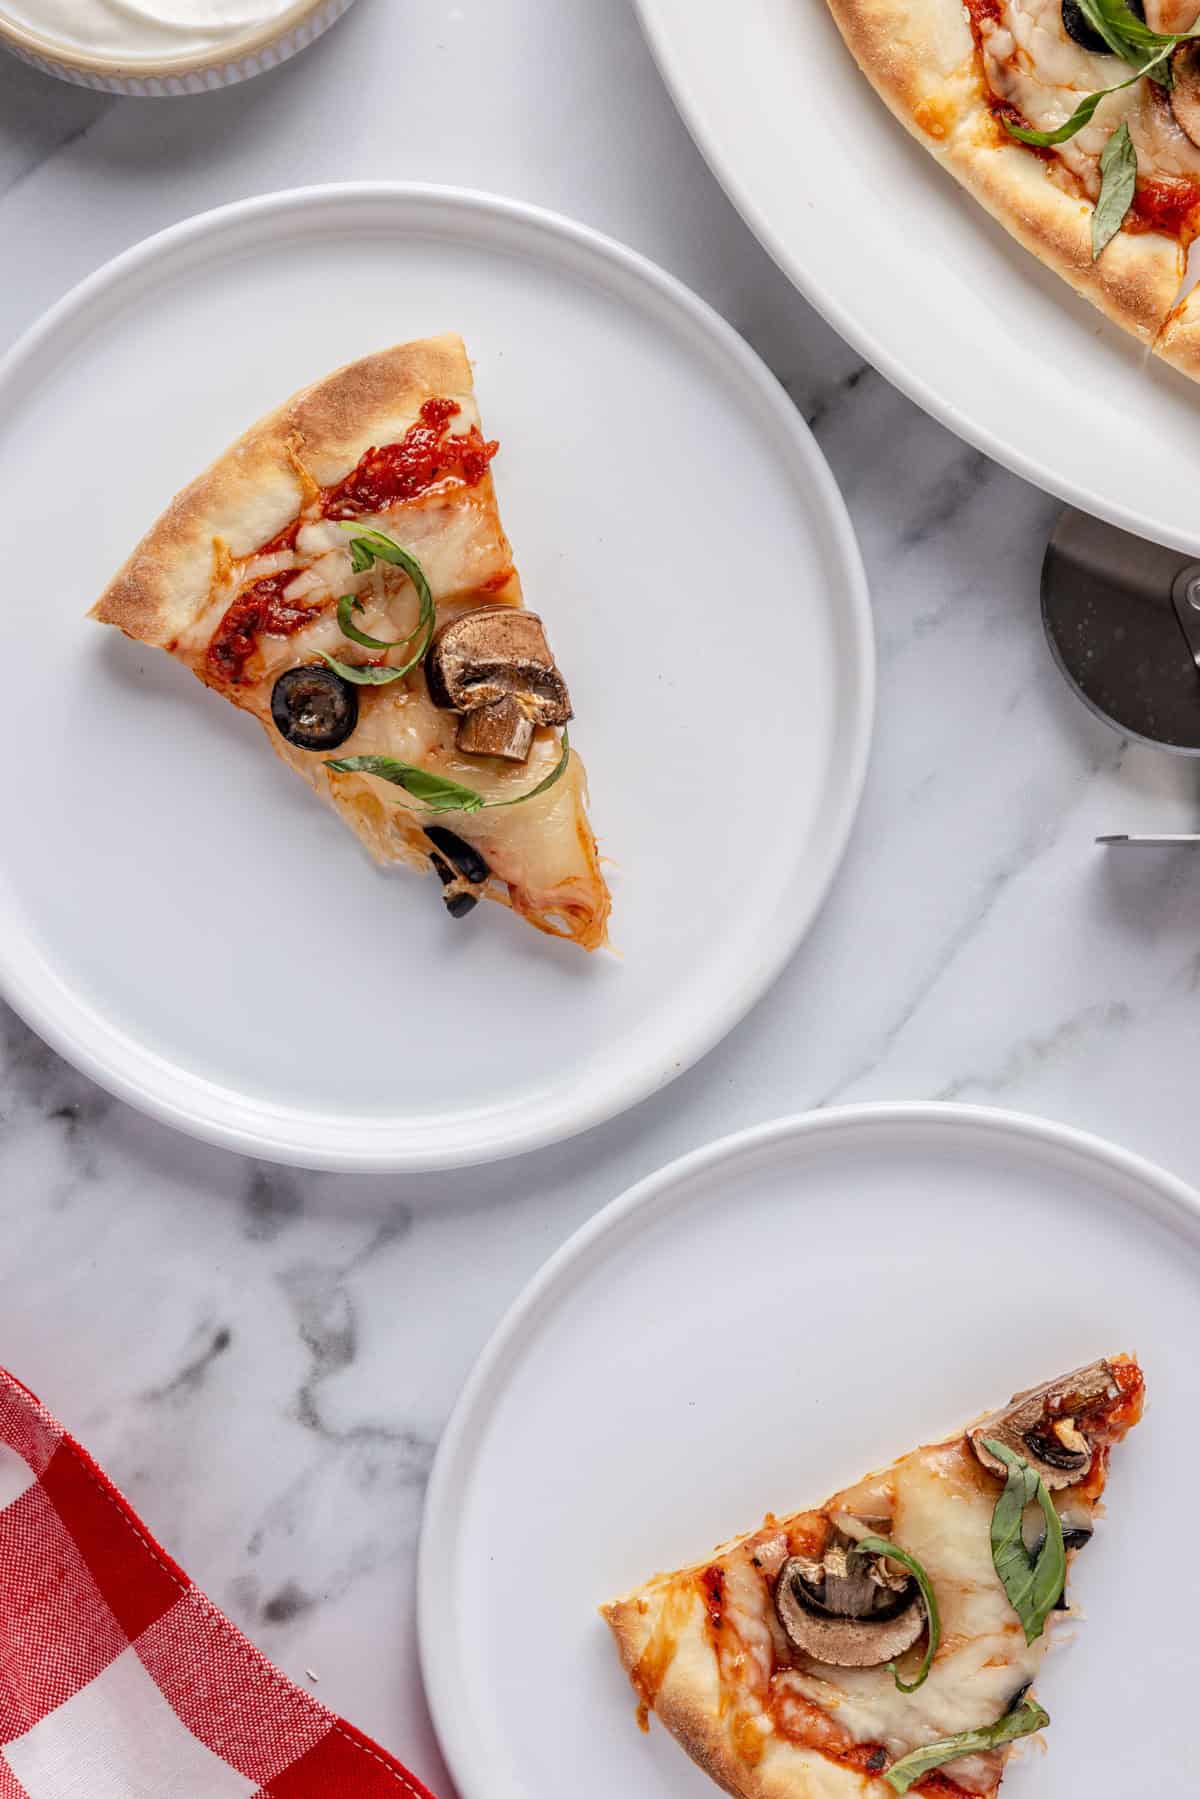
What to Serve
Recipe Help & FAQs
Kept in the fridge in an airtight container, the cooked pizza will keep for about 3 days. You can reheat slices in the microwave or air fryer!
Because this pizza dough uses self-rising flour, it’s best used immediately—otherwise, it may not rise properly. If you’re looking for a freezable pizza dough, I have this homemade one.
If the dough rips, I would try pinching the dough with your fingers to close the rip, letting the dough rest for a couple of minutes, and then staring to roll it out again.
More Pizza Recipes:
- Greek Yogurt Pizza Bites
- Sheet Pan Pizza
- Classic Pizza Dough
- BBQ Sauce Chicken Pizza
- Cast Iron Deep Dish Pizza
- Margherita Pizza
If you try this Greek Yogurt Pizza Dough recipe or any other recipe on Feel Good Foodie, then don’t forget to rate the recipe and leave a comment below! It helps others who are thinking of making the recipe. I would love to hear about your experience making it. And if you snapped some shots, share it on Instagram so we can repost on Stories!
Greek Yogurt Pizza Dough Recipe
Video
Ingredients
- 1 ½ cup self-rising flour plus more for surface
- 1 cup Whole Milk Greek yogurt
Instructions
- Preheat the oven to 475°F. Line a standard a large baking sheet with parchment paper if making 12 mini pizzas or line a round baking pan with parchment paper for one round pie.
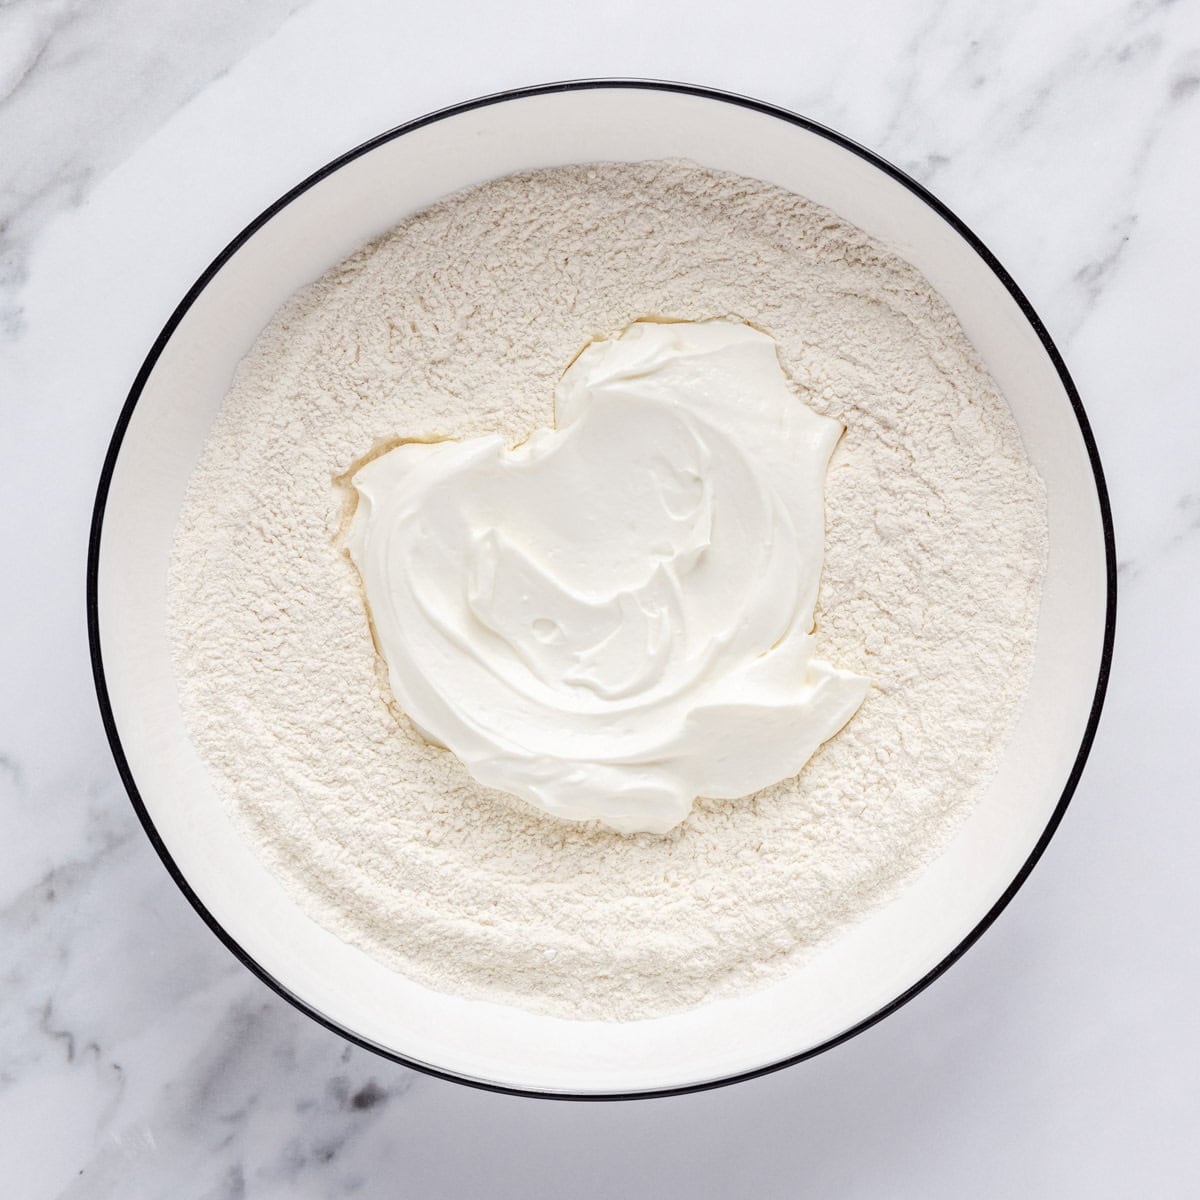
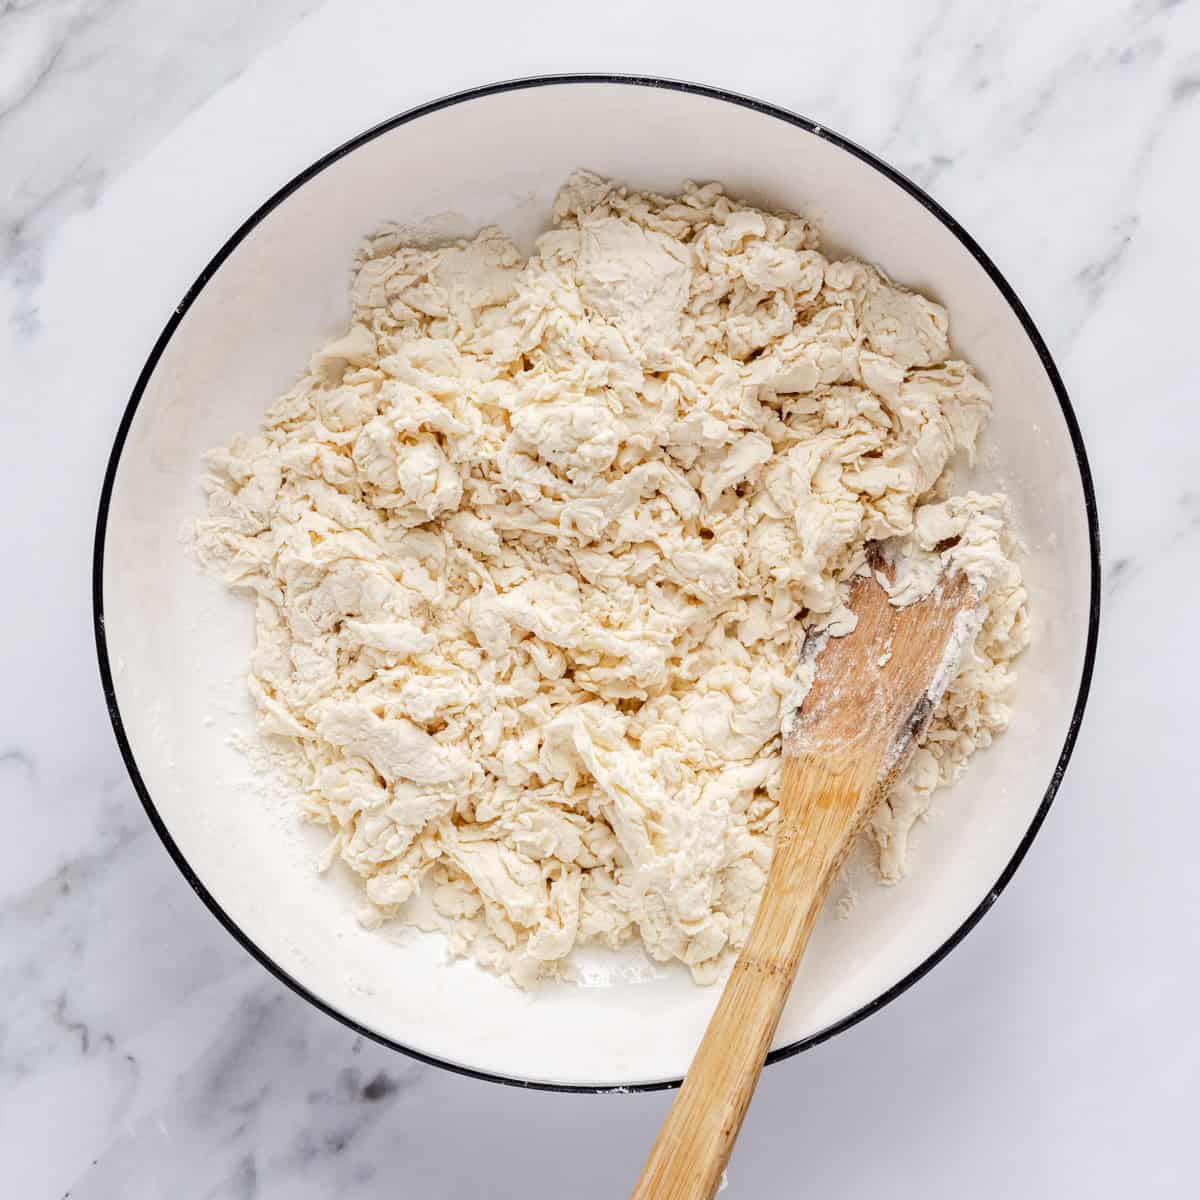
- In a large bowl, add the self-rising flour and yogurt and mix together with a wooden spoon until all the ingredients are well combined.
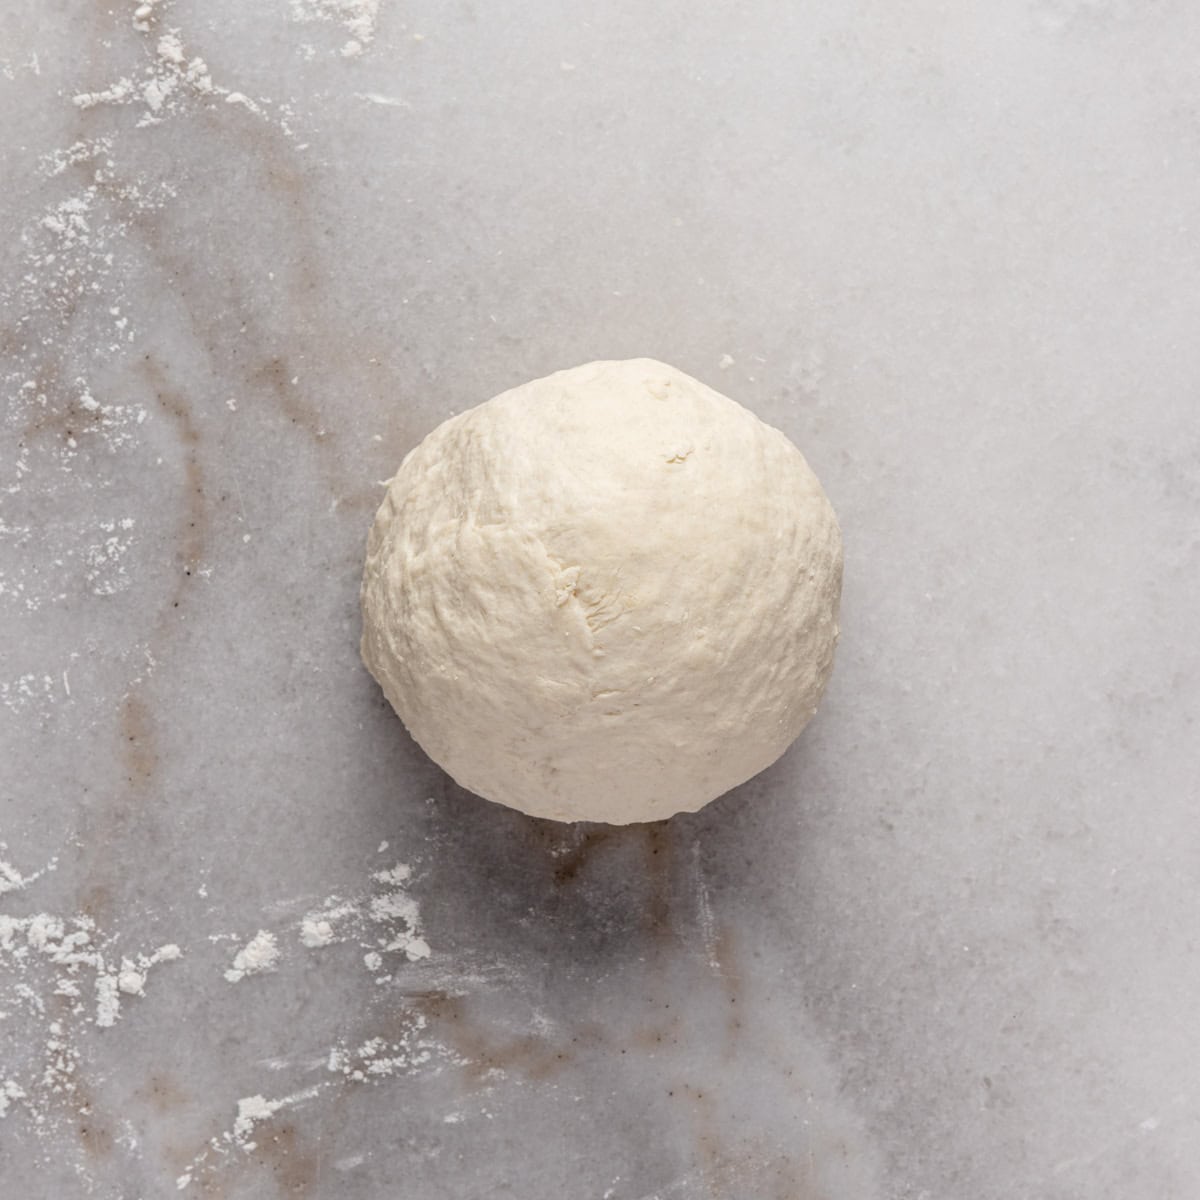
- Transfer the dough to a lightly floured surface and knead by hand for 6-8 minutes until the dough feels smooth, but some bumps are ok. Makes about a 1-pound dough ball.
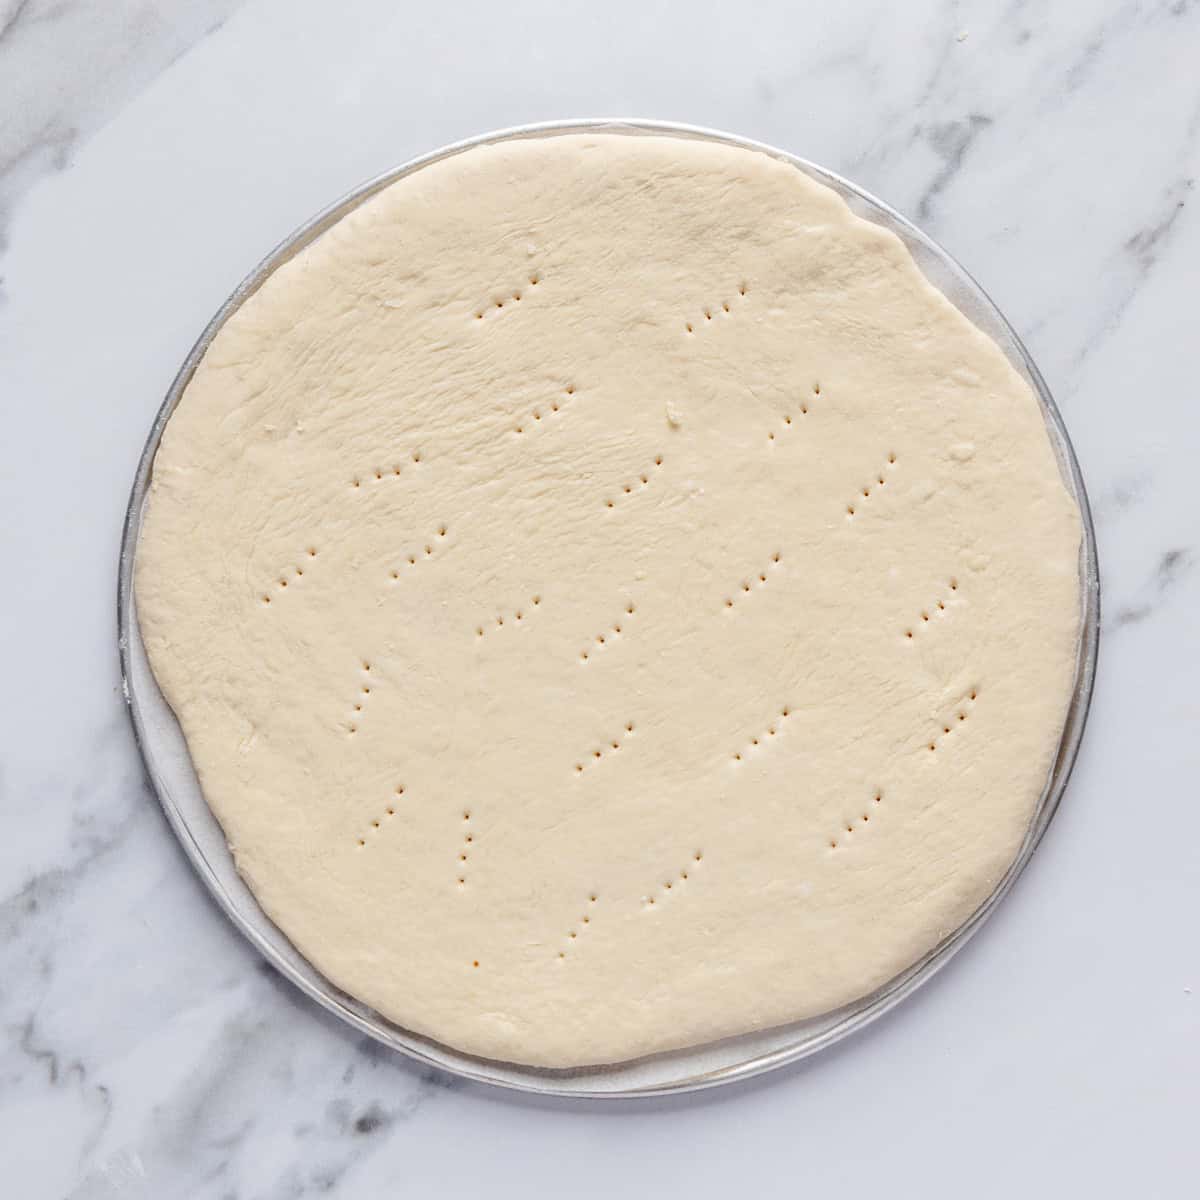
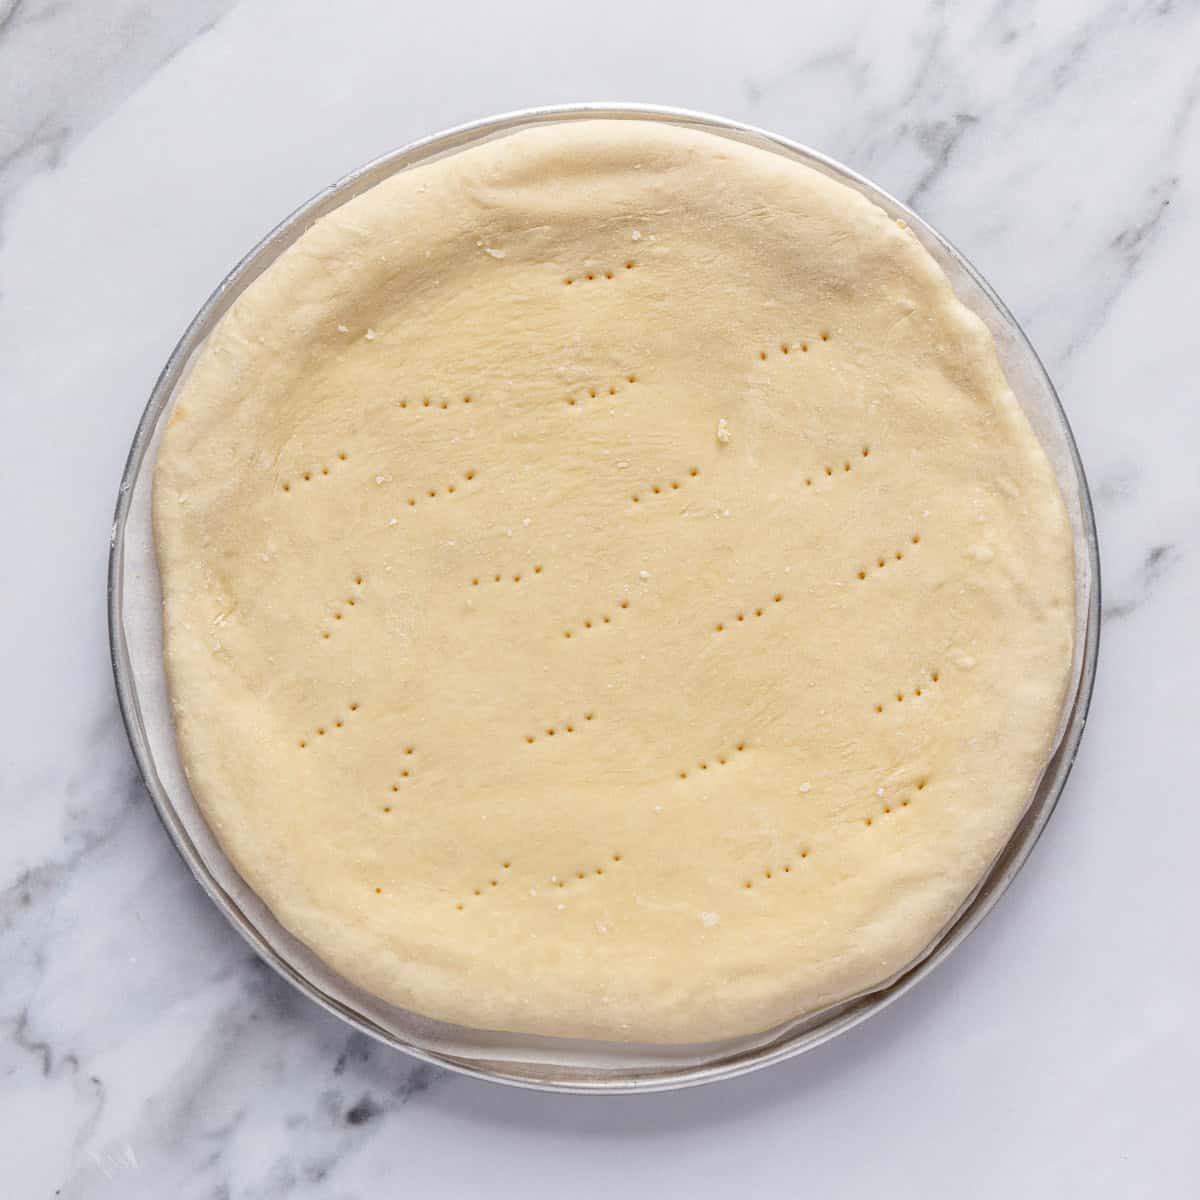
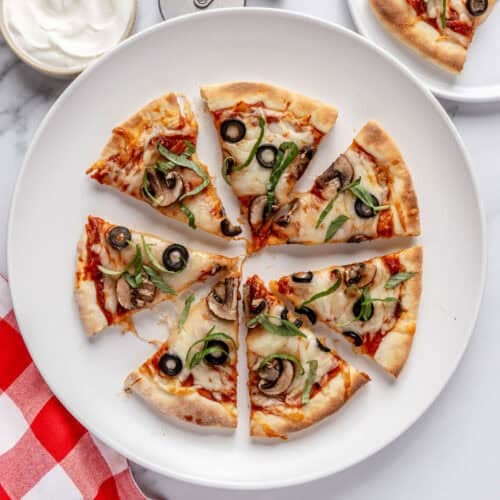
- For one pizza pie, use a rolling pin to flatten out the pizza dough into a round shape about 9 to 12 inches wide, depending on the preferred thickness. For 12 mini pizzas, divide the dough into 12 equal pieces and roll into balls, then use a rolling pin to flatten them out about 3 inches in width.
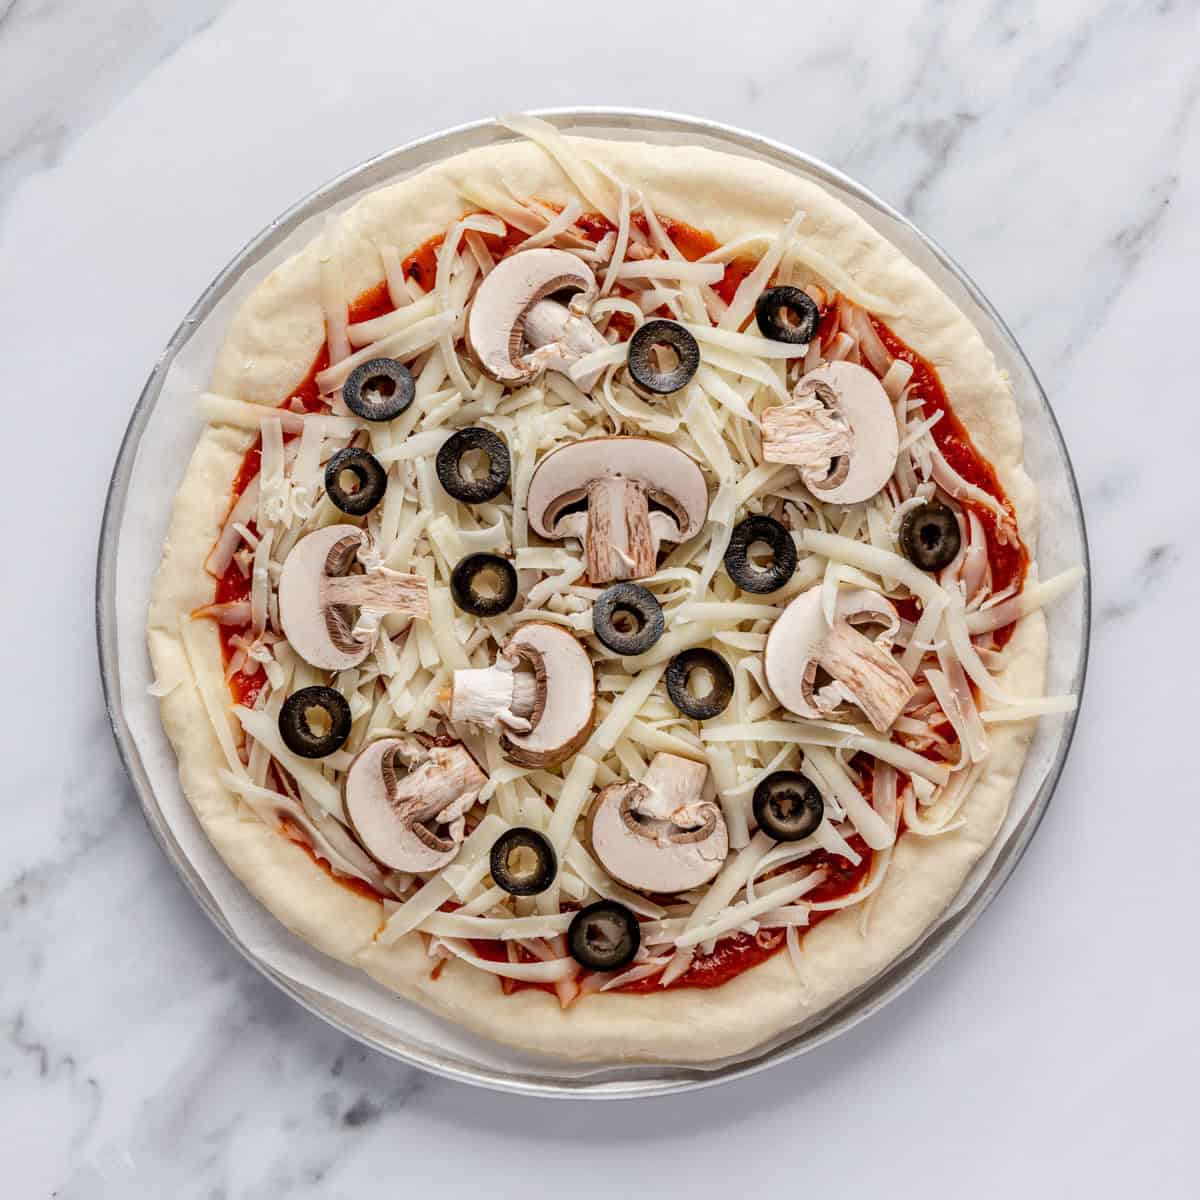
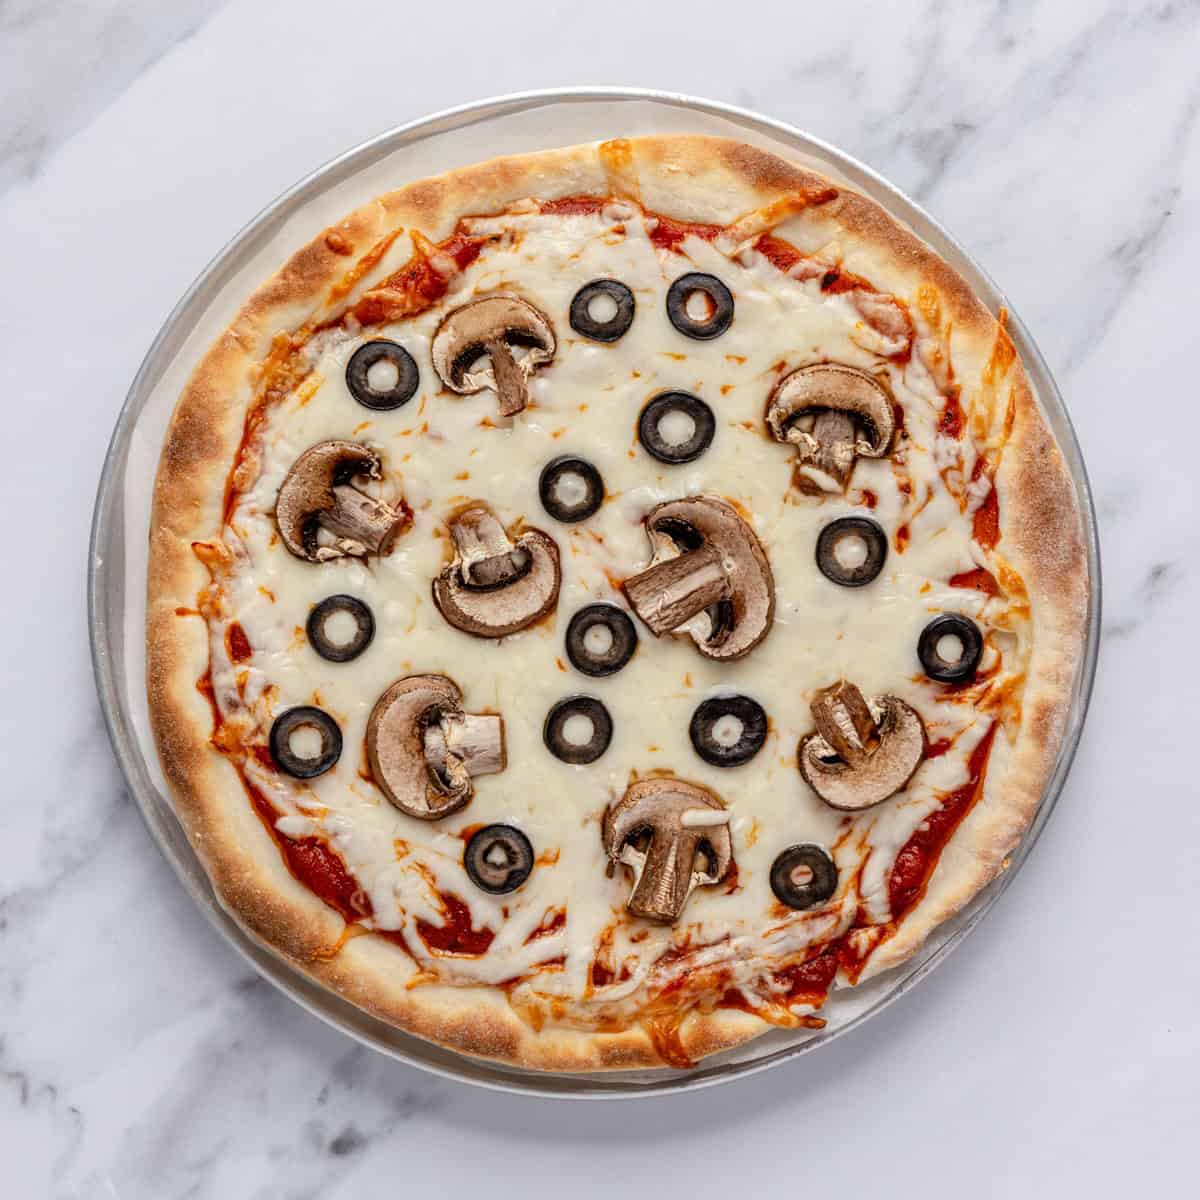
- Poke the pizza crust with a fork a few times to avoid puffing in the oven. Bake in the preheated oven for 5 minutes. Add the toppings and return to the oven. Continue baking until the crust is lightly browned and the cheese has melted, 5 to 7 minutes more minutes.
Notes
Nutrition
Nutrition information provided is an estimate. It will vary based on cooking method and specific ingredients used.


Comments
Worked great! I had to knead for about 10-12 minutes but worth it!
So glad it worked well for you and you enjoyed it! Definitely worth the wait!
See All Comments