This post may contain affiliate links. Please read our disclosure policy.
This layered chocolate peppermint bark recipe is an easy-to-make festive treat that kids and adults will love. Made with just three ingredients, this easy recipe is perfect to enjoy or gift to friends or family. The dark chocolate balances the white chocolate, and the peppermint adds a cooling mouthfeel making this Chocolate Peppermint bark a holiday must-have!
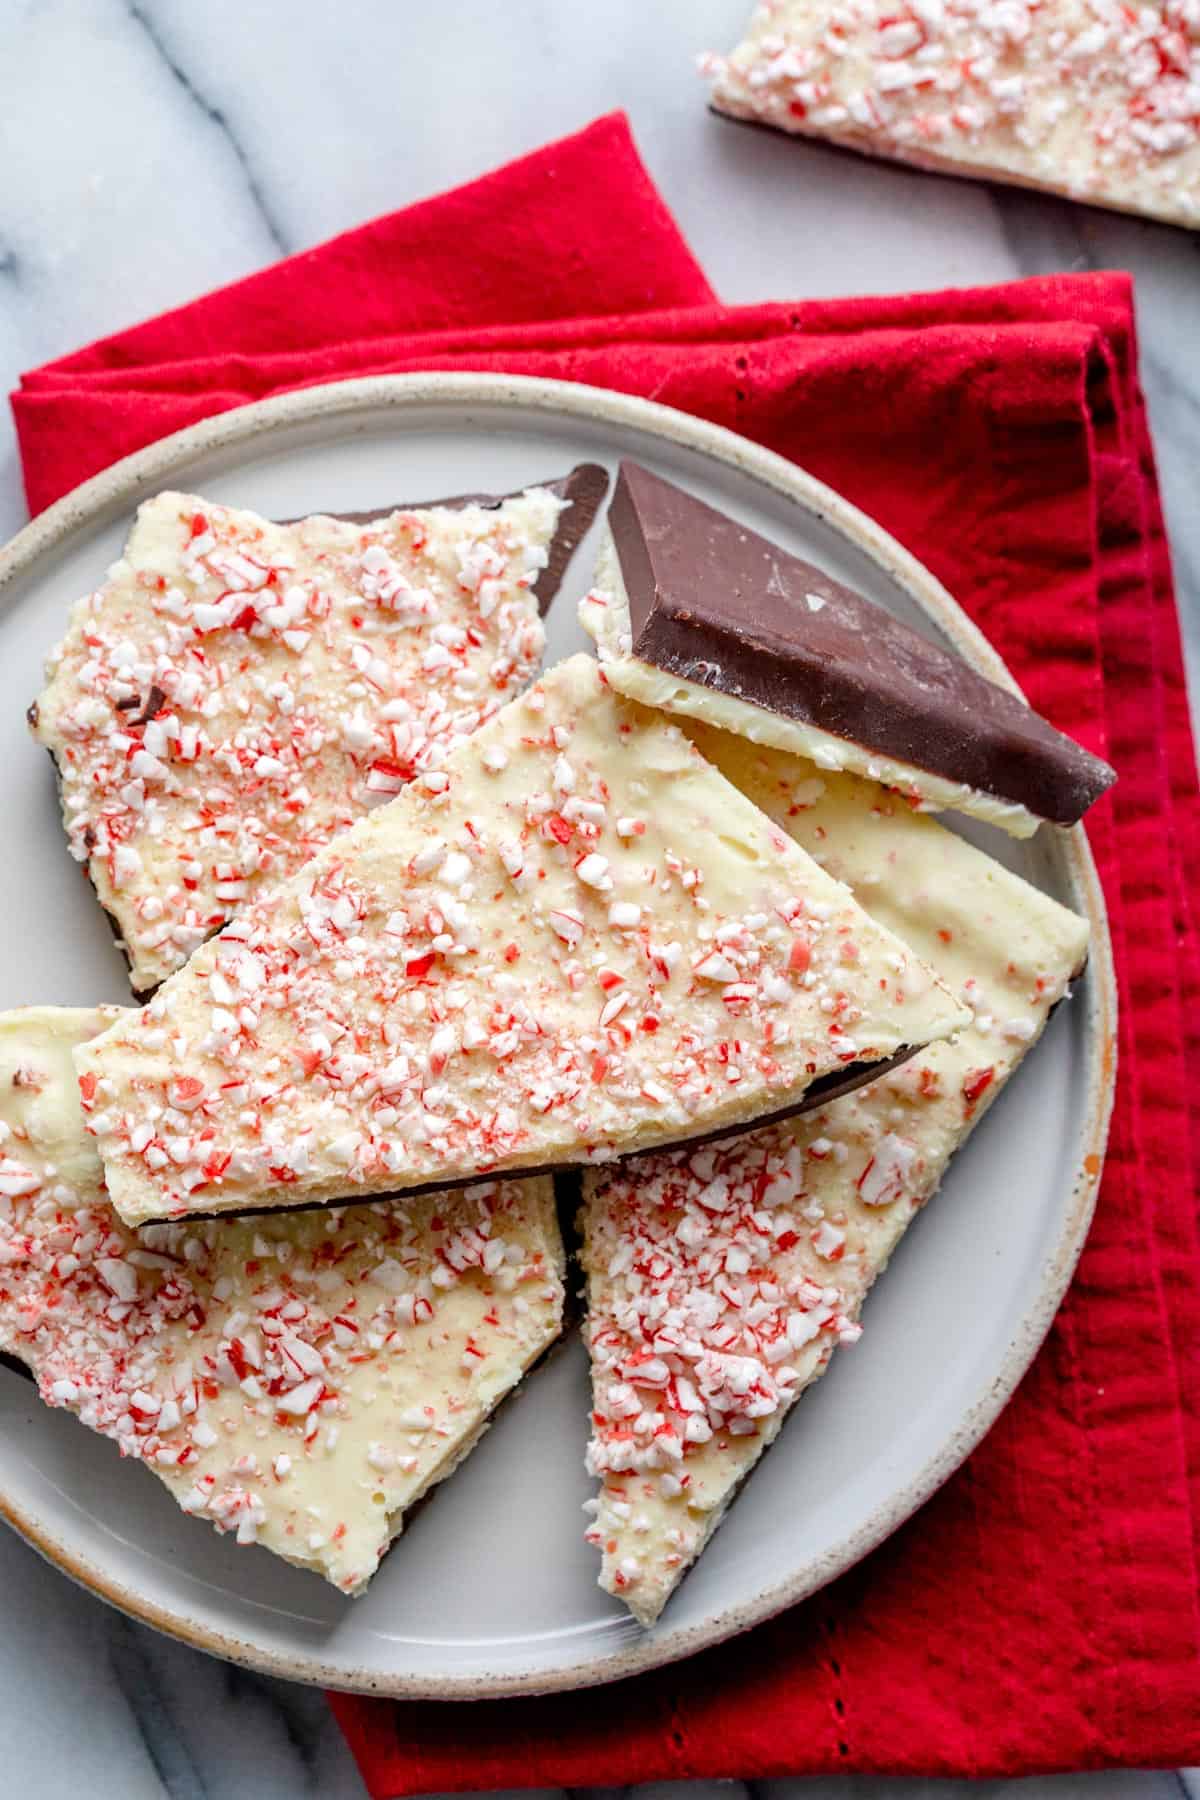
There’s nothing quite like the Williams Sonoma Peppermint Bark – it comes out once a year and it’s classic, comforting and pretty unforgettable. This is my attempt at replicating that recipe with better-for-you ingredients in an approachable method.
Be sure to check out my other fun Christmas treats like my Reindeer Brownies and Christmas Tree Vegetable Platter with Dip.
“Made these as a Christmas gift for my grandparents, and they loved both the taste and the looks of these😍 ok, I may have eaten some too🤫 Thank you, Yumna, for these recipes! Will be testing more.. 😉 Xo” – Lida
Table of Contents
- Recipe at a glance
- INGREDIENTS TO MAKE CHOCOLATE PEPPERMINT BARK
- POPULAR SUBSTITUTIONS & ADDITIONS
- How to make peppermint bark
- Tips for making the best homemade chocolate bark
- HOW TO SERVE CHOCOLATE PEPPERMINT BARK
- HOW TO STORE CHOCOLATE PEPPERMINT BARK
- Frequently asked questions
- For more peppermint flavored desserts:
- Chocolate Peppermint Bark Recipe
Recipe at a glance
Cuisine Inspiration: American
Primary Cooking Method: Melting and Chilling
Dietary Info: Vegetarian
Key Flavor: Peppermint
Skill Level: Beginner
Summary
- Easy To Make: Surprisingly easy to make with only 3 ingredients, and doesn’t require advanced culinary skills or techniques. An easy treat to make without a lot of hassle.
- Great Holiday Gift: Package in decorative boxes or mason jars, this peppermint bark makes an exceptional gift.
- Fun Holiday Treat: Combine the rich dark and white chocolate flavors with the refreshing taste of peppermint. A snack, dessert, or treat that will bring joy to the holiday season.
- Customizable: Easily customize the layers, designs, and toppings to suit your holiday theme. Get the kids involved in creating their own personal bark flavors.
INGREDIENTS TO MAKE CHOCOLATE PEPPERMINT BARK
- Dark Chocolate: Provides the rich, bittersweet base layer. Choose a dark chocolate with a high cocoa content, ideally between 70% and 85%. Not all are created equal, so choosing one that you enjoy the taste of is best.
- Peppermint Extract (optional): If added, this extract further infuses a peppermint flavor to the white chocolate layer.
- White Chocolate: Creates the creamy, sweet contract layer on top of the dark chocolate. Like dark chocolate, choose a white chocolate that has a significant amount of cocoa butter. Some white chocolates will use alternative fats in place of cocoa butter, so keep an eye out for that.
- Peppermint Candy: Adds that delicious crunch and punchy peppermint flavor.
POPULAR SUBSTITUTIONS & ADDITIONS
- Chocolates: If you prefer a milder chocolate flavor, you can use high-quality milk chocolate instead of dark chocolate.
- Almond Bark: Almond bark or candy coating can be used instead of white chocolate. It has a similar texture and added almond flavor that is tasty and just as easy to work with.
- Fun Toppings: The options are endless, truly. In addition to peppermint candies, you can add festive sprinkles and other hard Christmas candies like candy canes and cinnamon candies. Swap out the candies for more toothsome bites like crushed cookies, toffee bits, dried fruits, or nuts. There is no wrong answer.
- Fruity and Tropical Twist: Orange zest and sweetened coconut flakes will offer brighter flavors in contrast to the chocolate and peppermint.
How to make peppermint bark
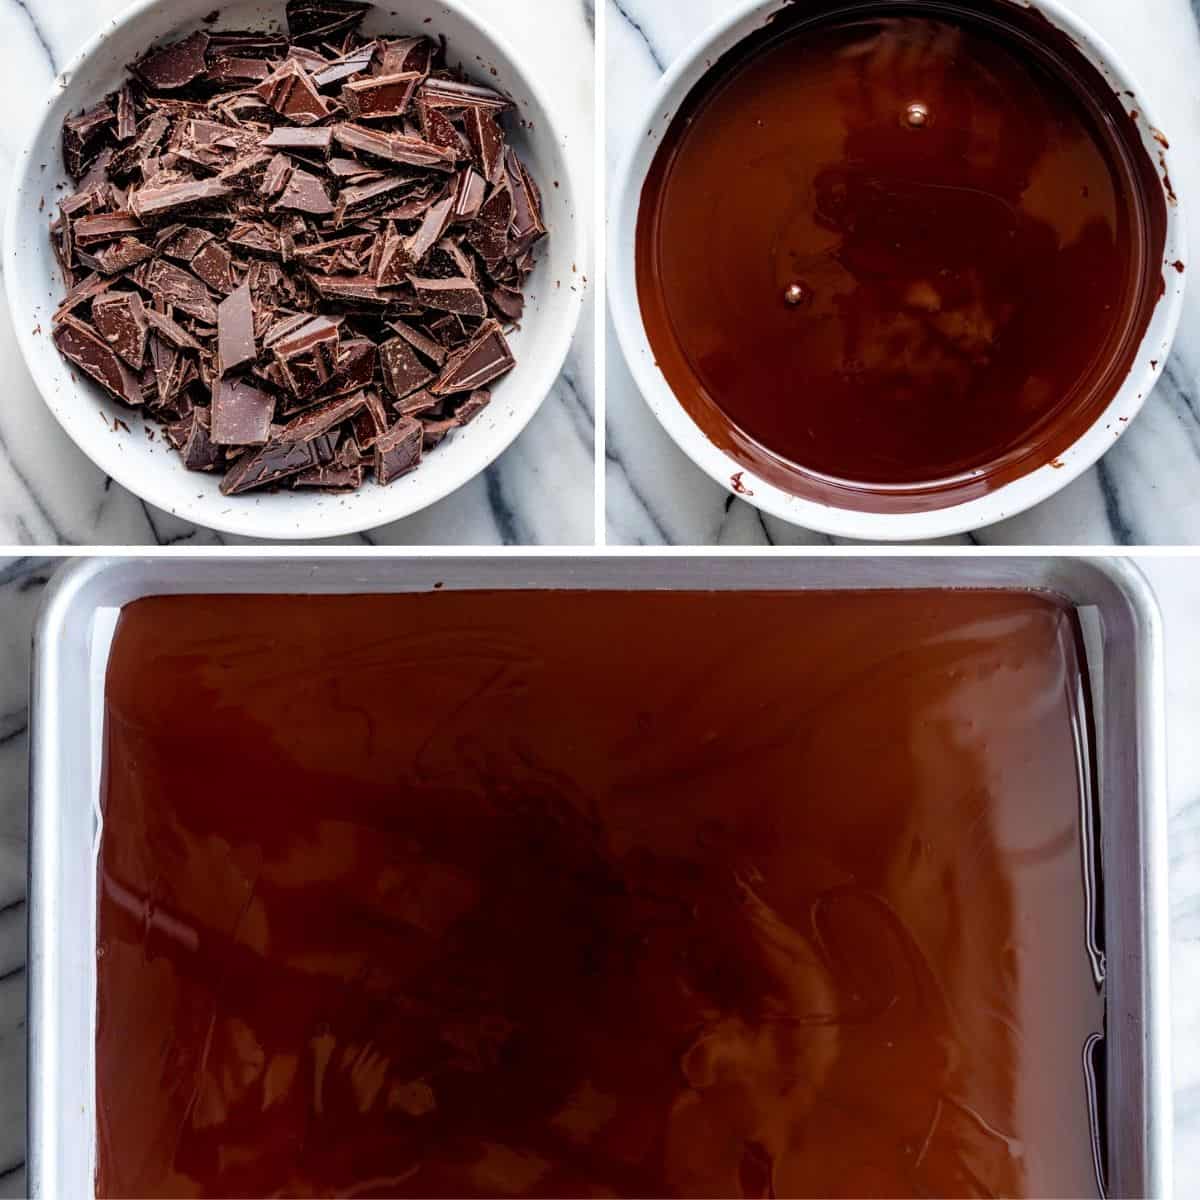
Make the dark chocolate layer
- Chop up your favorite dark chocolate.
- Microwave it until it’s smooth and glossy.
- Pour carefully into a sheet pan and refrigerate it.
Make the white chocolate layer
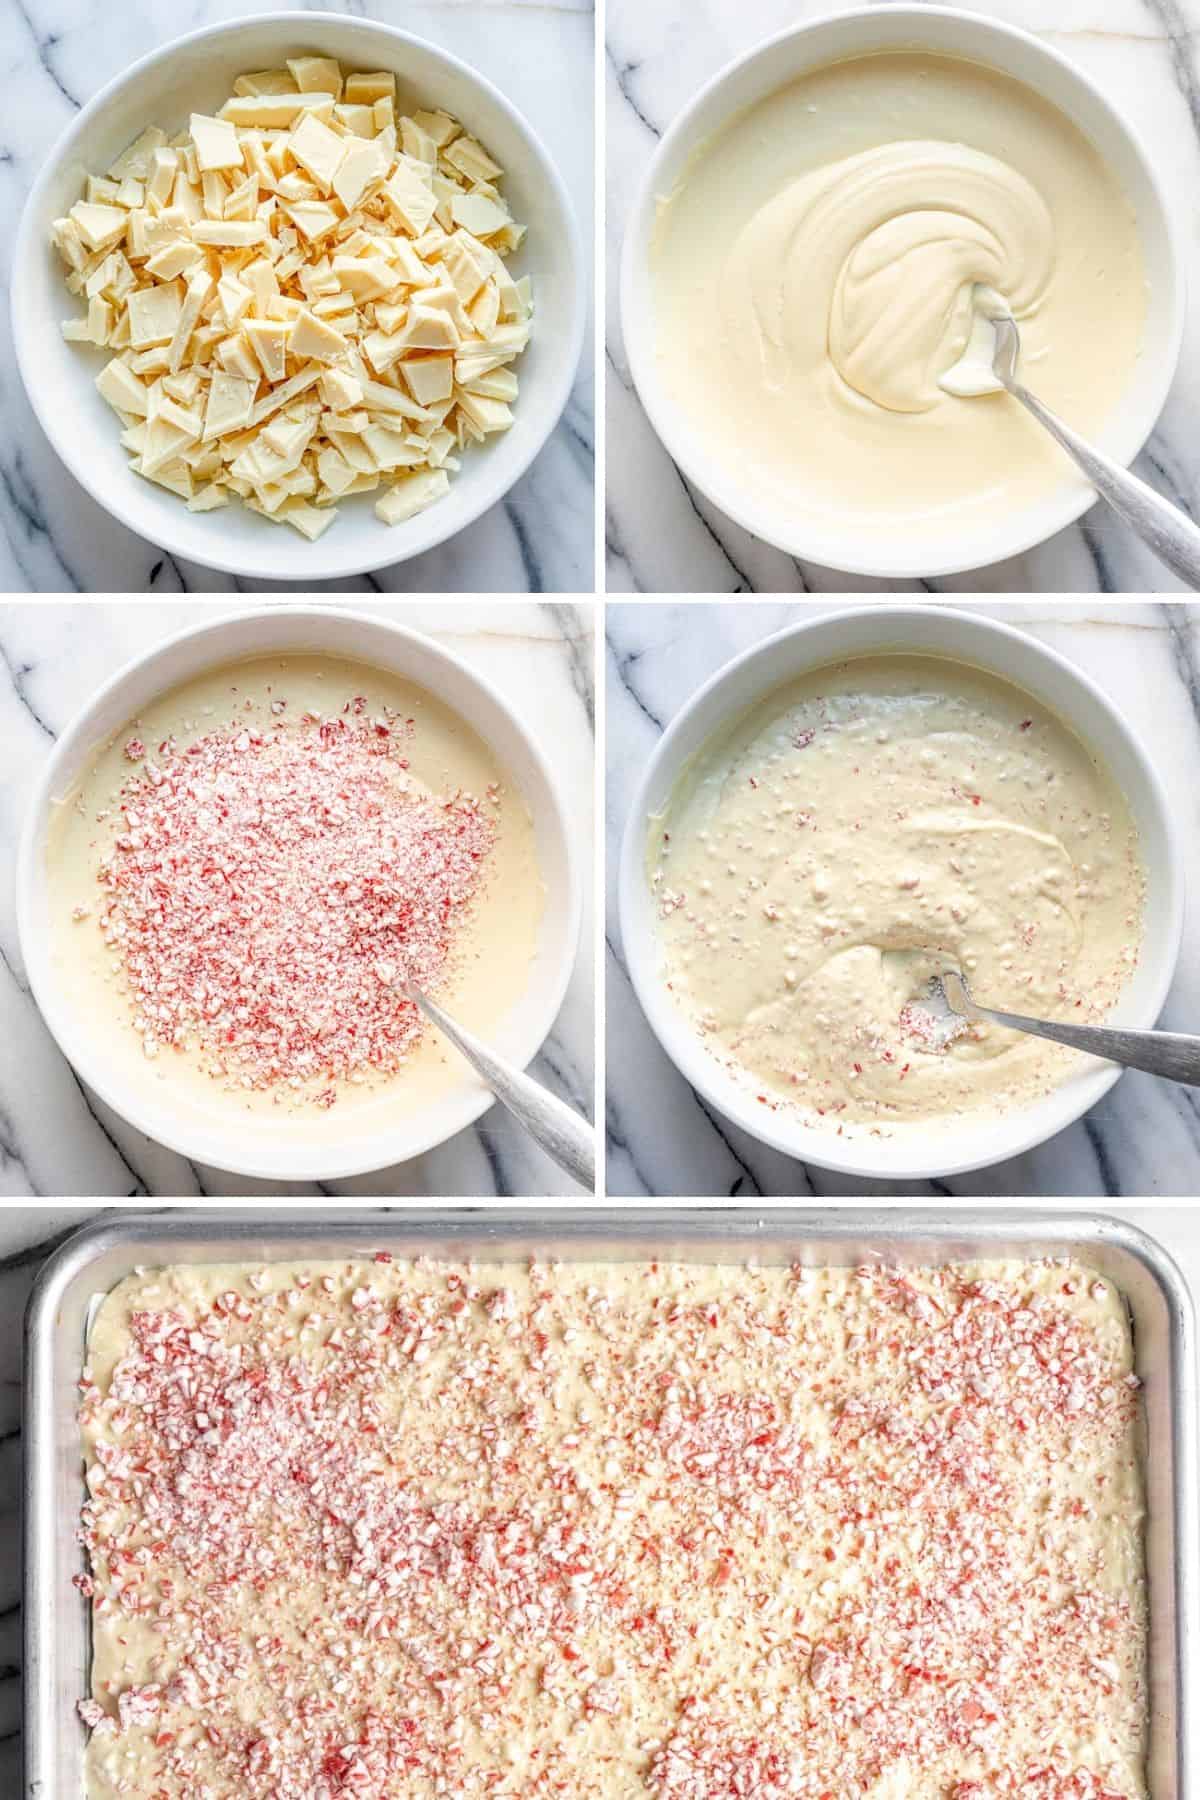
- Chop up your favorite white chocolate.
- Microwave it until it’s smooth and glossy.
- Add some crushed pepper mint on top of the melted chocolate.
- Stir to combine the peppermint in.
- Pour carefully into sheet pan and refrigerate it.
When it’s it’s set, and you can break the bark or cut it with a knife and enjoy it!
Tips for making the best homemade chocolate bark
- Line your pan with parchment paper so that you can remove the bark easily.
- Use the microwave or stovetop to melt the chocolate. If you use the microwave, heat it in small increments and stir between heating.
- Make sure that the dark chocolate is fully set before adding the melted white chocolate. This helps to ensure that layers stay separate.
- Leave the bark at room temperature for 5 minutes and cut with a knife. This provides the most precise cuts, but it’s also fun to just use your hands and break up the bark.
HOW TO SERVE CHOCOLATE PEPPERMINT BARK
Serving and sharing chocolate peppermint bark can be a creative venture, here are some great ideas for sharing this tasty snack:
- Dessert Charcuterie Board, similar to our Baked Brie Board, chocolate bark would be a sweet contrast to those other savory flavors.
- Host a hot chocolate party bar: Chocolate peppermint bark, depending on how it’s broken up, can be used as a hot chocolate topping, drink stirrer, or enjoyed as part of the experience.
- Gifts or Party Favors: Seal peppermint bark pieces in cute mason jars or cellophane bags with a gift label.
HOW TO STORE CHOCOLATE PEPPERMINT BARK
After making the bark, allow it to cool and solidify at room temperature. This usually takes about 30 minutes to an hour, depending on the room’s temperature. Once you cut your chocolate bark, store it in an airtight container and keep it at room temperature for about 2 weeks. This long shelf life means that it’s great for gift-giving throughout the holiday season.
How Long Will Chocolate Peppermint Bark Last in the Fridge? When stored properly, chocolate bark can last for several weeks to a few months.
Can I Freeze Chocolate Bark? Wrap the bark in parchment or wax paper and then tightly in plastic wrap or foil to prevent moisture and odors from affecting it. Place the wrapped pieces in a freezer bag or airtight container. Freeze for up to 2-3 months.
Frequently asked questions
Before you cut the bark, remove it from the parchment paper and place on a chopping board. Wait for 5 minutes to allow it to come up to room temperature and this will help the two layers bond together. Use a sharp chef knife when you cut it and just gently press down; don’t hack at it.
For chocolate to set properly, it requires being cooled down gradually. If it’s not setting well it could be due to a few factors:
Temperature: Chocolate bark won’t set well in a very warm environment.
Thickness: If the chocolate layer is too thick, it may not set evenly. Try spreading in thinner next time.
Moisture: Excess moisture and condensation can prevent the bark from setting. Make sure everything is dry while setting.
Of course! Chocolate bark is so versatile, and you can customize the flavors to your liking. Try using other extracts like vanilla, almond, coffee, orange, pumpkin, or even berry extracts. Experiment with different toppings that are likely to complement the extract you’ve chosen.
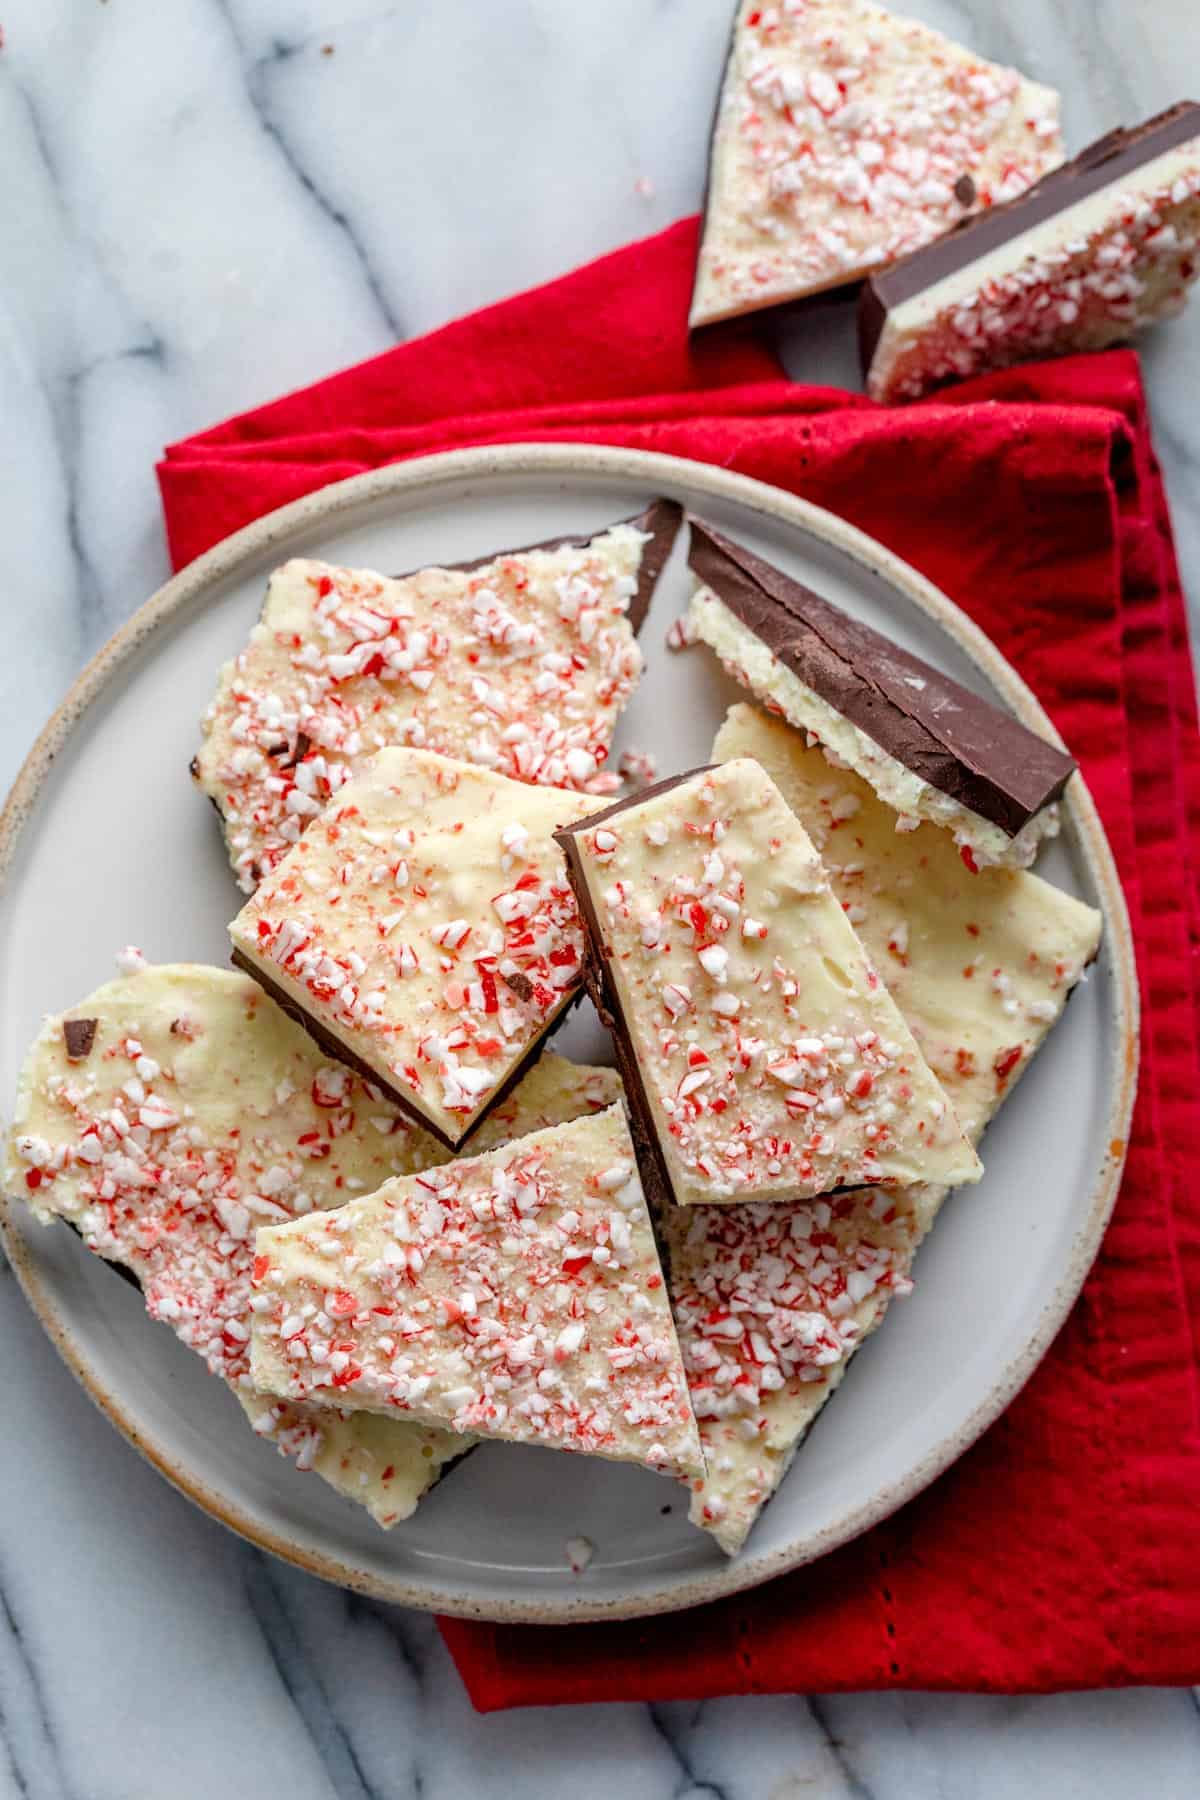
This chocolate peppermint bark just screams holidays! It’s so easy to make, perfect for gift-giving and it satisfies that sweet and “pepperminty” holiday cravings!
For more peppermint flavored desserts:
- Dark Chocolate Peppermint Mousse
- White Chocolate Dipped Sugar Cookies
- Raw Peppermint Brownies
- Vegan Dark Chocolate Peppermint Brownies
- Christmas Cupcakes
If you’ve tried this healthy-ish feel good Chocolate Peppermint Bark recipe or any other recipe on FeelGoodFoodie, then don’t forget to rate the recipe and leave me a comment below! I would love to hear about your experience making it. And if you snapped some shots of it, share it with me on Instagram so I can repost on my stories
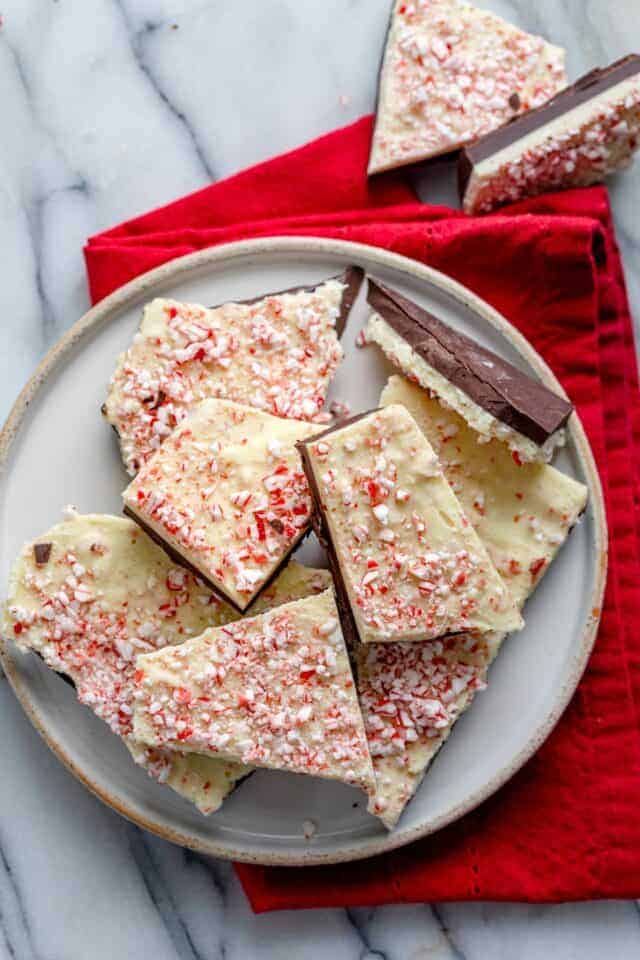
Chocolate Peppermint Bark
Ingredients
- 4 3.5 oz bars good quality dark chocolate
- 1 teaspoon pure peppermint extract optional
- 4 3.5 oz bars good quality white chocolate
- ⅓ cup Peppermint candy divided
Instructions
- Line a 9×12 pan with parchment paper.
- In a microwave safe bowl, melt the dark chocolate until it is smooth and glossy in 30 second intervals for 2-3 minutes, stirring after each interval. Pour the melted dark chocolate on the parchment paper and use a rubber spatula to spread it out evenly. Refrigerate until it sets, about 30 minutes.
- In another microwave safe bowl, melt the white chocolate until it is smooth and glossy, in 30 second intervals for 2-3 minutes, stirring after each interval. Stir in half of the crushed pepper candy into the white chocolate. Pour the white chocolate on top of the solid dark chocolate and spread out evenly on top of the dark chocolate layer. Sprinkle the remaining peppermint on top.
- Place in the refrigerator until set, about 1- 2 hours. Remove from parchment paper and break into smaller pieces.
Equipment
Notes
Nutrition
Nutrition information provided is an estimate. It will vary based on cooking method and specific ingredients used.


Looks delish!
Would it be weird to make it without white chocolate? I don’t like – but like peppermint bark. Any alternate ideas?
Thanks!
K
Thank you! Nope, you can definitely do that and use more dark or milk chocolate.
Which layer would u add the peppermint extract too? We skipped but may use next time:)
I’d add it to the white chocolate layer, but you could also add it to the dark chocolate layer!
Wow. Yum yum yummy
beckandbulow
Aww, thank you!
Made these as a Christmas gift for my grandparents and they loved both the taste and the looks of these😍 ok, I may have eaten some too🤫 Thank you Yumna for these recipes! Will be testing more.. 😉 Xo
I’m so glad to hear that! And, I can’t blame you! Thank you so much.
I am inspired to try some of these recipes!
Thanks for sharing.
Thank you!
Thanks so much! And yes, love the idea of adding the peppermint essential oil! Thank you!
Do you have any tips for how to avoid the two chocolates from smearing together? When i poured the white chocolate on and tried to spread, it did just that. Thanks!
There’s two ways to do it, the first way is the way I did it which is to pour the dark first and then the white immediately and barely spread with a spatula. This helps to ensure that both layers stick together. But what a lot of others do is actually let the first layer set at room temperature for 10 minutes and then pour the second layer on top and spread. Hope that helps!