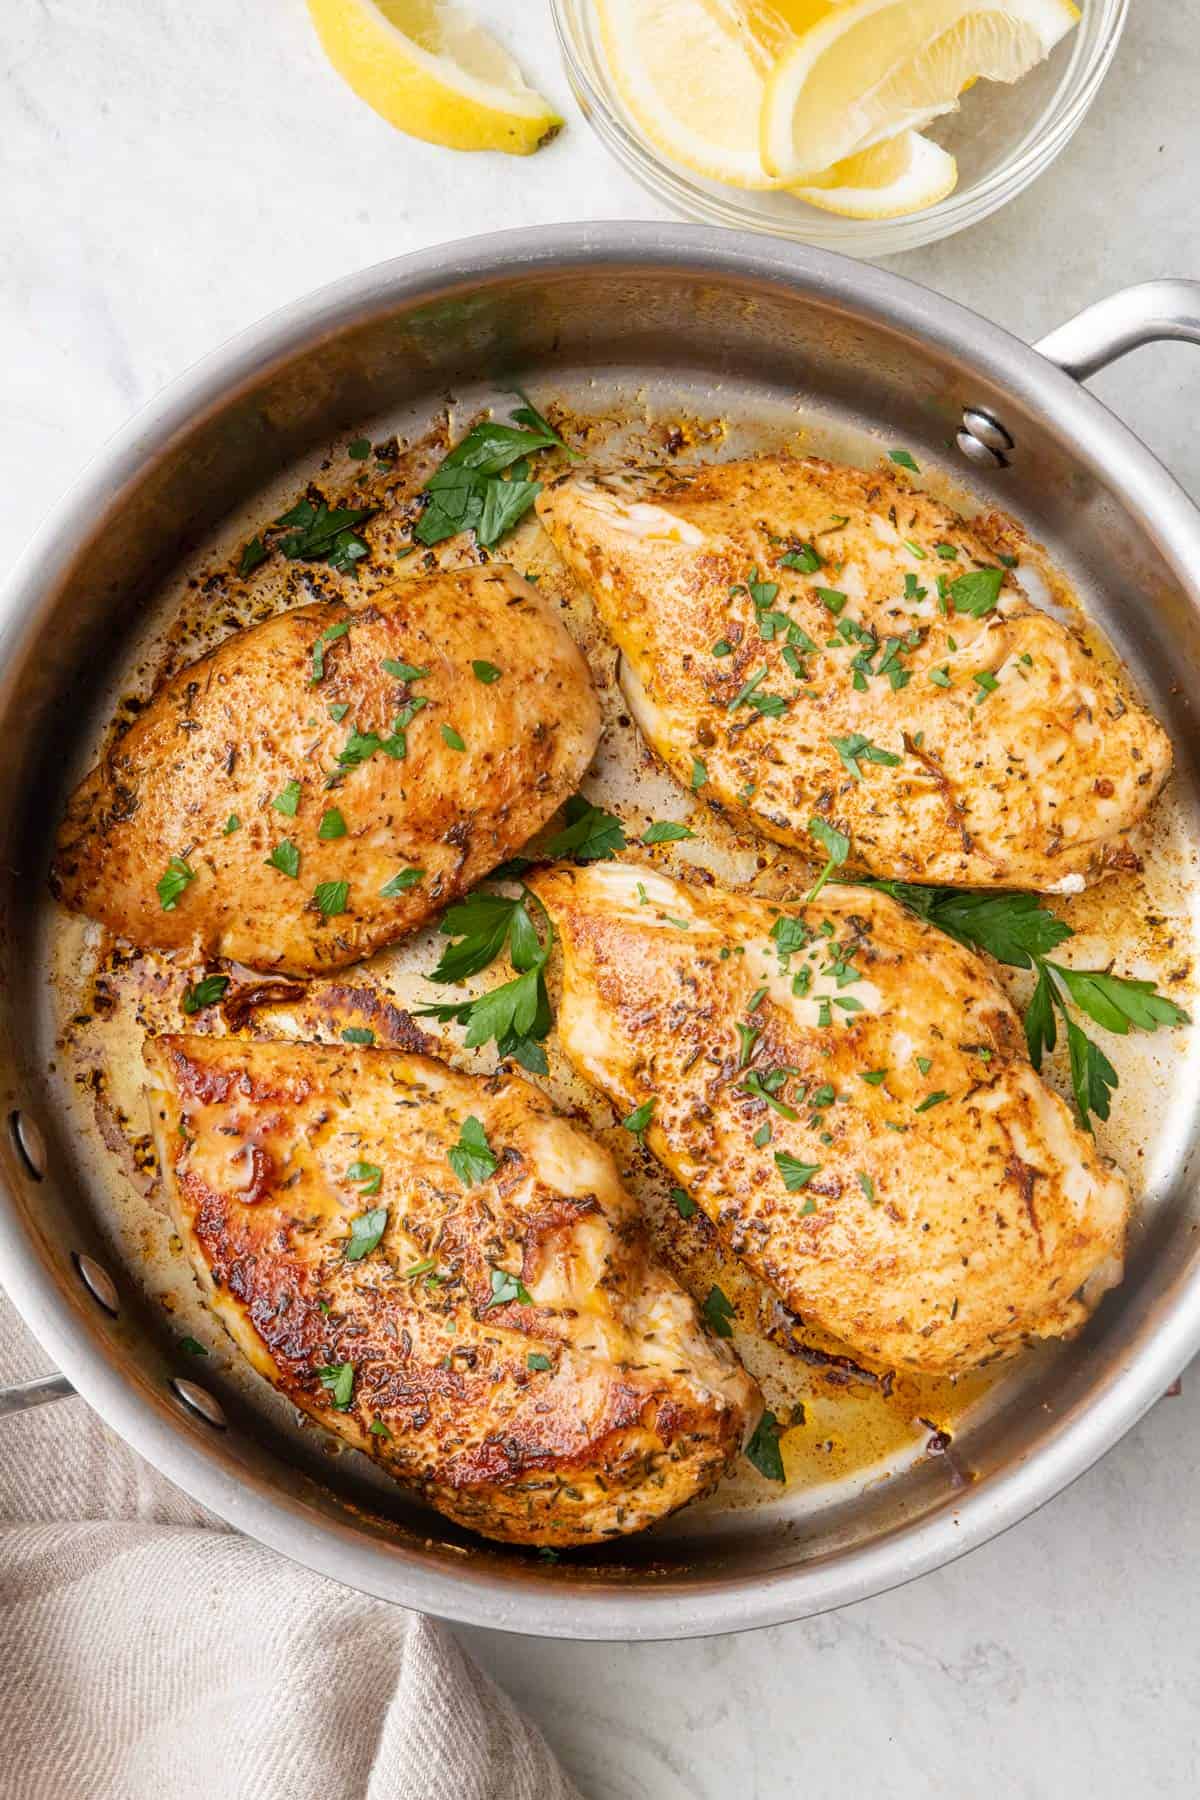
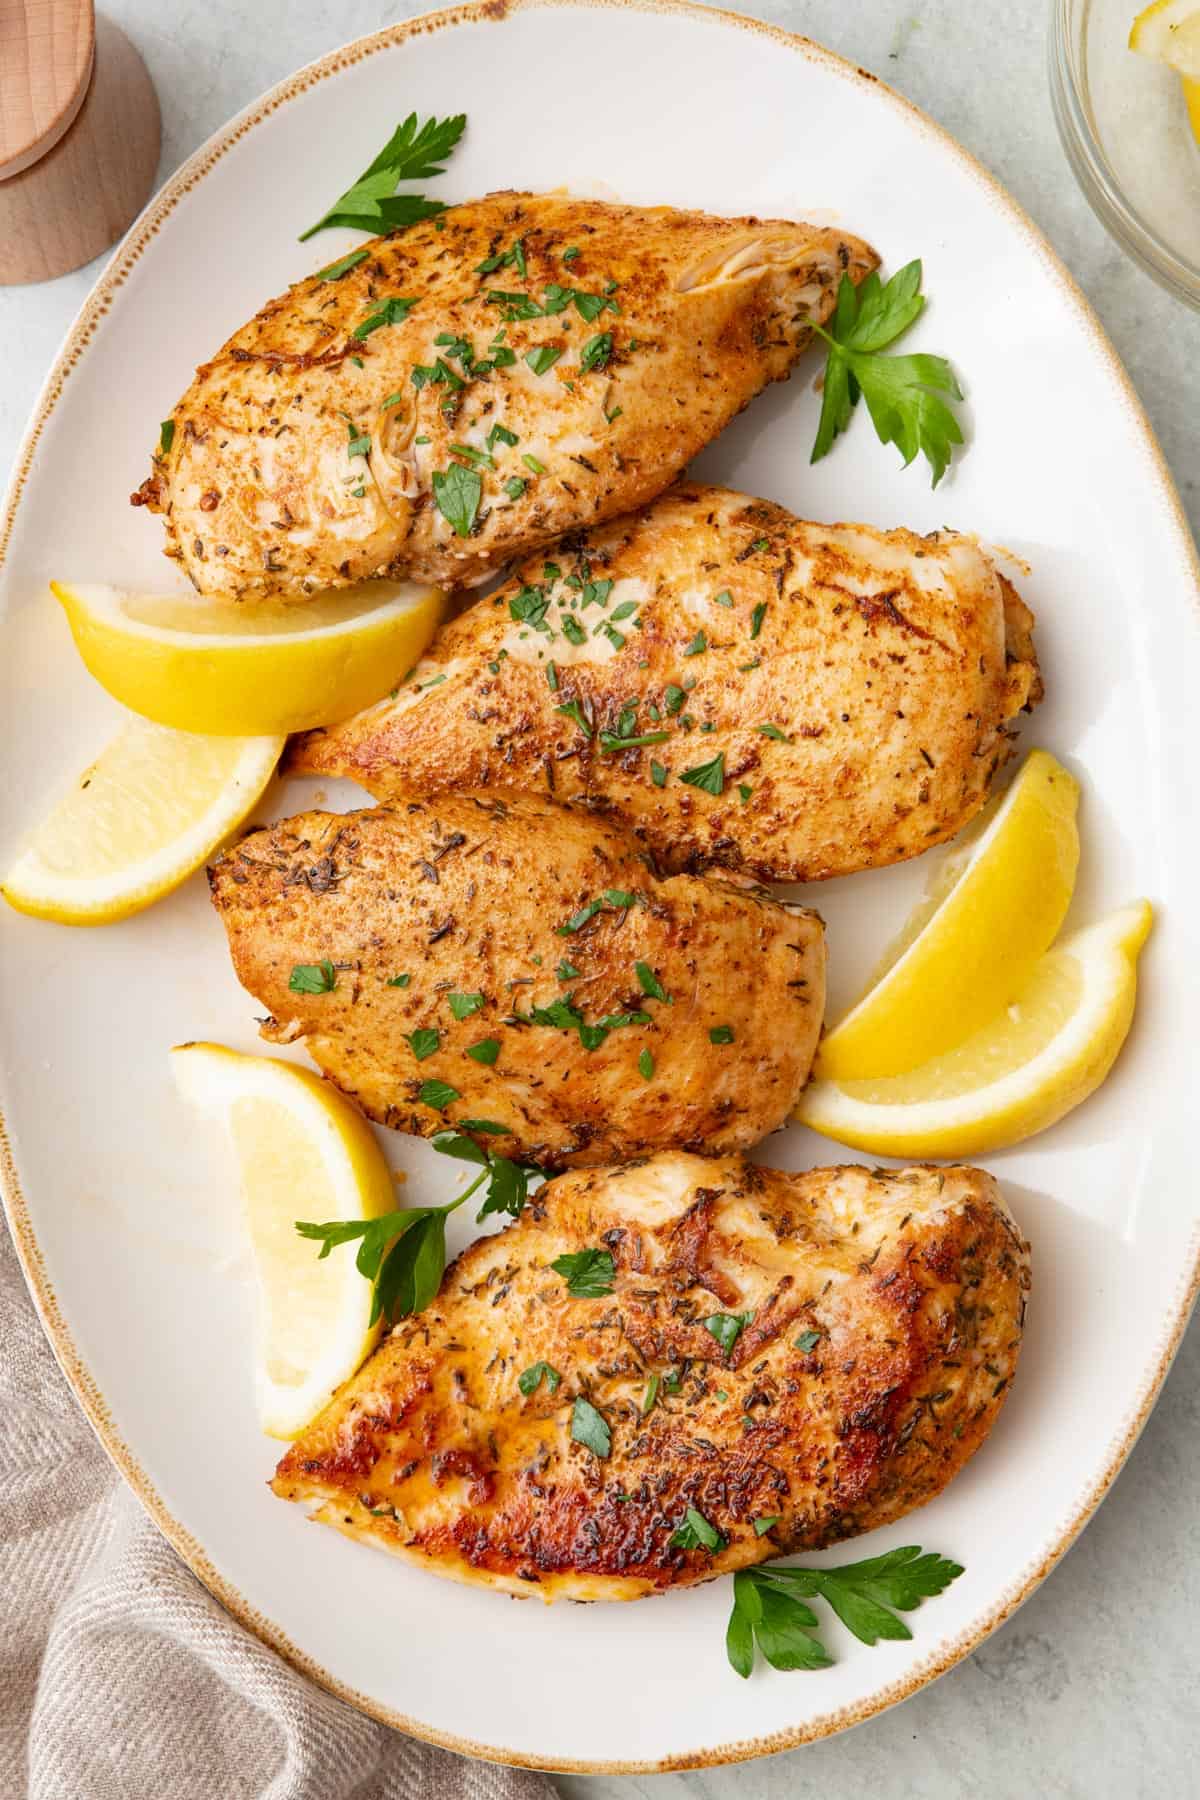
Pan Seared Chicken Breasts
Updated Apr 06, 2025
This juicy pan seared chicken breast is ready just 20 minutes! I use a little salt and pepper to season, dried thyme, garlic powder and paprika!
This post may contain affiliate links. Please read our disclosure policy.
Jump to Section
My Pan Seared Chicken Breast Is So Good!

My recipe for pan seared chicken breast is simple, but gets a golden sear and juicy meat every time. That’s because I always make sure to fully dry the chicken, cook it on a hot skillet, and don’t touch them until they develop a golden-brown crust.
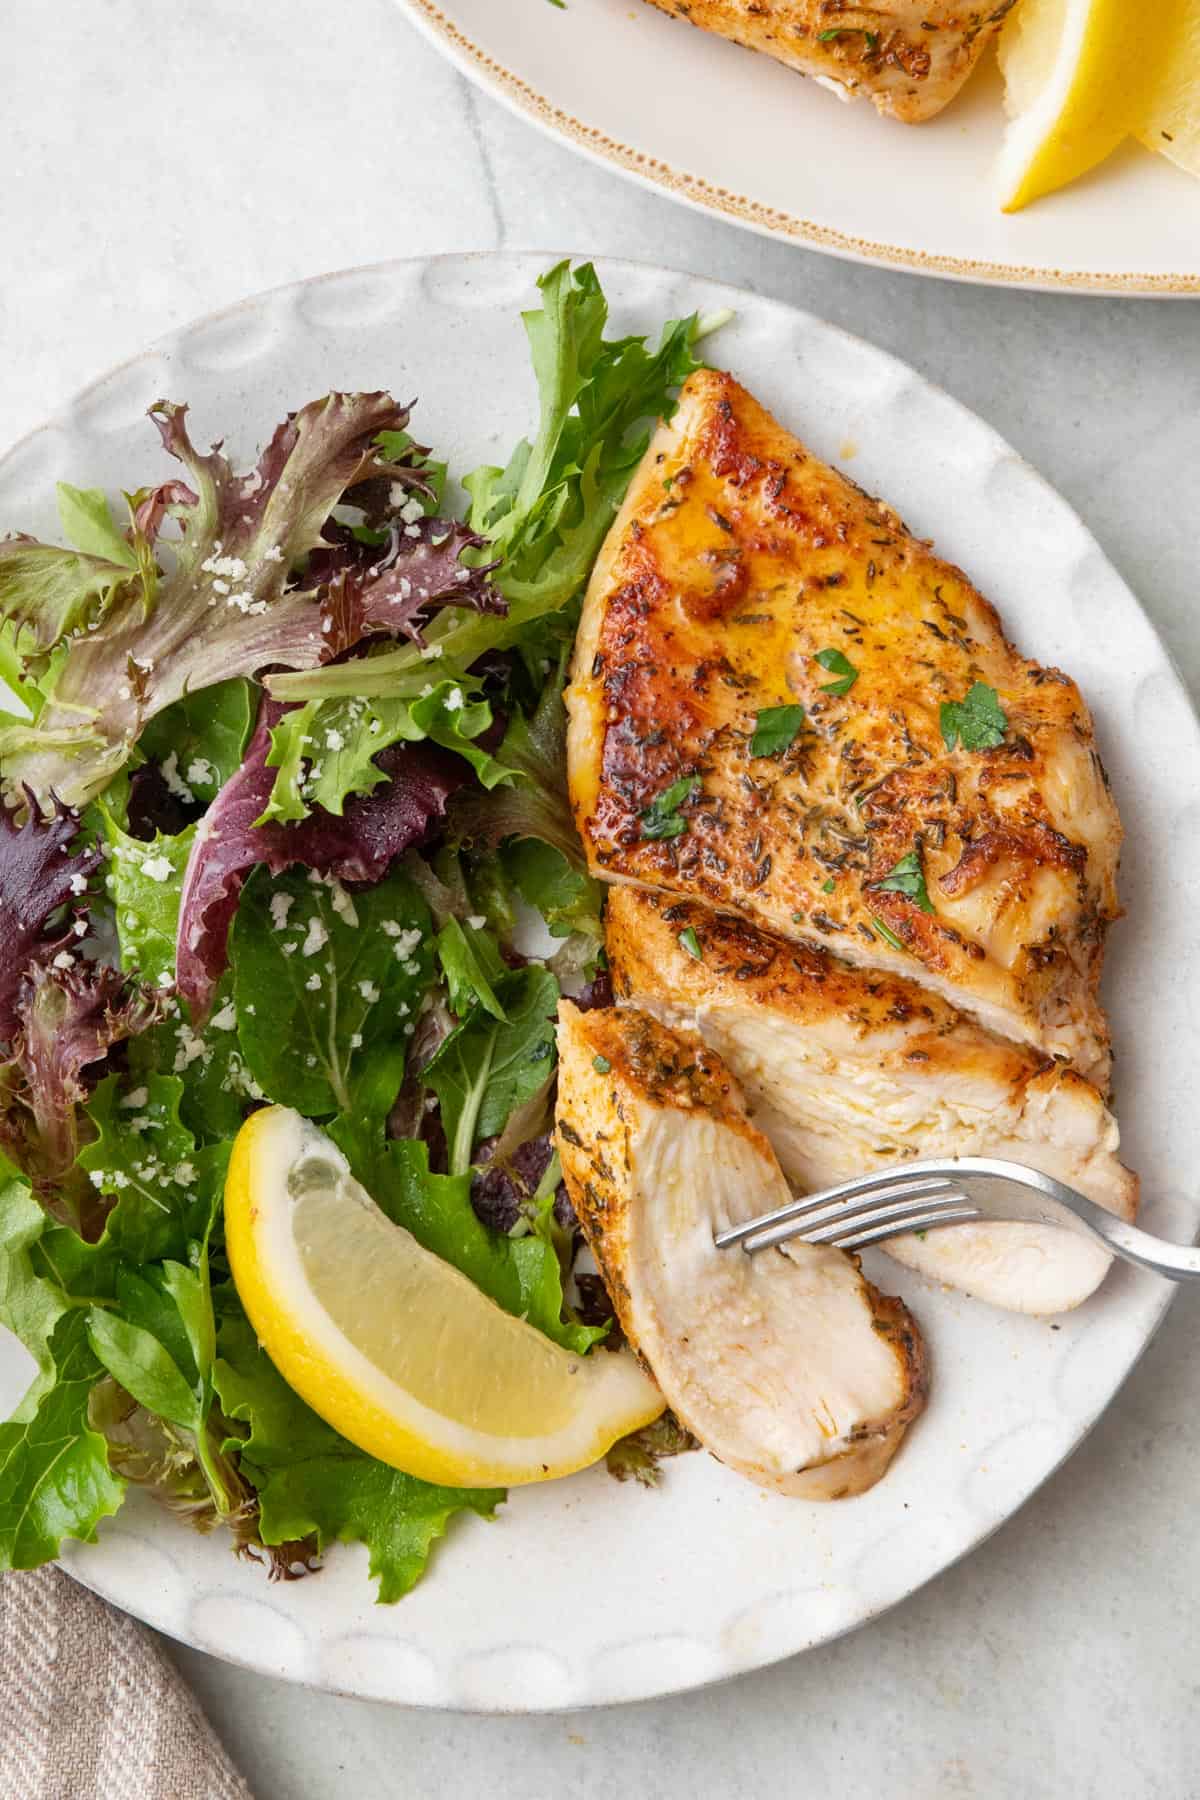
Once you get my technique down on how to cook chicken breast in a pan, you’ll be able to get it on the table in just 20 minutes! These juicy chicken breasts are delicious with a side of your kid’s favorite veggies or as an addition to grain bowls and salads.
Happy Cooking!
– Yumna
Pan Seared Chicken Breast Ingredients
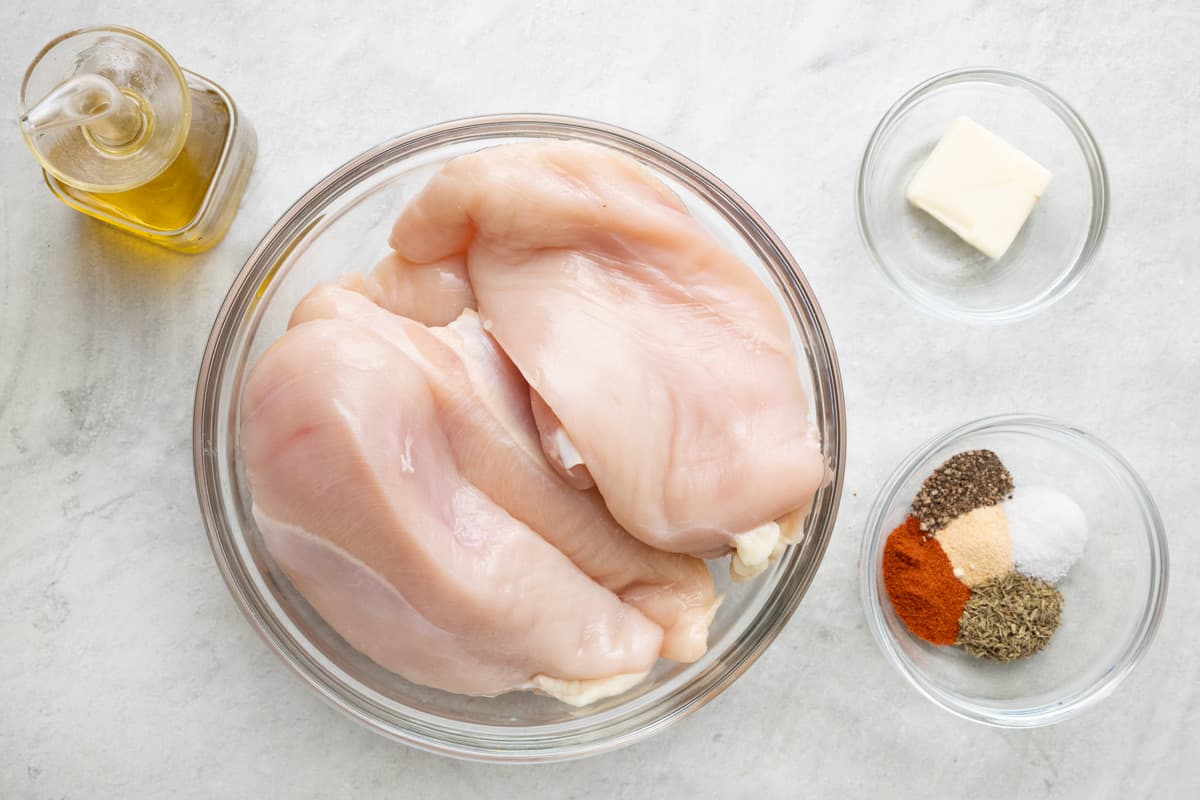
- Chicken breasts: For this recipe, I use boneless, skinless chicken breasts. You can start with fresh chicken breasts or frozen ones—just make sure you thaw them completely in the refrigerator first. This method also works with chicken thighs (sear the smooth side first) or chicken tenders (which cook in less time because they’re thinner). Always use a meat thermometer to check that your chicken is completely cooked through!
- Seasonings: I love the flavor combination of thyme, paprika, garlic powder, salt and pepper, but you use other seasoning blends, like Italian seasoning or taco seasoning. Or you can also keep it super simple and just use salt and pepper.
- Olive oil and butter: I use both olive oil and butter to get the best sear and flavor.
- Lemon: I like serving my pan seared chicken with lemon wedges to add some brightness, but this is optional if you don’t have fresh lemon on hand.
Popular Additions
- Add fresh herbs. Garnish the chicken with fresh chopped basil, parsley, or rosemary.
- Give it a sweet-savory twist. Drizzle with 1 tablespoon of maple syrup or honey to add sweetness.
- Make a pan sauce. Remove the chicken and deglaze the pan with ½ cup chicken broth, using a wooden spoon to scrape up the browned bits. Stir in 2 cloves of minced garlic and simmer until it reduces by half. Add 2 tablespoons butter and juice of ½ a lemon. Cook until the sauce is nice and glossy, then season with salt and pepper to taste.
How to Make Pan Seared Chicken Breasts
My Best Skillet Chicken Breast Tips
- Pound your chicken breasts for more even and tender meat: While this extra step is not required, if you prefer thinner and/or more evenly cooked chicken, you can pound your chicken breasts to make them thinner. Place the chicken breasts inside a plastic storage bag and pound them with a mallet or rolling pin until they’re about ¾-inch thick. Thinner chicken will cook faster, so keep an eye on the cooking time.
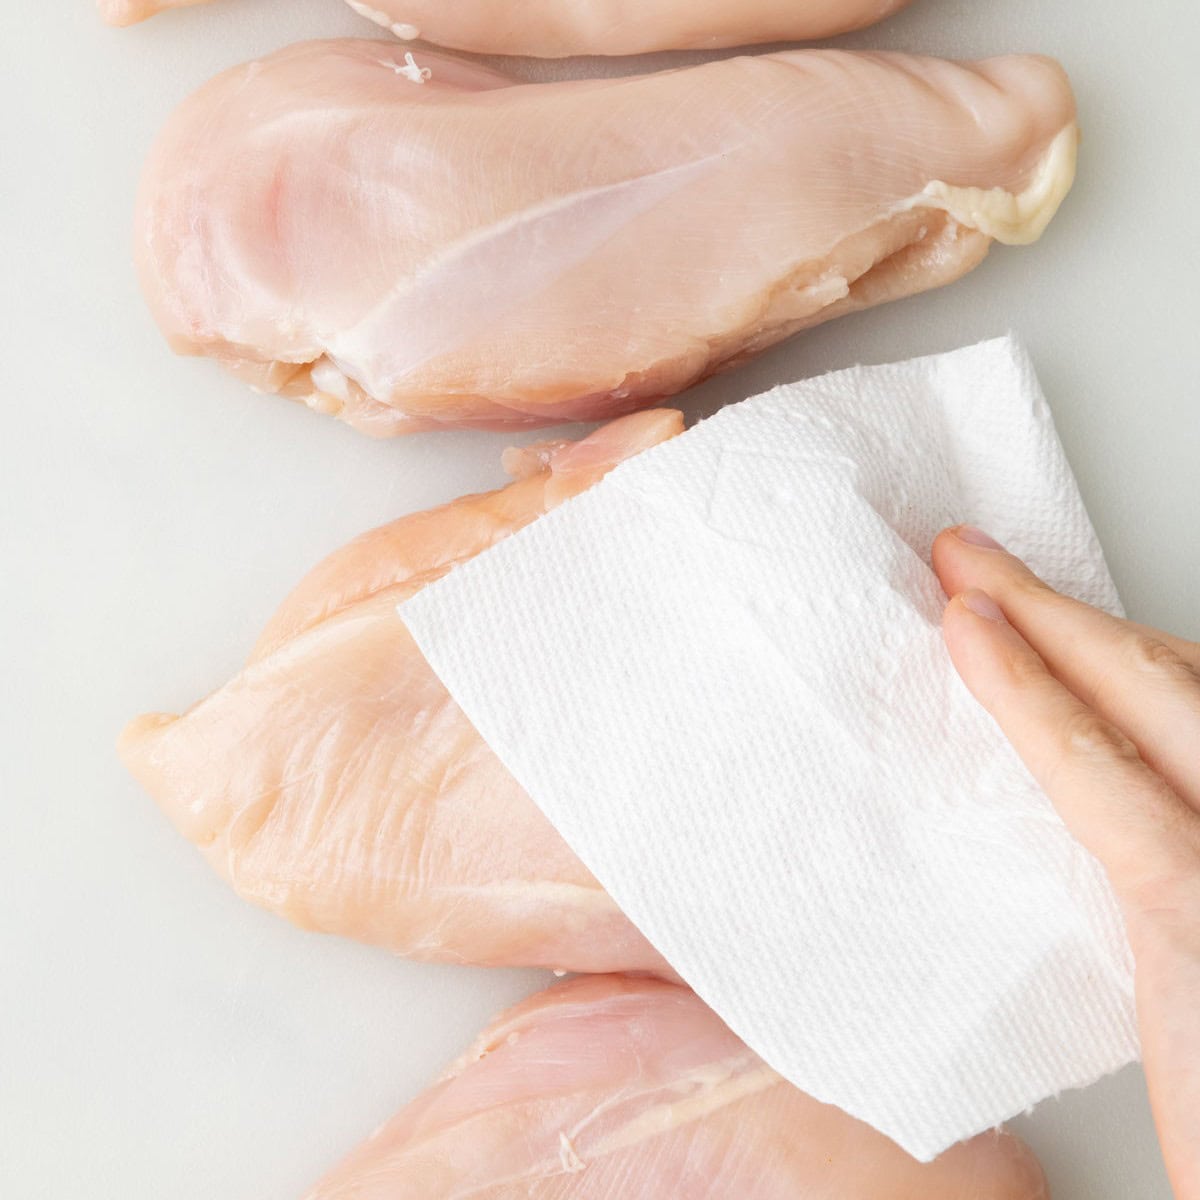
- Be sure to pat your chicken breasts dry with paper towels. Drying your chicken before covering it with the seasoning mix helps ensure the crispiest crust.
- Use a stainless steel pan or cast iron skillet to cook the chicken. They give the best sear on chicken since they conduct heat very well.
- Make sure the skillet is hot before you add your chicken. This is very important because it will help prevent the chicken breast from sticking the majority of the time. When a pan is properly preheated, the moisture in the food wicks away from the pan and allows the oil to do its job of coating the surface.
- Don’t overcrowd the pan. When you place your chicken breasts too close together, it lowers the overall temperature of the pan, which will affect the quality of the sear. The hot pan is critical! Also, overcrowding keeps the moisture from releasing properly from the chicken, retaining it instead, which also prevents a good sear from forming.
Serving Ideas
- Grilled Green Beans
- Roasted Brussels Sprouts
- Air Fryer Cauliflower
- Creamy Risotto
- Roasted Parmesan Potatoes
- Lemon Pasta
- Roasted Zucchini
- Chickpea Salad
Recipe Help & FAQs
The juices will run clear and the chicken will feel firm, but the very best way to know that the chicken is cooked thoroughly and safely is to check the internal temperature with a meat thermometer. The temperature should register at least 165°F.
If your chicken begins to burn on the outside before it’s cooked through, flip it over and reduce the heat. You can cover the pan to trap the heat, which will help the interior continue cooking without drying out the chicken breast. Or, you can continue flipping every minute or so, which will help prevent additional burning until a meat thermometer inserted into the chicken comes to 165°F.
To ensure a golden brown sear, start with a hotter pan. Resist the urge to flip the chicken before the crust has formed, as that will prevent it from developing.
A heavy-bottomed pan like a cast-iron skillet is an excellent option for the best sear. Cast-iron and stainless steel skillets heat most evenly, helping to turn out perfectly cooked chicken.
Yes, I recommend starting over if your oil and butter begin to smoke, which indicates your pan is too hot. Remove the pan from the heat and allow it to cool. Then, discard the burned oil and butter, rinse the pan thoroughly, and dry it. Start again at a lower heat.
More Chicken recipes:
- Lemon Cilantro Chicken
- Baked Za’atar Chicken Legs
- Almond Crusted Chicken
- Whole Roasted Rosemary Chicken
- Chicken Marinade 4 Ways
- Browned Butter Honey Chicken Thighs
- Yogurt Marinated Chicken Breast
- Stuffed Chicken with Spinach and Feta
- Grilled Harissa Chicken
If you try this Pan Seared Chicken Breast recipe or any other recipe on Feel Good Foodie, then don’t forget to rate the recipe and leave a comment below! It helps others who are thinking of making the recipe. We would love to hear about your experience making it. And if you snapped some shots, share it on Instagram so we can repost on Stories! experience making it. And if you snapped some shots, share it on Instagram so we can repost on Stories!

Pan Seared Chicken Breast Recipe
Video
Ingredients
- 4 8-ounce boneless skinless chicken breast
- 1 ½ teaspoon dried thyme
- 1 ½ teaspoon paprika
- 1 teaspoon garlic powder
- ¾ teaspoon salt
- ¾ teaspoon black pepper
- 2 tablespoons olive oil
- 1 tablespoon butter
- Lemon wedges for serving
Instructions
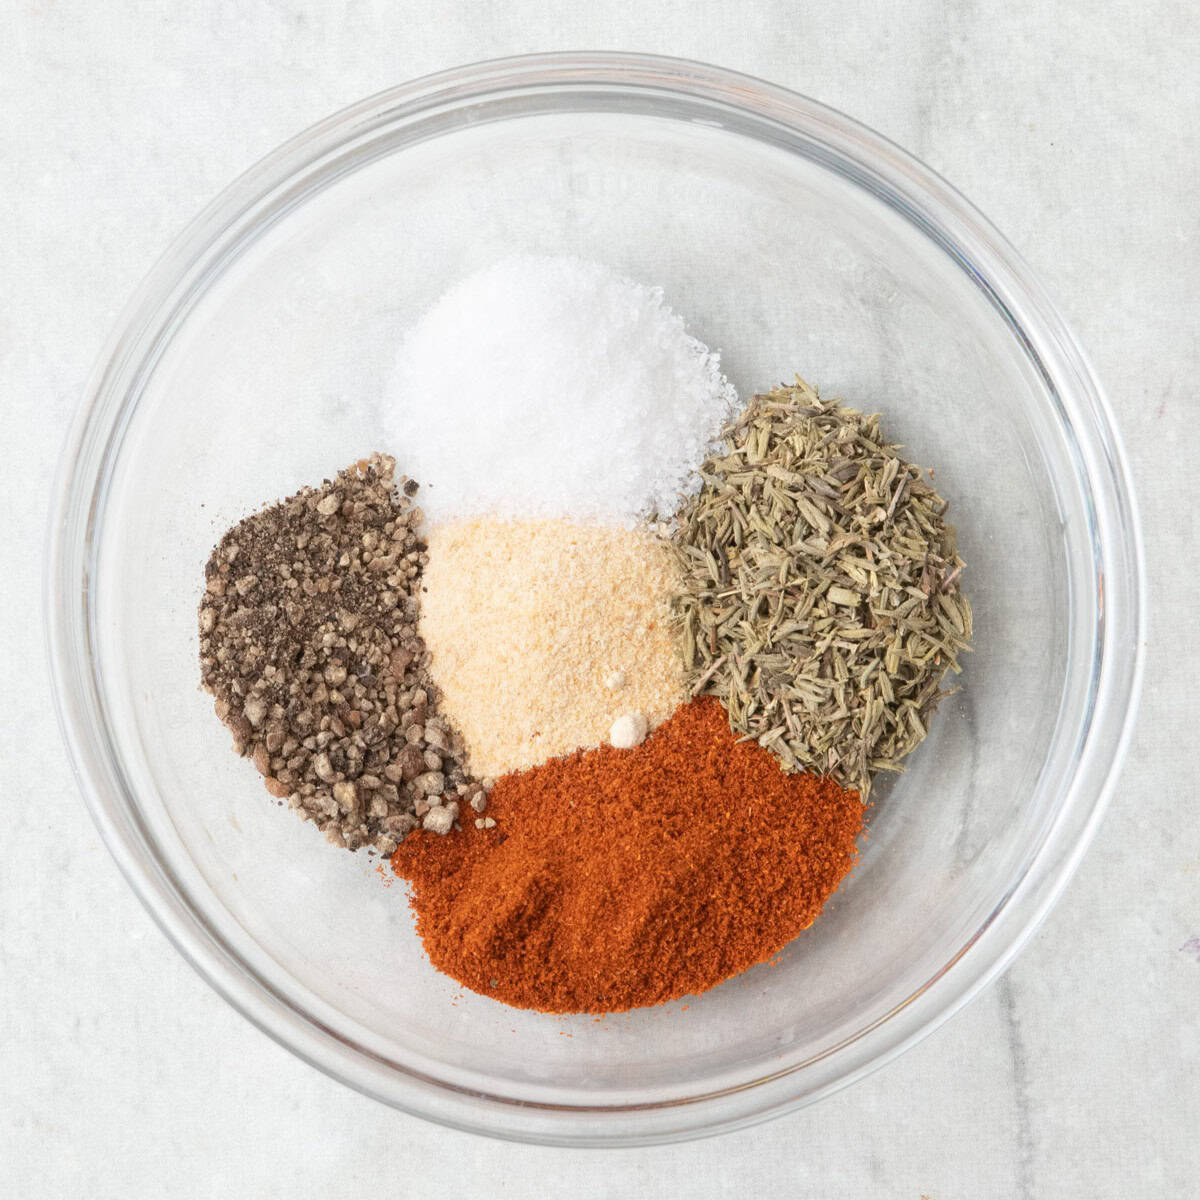
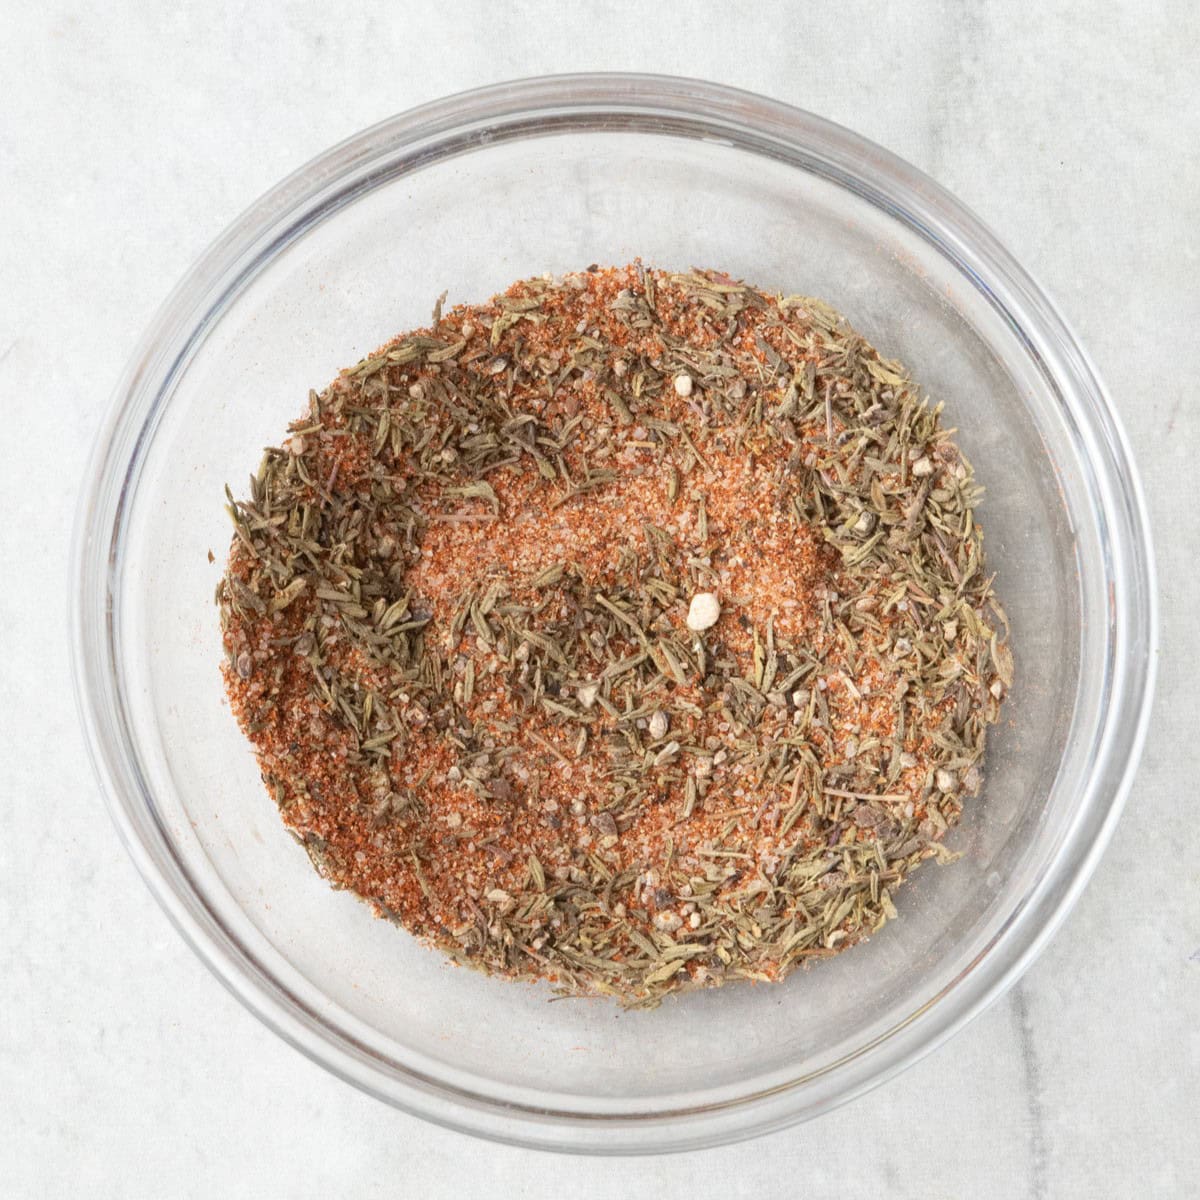
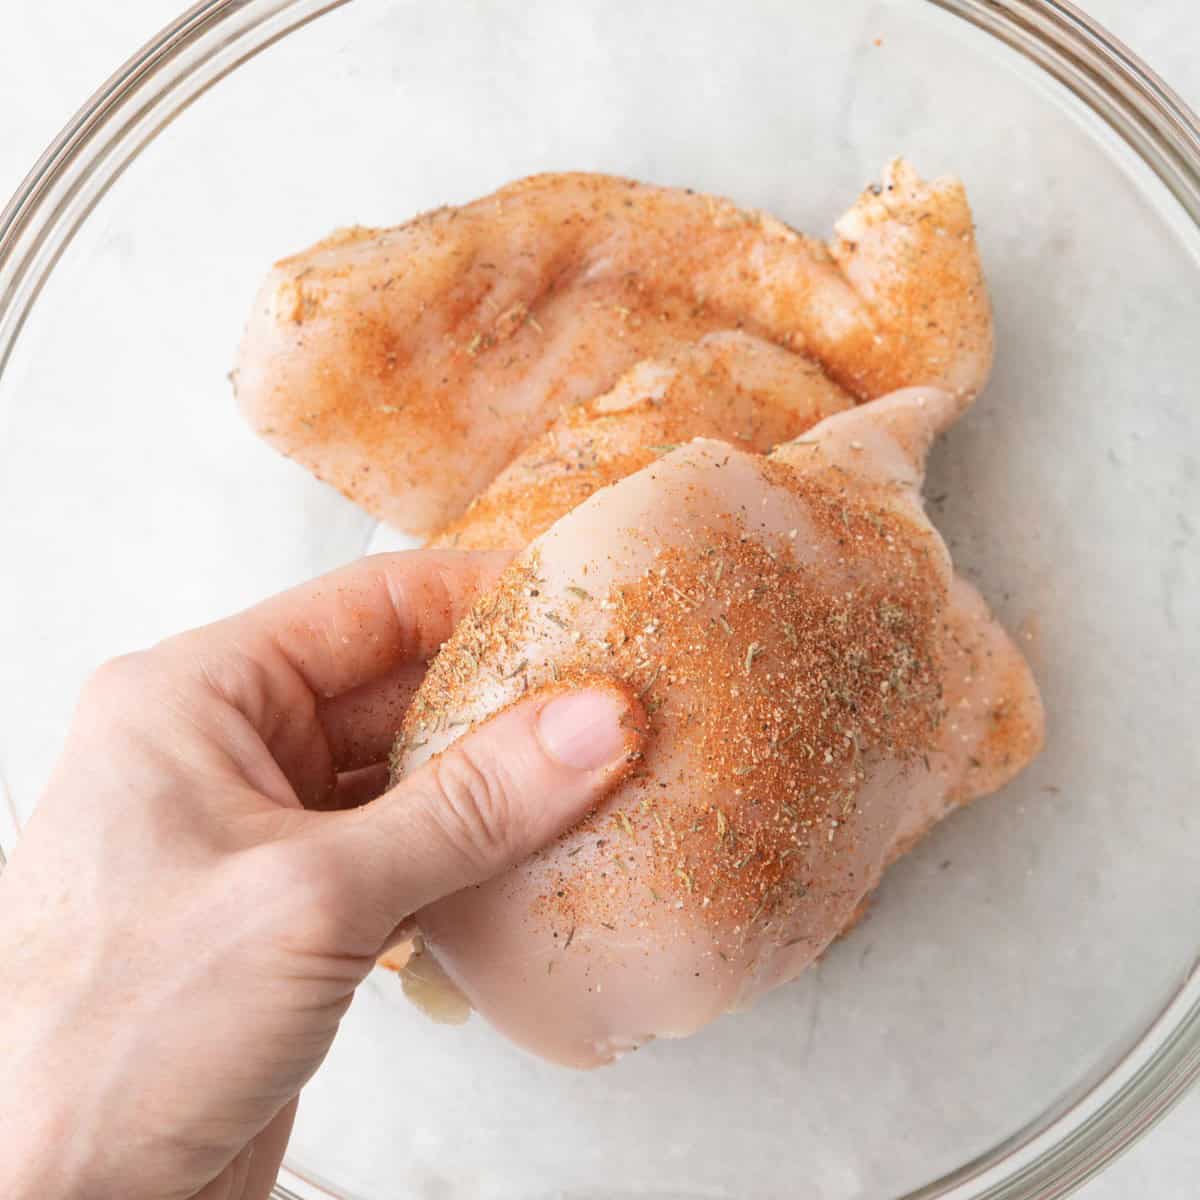
- Pat the chicken breasts dry with paper towels. In a small bowl, whisk together thyme, paprika, garlic powder, salt and pepper. Season both sides of the chicken breasts with the seasoning mix.
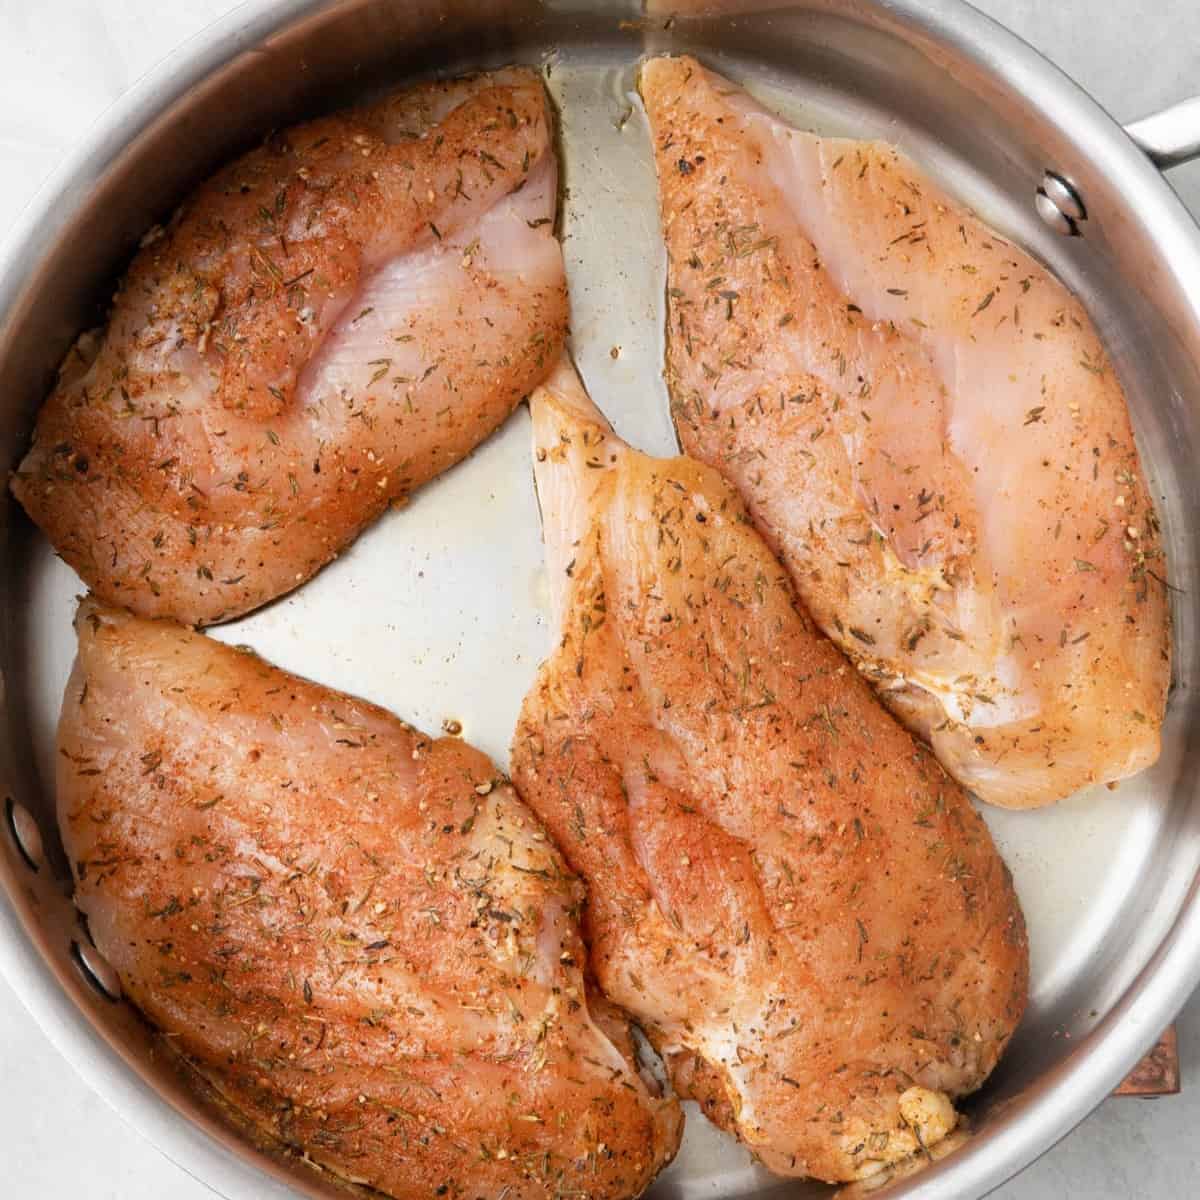
- Heat a large skillet over medium-high heat. Add the olive oil and butter to the pan, allowing it to melt and heat up.
- Carefully place the chicken breasts into the hot pan, making sure not to overcrowd them.
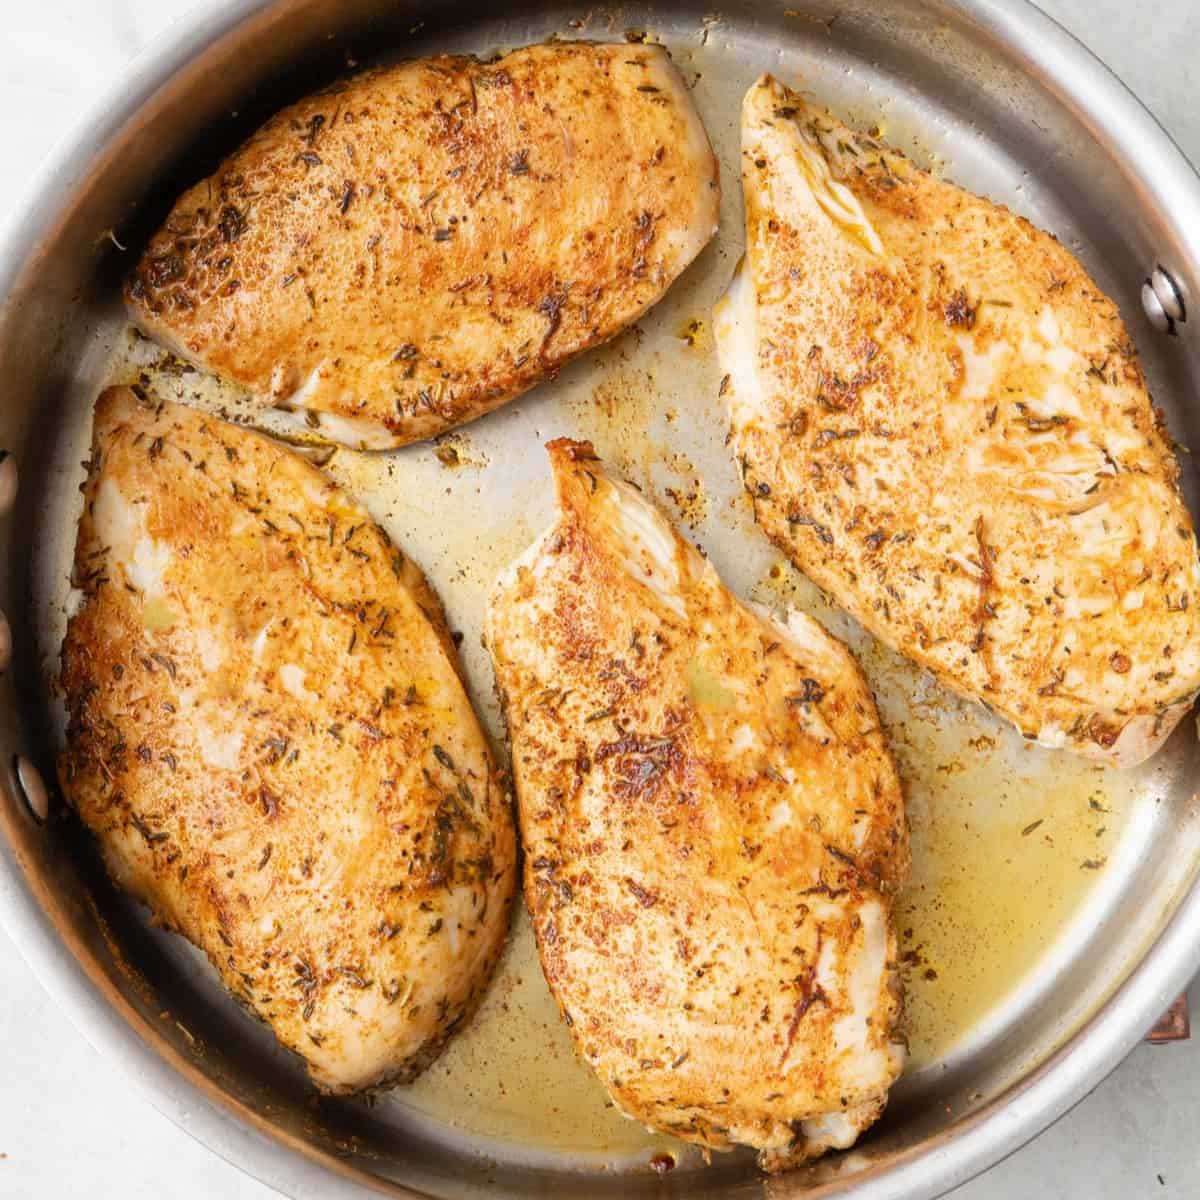
- Sear the chicken breasts for 5 minutes without touching until they develop a golden brown crust. Flip the chicken to the other side and continue to cook until they reach an internal temperature of 165°F, 8-10 more minutes.
- Remove the chicken from the pan and let them rest for a few minutes before slicing or serving. Serve with a squeeze of fresh lemon juice over the top and your desired side dishes.
Notes
Nutrition
Nutrition information provided is an estimate. It will vary based on cooking method and specific ingredients used.


Comments
What a delicious hit! I needed something to cook inside since it’s too cold to grill. I’ve already saved this in my recipes! The chicken had SO much flavor. Not overly spicy, just flavor! Super juicy as well. My kids all gave an immediate thumbs up. Thank you so much for sharing! I love your cookbook !
Aww I love that this recipe got the approval of the whole family! Thanks so much for reviewing!
The chicken came out great! Really delicious and flavourful, thank you so much!!
Aww, so glad you liked it! Thanks so much, Lynn!!
Looks good will try it soon
Hope you enjoy it!