How to Cook Brown Rice
Updated Jun 17, 2021
Learn how to cook brown rice easily. Follow my step-by-step tutorial to make perfect rice on your stovetop - a quick and staple recipe with fluffy texture!
This post may contain affiliate links. Please read our disclosure policy.
Here is a step-by-step guide for cooking perfect brown rice that comes out fluffy and light every time. With just rice, salt, and water, you can create a healthy, gluten-free side dish, the foundation of a rice bowl, or an indispensable ingredient in burritos.
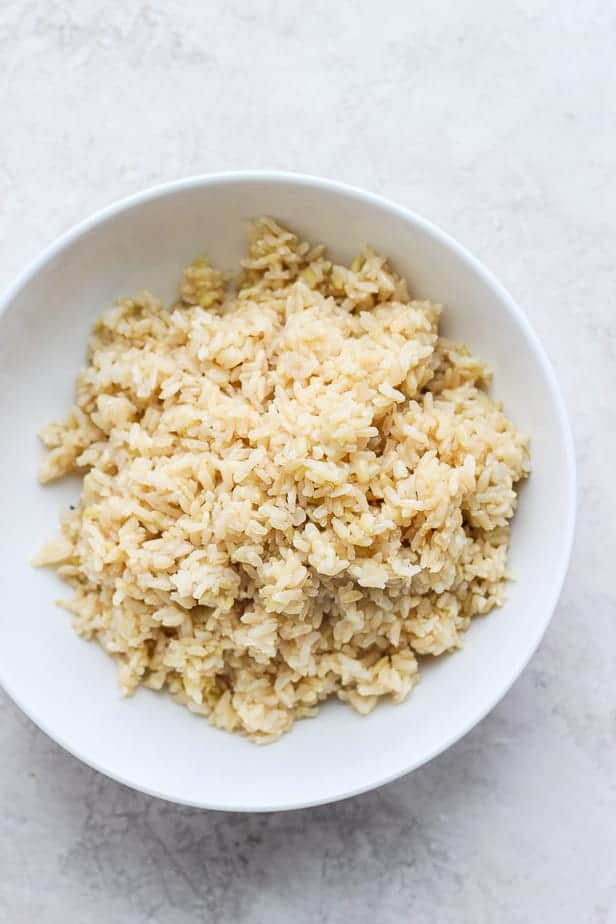
The only difference between brown and white rice is that brown rice retains an outer layer called the bran. As a result, brown rice requires more water and a longer time to cook. But, on the plus side, bran gives brown rice its nutty taste, an average of seven times the fiber of white rice, and more potassium, iron, and protein. Win. Win. Win.
Different types of brown rice
Like white rice, brown rice divides into three types: long grain (used here), medium grain, and short-grain. If you see rice referred to by color, like red rice or black rice, that color describes the outer bran, which still has all the fantastic properties of brown rice.
Popular brown rice varieties include:
- Store brand brown rice, or Carolina rice: These are all long-grain rice varieties that are usually simply labeled “Brown Rice”.
- Brown jasmine rice: This long-grain rice has a sweeter flavor with a stickier quality. Its soft texture makes it an absorbant base for dishes with flavorful sauces.
- Brown basmati rice: This is another long grain rice that cooks up fluffier than jasmine rice. Some detect a slight popcorn flavor to basmati rice. This is a rice that can stand alone as a side dish.
- Texmati rice: This is a basmati type rice grown in Texas
- Calrose rice: This is medium-grain rice that originated in California. It has a sticky, moister texture and is recommended for dishes like paella, risotto, or rice bowls
How to cook brown rice – step-by-step
First, measure the rice, making sure to level the cup.
Next, put rice in a fine-mesh sieve and jiggle it around to find and remove any visible pebbles or debris. Now, run under cold water until the water run clears. Do not skip this crucial step. The rinse removes any dust and dirt along with extra starchiness that can make the rice too clumpy.
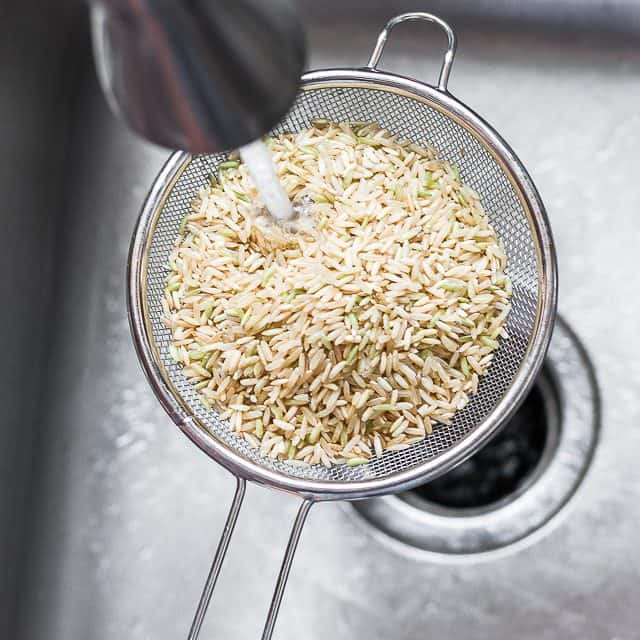
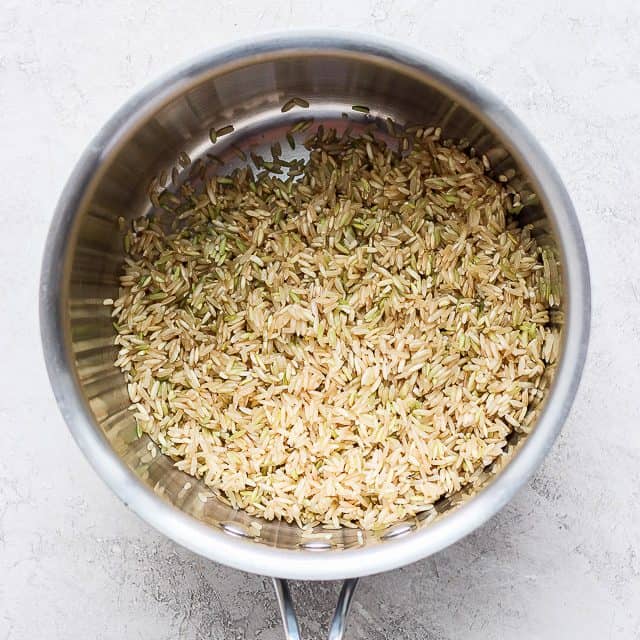
Next, pour the rinsed rice into a deep pot. Pick a pot with a nice heavy bottom that will allow the rice to cook evenly.
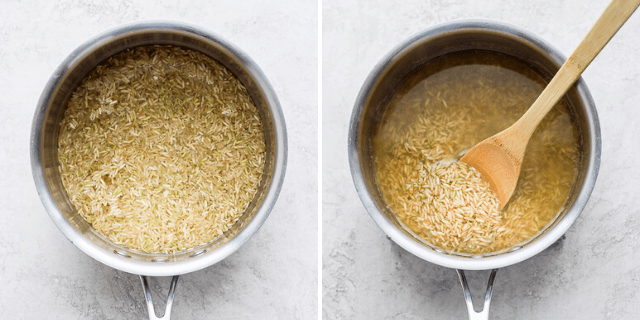
Now, add water. The ratio for long-grained brown rice is two parts water for every one part of rice. (Always check the ratio for your particular variety of brown rice.) Next, turn up the heat and bring to a boil. Add salt, and using a wooden spoon, stir the rice to evenly distribute it. Please, don’t over stir.
At this point, cover the brown rice with a lid, turn the heat to low, and cook undisturbed for 45 minutes. After cooking, remove the pan from heat. Allow the rice to rest in the pot for about five minutes, without opening the lid. The rice will continue to absorb water.
After five minutes, uncover and check to see if all the water is absorbed. At this point, some water (a tablespoon or so) is fine, and you can drain it off. If there is a lot of water remaining, cook the rice for 10-15 minutes until all the water is absorbed.
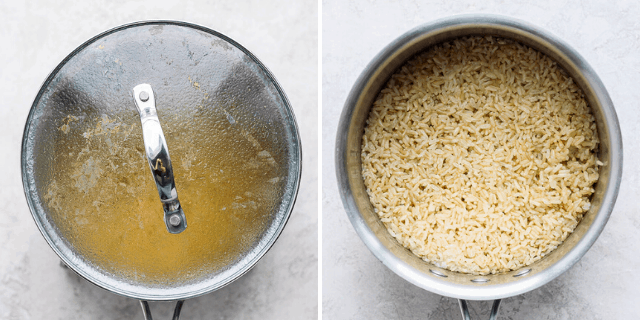
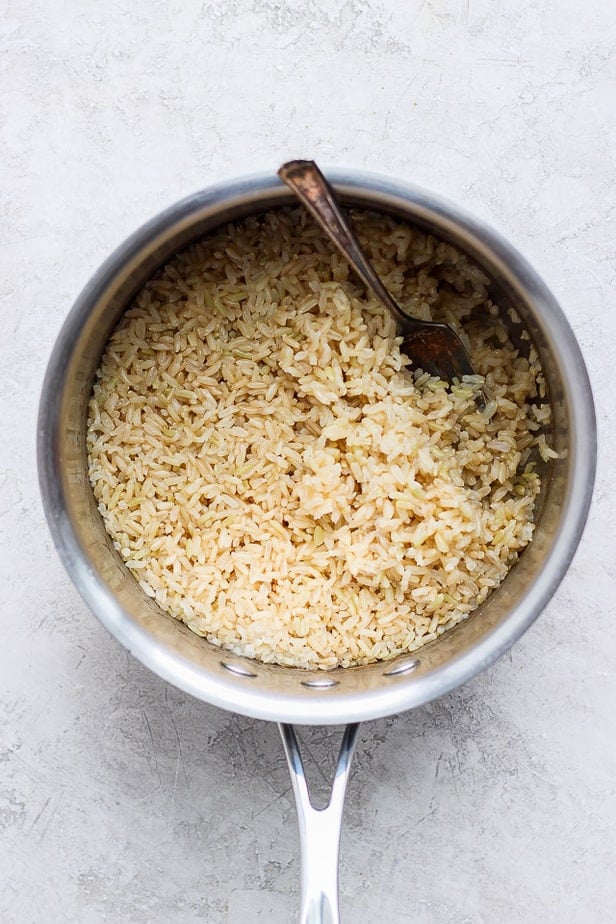
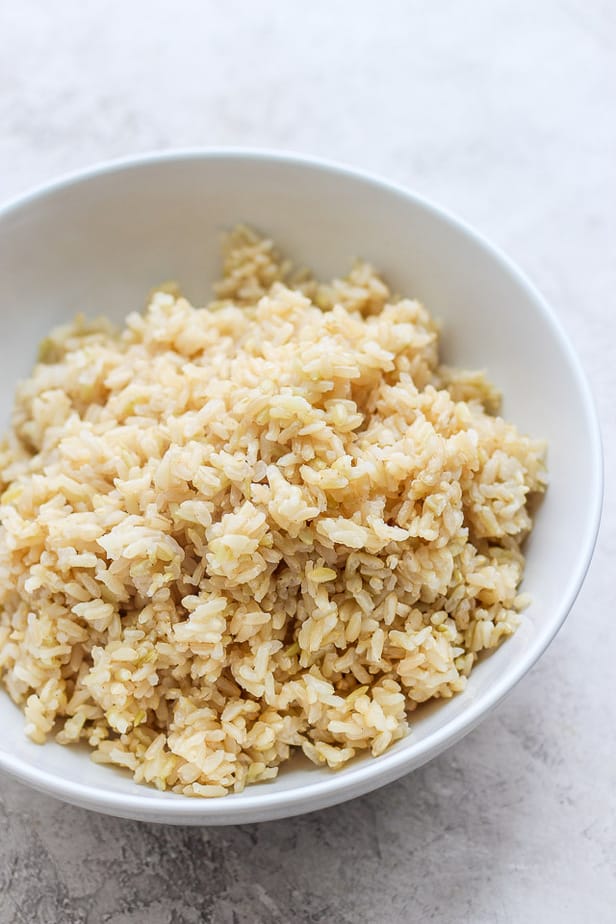
Finally, fluff gently rice with a fork to separate the grains.
Recipes with brown rice
- Grain Bowls with Brown Rice
- Chicken Teriyaki Bowls
- Beef & Brown Rice Burritos
- Chicken and Rice Stuffed Peppers
- Shrimp Stir Fy with Brown Rice Pilaf
- Mexican Chicken and Rice (White or Brown)
- Jollof Rice
Frequently asked questions
Store leftovers in an airtight container for up to five days in the refrigerator. To reheat, you can add a splash of water to moisten it.
Yes, brown rice is very freezer friendly. Once cooked, allow the rice to cool completely, place in a freezer-safe container and freeze for up to six months.
I prefer to keep it simple with salt and pepper. For more flavor, consider toasting the brown rice with olive oil before cooking or cooking it with chicken or vegetable broth.
Consumer Reports explains that organic arsenic naturally occurs in soil and rice absorbs this. Unfortunately, arsenic is higher in brown rice than white, because arsenic collects in the bran. Rinsing rice (as demonstrated above) can remove up to 30% of arsenic before cooking. Still, you should limit to two servings a week.
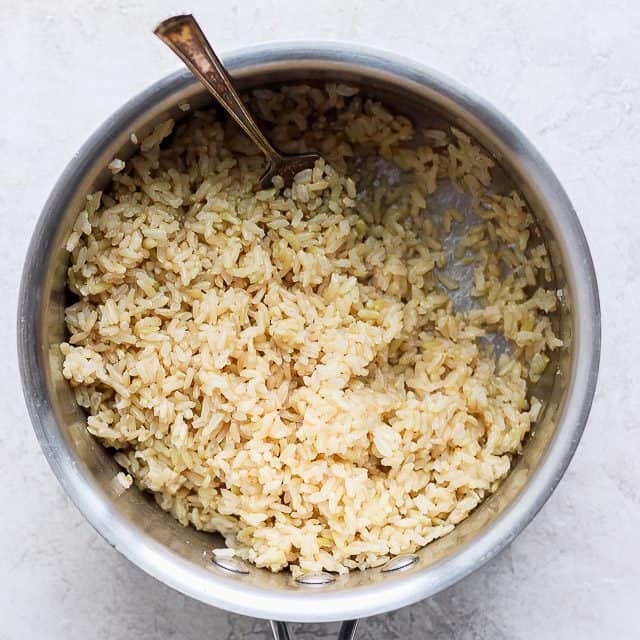
Brown rice is an affordable, nutrient-rich, gluten and fat-free additional to any meal. Follow my easy directions to make your own perfect fluffy rice. It’s great to add to your meal prep days.
For more cooking resources:
- How to Cook White Rice
- How to Cook Quinoa in a Pot
- How to Peel Garlic
- How to Cut an Avocado
- How to Cook Chickpeas
- How to Make Oatmeal
- How to Cut Lettuce
- How to Cut a Tomato
- How To Cut a Mango
If you’ve found this cooking resource for How to Cook Brown Rice helpful or if you’ve tried any recipe on Feel Good Foodie, then don’t forget to rate the recipe and leave me a comment below! I would love to hear about your experience with this technique. And if you snapped some shots of it, share it with me on Instagram so I can repost on my stories!

How to Cook Brown Rice
Ingredients
- 1 cup medium or long grain brown rice
- ½ teaspoon salt
Instructions
- Measure the rice into a cup and level the top.
- Rinse the rice in a fine mesh sieve thoroughly in cold water until the water runs clear.
- Pour the rice into a deep pot over a low heat.
- Add double the amount of cold water, then bring the mixture to a boil.
- Using a wooden spoon, stir the rice in the pot to evenly distribute it, but don’t over stir.
- Cover the brown rice with a lid and cook undisturbed on a low heat for 45 minutes.
- Remove the pan from the heat. Allow the rice to rest in the pot for about 5 minutes, without opening the lid, to absorb all the liquid and steam. Uncover and check to see if all the water is absorbed; some water (about a tablespoon) on the bottom is fine, and you can drain off any excess water. If there is a lot of water remaining, cook it for 10-15 more minutes until the water is absorbed.
- Fluff the rice with a fork to separate the grains, and serve.
Notes
Nutrition
Nutrition information provided is an estimate. It will vary based on cooking method and specific ingredients used.


Comments
I have an electric stove and after boiling, stirring, putting a lid on and turning heat to low, mine boils over the lid onto my burners/stove. Should I wait until boiling slows down before putting a lid on to prevent this or put lid halfway on?
Is there any way to put the heat on even lower? If not, that would be a good idea. Or, watch it to see when it looks like it’s going to boil over and open the lid before it does.