How to Make Self Rising Flour
Updated Sep 18, 2025
Self Rising Flour Recipe is made from all-purpose flour, baking powder and salt. Grab the exact measurements and tips for how to substitute!
This post may contain affiliate links. Please read our disclosure policy.
Jump to Section
Homemade Self Rising Flour

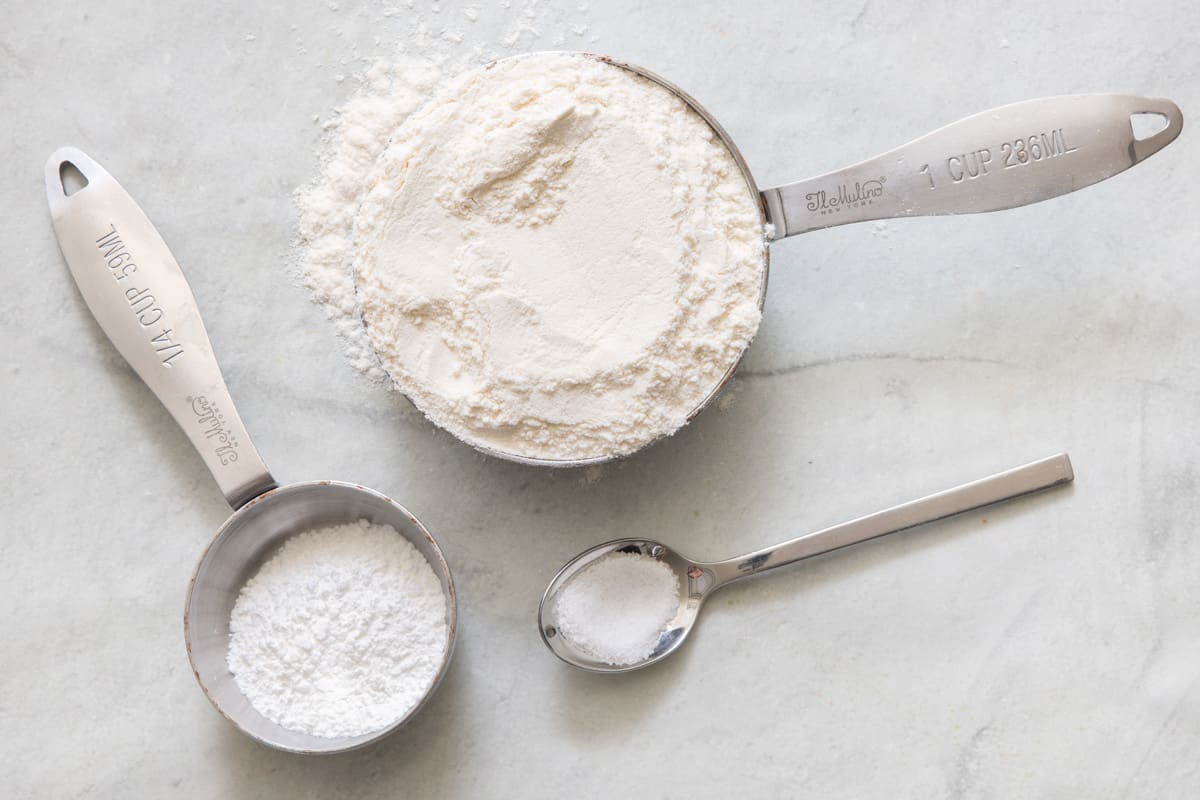
Did you know you can make your own self rising flour using this recipe? If you don’t have self rising flour, you can make homemade self rising flour with just all-purpose flour, baking powder and salt. For every cup of all-purpose flour, just add 1 ½ teaspoons of baking powder and ¼ teaspoon salt – that’s it!
Storebought self rising flour is not exactly the same as homemade self rising flour because it uses a lower protein flour than all-purpose flour. Because of the higher ratio of protein, the homemade mix may not be as tender, but it’s totally fine to use and you may not notice the difference at all. Make a big batch or make it on an as-needed basis!
Happy Baking!
– Yumna
Self Rising Flour Recipe Ingredients
- All-purpose flour: Substitute ½ the required amount with whole wheat flour if you would like.
- Baking powder: I always prefer to use aluminum-free baking powder. Also, check for freshness. If you’re weary, if it is still fresh, test it by adding a little to boiling water. If it is very bubbly, you’re good to go!
- Salt: Just a small amount to improve the flavor.
How to Make Self Rising Flour
Note: This recipe is equivalent to 1 cup of store-bought or pre-mixed self rising flour. If you’re recipe calls for 2 or 3 cups of self rising flour, you’ll need to double or triple this recipe accordingly to match the ratio.

How to Make Self Rising Flour
Ingredients
- 1 cup all-purpose flour
- 1 ½ teaspoons baking powder
- ¼ teaspoon salt
Instructions
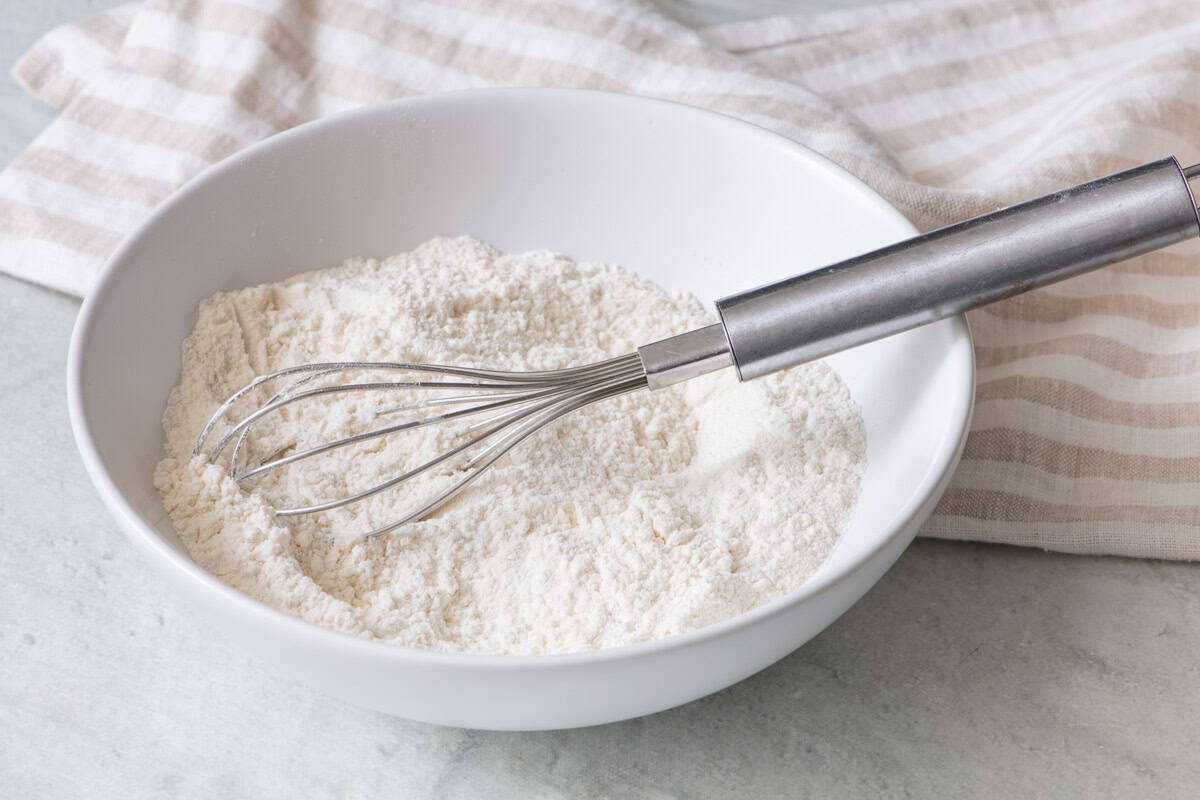
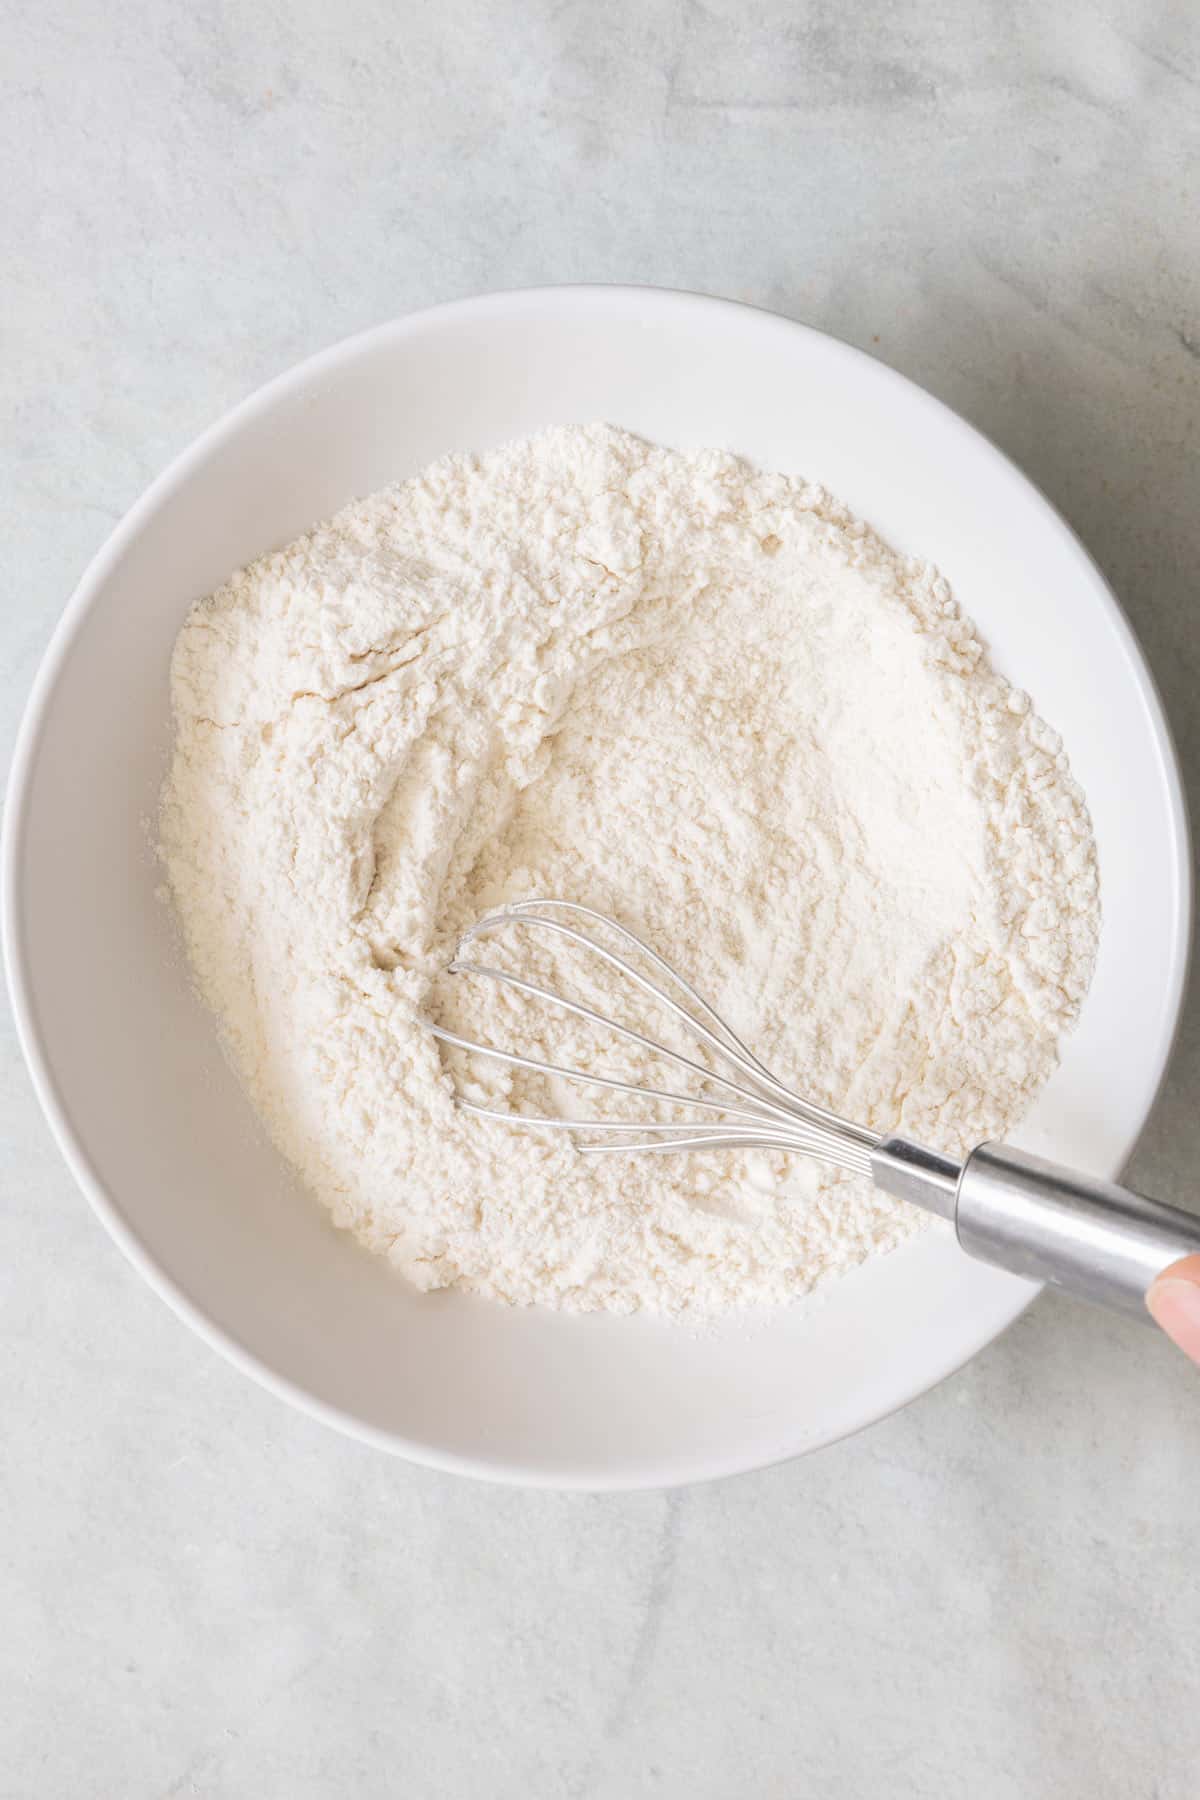
- Whisk all of the ingredients together in a bowl; then use as directed in your recipe or store in an airtight container for up to 6 months.
Notes
Nutrition
Nutrition information provided is an estimate. It will vary based on cooking method and specific ingredients used.
Tutorial Tips
- Use fresh ingredients. Check the dates on your flour and baking powder to make sure they are still fresh. Baking powder loses its potency after opening.
- Measure the flour correctly. Get accurate measurements of the flour by using the spoon method. Mix up the flour and then spoon it into a measuring cup without compacting it. Then, use a knife to level the flour. If you scoop straight into the flour, you may get too much. You can also weigh 4 ½ ounces for one cup of flour.
Recipes to Make with Self Rising Flour
Self rising flour is found in many baking recipes, such as pancakes, biscuits, scones, pizza dough, and some cakes. Here are 4 easy recipes I like to use it in.
FAQs
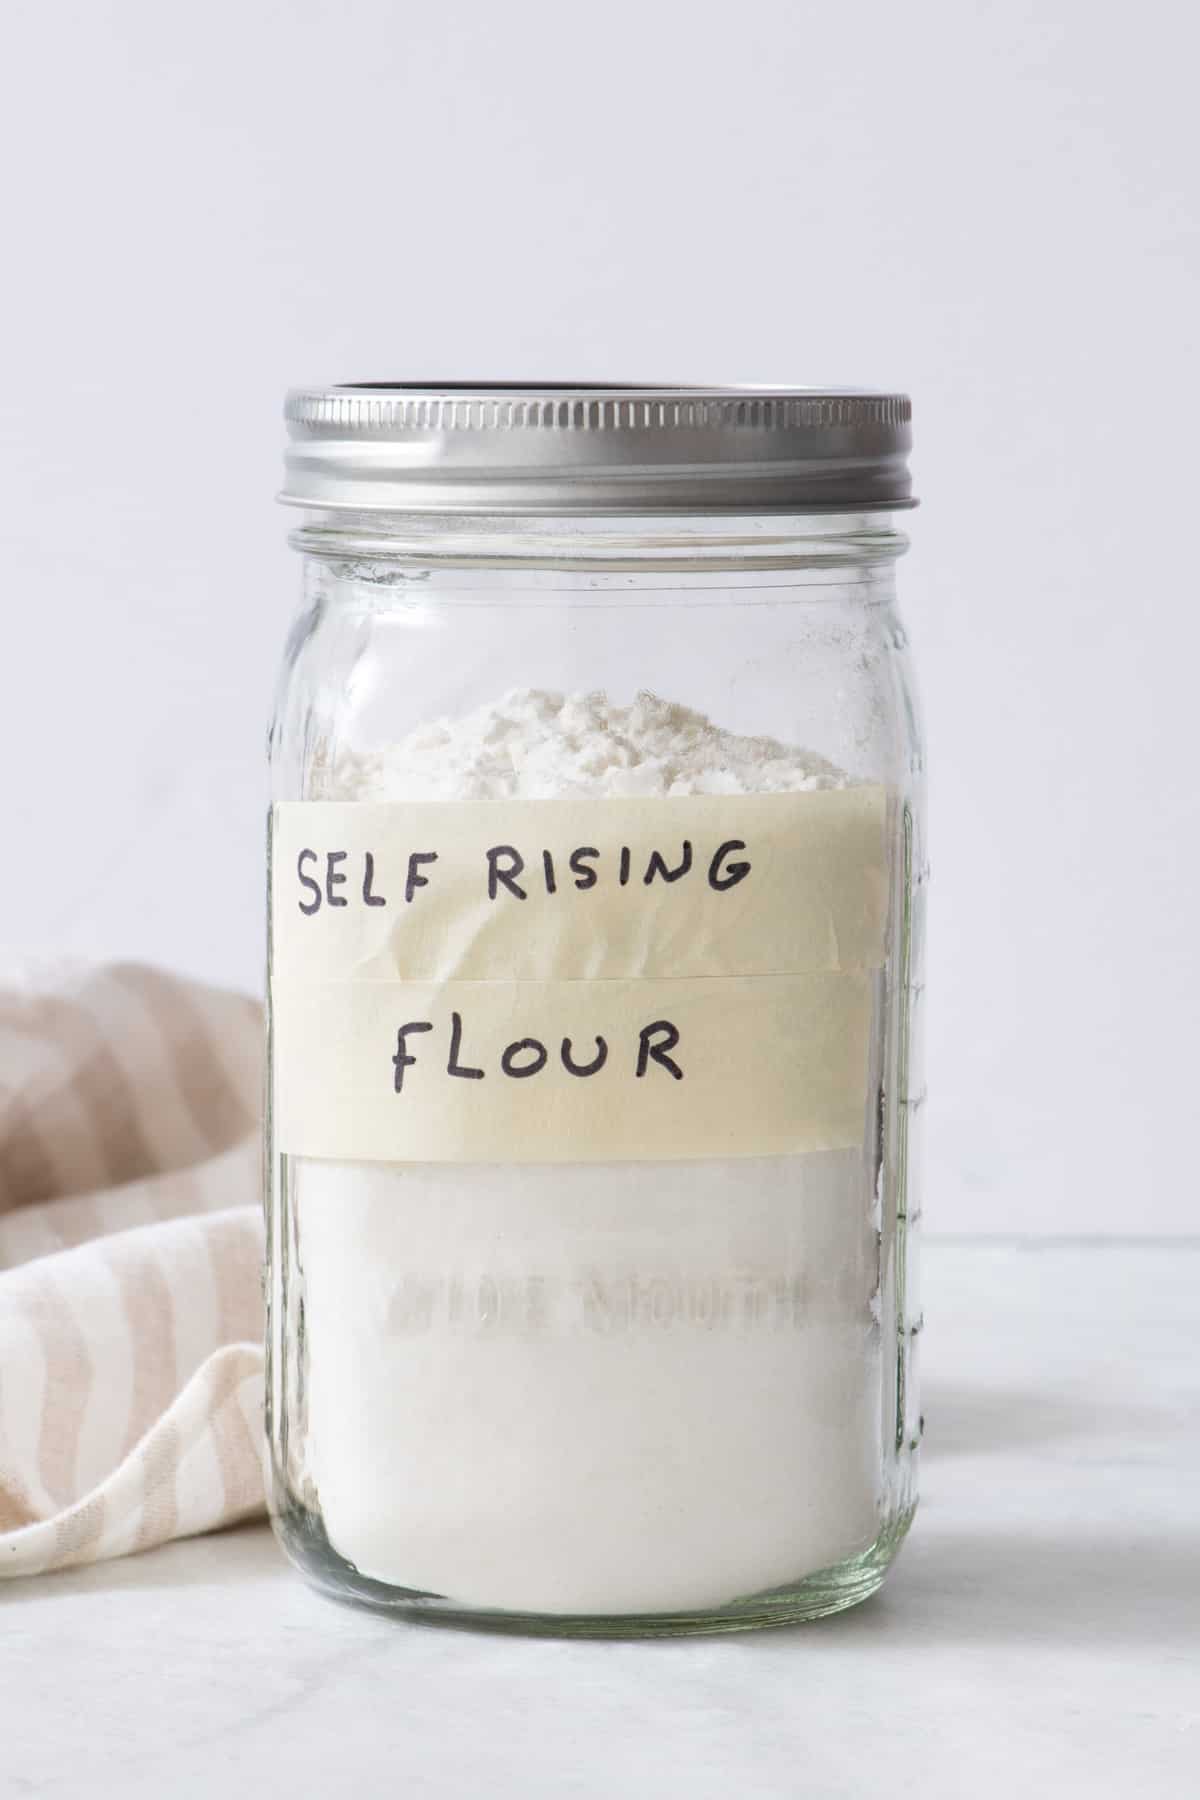
Store in an airtight container for up to 3 months. I recommend somewhere in your pantry that does not allow light to penetrate the flour. Before using, whisk it to redistribute the baking powder.
Yes, it’s a great idea to freeze self rising flour especially if you made more than you need and you’re not sure if you’ll use it again within the next 3 months. Freeze one cup at a time to make it easier to use in baking recipes


Comments
Will gluten free flour work to make self rising flour?
Hi Rick, I am not sure – I haven’t tried gluten free flour with this recipe.