This post may contain affiliate links. Please read our disclosure policy.
Learn how to make pumpkin puree for pumpkin pie and all your other favorite pumpkin-y treats. That orange can in your cupboard? It’s just pureed pumpkin! Here’s how to make it yourself especially if you can’t find canned pumpkin.
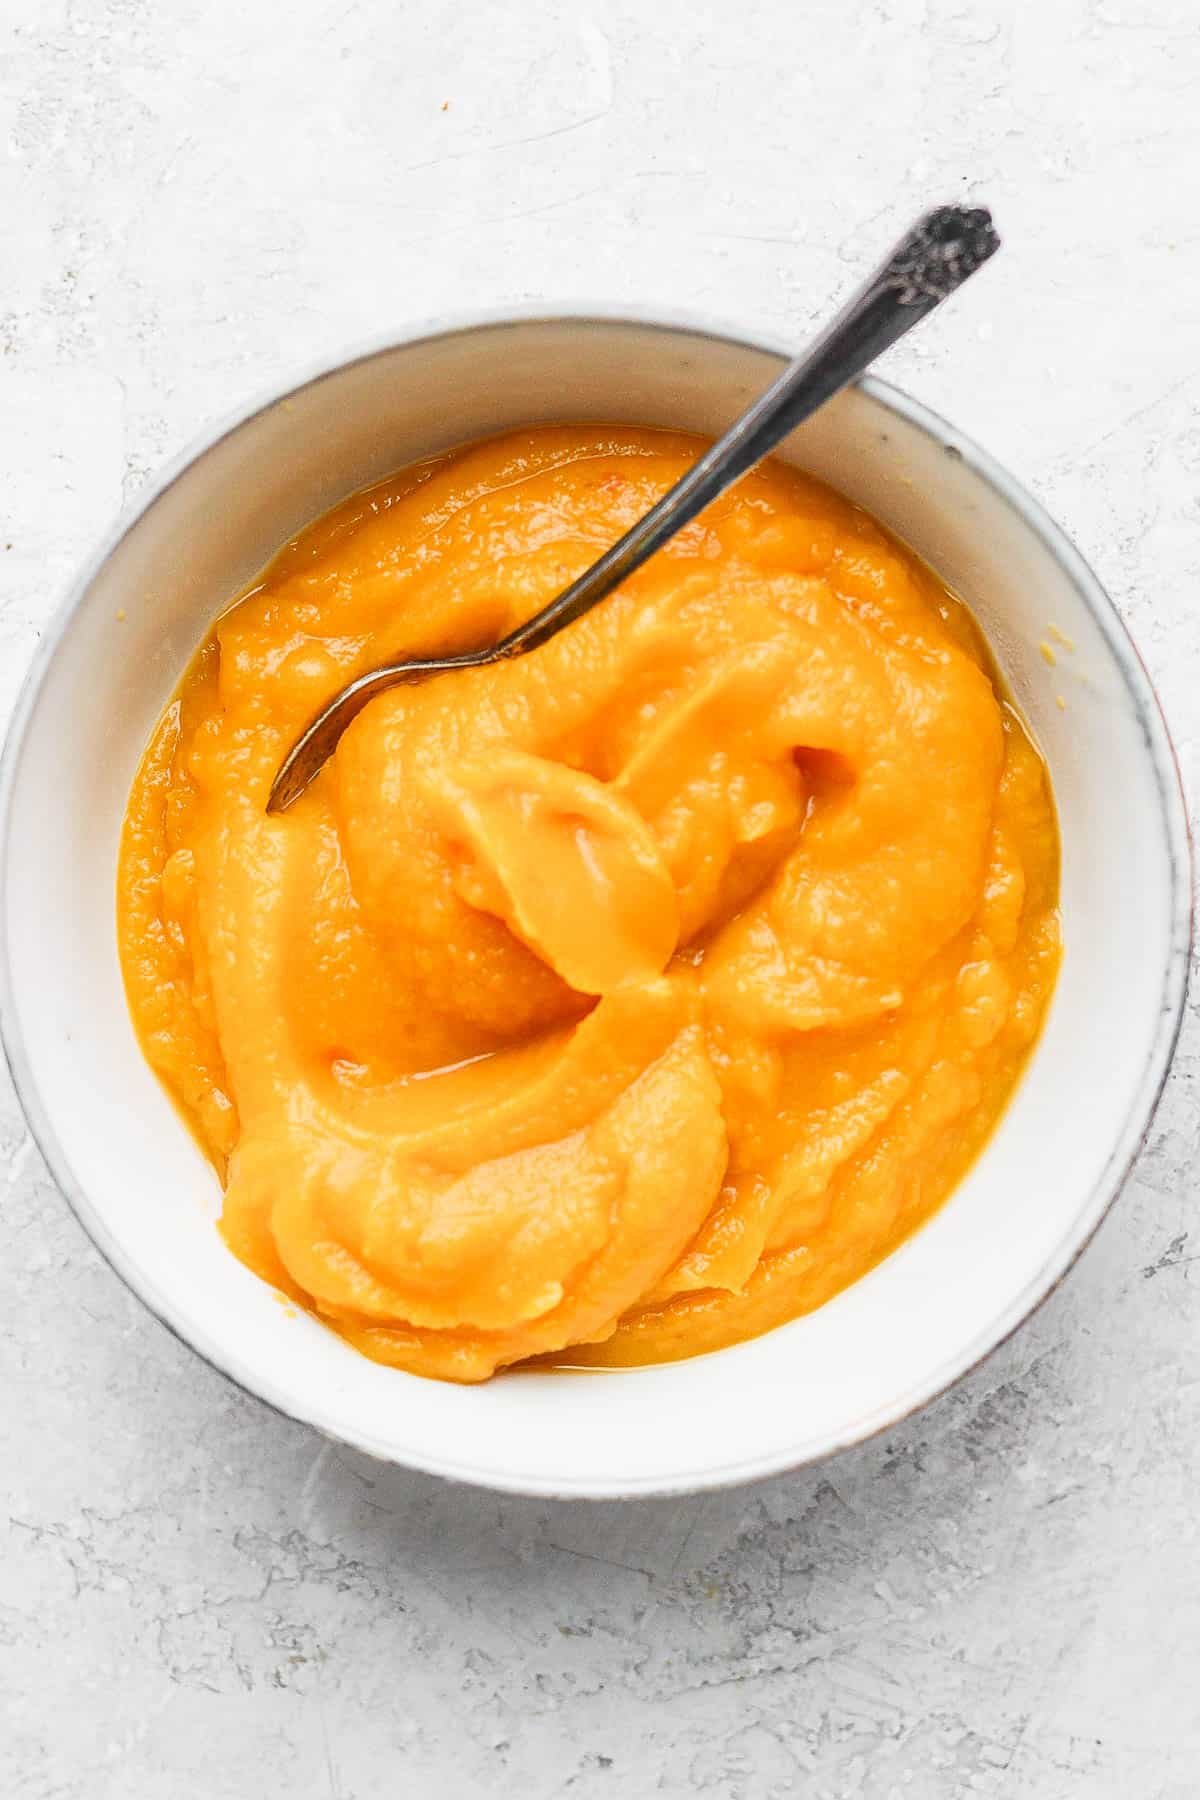
Homemade or canned, pumpkin is bursting with fiber (for fullness) and nutrients like calcium, potassium, magnesium, and iron.
How to make pumpkin puree
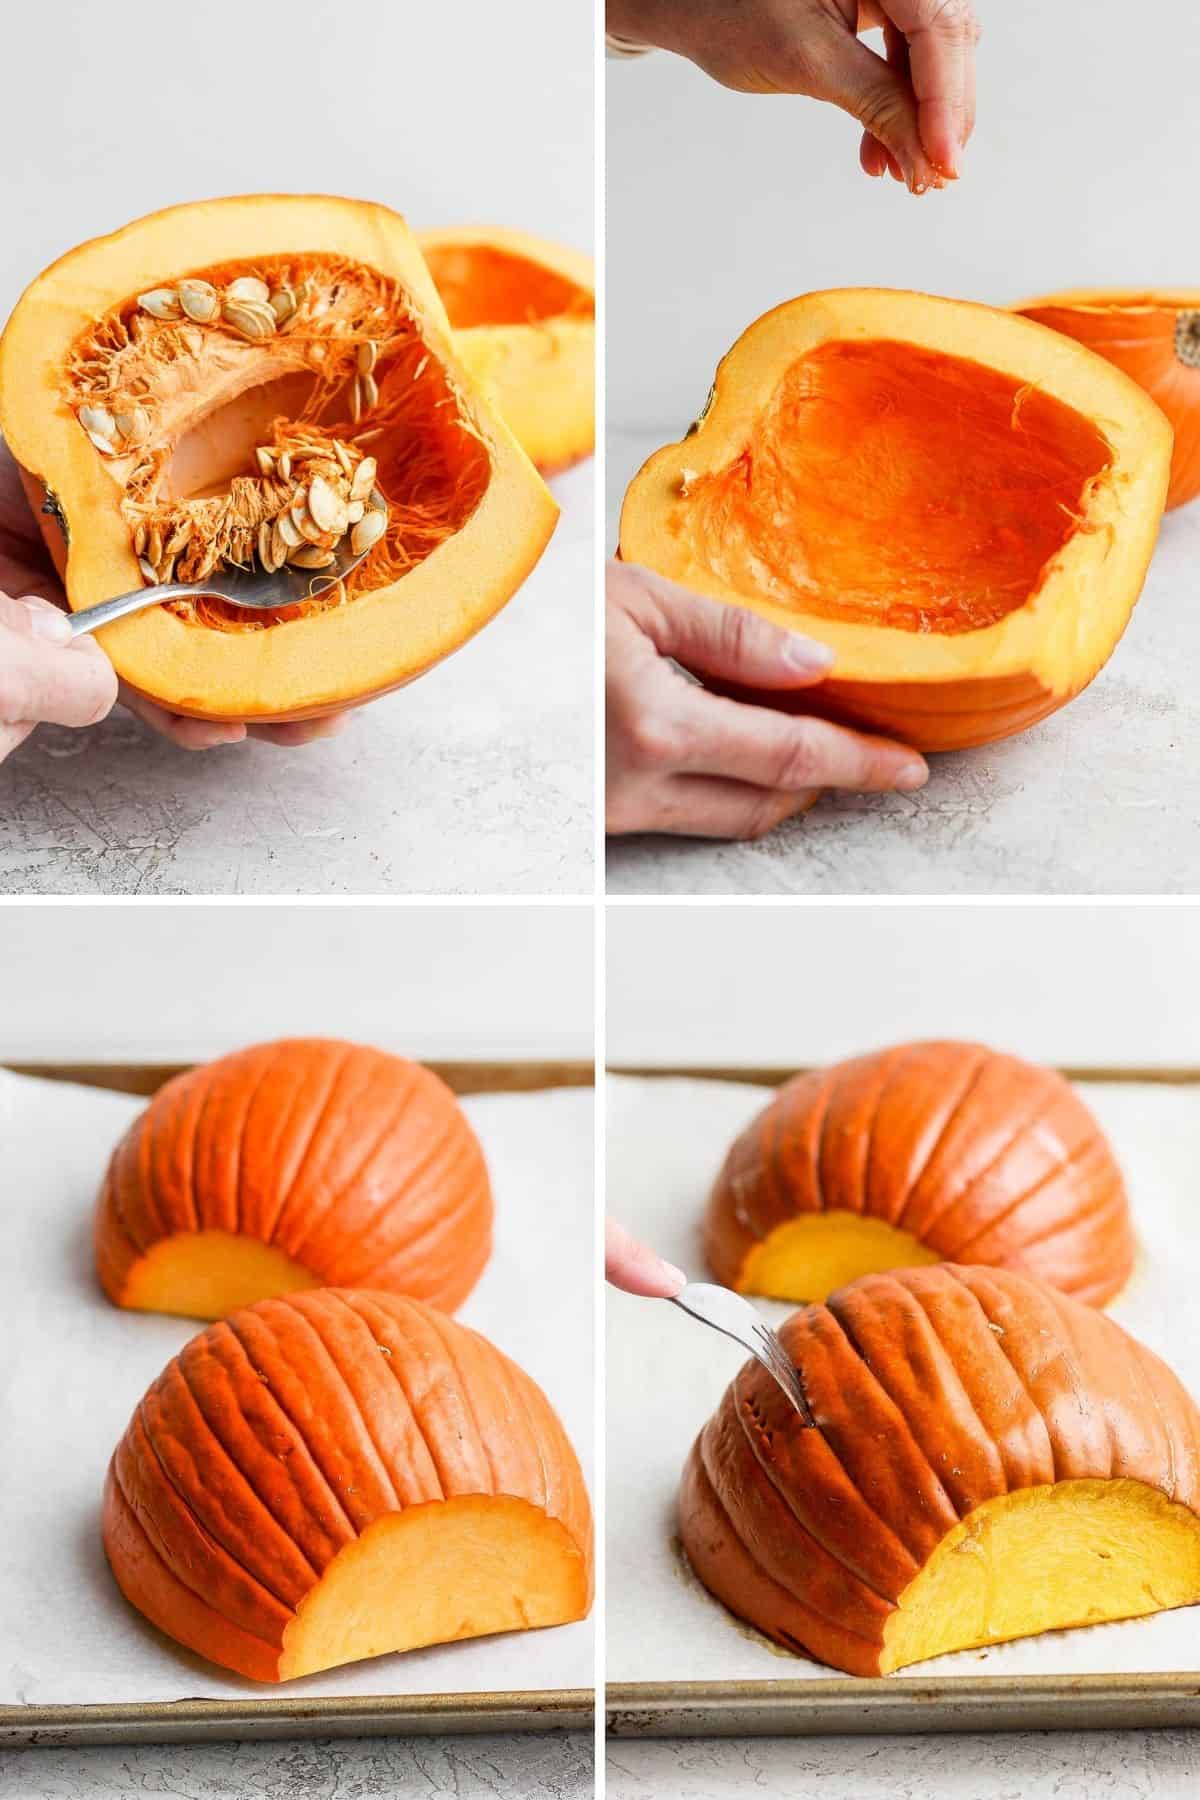
- Prep the pumpkin by first removing the stem. Then, cut the pumpkin in half and scoop out the seeds and fiber with a large spoon. Reserve the seeds for roasting.
- Sprinkle the flesh with salt
- Lay the halves flesh side down on the prepared baking sheet.
- Cook until a knife or fork slides right through the skin and flesh.
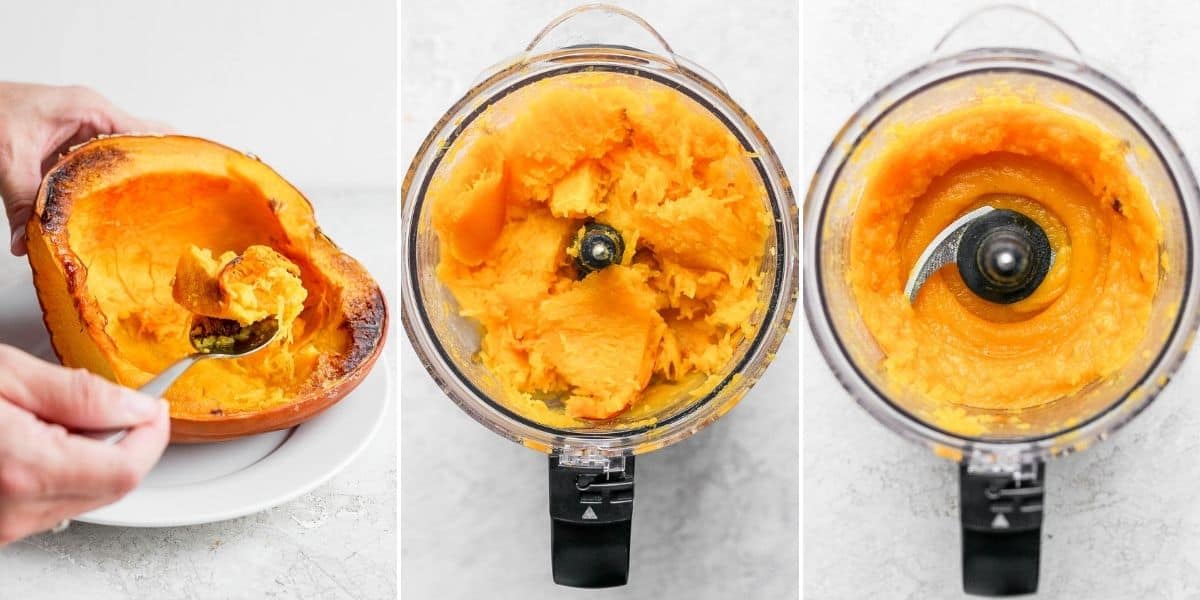
- After it’s cooled, remove the flesh with a spoon and you can throw away the skin.
- Now place in a food processor and you may have to do this in batches depending on the size of your machine.
- Blend the pumpkin flesh in a food processor until very smooth and you’ve got homemade pumpkin puree ready for your recipe!
Tips for making homemade pumpkin puree
- Buy the right kind of pumpkin. Look for those labeled “sugar” or “pie” pumpkins. They are bred for making puree. Often they are small and round but can come in different shapes (and colors!).
- Roast thoroughly for even blending and the best finished texture. A paring knife should glide smoothly right through a well-roasted pumpkin.
- Do not forget the salt. Salt brings out flavor.
- Maybe ditch the parchment paper. If you don’t mind scrubbing down your baking sheet, for optimum caramelization, lightly oil a sheet pan roast directly on the metal.
Frequently asked questions
A typical 15-ounce can of pumpkin is a scant (slightly less) than two dry measuring cups of pumpkin puree. You can also use a scale to weigh your homemade.
Roasting brings out the richer flavors plus roasting will dehydrate the pumpkin making for a less watery puree. However, you may use a steamer insert and cook until the flesh is easily pierced with a knife.
Definitely. In fact, many bakers advocate either mixing purees or using butternut squash puree alone because they prefer the flavor and other squashes have a higher yield of useable flesh than sugar pumpkins.
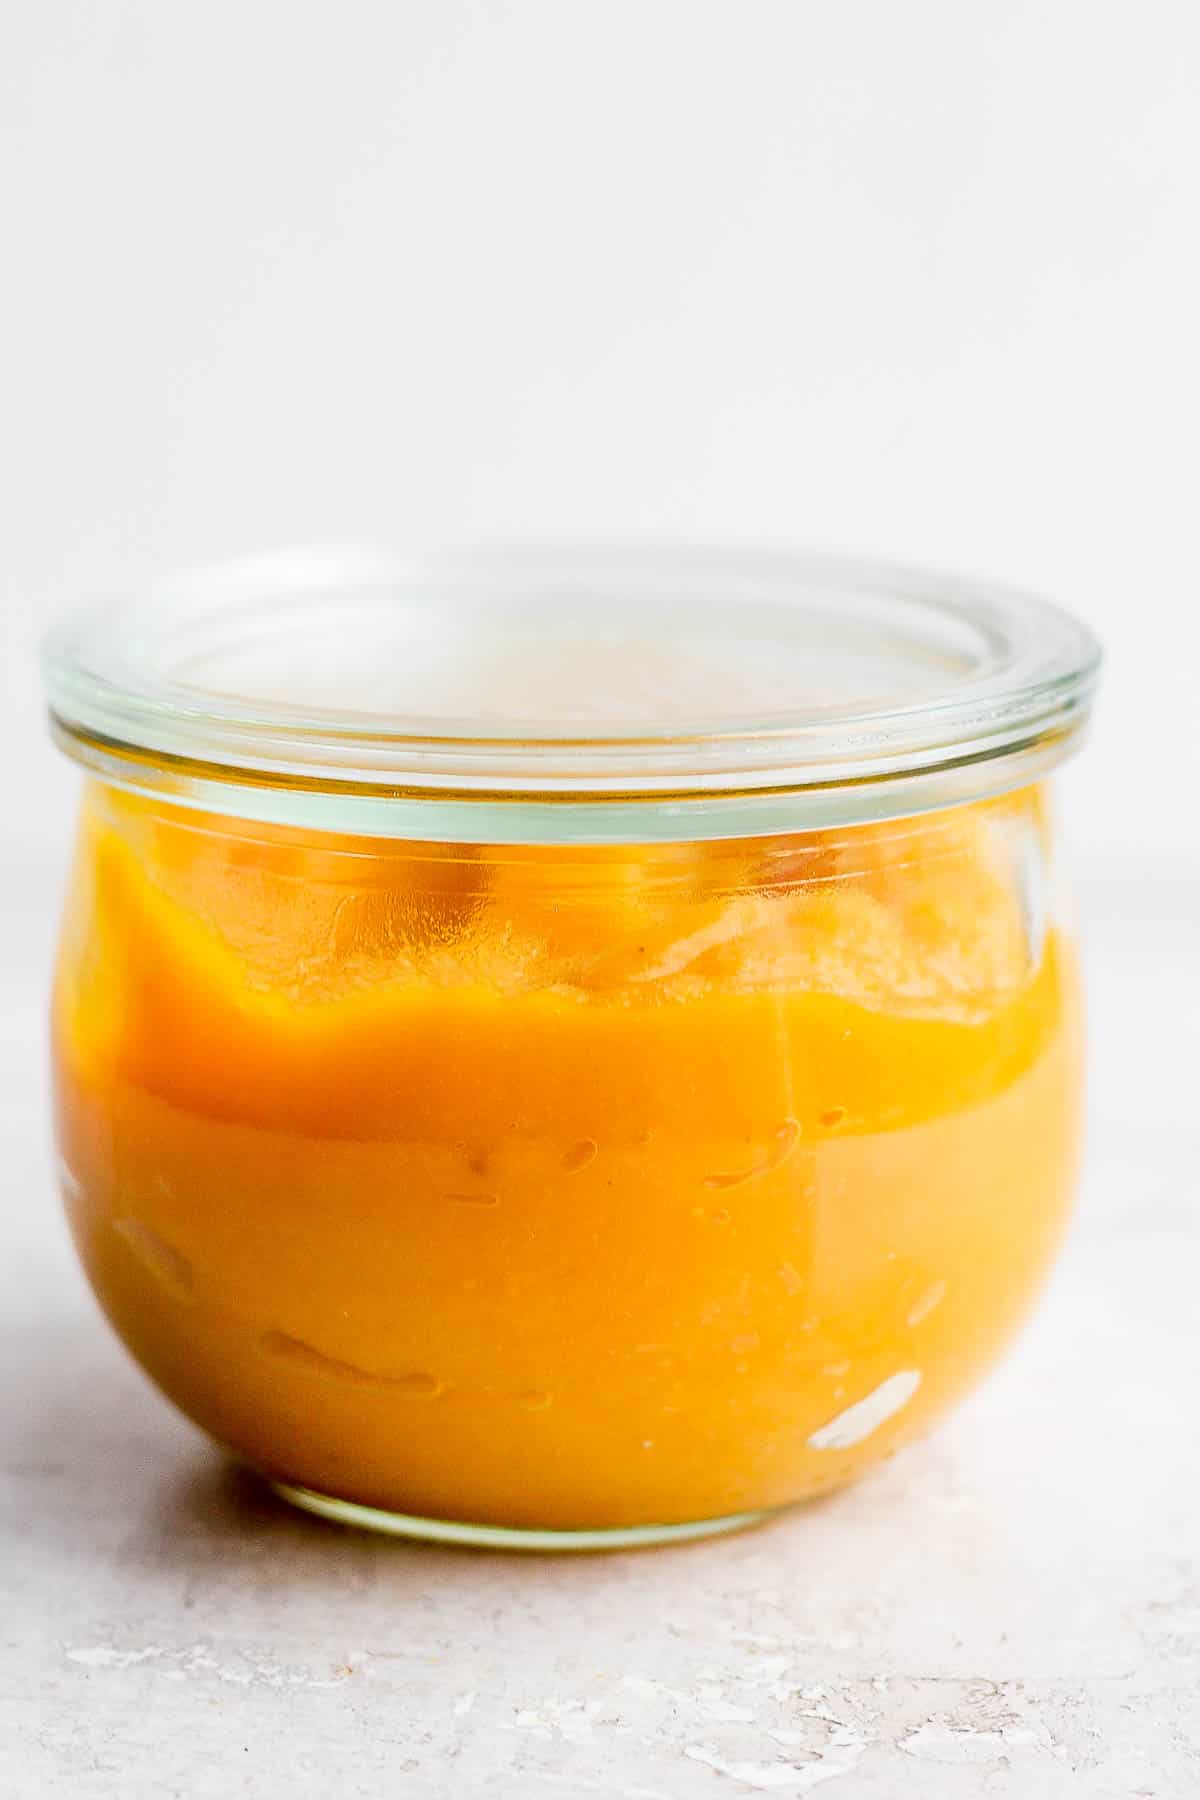
Just keep in mind that while the pumpkin puree from scratch is an excellent substitution for canned pumpkin, some recipes will still advocate against using the homemade version. That’s because homemade tends to have more water content and there is a slight difference in texture: canned is very smooth and homemade more toothsome.
Will homemade pumpkin puree make all the difference for your favorite pumpkin treat? Why not roast a pumpkin (or butternut squash) today and find out?
recipes with pumpkin puree
- Vegan Pumpkin Pasta
- No-Bake Pumpkin Balls
- Easy Pumpkin Bars
- Pumpkin Cream Cold Brew
- Vegan Pumpkin Pie
- Healthy Pumpkin Pancakes
If you found this tutorial for How to Make Pumpkin Puree helpful or if you try any recipe on Feel Good Foodie, then don’t forget to rate the recipe and leave a comment below! It helps others who are thinking of trying out this tutorial and we would love to hear about your experience. And if you snapped some shots, share it on Instagram so we can repost on Stories!
order MY book
The Feel Good Foodie Cookbook is now available everywhere books are sold!
Amazon TargetBarnes & Noble Books A Million Hudson Booksellers BookshopSCHULER Books

How to Make Pumpkin Puree
Ingredients
- 3-4 pound sugar pumpkin
- Kosher salt to taste
Instructions
- Preheat oven to 400°F and line a baking sheet with parchment paper.
- Remove the stem of the pumpkin and cut in half, scoop out the seeds and fiber with a large spoon. Reserve the seeds for roasting.
- Sprinkle the flesh with salt and lay the halves flesh side down on the prepared baking sheet.
- Roast until a knife can easily be inserted and removed, 30-45 minutes.
- Allow to cool for an hour, remove the flesh and process in a food processor until very smooth, 3-4 minutes. Store in the fridge for 1 week or the freezer for 3 months.
Nutrition
Nutrition information provided is an estimate. It will vary based on cooking method and specific ingredients used.


