Dry Brined Turkey

Published Oct 07, 2026
Dry brined turkey rubbed with salt and herb mix, roasted for juicy meat and crispy skin. An easy, cripsy skined recipe for the best Thanksgiving turkey.
This post may contain affiliate links. Please read our disclosure policy.
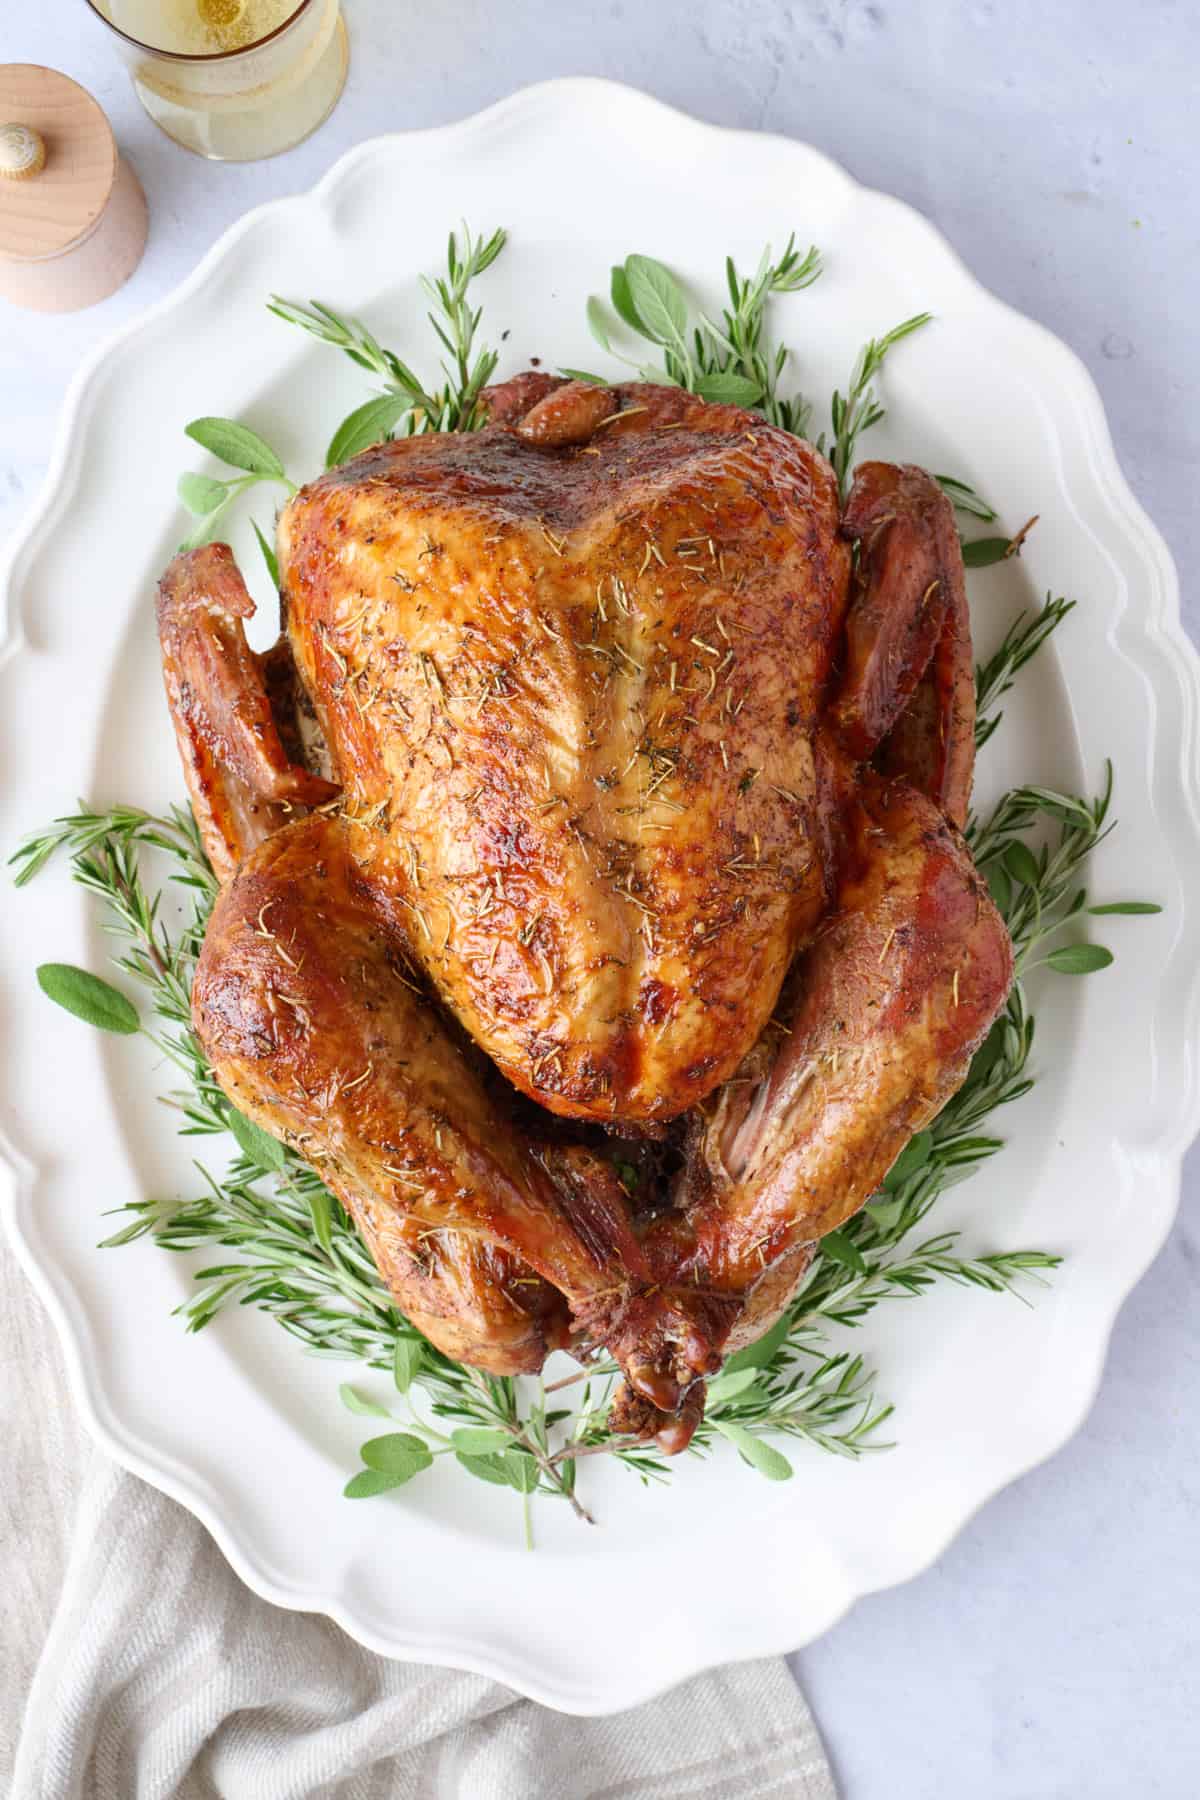
A dry brined turkey makes so much more sense to me now that I’ve done it both ways. I rub the entire turkey with salt, herbs, and a little brown sugar, add it uncovered to the fridge for a day or two, and pretty much leave it alone. By the time it goes into the oven, the seasoning has had time to work its way into the meat and the skin is nice and dry. And I am very particular about turkey skin. If I’m roasting a whole bird, I want it really browned and crisp and dry brining is the best way to do that, IMO.
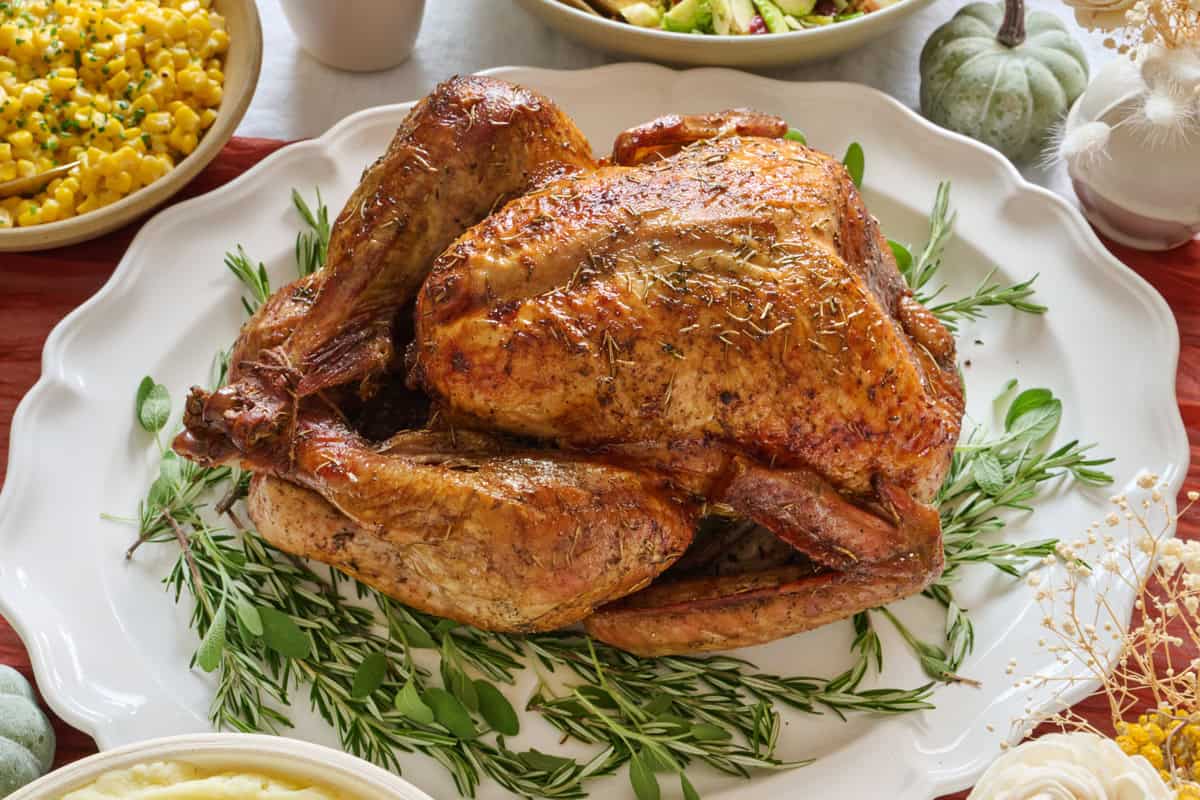
I wet brined my first Thanksgiving turkey, and I still remember trying to find room in my fridge for a giant bucket full of turkey and saltwater. Once was plenty. With a dry brine turkey, I just need room for the bird itself, which is way more doable for me.
Recipe Testing Notes

For the past 10 years, I’ve tested every recipe before sharing it with you! These notes give you a peek into the process of developing this Dry Brined Turkey recipe.
When I tested shorter dry-brining times, I could tell pretty quickly that a few hours wasn’t enough for a whole turkey. The turkey was seasoned on the outside, but the meat underneath was much plainer, and the skin never got as crisp as the one I left uncovered for a full day. At 24 to 48 hours, the seasoning had actually worked its way into the meat and the skin was noticeably drier before it even went into the oven.
I also paid attention to cooking time versus temperature because turkey size made the clock pretty unreliable. The ones I left in based on time alone were easier to overcook, especially in the breast. Checking the thigh and pulling the turkey at 165°F was much more consistent. I tested the resting time too, and carving too early meant a lot more juice on the cutting board. Thirty minutes gave me noticeably juicier slices.
Happy Cooking!
– Yumna
Jump to Section
Dry Brined Turkey Ingredients
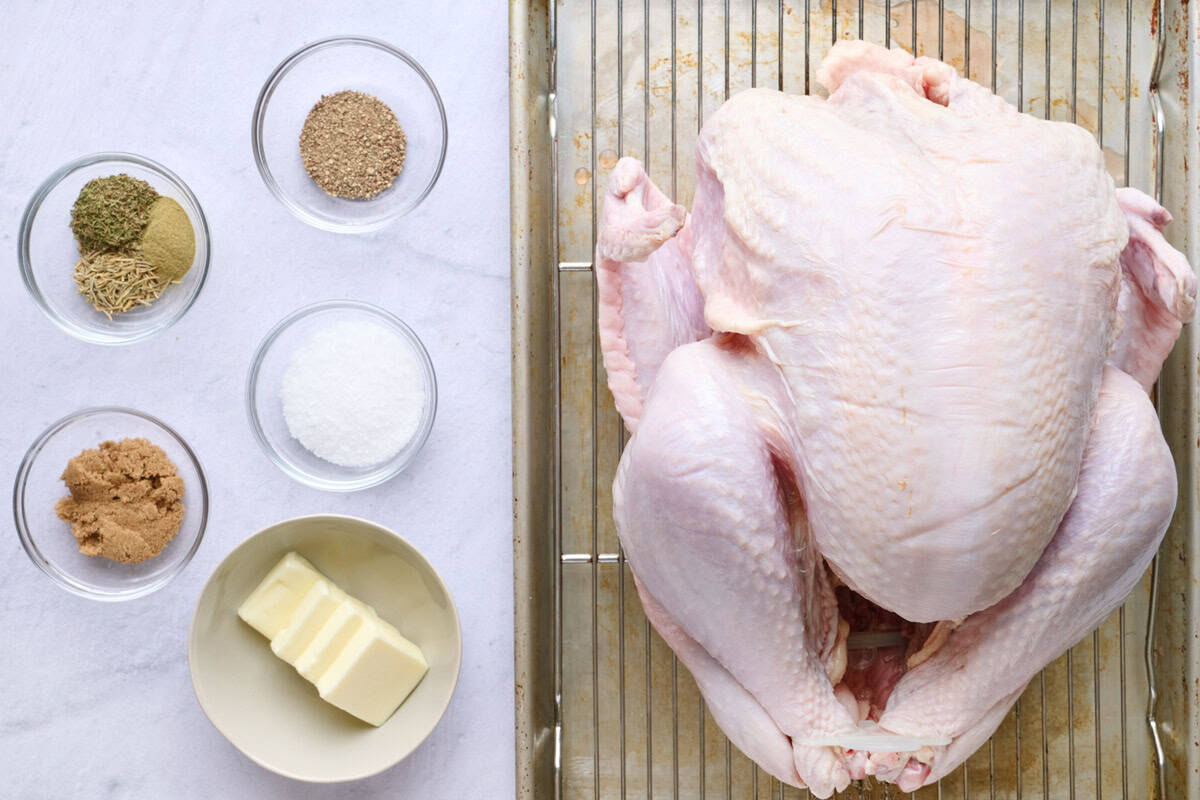
- Turkey: Start with a fully thawed, 12–14-pound turkey. If your turkey’s frozen, make sure you fully thaw it before dry brining. Check the label before buying to make sure the bird isn’t already brined or pre-salted.
- For the salt mixture: For this dry brined turkey recipe, you’ll need kosher salt, light brown sugar, black pepper, and dried thyme, dried rosemary, and dried sage leaves. You can also swap the herbs with tarragon or marjoram, or mix in a teaspoon or two of smoked paprika, coriander, or cumin.
- Butter: I use softened unsalted butter since the dry rub for brined turkey already contains salt. Read my tips on how to soften butter quickly so you can easily rub it onto the bird and under the skin. Cold butter doesn’t work here.
How to Cook a Dry Brined Turkey
These step-by-step photos walk you through how to roast a dry brined turkey. For the full ingredient list and detailed instructions, head to the recipe card below, or skip straight to the → Dry Brined Turkey Recipe below
1. Prepare the turkey
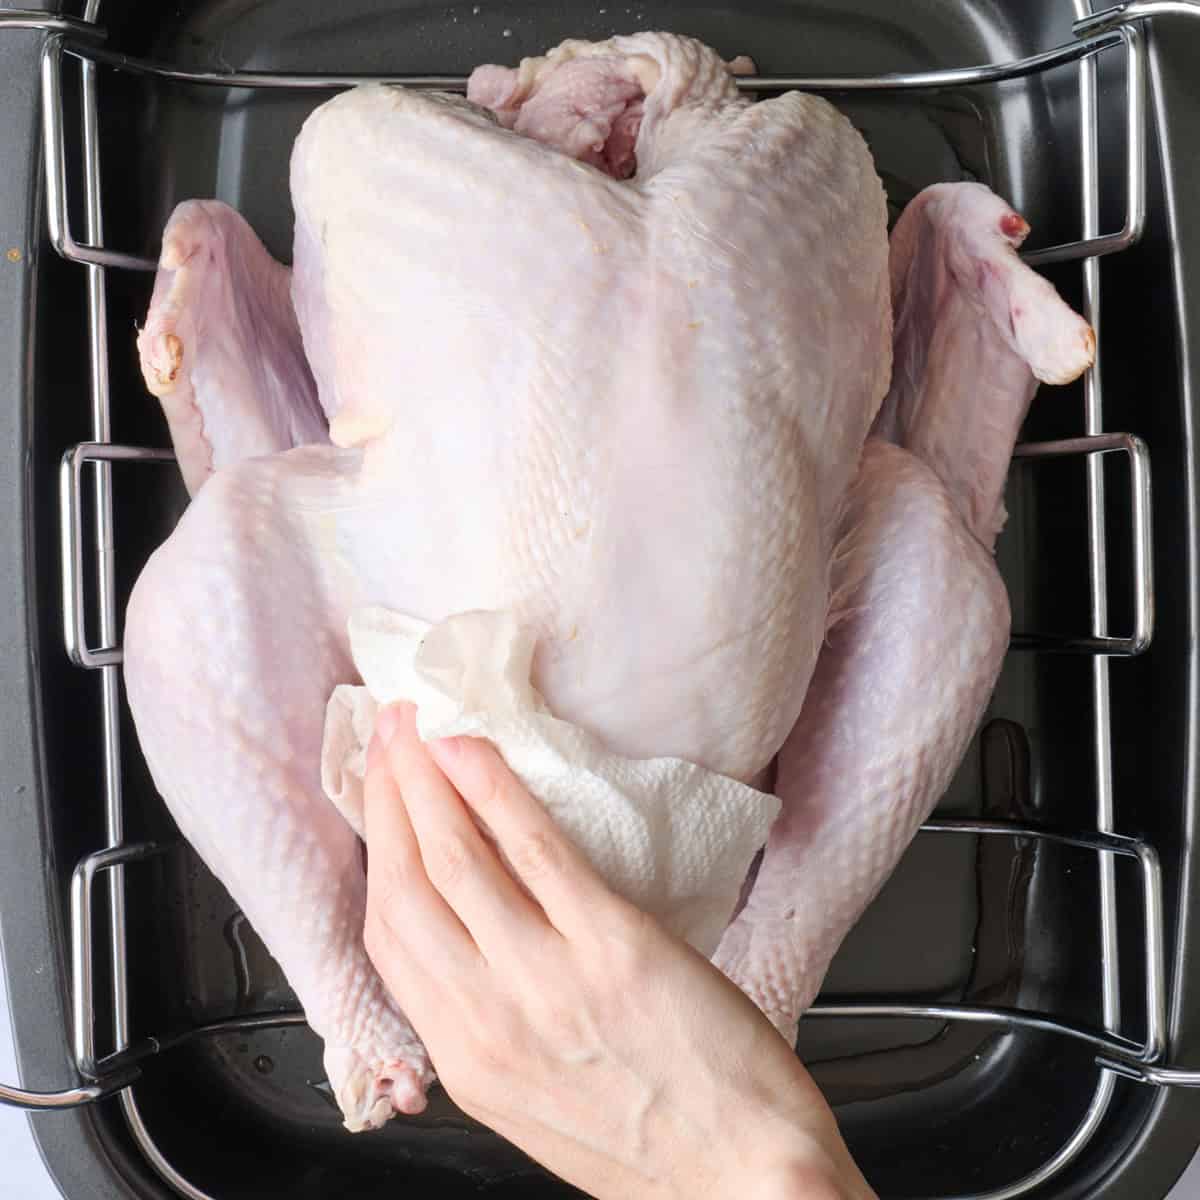
Set the turkey on a wire rack over a rimmed sheet pan and remove the neck and giblets. Pat the cavity and skin dry, then gently slide your fingers under the breast skin from the neck end, keeping the skin intact. Remove as much moisture as possible so the salt rub sticks to the turkey!
2. Combine the seasonings
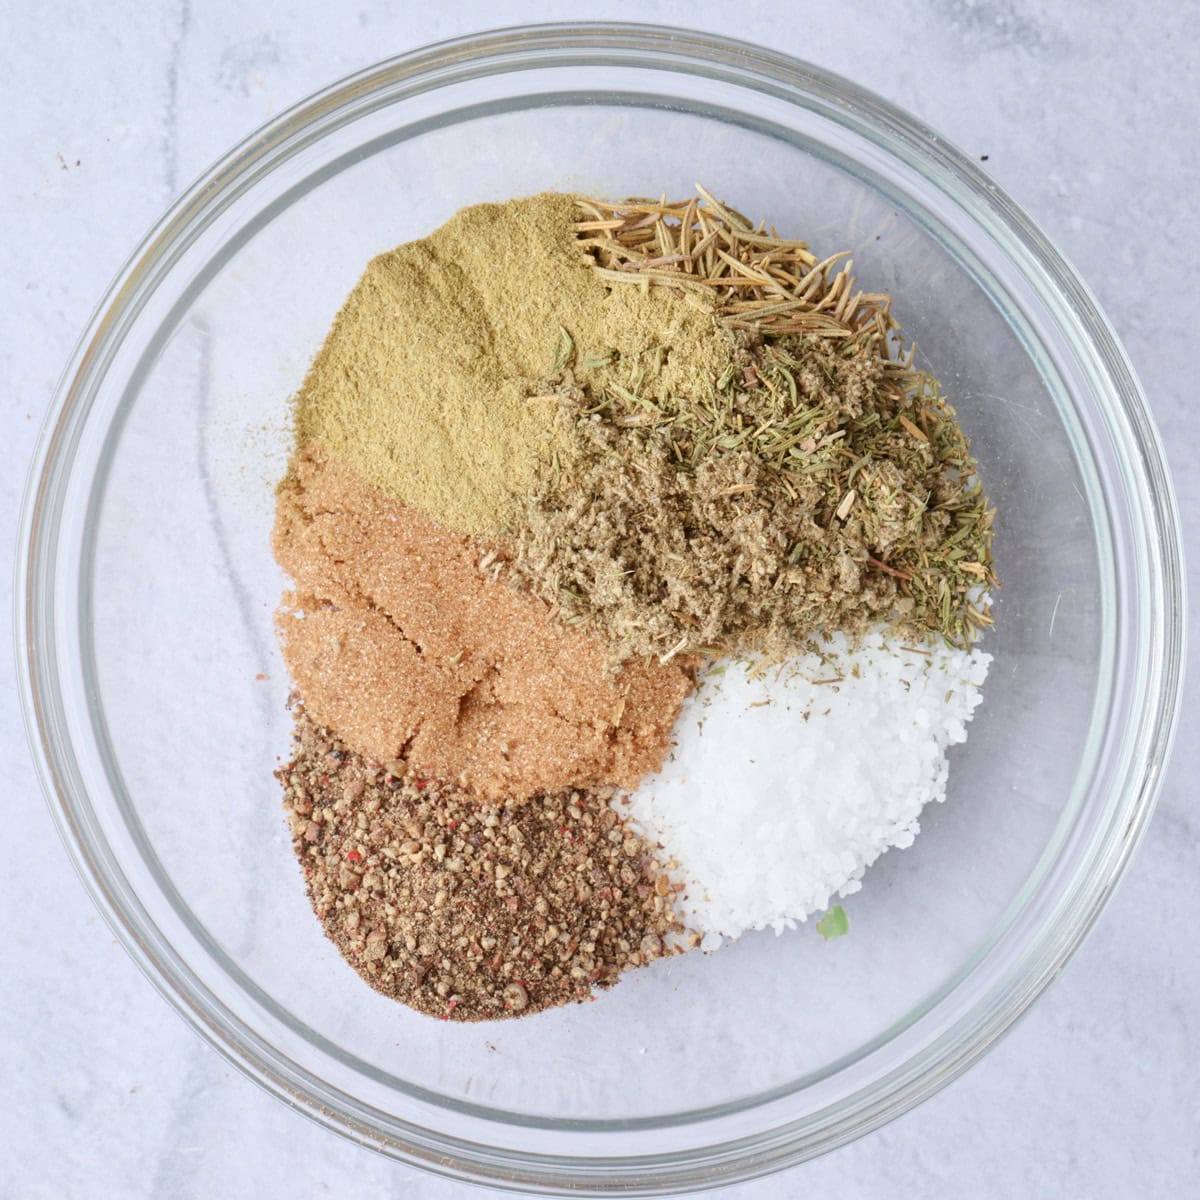
Stir the salt, brown sugar, pepper, and dried herbs together in a small bowl. Break up any brown sugar clumps so they don’t collect in one spot on the turkey.
3. Dry Brine the turkey
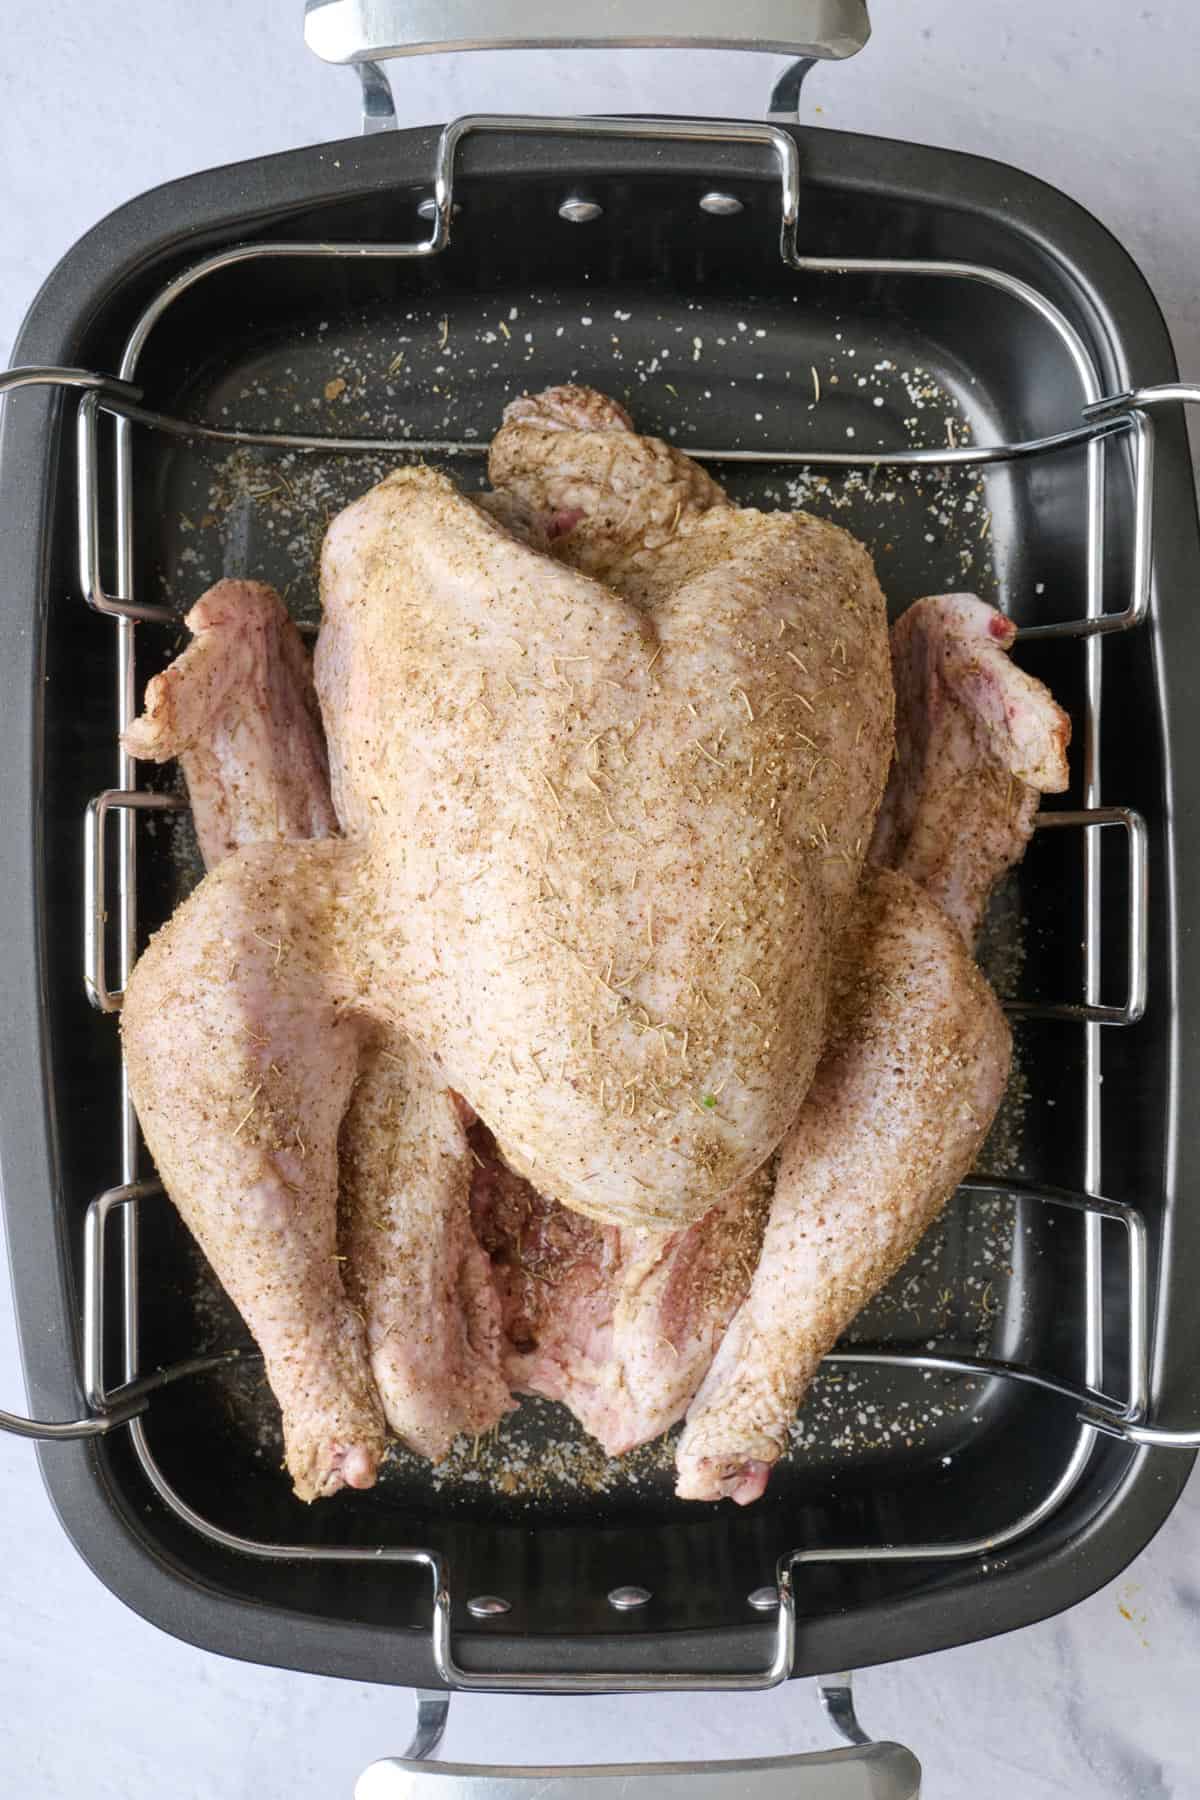
Sprinkle about a teaspoon of the mixture inside the cavity, then distribute the rest over the outside and beneath the loosened breast skin. Refrigerate uncovered for 24–48 hours.
4. Tuck and tie
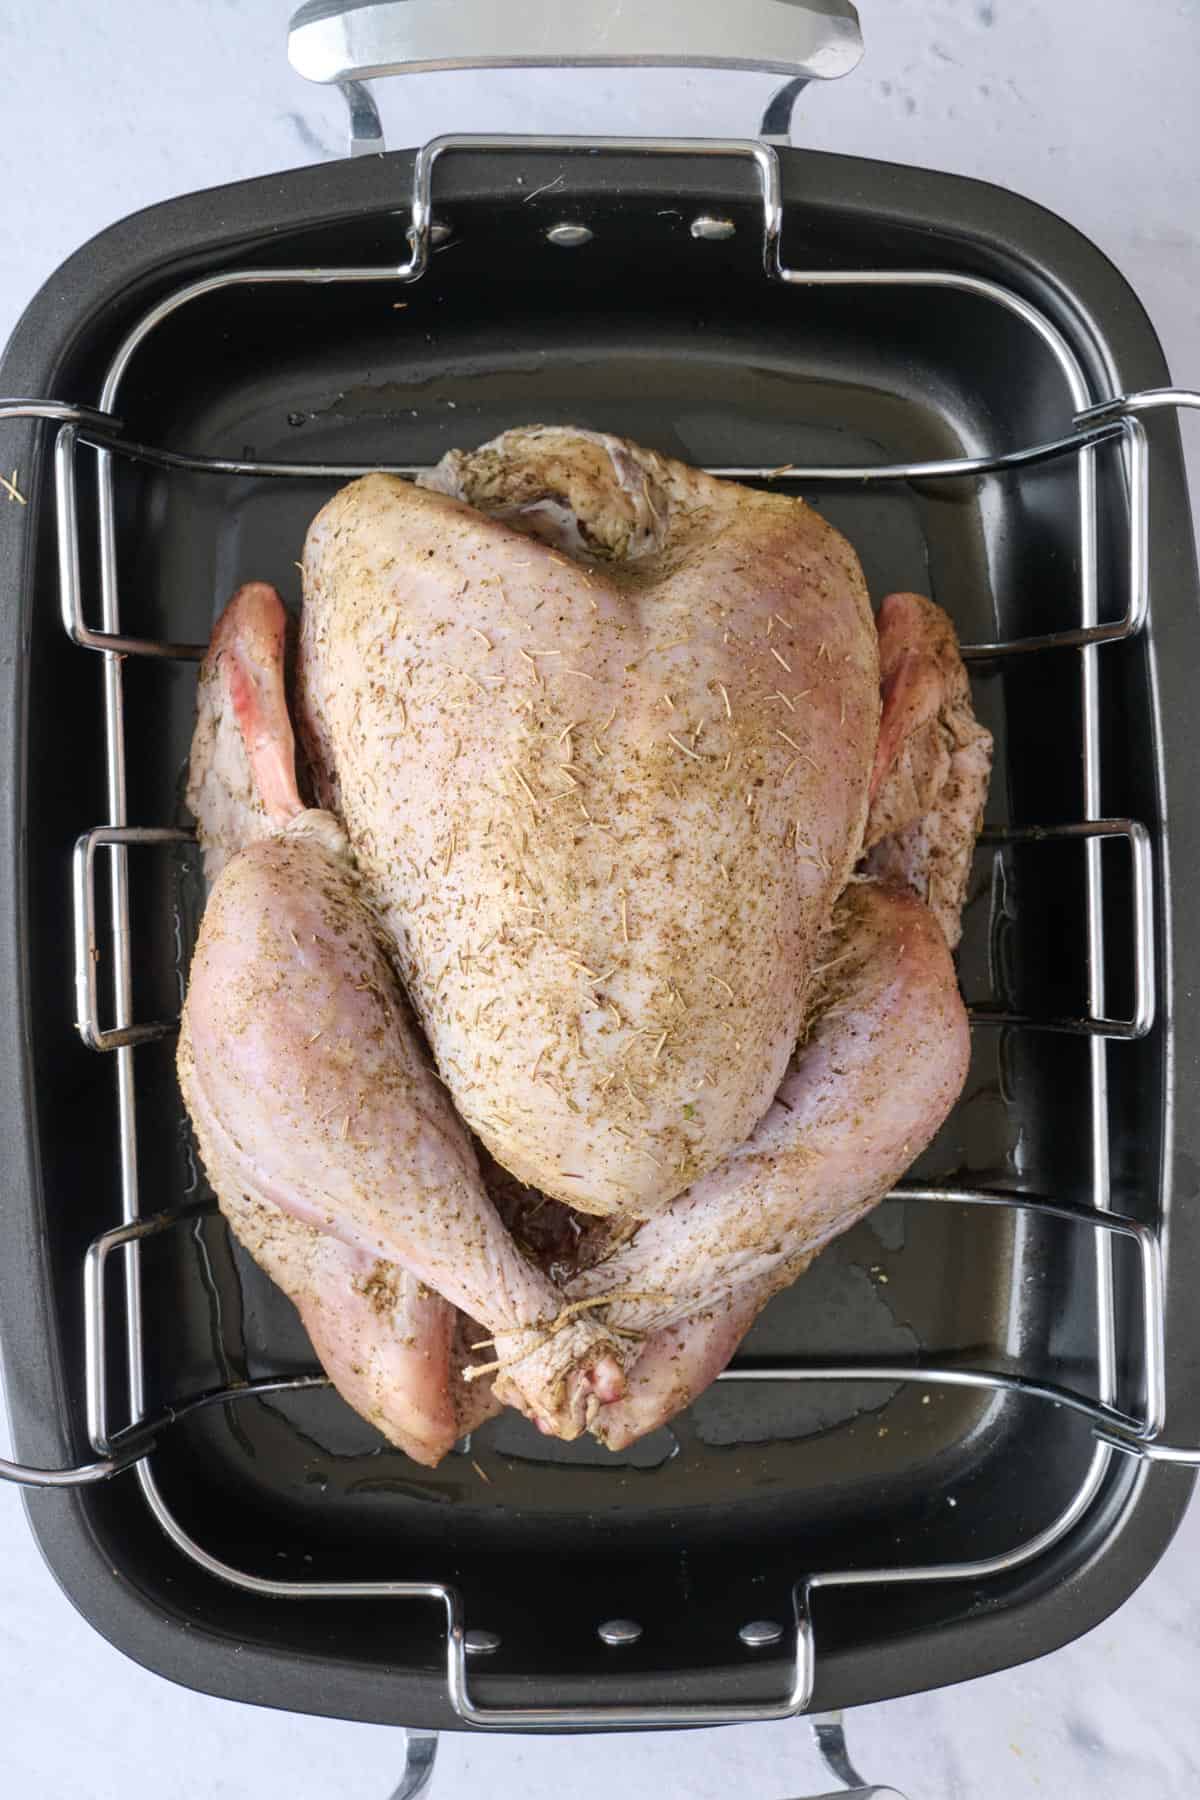
Tuck the wings and neck skin underneath the turkey and tie the legs together with kitchen twine. Transfer it breast-side up to the roasting pan.
5. Spread on the butter
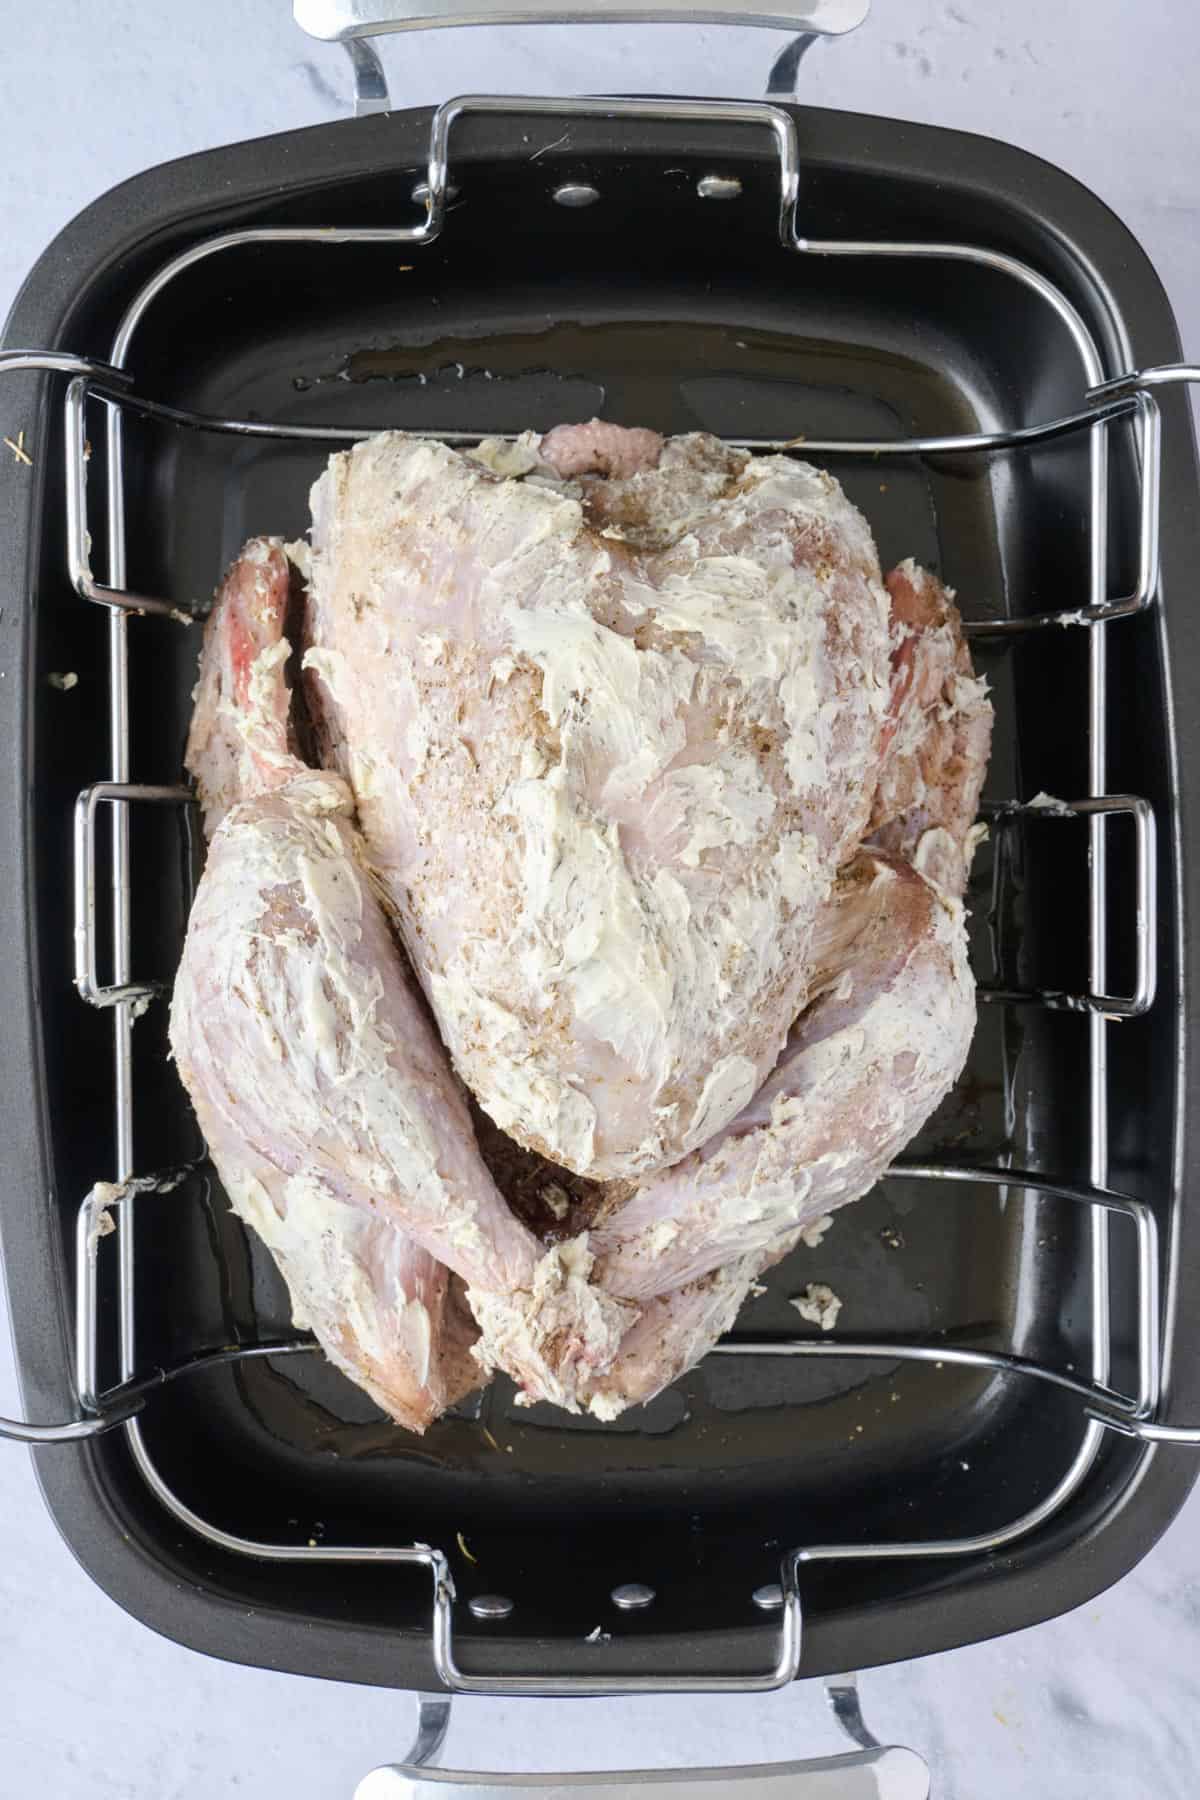
Use your hands to spread the softened butter over the skin, including around the legs and wings. If the cold skin makes it difficult to spread, gently press the butter onto the surface in small amounts.
6. Roast the turkey
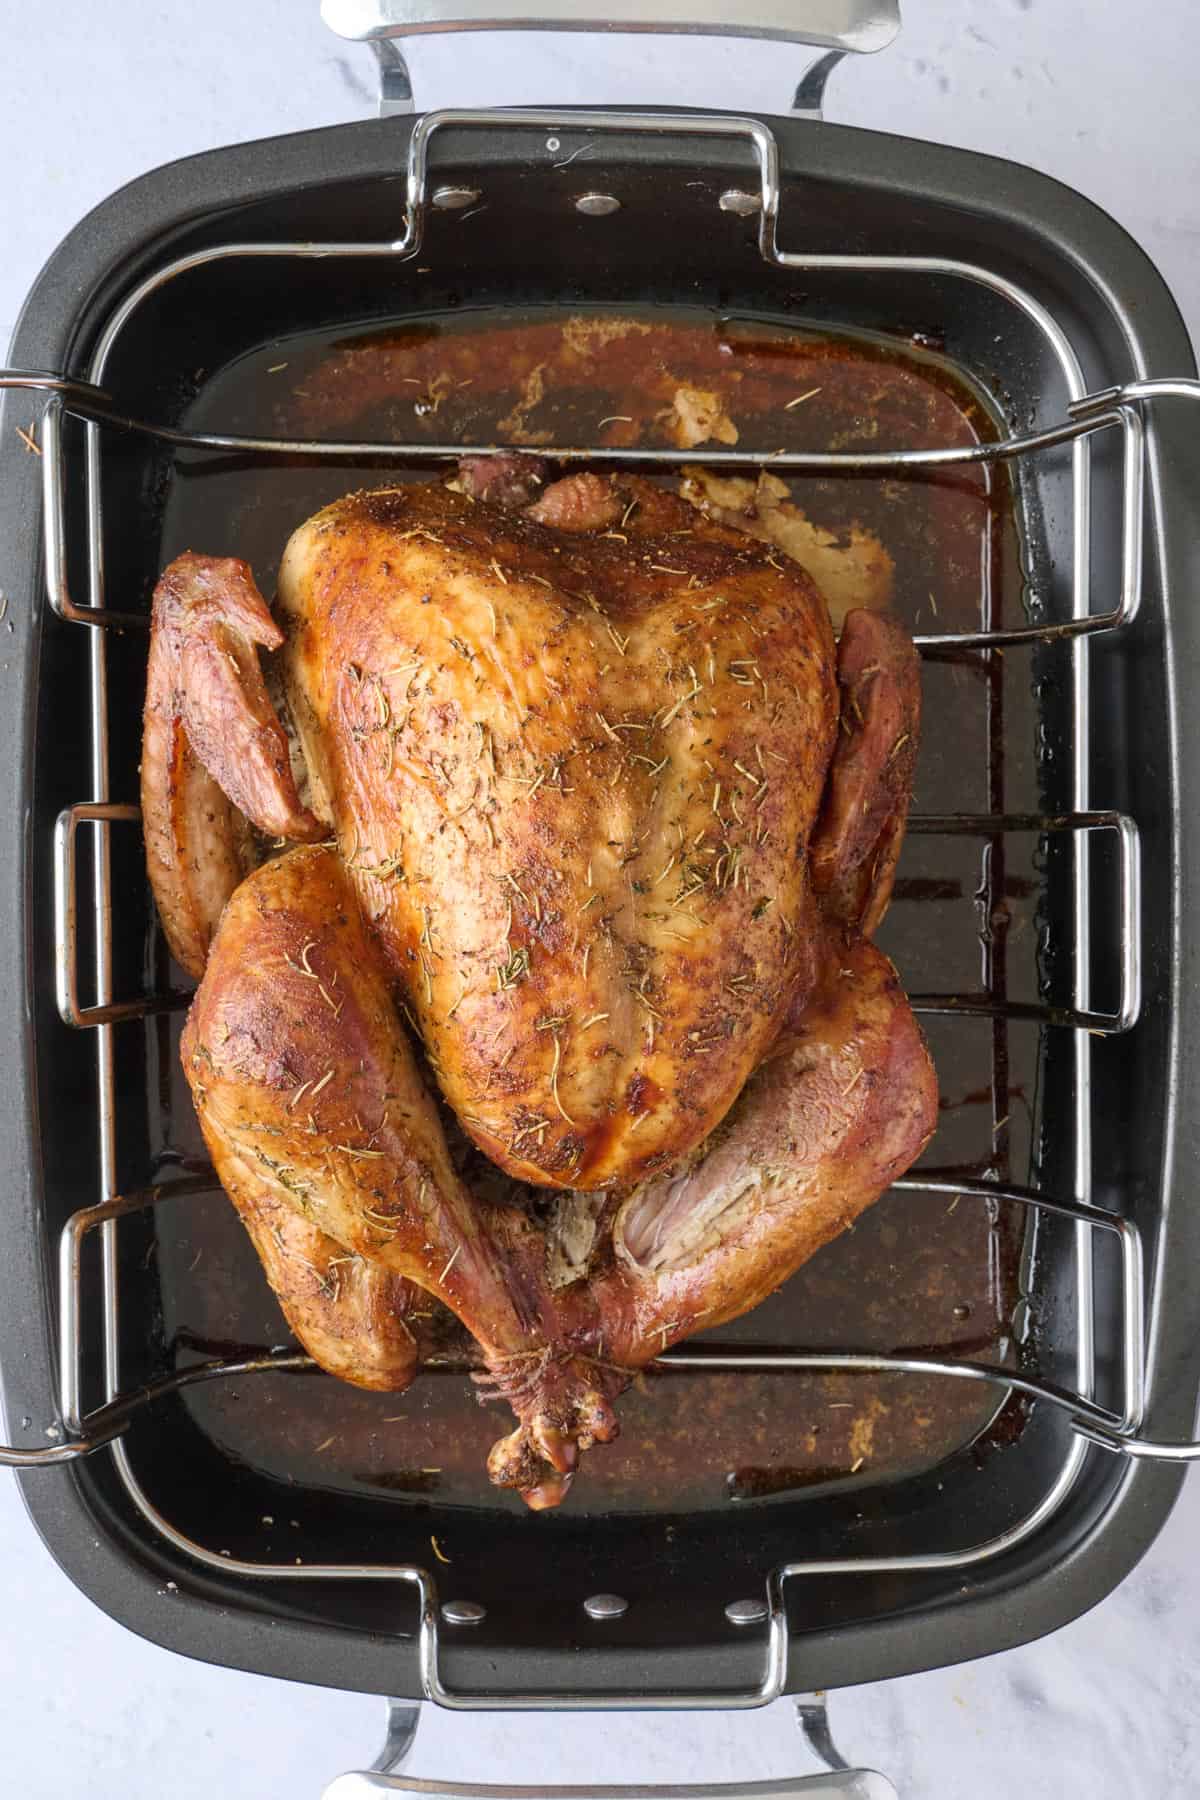
Roast until a thermometer confirms it’s cooked through. Let it rest for 30 minutes before carving.
Full Dry Brined Turkey Recipe

Dry Brined Turkey Recipe
Ingredients
- 1 (12-14 pounds) whole turkey thawed if frozen
- 3 tablespoons kosher salt
- 1 tablespoon brown sugar
- 1 ½ teaspoons black pepper
- 1 teaspoon dried thyme
- 1 teaspoon dried rosemary
- 1 teaspoon dried sage leaves
- 4 tablespoons softened butter for roasting
Instructions
- Remove turkey from its packaging and place on a wire rack set over a large rimmed sheet pan. Remove giblets and neck to use for gravy or discard. Pat inside cavity and outside of the turkey dry with paper towels. Working from the neck end, gently loosen the breast skin.
- In a small bowl, mix together the kosher salt, brown sugar, black pepper, and dried herbs.
- Sprinkle about 1 teaspoon of the mixture inside the cavity, then rub the remaining seasoning all over the turkey, including under the lifted breast skin.
- Refrigerate the turkey uncovered on the sheet pan for 24 to 48 hours.
- Remove the turkey from the fridge 1 hour before ready to cook and allow to sit at room temperature.
- Adjust the oven rack to the lower-middle position and preheat the oven to 325°F. Tuck wings and neck skin under and tie legs together with kitchen twine and then transfer turkey breast-side up to a roasting pan. Rub the softened butter all over the skin.
- Roast until the thickest part of the thigh reaches 165°F, about 3 to 3½ hours for a 12–14 pound turkey, or 15 minutes per pound.
- Remove from the oven and let the turkey rest for 30 minutes before carving.
Notes
Nutrition
Nutrition information provided is an estimate. It will vary based on cooking method and specific ingredients used.
Recipe Variations
- Lemon zest: Mix the finely grated zest of 1 lemon into the dry brine. Take only the yellow part of the peel.
- Garlic powder: Add 1 teaspoon to the seasoning mixture.
Recipe Tips
- Clear a fridge shelf before you start. The turkey needs to sit uncovered on its pan for up to two days. Keep it on a low shelf where it can’t drip onto other food.
- Leave the turkey uncovered during brining. The fridge air helps dry the surface, which makes it easier for the skin to brown during roasting.
- Tent the turkey with foil if it’s browning too much. That way, you’ll stop the turkey skin from burning while the bird finishes cooking.
Serving Ideas
- Green beans. I love serving roasted green beans or sauteed green beans at Thanksgiving. Or try my green bean casserole, which uses a homemade mushroom soup!
- Mashed potatoes. My olive oil mashed potatoes use olive oil instead of butter, while my garlic mashed potatoes include a garlic-infused cream and a whole head of roasted garlic! For something lighter and low carb, try my cauliflower mashed potatoes.
- Gravy. Use the drippings to make turkey gravy from scratch.
- Cranberry sauce. For me, I can’t serve turkey without cranberry sauce! Two of my favorite recipes are my cranberry orange sauce and baked cranberry sauce.

Troubleshooting
You don’t have to! But I find that trussing the turkey helps it cook more evenly and prevents the legs from drying out. I also think it makes the cooked turkey look prettier.
No. Leave the seasoning on and apply the butter before roasting. Rinsing raw poultry can also spread bacteria around the sink and nearby surfaces.
I like a roasting pan because its handles make it easy to move into and out of the oven, but you’ll get the same results with a sheet pan and a wire rack.






Comments
Can the brined turkey be stuffed? Any drawbacks?
Great question! Yes, you can stuff a dry-brined turkey. The main drawback is that the stuffing can slow down the cooking process, which may cause the turkey breast to dry out before the stuffing is fully cooked. If you do stuff it, add the stuffing loosely right before roasting and make sure the center of the stuffing reaches 165°F, along with the turkey. You’ll also need to allow extra cooking time. I personally prefer baking the stuffing separately so the turkey cooks more evenly and the stuffing gets those crispy edges!