This post may contain affiliate links. Please read our disclosure policy.
Make this cool, delicious no churn ice cream at home with four – yes only four – ingredients and no special ice cream maker! The directions are for vanilla bean, but you can flavor it any way you like. Add nuts, fruit, jam, caramel, crushed cookies, or broken bits of candy.
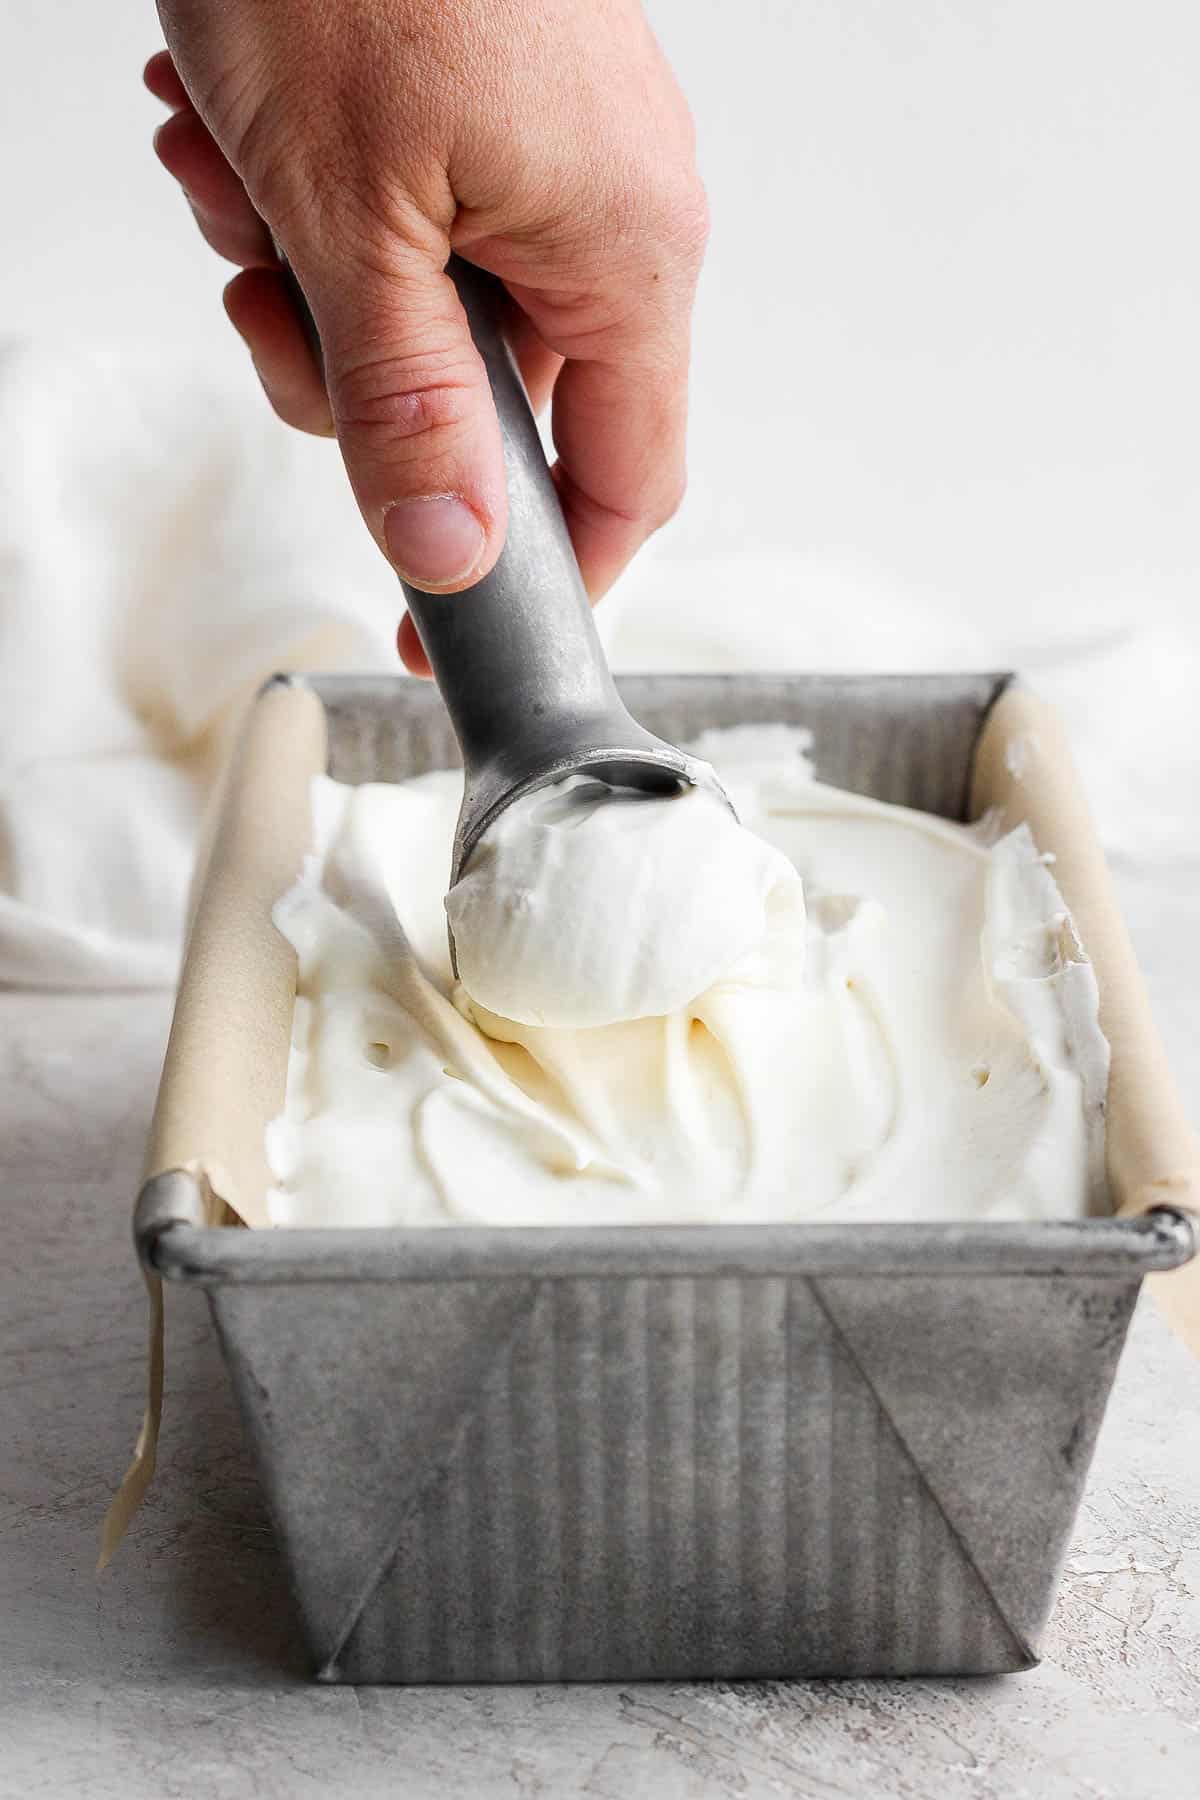
Okay, no one is pretending that ice cream is health food. This is full fat and contains plenty of sugar, but homemade is free of any unwanted and unpronounceable ingredients.
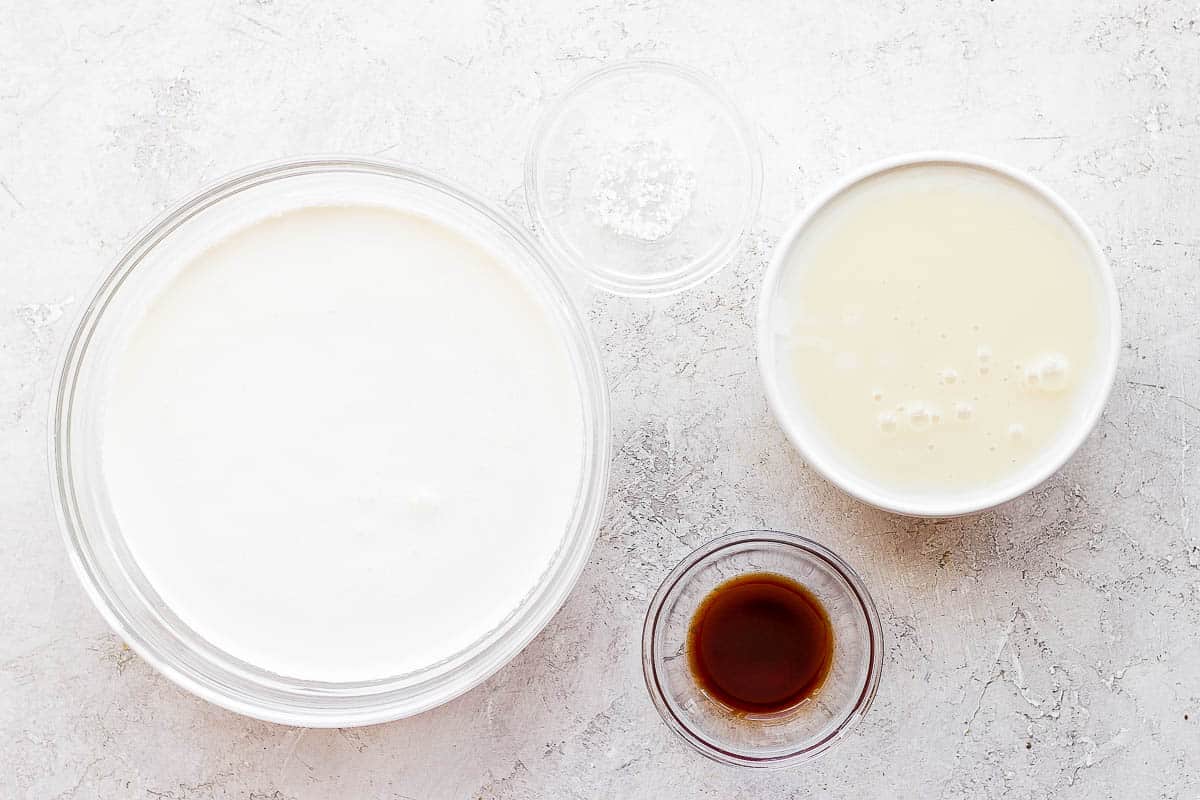
Ingredients & substitutions
- Sweetened condensed milk: Definitely find the brands made with sugar, not corn syrup. Sweetened condensed coconut milk works, too
- Heavy cream: For slightly less fat, you can half and half as a substitute in making the ice cream.
- Vanilla extract: This is included to add flavor and you can use vanilla beans or vanilla paste instead. You can also try another flavored extract like almond or peppermint.
- Sea salt: It helps to round out the sweetness.
How to make homemade ice cream
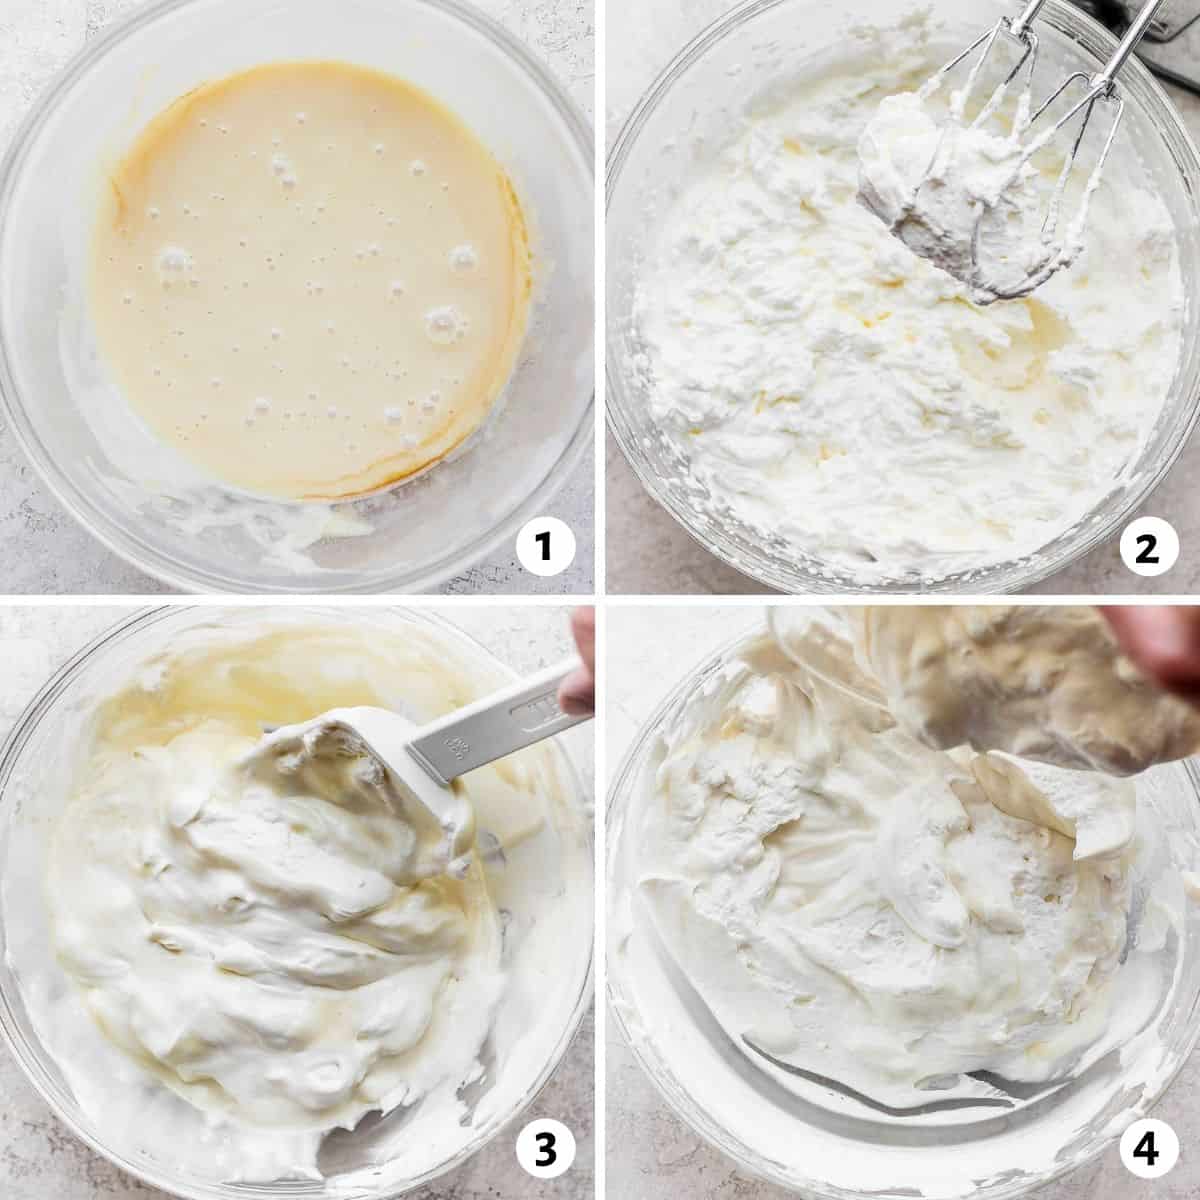
- In a large, chilled bowl, whisk together the sweetened condensed milk, vanilla extract and salt.
- In a second large, chilled bowl, whip the heavy cream until stiff peaks form.
- Fold half of the cooled whipped cream into the milk mixture
- Pour the combined mixture into the remaining whipped cream and fold gently to further combine. At this point, mix in any add-ins like chocolate chips, caramel, peanut butter, or freeze-dried fruit
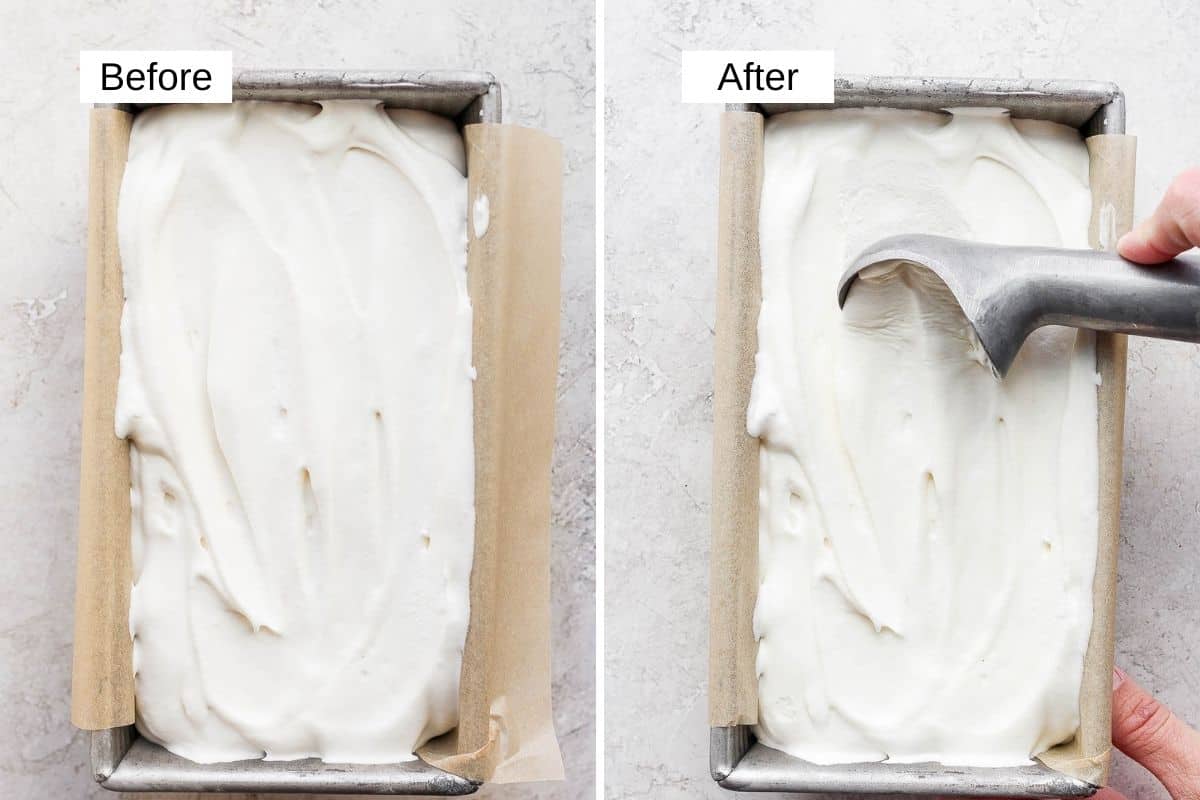
- Pour into a chilled 9″ x 5″ loaf pan lined that has been lined with parchment paper or wax paper.
- Chill in the freezer for at least 4 hours before serving.
HOmemade ice cream variations
- Chocolate Add unsweetened cocoa powder with the vanilla. Start with 3 tablespoons and use more to taste. Add chocolate chips, a shaved or chopped chocolate bar or other candy for even more chocolate goodness.
- Mocha: Add a teaspoon of instant espresso powder, instant coffee, or a tablespoon or so of strong, brewed coffee to the sweetened milk and cocoa mixture in the chocolate concoction above.
- Coconut: Use the sweetened condensed coconut milk (as above) and used dried coconut as your mix-in.
- Swirl in flavor and deliciousness: After the vanilla mixture is in your pan of choice, add on top and swirl through with a knife things like your favorite fruit jam, dulce de leche, caramel, fudge sauce . . . you get the picture.
- Add in . . . anything: Chocolate chips, crushed peppermints, nuts – roasted or not; broken up chocolate candies like peanut buttercups, freeze-dried fruit, mashed up bananas.
Tips for making homemade ice cream
- Use vanilla bean instead of vanilla extract for a more prominent vanilla flavor. Substitute two teaspoons vanilla extract for one vanilla bean. Make sure to scrape it and remove/reserve the seeds.
- Cut the freezing time by using smaller containers. You could divide the mixture in a muffin tin (use liners) or between smaller, individually sized loaf pans.
- Let finished product soften for a few minutes: This freezes fairly hard. Let soften at room temperature for five or more minutes before serving
- Play with the sweetness levels: Some find this a very sweet ice cream. You can play with cutting the amount of sweetened condensed milk by up to half or adding more egg whites.
Add it over these desserts
- Gluten-Free Easy Apple Crisp
- Rose Apple Pie
- Strawberry Rhubarb Crisp
- Nutella Mug Cake
- Fruit Pizza
- Vegan Pumpkin Pie
- Strawberry Parfait
- Mixed Berry Crisp
- Easy Apple Pie
- Blackberry and Cherry Crumble
Frequently asked questions
Store in or out of the loaf plan but wrap tightly in two or more layers of plastic wrap or foil to prevent freezer burn. Cut the parchment paper liners so that one side can be used to closely cover the frozen surface. Or lay paper on top of frozen mix, then tightly wrap.
Tightly covered, no churn ice cream should last six months in the refrigerator, provided you have the willpower.
Yes! Does it taste like your favorite ice cream? Maybe not but it is completely delicious.
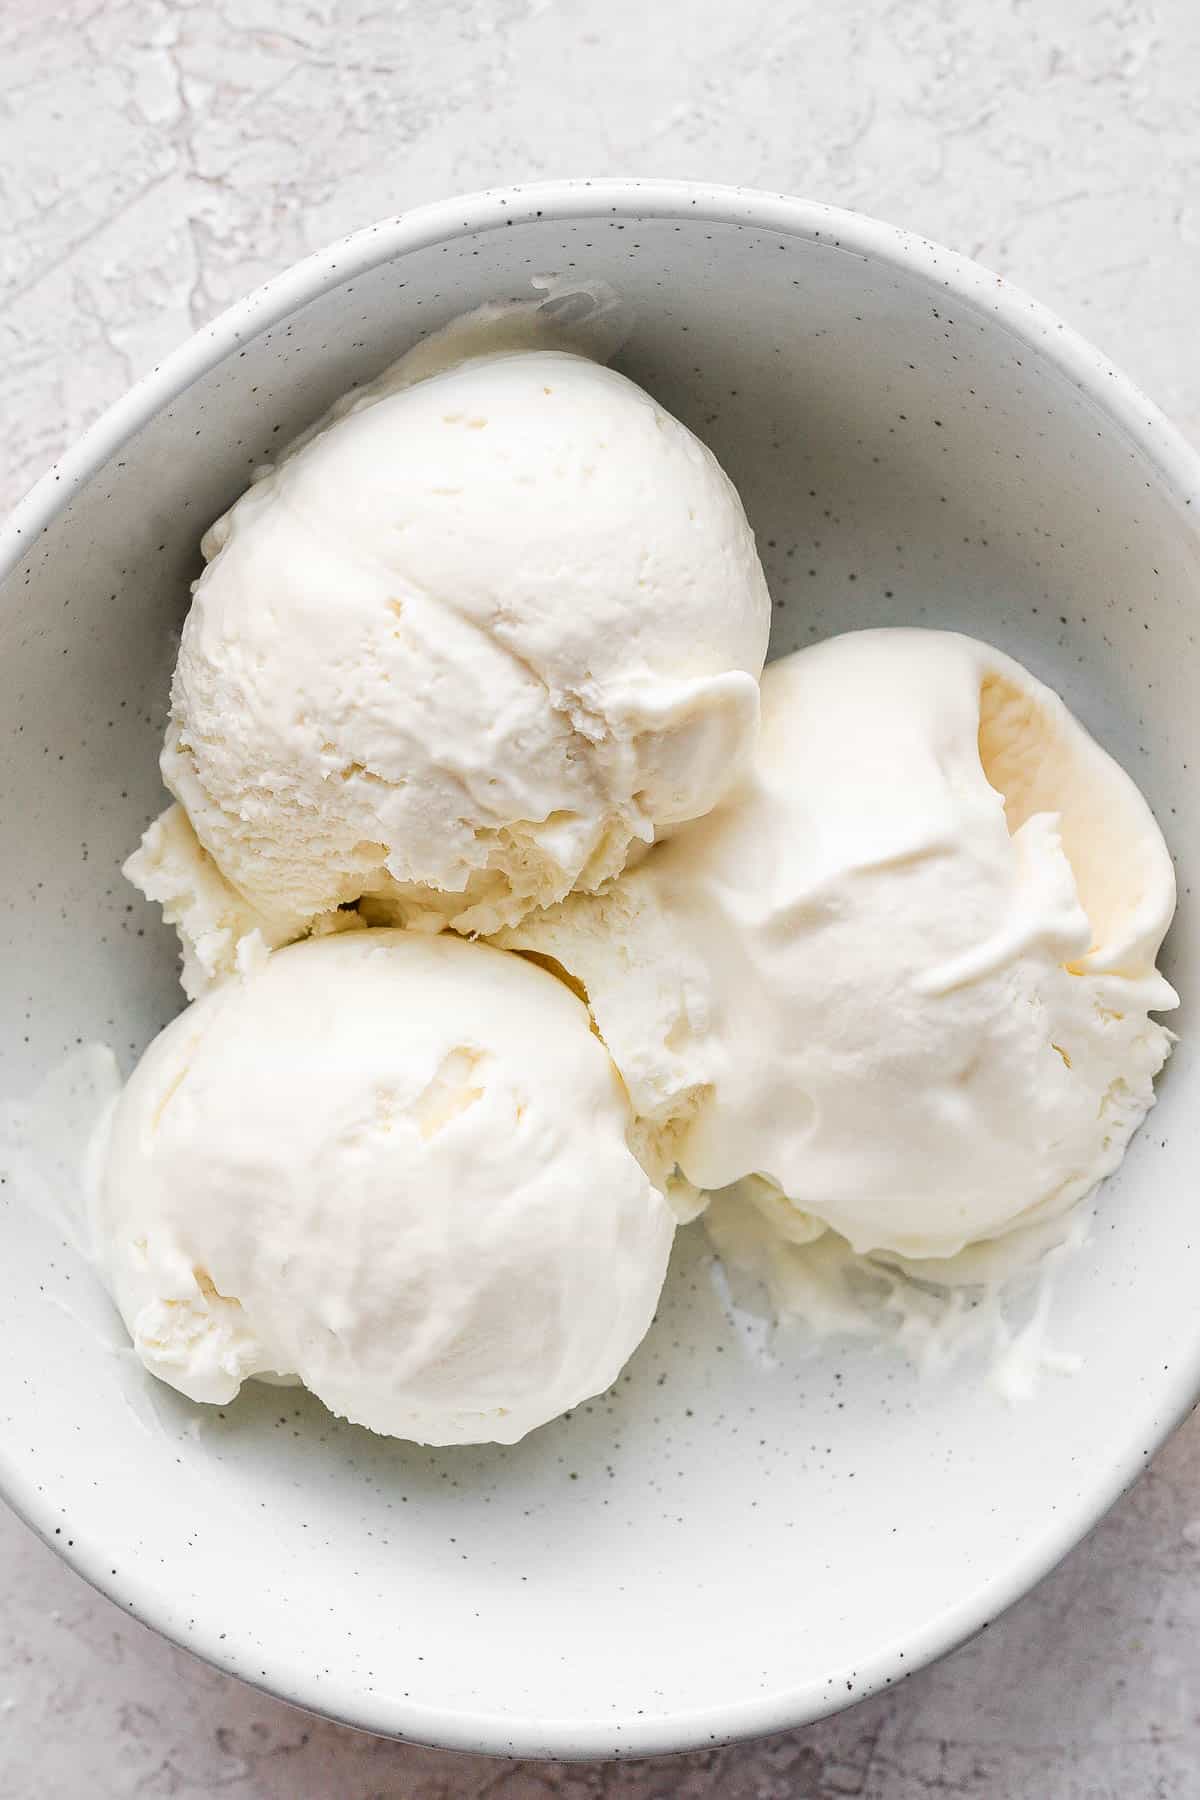
Eat it alone or use no churn vanilla ice cream to dress up your favorite dessert. This is a great project for young chefs.
More frozen treats :
- Avocado Ice Cream
- Chocolate Covered Bananas
- Almond Joy Ice Cream
- Cappuccino Nice Cream
- Peanut Butter Ice Cream Pie
- Fruit Ice Cubes
If you’ve found this cooking resource for How to Make No Churn Ice Cream helpful or if you’ve made any recipe on FeelGoodFoodie, then don’t forget to rate the recipe and leave a comment below! It helps others who are thinking of making the recipe or trying this tutorial. We would love to hear about your experience making it. And if you snapped some shots, share it on Instagram so we can repost on Stories!

How to Make No Churn Ice Cream
Ingredients
- 1 14-ounce can sweetened condensed milk
- 2 teaspoons vanilla extract
- Pinch sea salt
- 2 cups heavy cream
Instructions
- Line a 9×5 loaf pan with parchment paper or wax paper. Chill in the freezer.
- In a large, chilled bowl, whisk together the sweetened condensed milk, vanilla extract and salt.
- In another large, chilled bowl, whip the heavy cream until stiff peaks form. Fold half of the cooled whipped cream into the milk mixture.
- Pour the lightened mixture into the remaining whipped cream and fold to combine.
- Add any desired add-ins, like chocolate chips, caramel, peanut butter or freeze-dried fruit.
- Pour into the prepared pan and freeze for 4 hours or more.
Notes
Nutrition
Nutrition information provided is an estimate. It will vary based on cooking method and specific ingredients used.


Wow! I make this every week. It’s so simple and delicious. My partner says it’s the best ice cream he has had. I love that is only has four ingredients. I was shocked when I looked at the back of a tub of ice cream in the supermarket and I saw all the unpronounceable ingredients. It’s fabulous in an ice cream cone too.
Thank you so much Michele! Have you tried it with fresh blueberries? So good!
Incredibly easy and simple. My husband loves it and said “wow this is better than store bought.” It’s also funny because he thought it took so much work and effort and kept hyping me up but it’s literally so easy and simple hehehe I’m def going to try to make a chocolate version next time 🙂
LOL love that! So glad you both enjoyed it!
Looks great. Is the nutrition label per serving or the whole container?
Thank you! It is per serving.
Can’t wait to try this!
Excited for you to try it!