How to Crimp Pie Crust
Updated Sep 14, 2025
Want to make your pie crust look even more amazing? Learn how to crimp the edges using just your fingers. No special equipment required!
This post may contain affiliate links. Please read our disclosure policy.
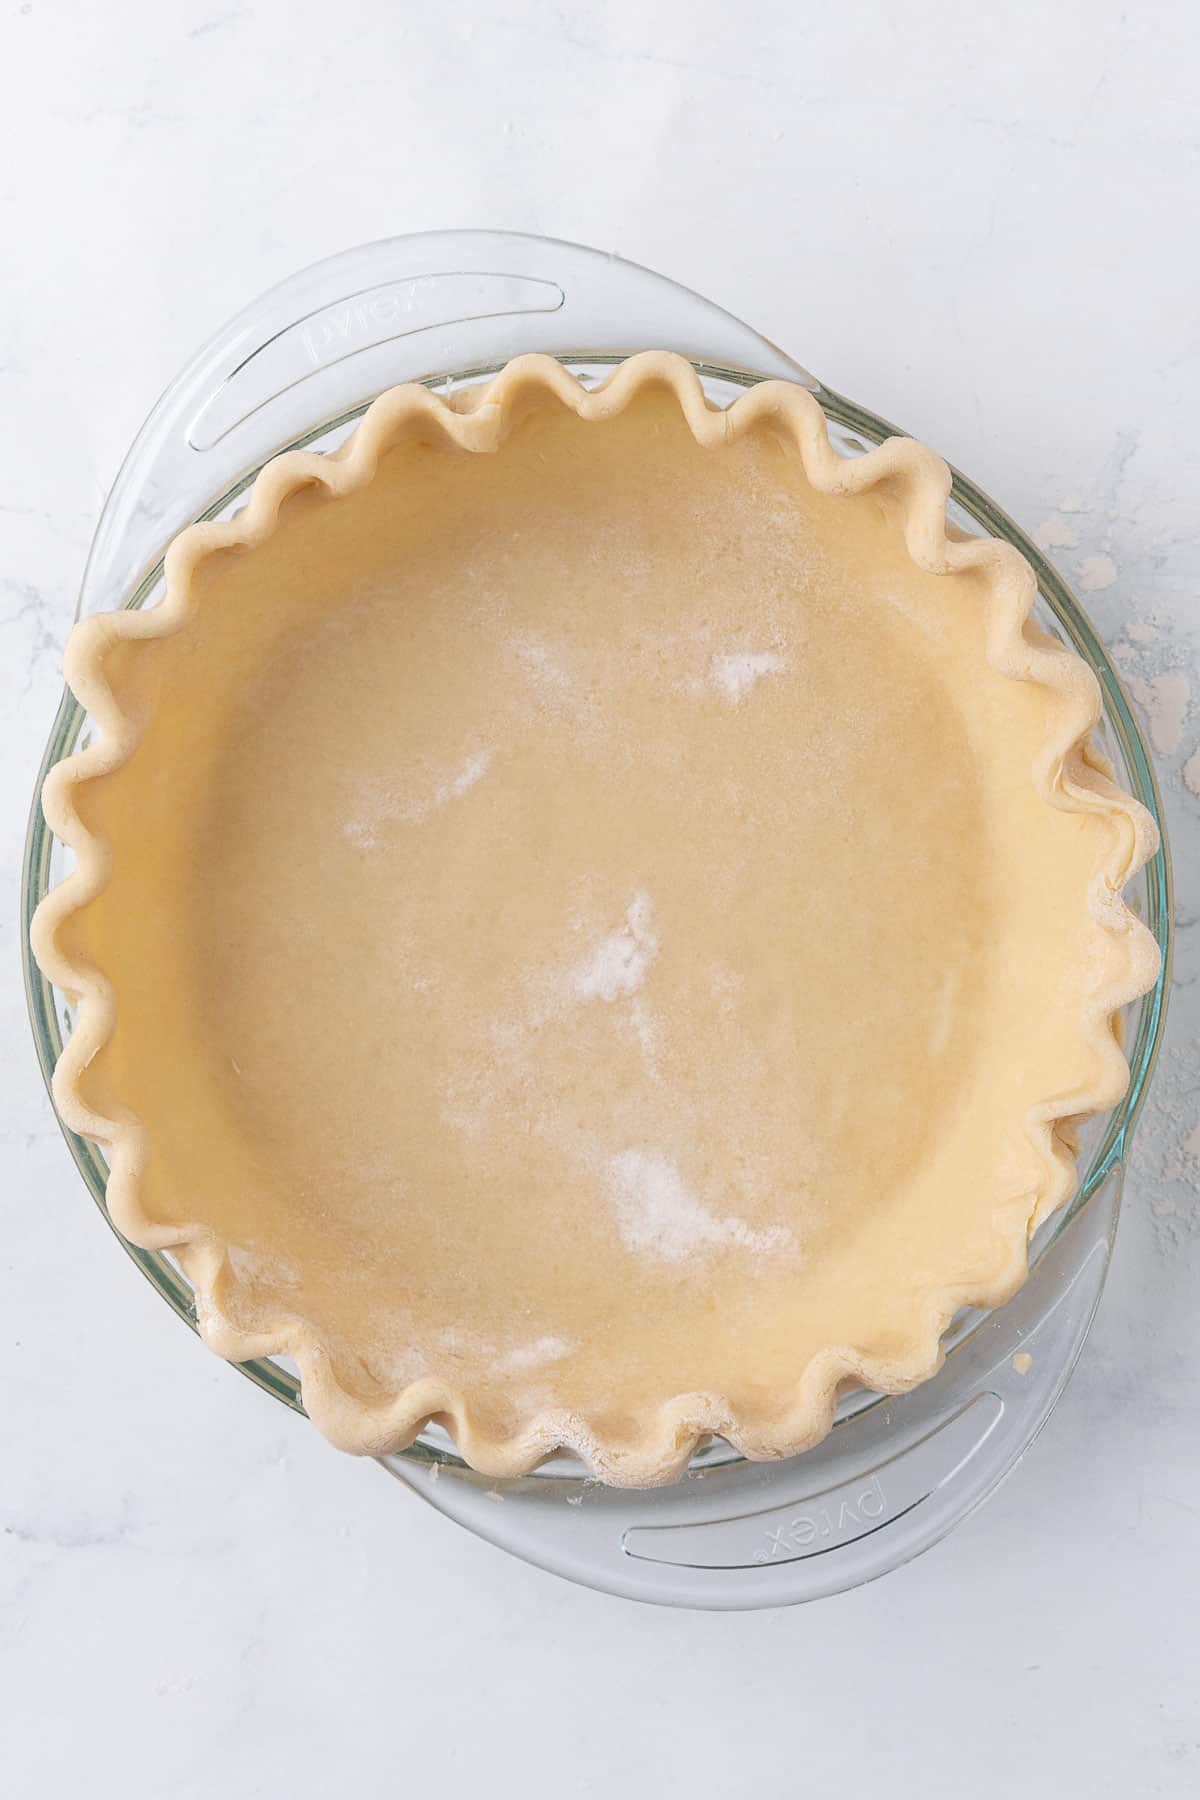
Crimping pie crust by hand is one of those small steps that make a pie feel extra special. I know it might seem tricky at first, but with a little practice, it becomes a fun part of making a homemade pie. I usually go with the classic finger crimp – it gives the crust a beautiful edge, and it’s easy to get the hang of once you know the technique.

Jump to Section
To crimp a pie crust, all you need to do is use your fingers and a bit of patience. This method creates a defined edge that holds up well in the oven and gives your pie that perfect, bakery-style look.
Why Learn How to Crimp Pie Crust Top
- Beautiful presentation. A well-crimped pie crust gives your pie a more polished look and just elevates the whole presentation. Plus, it’s an easy way to impress your guests. And I’m convinced that a pie with crimped edges also tastes better.
- Adds baking stability. But beyond the visual appeal of a crimped top, a properly crimped pie crust helps the edges stay in place during baking, preventing them from folding over or collapsing. This keeps the filling free from crumbs and the pie looking nice and neat.
- Seals the filling. Another functional reason why you need to know how to shape pie crust edges is that it helps to hold the filling. The crimped edges help prevent the filling from spilling over during baking.
- Holds top crust. If you’re using a top crust, crimping edges helps to seal the two crusts together, preventing the filling from leaking out during baking. But it’s also helpful for decorative elements like lattice tops or dough cut-outs.
Ingredients to Crimp Pie Crust

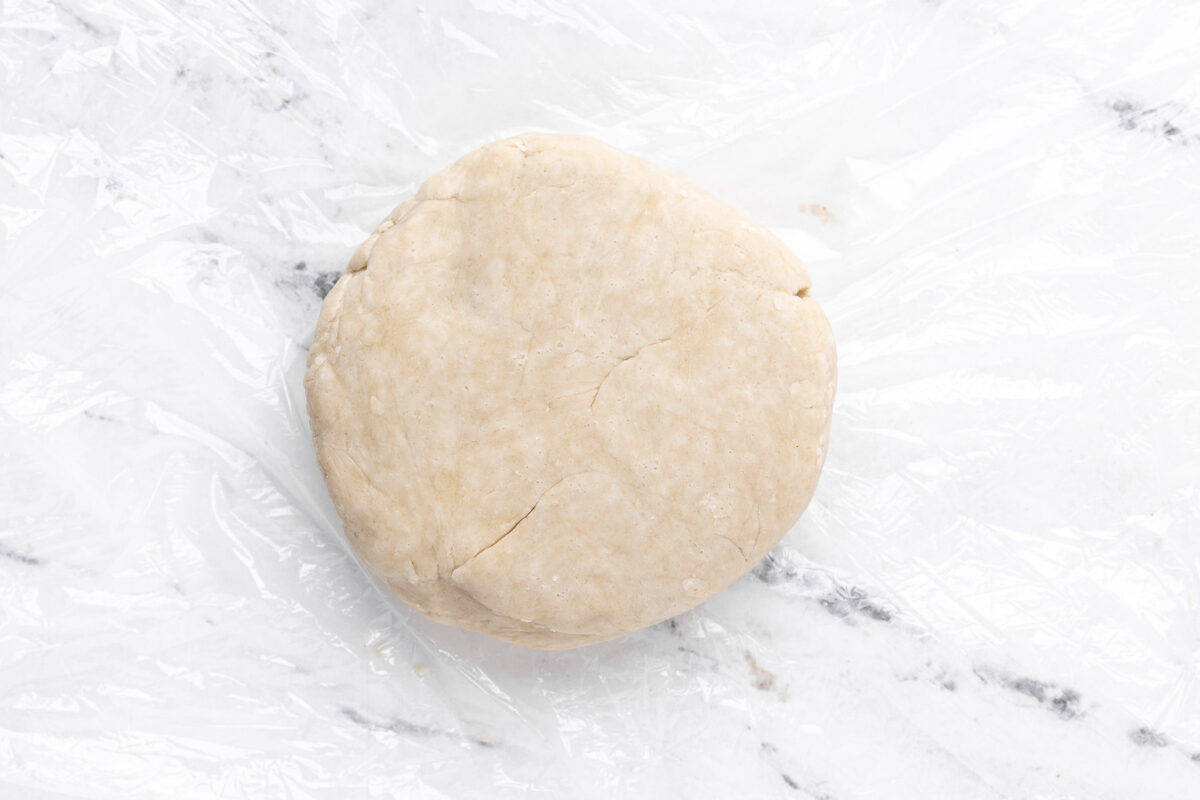
- Pie Crust – Before we can learn how to shape pie crust edges, you need….a good pie crust. Homemade or storebought pie crust will work just fine, but you want to start with chilled pie dough so it’s easier to work with.
How to Crimp a Pie Crust
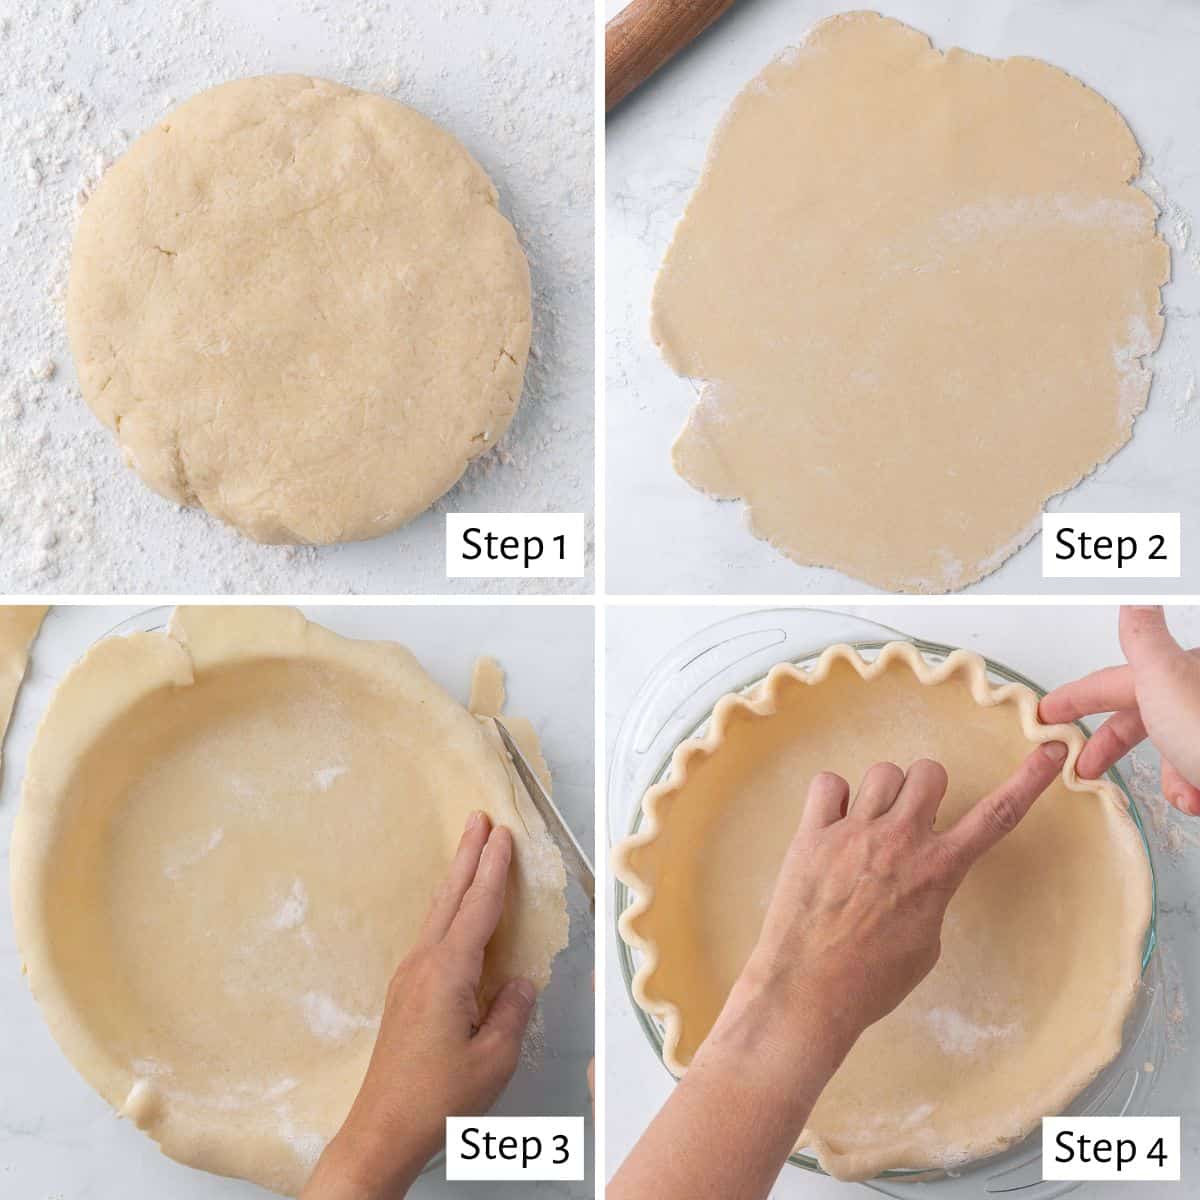
- Make the pie dough per instructions or remove it from the packaging if using storebought and place it on a lightly floured surface.
- Roll out the pie dough into a larger circle than a standard 10-inch pie dish.
- Lift the rolled dough and gently place it into the pie dish, make sure it fits snugly all over the base. Use scissors or a knife to trim any excessive overhang, but leave about 1 inch of dough hanging over the edges.
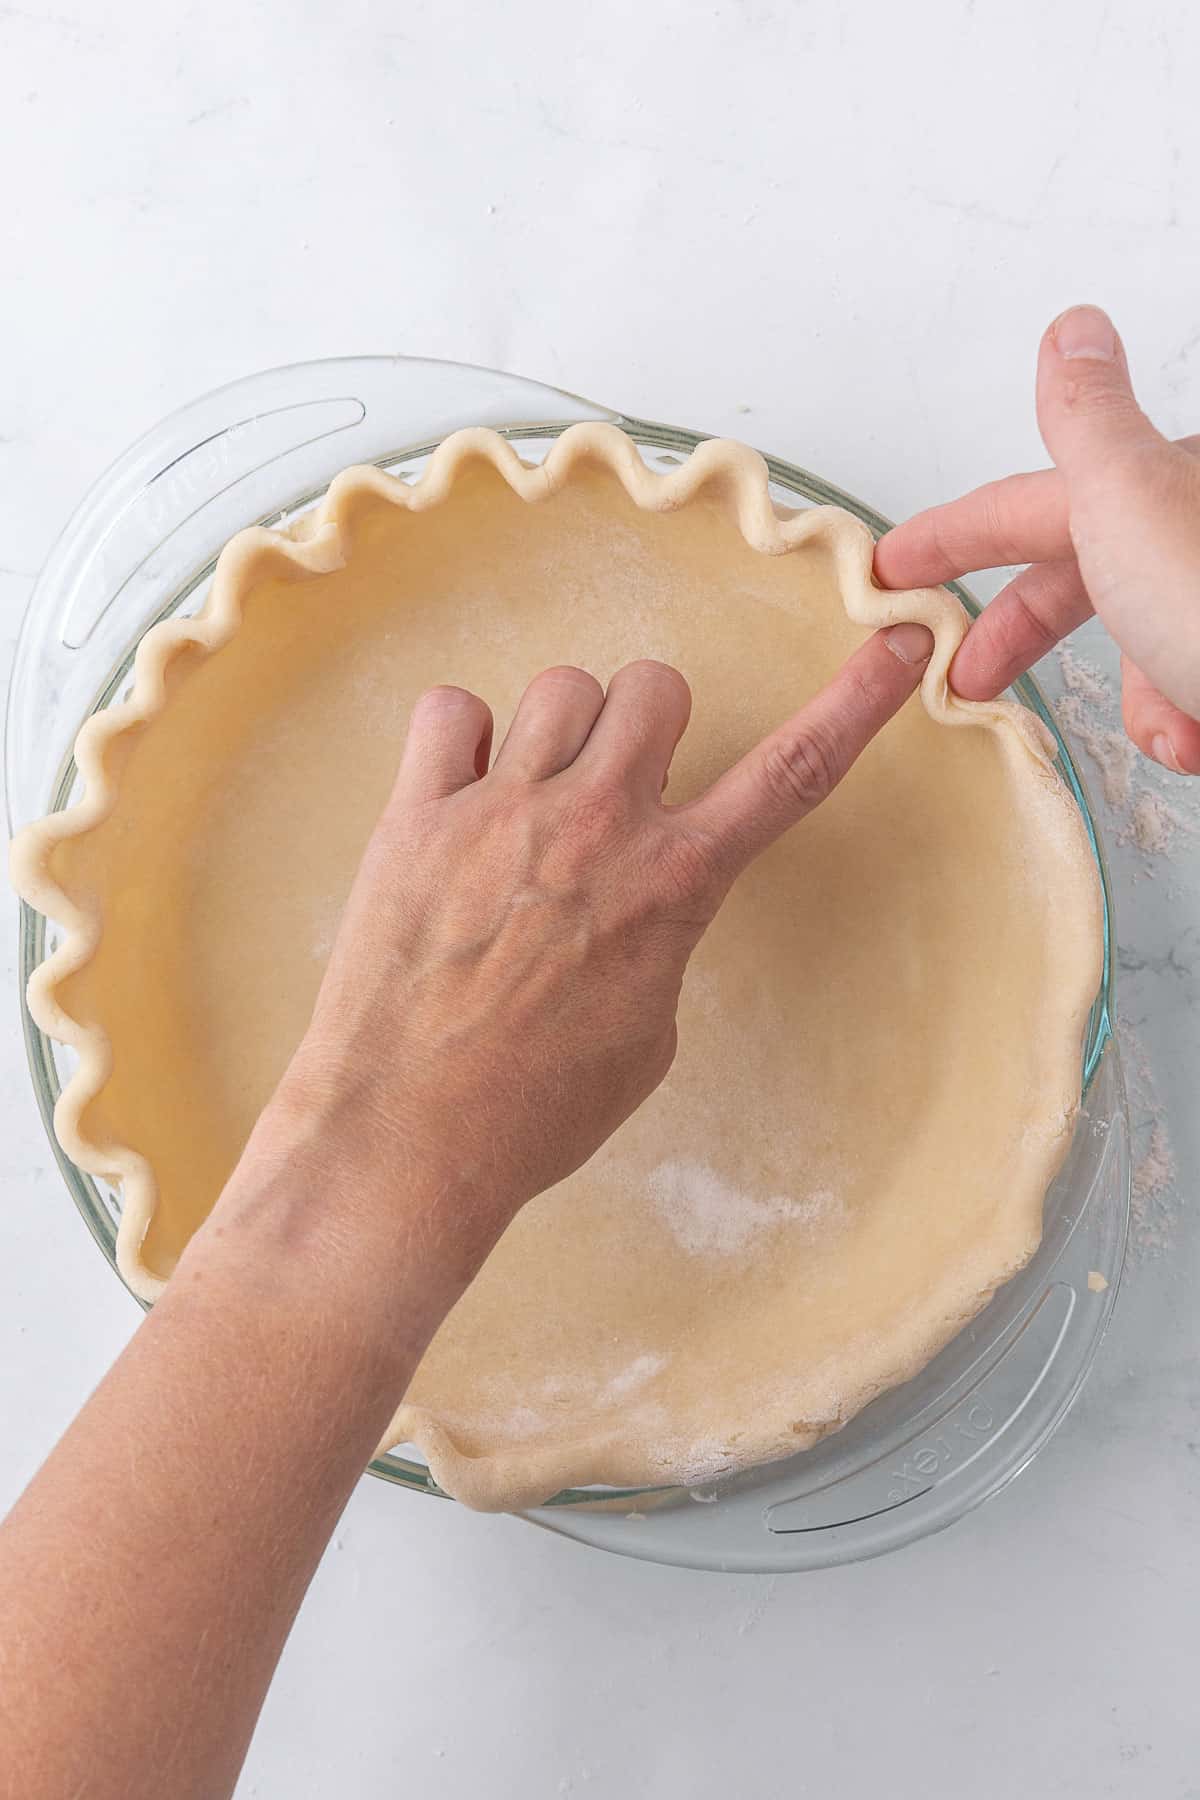
- To crimp, use the thumb and index finger of one hand to gently pinch the outside of the dough, forming a V shape. Use the index finger of your other hand to press the inside of the V from the opposite side. Work your way around the entire pie dough.

Tips for How to Crimp Pie Crust Top
- Use even pressure. When rolling the dough, apply gentle but even pressure against the dough to create consistent thickness throughout the crust. Uneven pressure can lead to uneven baking areas where certain parts of the dough will be thicker. Same thing applies to the crimped top.
- Don’t overwork the dough. Be gentle when rolling and transferring the dough into the pie dish to prevent a tough crust.
- Flour your hands. If your fingers start sticking to the dough while crimping, lightly flour them to keep it smooth.
- Chill before baking. After you crimp the pie crust, pop it in the fridge or freezer for 15-30 minutes to help prevent the pie dough from shrinking when you bake it. It also conveniently gives you time to work your filling.
Recipes to Make with Crimped Pie Crust
Frequently Asked Questions
If you’re not ready to use your pie crust immediately, you can cover it loosely with plastic wrap (to avoid damaging the crimped edges) and refrigerate the wrapped pie crust in the refrigerator for up to 3 days. When ready to use, add your filling and bake according to recipe instructions.
Yes! I recommend flash freezing the pie crust first to protect the edges. After crimping, place the entire pie dish in the freezer until the dough is firm. Once frozen, wrap the pie crust tightly in plastic wrap and then aluminum foil to protect it from freezer burn. Freeze for up to 3 months. When ready to bake a pie, thaw the pie crust in the refrigerator overnight before adding your filling.
This sometimes happens when there’s not enough dough thickness in a certain area. Pie dough is very delicate so it’s important that you work swiftly but efficiently. Thankfully, cracked dough is an easy fix. You can patch it by pressing the dough together with your fingers or using a small piece of extra dough to cover the crack (if you recall in step 3, we cut off the excessive overhang – save that dough for this purpose if needed).

More Cooking Tutorials:
- How to Make Graham Cracker Crust
- How to Make Icing
- How to Make Ganache
- How to Make Ashta
- How to Make Cashew Butter
- How to Make Frosting
- How to Make Apple Butter
- How to Make Popsicles
- How to Make Fruit Leather
- How to Make Simple Syrup
If you found this tutorial for How to Crimp Pie Crust helpful or if you try any recipe on Feel Good Foodie, then don’t forget to rate the recipe and leave a comment below! It helps others who are thinking of trying out this tutorial and we would love to hear about your experience. And if you snapped some shots, share it on Instagram so we can repost on Stories!

How to Crimp Pie Crust
Video
Ingredients
- 10-12 ounces prepared pie dough
Instructions
- Roll out the pie dough on a lightly floured surface into a circle that’s slightly larger than a standard 10-inch pie dish.
- Lift the rolled-out dough and gently place it into the pie dish, making sure it fits snugly all over the base.
- Use scissors or a knife to trim any excessive overhang, but leave about 1 inch of dough hanging over the edges.
- Gently press the dough with your thumb and index finger of one hand from the outside to form a V shape. Then use your thumb and index finger from your other hand to press the inside of the V shape from the inside. This forms the point of the V shape for both sides of the crust.
- Begin at one end and work your way around the entire pie dough.
- Refrigerate or freeze for 15-30 minutes while preparing your desired filling. This will help to prevent the pie dough from shrinking when you bake it.
Equipment
Notes
Nutrition
Nutrition information provided is an estimate. It will vary based on cooking method and specific ingredients used.


