How to Boil Chicken
Published Jul 26, 2024
Learning how to boil chicken opens up so many possibilities. Just shred, dice, or slice it to use in any recipe that calls for cooked chicken!
This post may contain affiliate links. Please read our disclosure policy.
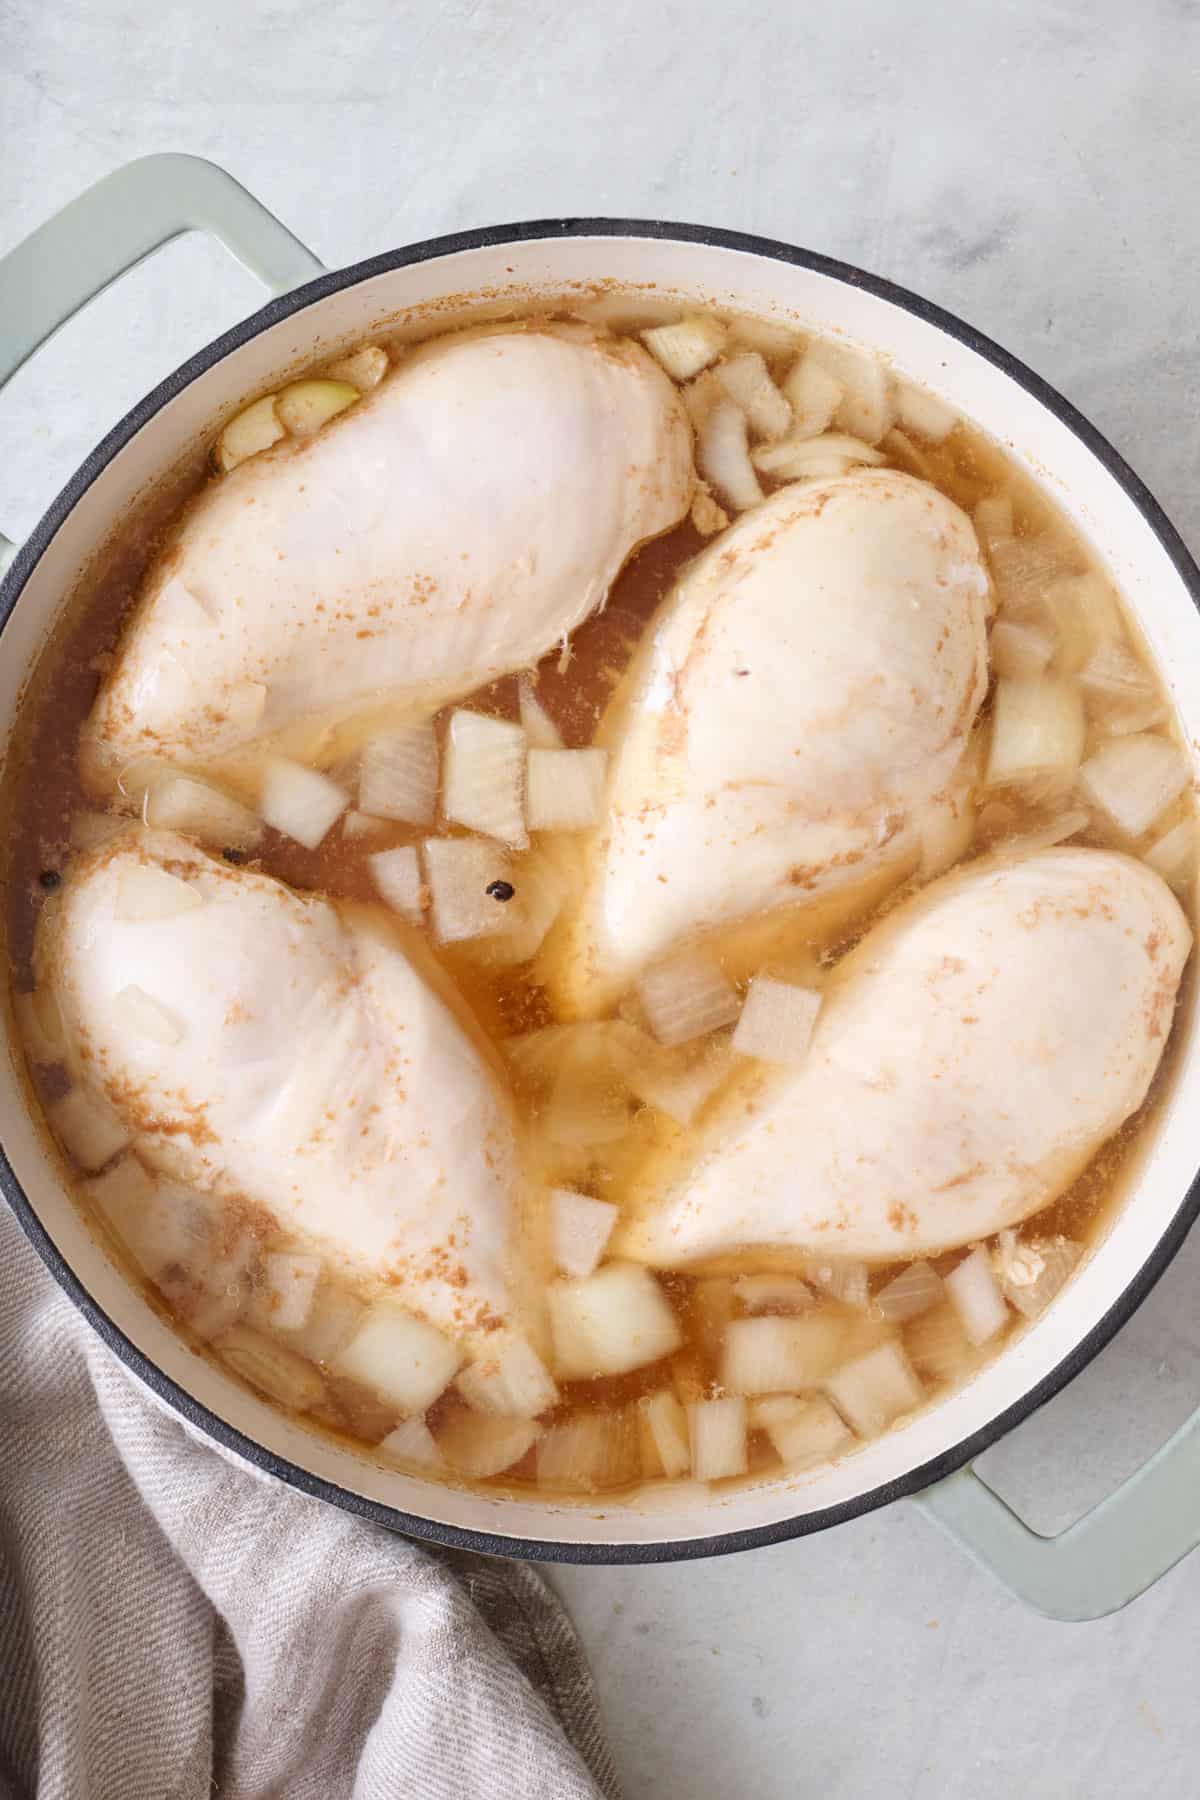
Whenever I need to prep chicken for a week’s worth of meals or a last-minute dinner, boiling chicken breasts is my go-to method. Learning how to boil chicken without drying it def took a couple of tries. But now, I’ve got it down, and my boiled chicken is super easy, reliable, and keeps the chicken moist and flavorful. Plus, I love that I can use the broth left over with one of the chicken breasts to make soup!!
Jump to Section
I’ve seen (and heard) many people turn their noses up at the idea of boiling chicken breast, thinking it will be bland and rubbery. I was one of those skeptics! But once I learned how to boil chicken properly, it quickly became a green eggs and ham, ahh-ha moment for me. The key is in the simmering process and the flavors you add to the pot.
Why Learn How to Boil Chicken
- Better-for-you cooking method – Skip the oil and extra fat and use this recipe instead. Gently boiling the chicken in vegetable stock is a healthier way to make chicken that is still flavorful yet light and lean.
- Many uses for the chicken – We’re keeping the flavor mild here, so you can then take this chicken and add it to whatever you want for dinner! This boiled chicken can go into so many different dishes, from salads to sandwiches to soups and much more!
- Quick and convenient – Unlike frying or grilling chicken, boiling chicken is generally hands-off. Add everything to a pot, set the timer (because it cooks fast!), and work on something else while letting your stove do the heavy lifting.
- Set yourself up for success – Chicken meal prep is so easy with this technique. Cook a large batch on the weekend and use it throughout the week in different dishes. Trust me, your future self will thank you for taking 25 minutes to boil chicken on a slow Sunday afternoon.
Ingredients to Make Boiled Chicken
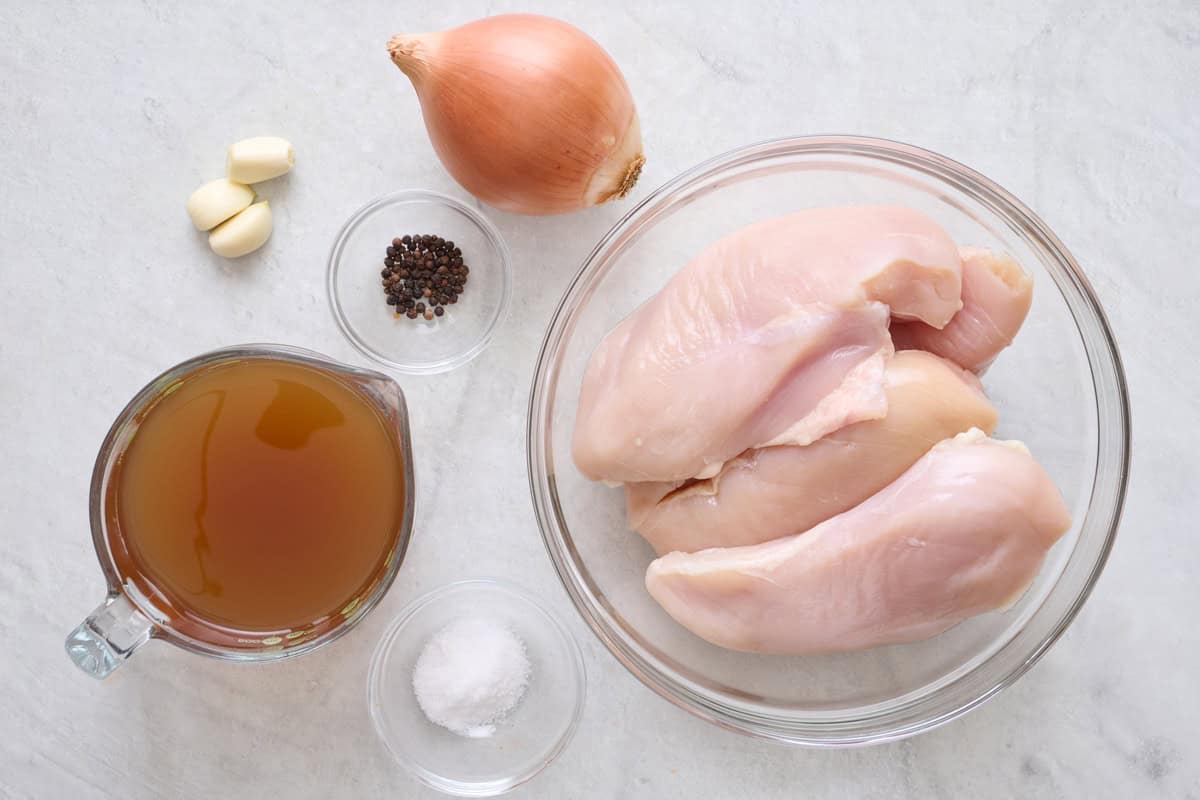
- Chicken: I used boneless, skinless chicken breasts, but you can use the same technique for chicken thighs or even bone-in, skin-on chicken. Just remember that bone-in chicken will need to cook for a little longer.
- Vegetable broth: Homemade vegetable stock is ideal because you can control the sodium but feel free to use any storebought vegetable broth.
- Onion and garlic: Yellow or white onion will work. You can also use shallots or green onions if that is all you have. You’re adding it for flavor, so use your favorite.
- Salt and pepper: Just a basic flavor profile of salt and black peppercorns to give the chicken flavor.
How to Boil Chicken
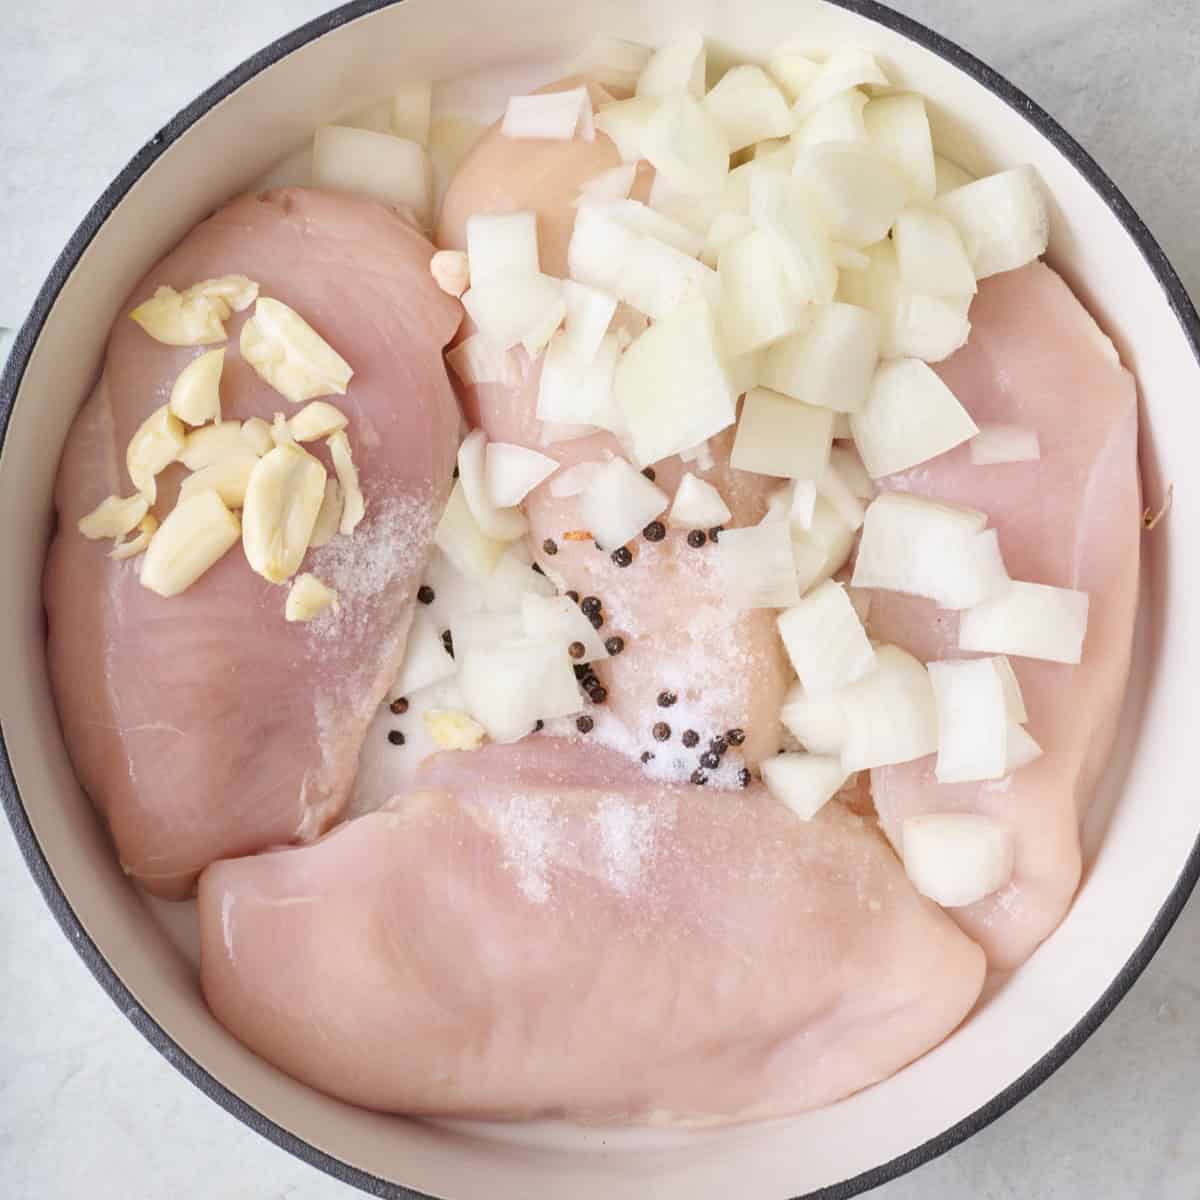
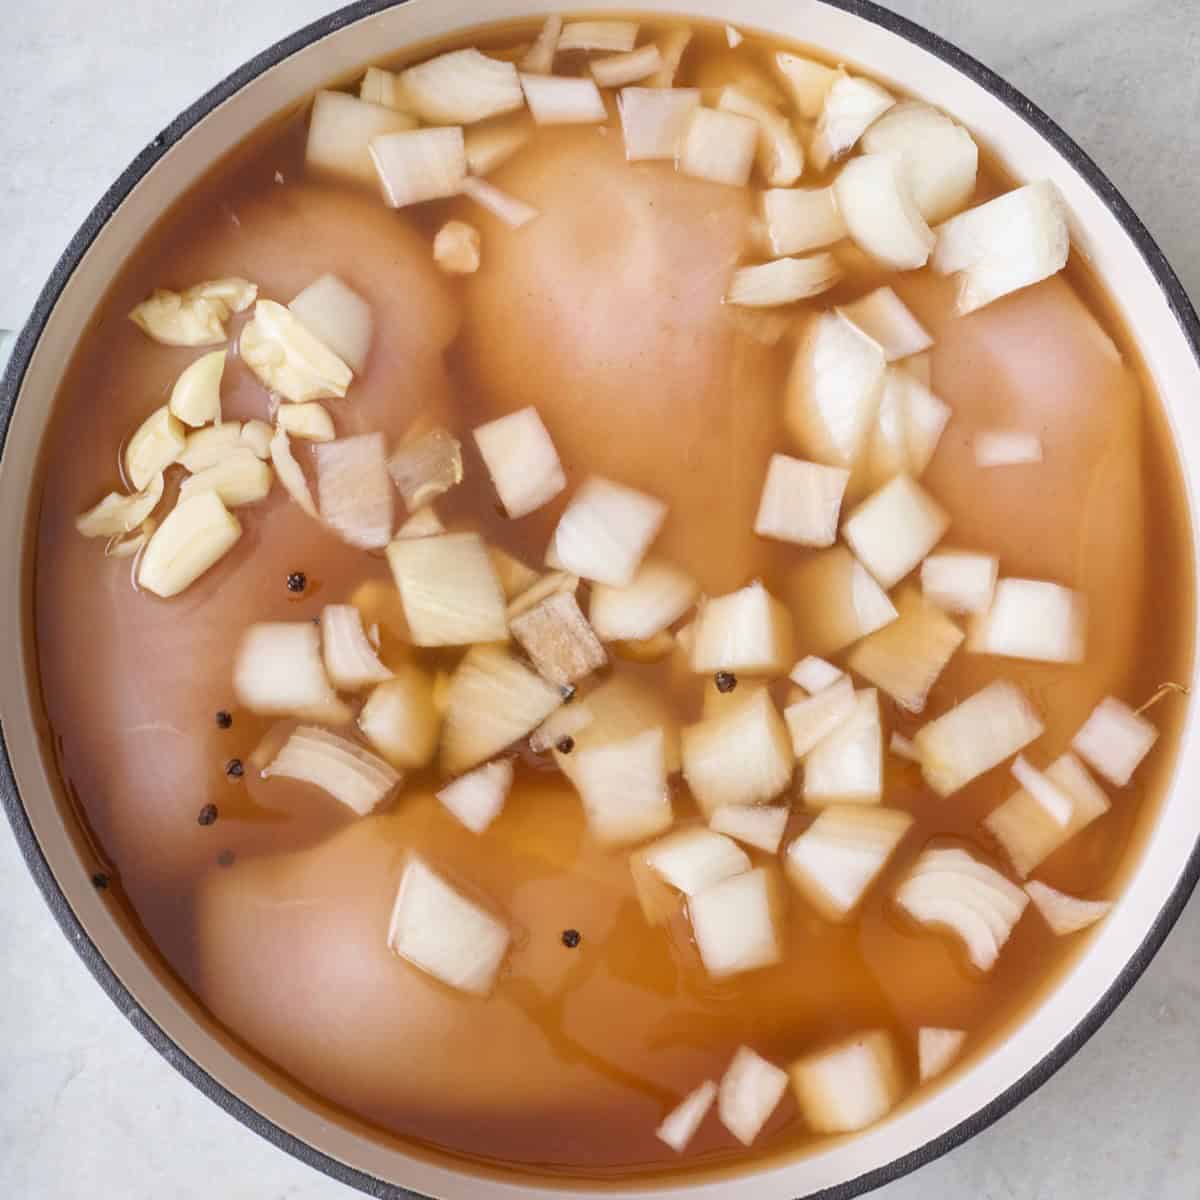
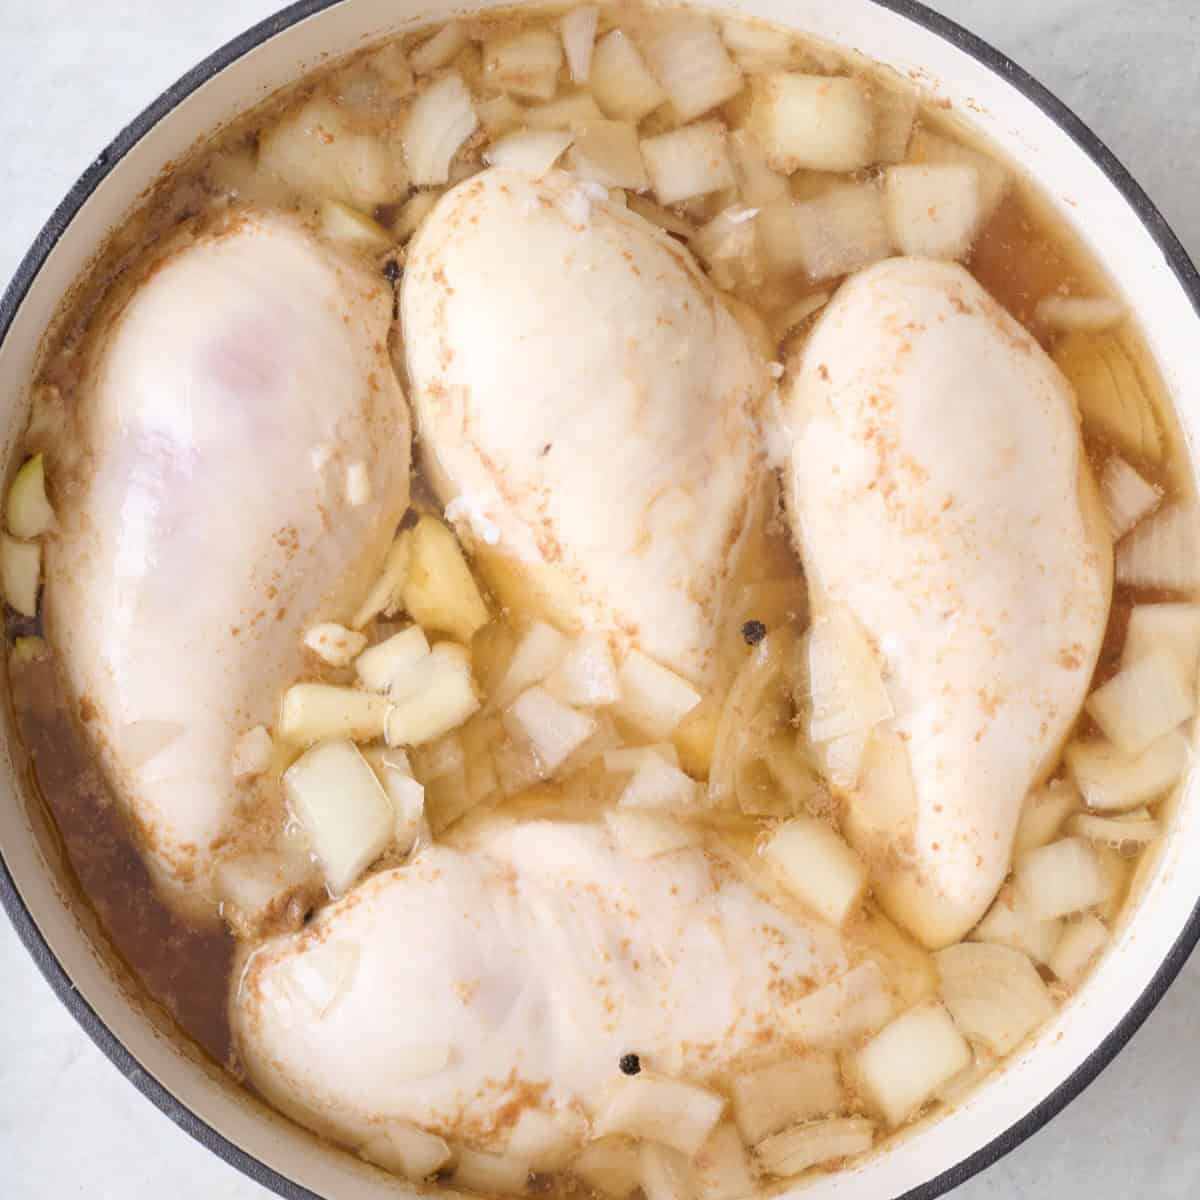
First, let’s take care of one minor detail: boiling chicken is a little misleading here. In this recipe, we’re only bringing the chicken to a quick boil in the beginning, then reducing the heat to medium and gently simmering. In fact, boiling chicken the entire cooking time will yield dry and tough chicken (which means don’t do it!) This method is similar to poached chicken but uses more liquid. As a result, we end up with the most tender and flavorful meat ready to go in all your favorite chicken recipes.

Tips for Boiling Chicken
- When in doubt, use an instant-read meat thermometer. Chicken breasts can go from undercooked to dry in minutes, so I like to use a meat thermometer to check for doneness. Insert the thermometer into the thickest part of the chicken breasts, and when it reaches 165°F, it’s done.
- Cool the chicken in the cooking liquid. This allows the chicken to retain moisture and stay juicy for whatever recipe you add it to.
- Watch the heat. Even though this is a tutorial for “boiling” chicken, you want to make sure that you’re not vigorously boiling the chicken the entire time. Bring it to a boil initially, then immediately reduce the heat to a gentle simmer.
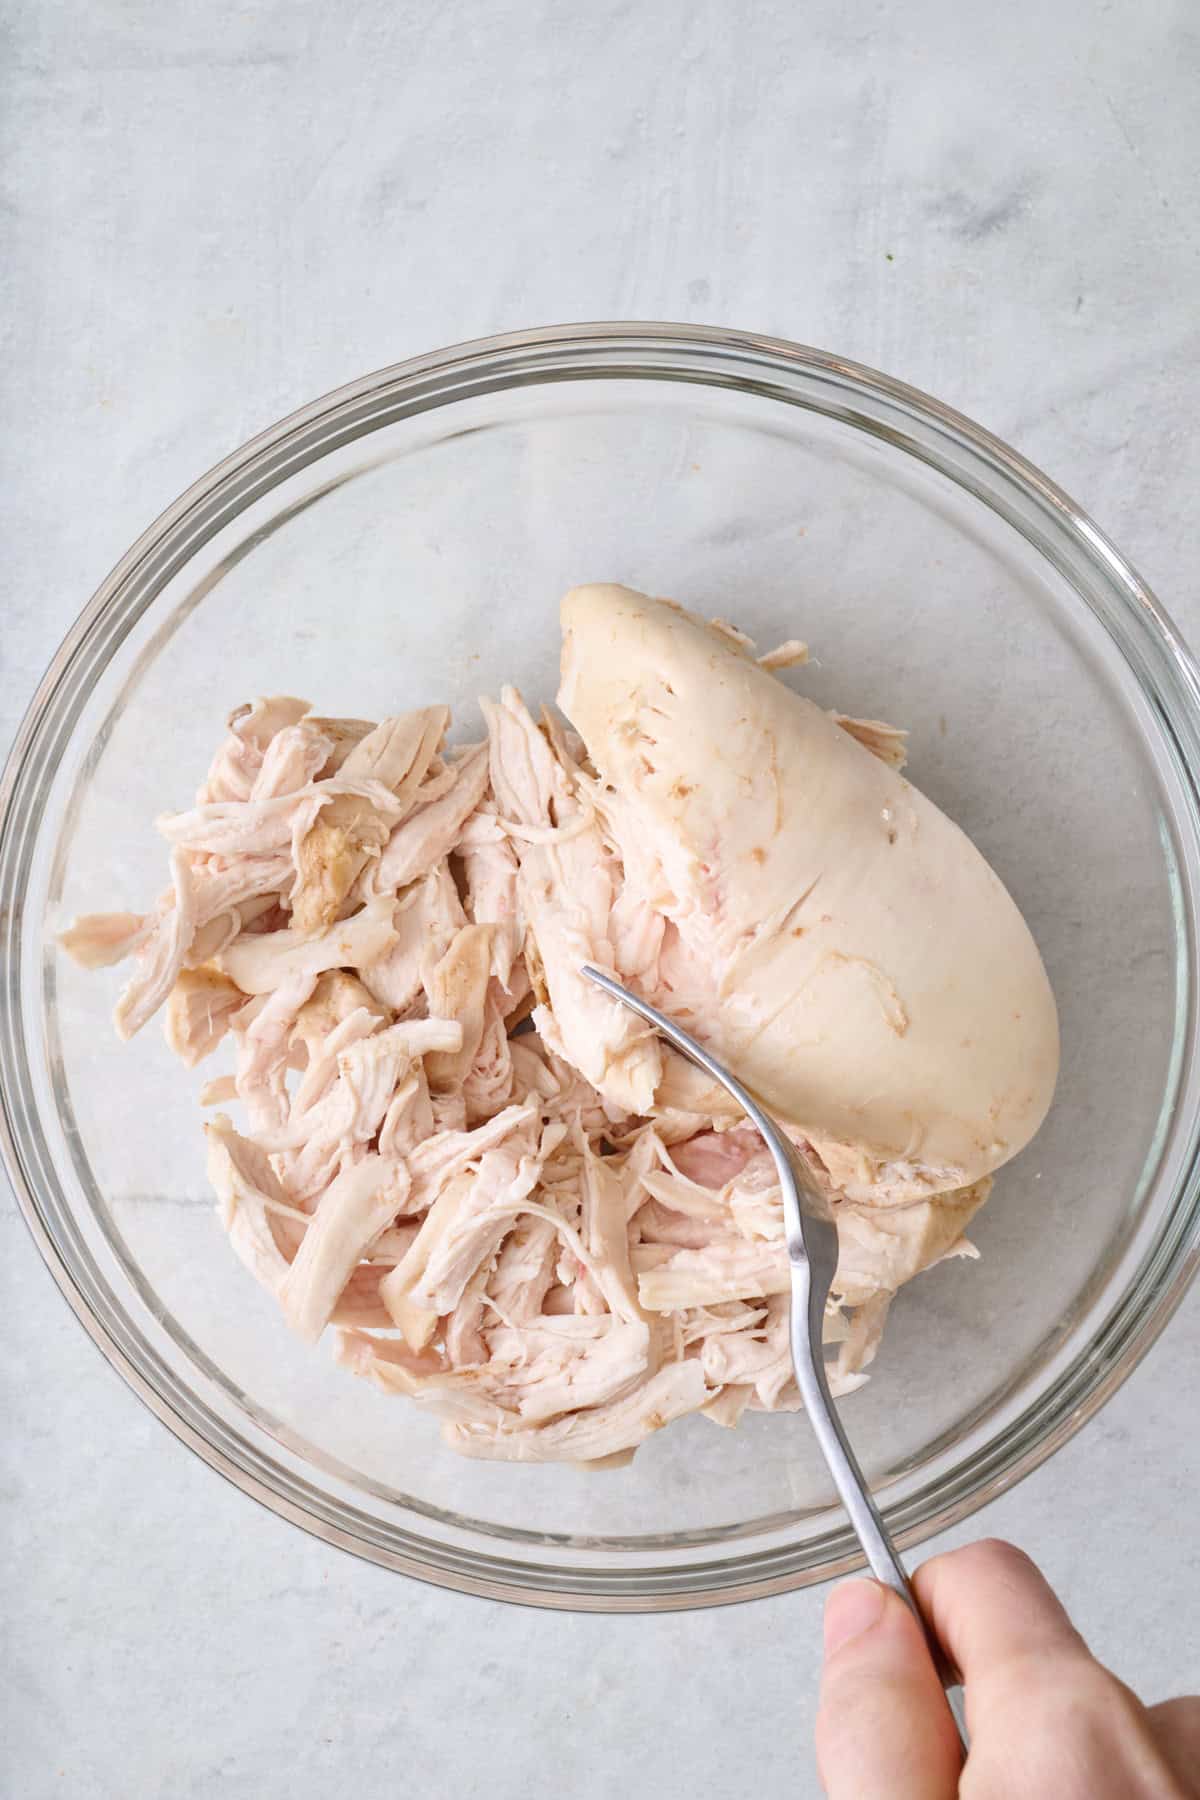
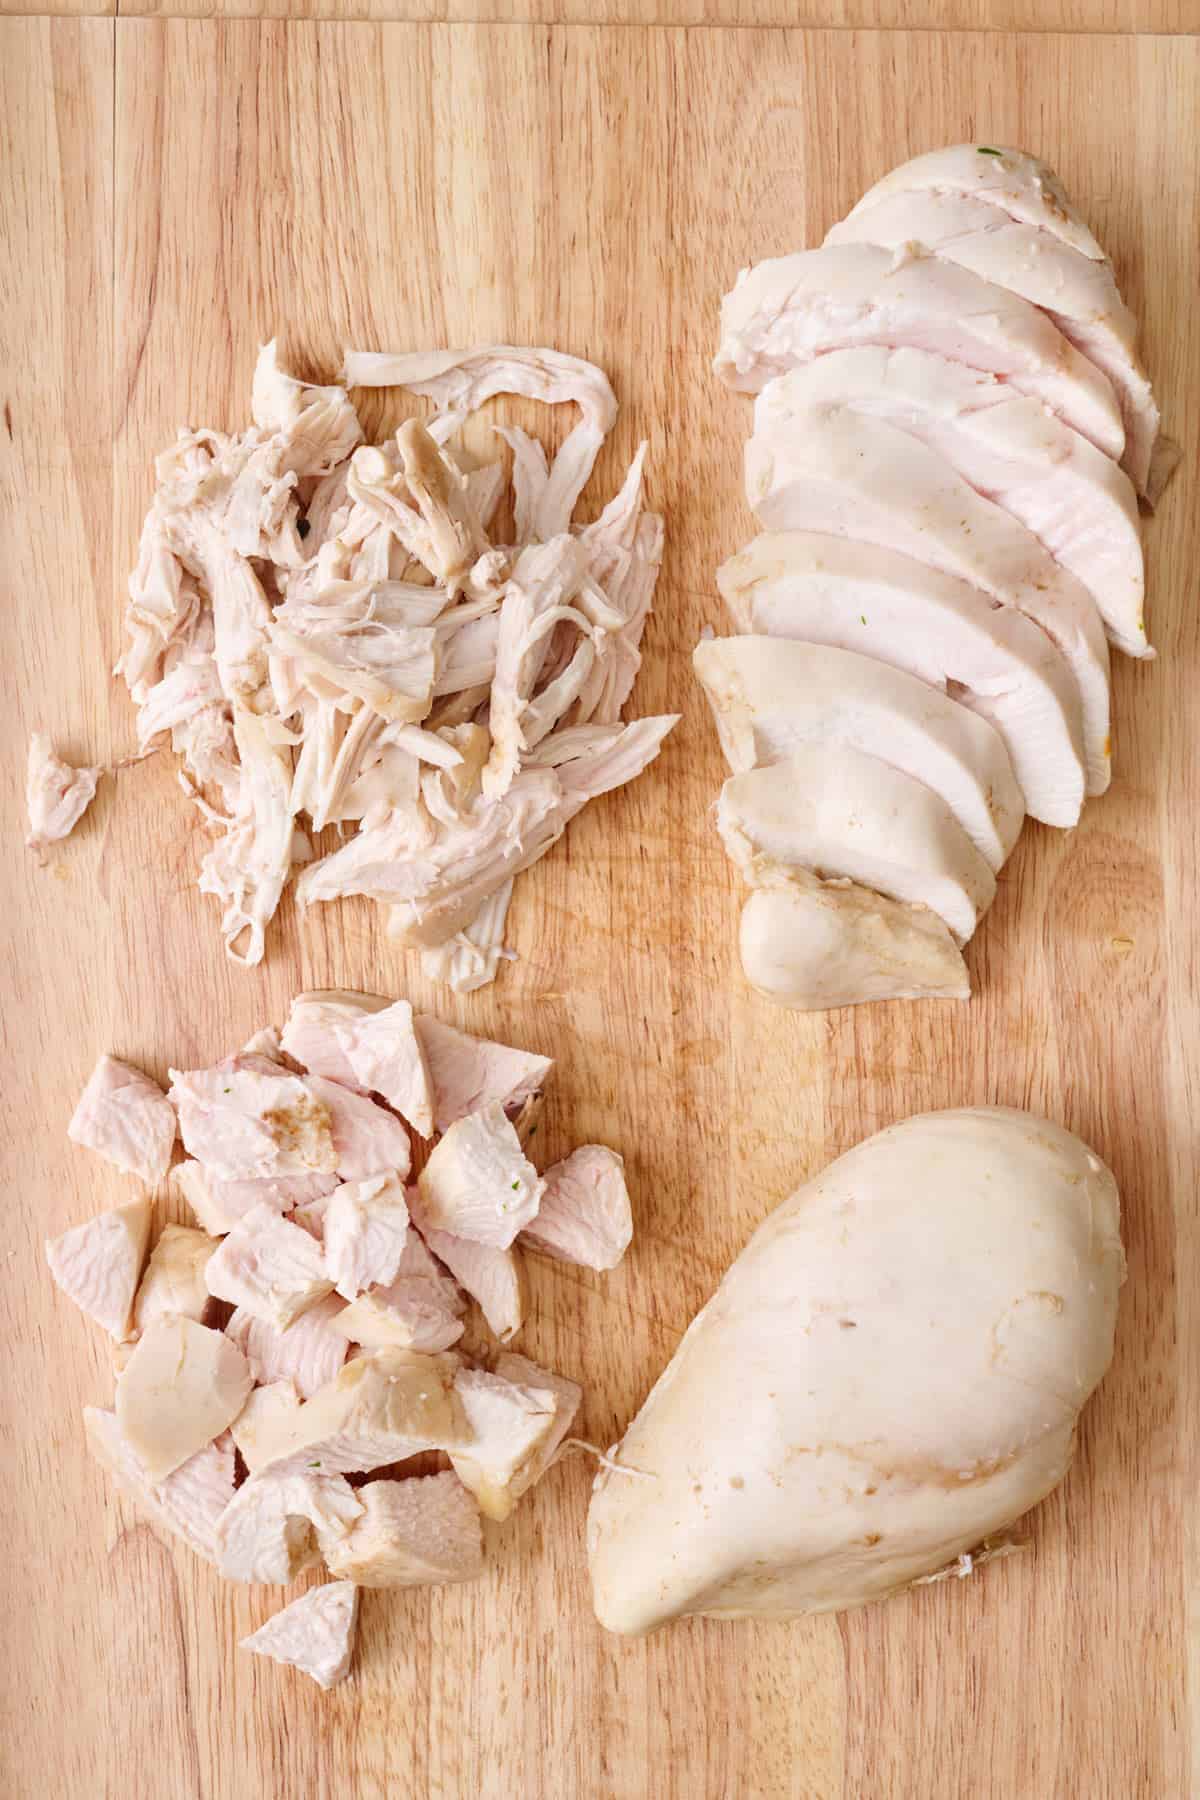
- Timing is everything. Here’s the fun part. Think about how you’ll be using these boiled chicken breasts. If you’re going for shredded chicken, shred it while it’s still warm, as the heat makes it easier to separate the fibers. On the other hand, if you want to dice or slice it, I recommend doing that when it’s chilled to make clean cuts. Also, if you have smaller chicken breast, you may need to reduce the cooking time.
- Reuse the broth. It would be a shame to dump the broth down the sink. Instead, strain it and use it as a flavorful vegetable-chicken broth for soups, sauces, and even cooking grains like quinoa or brown rice. It adds instant flavor and nutrition.
Recipes to Make with Boiled Chicken
- Lebanese Chicken and Rice
- Chopped Asian Chicken Salad
- Buffalo Chicken Salad Lettuce Cups
- Yogurt Chicken Salad
- Chicken Caesar Pasta Salad
Frequently Asked Questions
Store boiled chicken in an airtight container in the refrigerator for up to 4 days. You can add it directly to recipes from the refrigerator. To reheat chicken breast, warm it in the microwave in 15-second intervals until warmed through. Cover with a damp paper towel to avoid drying it out.
Yes! Place the cooled chicken into a freezer safe container or bag and freeze for up to 3 months. I recommend freezing in smaller quantities and pulling out what you need. Thaw overnight in the refrigerator and use as desired.
This will depend on how thick the chicken breasts are. For thinner chicken breasts, they may be ready around the 10 minute mark. Larger chicken breasts will take closer to 15 minutes to fully cook. I always recommend using a meat thermometer and cooking until the internal temperature hits 165°F.
The biggest differences between the two methods of cooking chicken are the heat and the amount of liquid used. Poaching chicken is a gentler cooking method that results in tender, juicy chicken, while boiling chicken involves higher heat and more cooking liquid. Technically, these two techniques can often be interchangeable since my method for boiling chicken still yields very juicy chicken.
If your chicken is underdone, return it to the pot and continue to simmer it for a few more minutes. Check the temperature again after a few minutes to ensure it reaches 165°F. It’s important to keep the heat at a simmer, not a boil, to avoid drying out the chicken.
Yes, you can use water instead of vegetable broth, but using broth adds more flavor to the chicken. If you use water, consider adding extra seasonings or aromatics to enhance the flavor.
If your chicken is tough, it may have been overcooked or boiled too vigorously. Make sure to simmer the chicken gently and check for doneness regularly. If it’s already tough, you can try using it in recipes where the texture will be less noticeable, like soups or casseroles.
Who knew that something as simple as how to boil chicken could open a world of delicious opportunities? If you dislike dry, rubbery chicken as much as I do, follow these tips and tricks to achieving the best, most juicy chicken for all your oh-so-good dishes!
More Protein Cooking Tutorials:
- How to Brown Ground Beef
- How to Make Shredded Chicken
- How to Cook Frozen Chicken
- How to Bake Tofu
- How to Cook Frozen Fish
- How to Cook Steak in the Oven
- How to Grill Chicken Thighs
If you found this tutorial for How to Boil Chicken helpful or if you try any recipe on Feel Good Foodie, then don’t forget to rate the recipe and leave a comment below! It helps others who are thinking of trying out this tutorial and we would love to hear about your experience. And if you snapped some shots, share it on Instagram so we can repost on Stories!

How to Boil Chicken
Video
Ingredients
- 4 large chicken breast
- 3 cups low sodium vegetable broth
- 1 onion roughly chopped
- 1 teaspoon whole black peppercorns
- 3 garlic cloves smashed
- 2 teaspoons salt
Instructions
- In a large stockpot over medium-high heat, place the chicken, vegetable broth, onion, peppercorns, garlic and salt.
- Bring to a boil, then cover and reduce heat to medium. Let simmer until the chicken is cooked through and a meat thermometer inserted into the thickest part of the chicken breast reaches 165°F, about 15 minutes.
- Shred, slice or dice the chicken or use as desired.
Notes
Nutrition
Nutrition information provided is an estimate. It will vary based on cooking method and specific ingredients used.


Comments
Excellent recipes. Easy to follow!!!
So happy you thought so, Nana! Thank you!
I looked at the nutritional information at the end, and it states the SODIUM is at 1427mg. Is that correct? That is ¾ of the daily recommended allowance for adults. Where is the sodium coming from? Vegetable broth, 2 teaspoons of salt or a combo? Being on a sodium-restricted diet, all I could have in a day is a chicken breast, pretty much!
Hi Ricky! Yes, those nutrition facts are correct. The vegetable broth used in the calculation is low sodium, so it does contribute some sodium but most of the calculation is coming from the salt. One teaspoon of salt is about 2,325 milligrams of sodium and the recipe calls for 2, which is 4,650 milligrams total. Divided by 4 servings, you are getting approximately 1,162 milligrams of sodium from the salt alone. You can omit or reduce the amount of salt you add to the recipe if you’d like to help adhere to your sodium-restricted diet. Using a salt-free vegetable broth will also help!
What is the ice for?
Sorry! I think this was a typo because I can’t remember why I added that there. I just deleted it from the ingredient list!