Pumpkin Chili
Published Oct 15, 2025
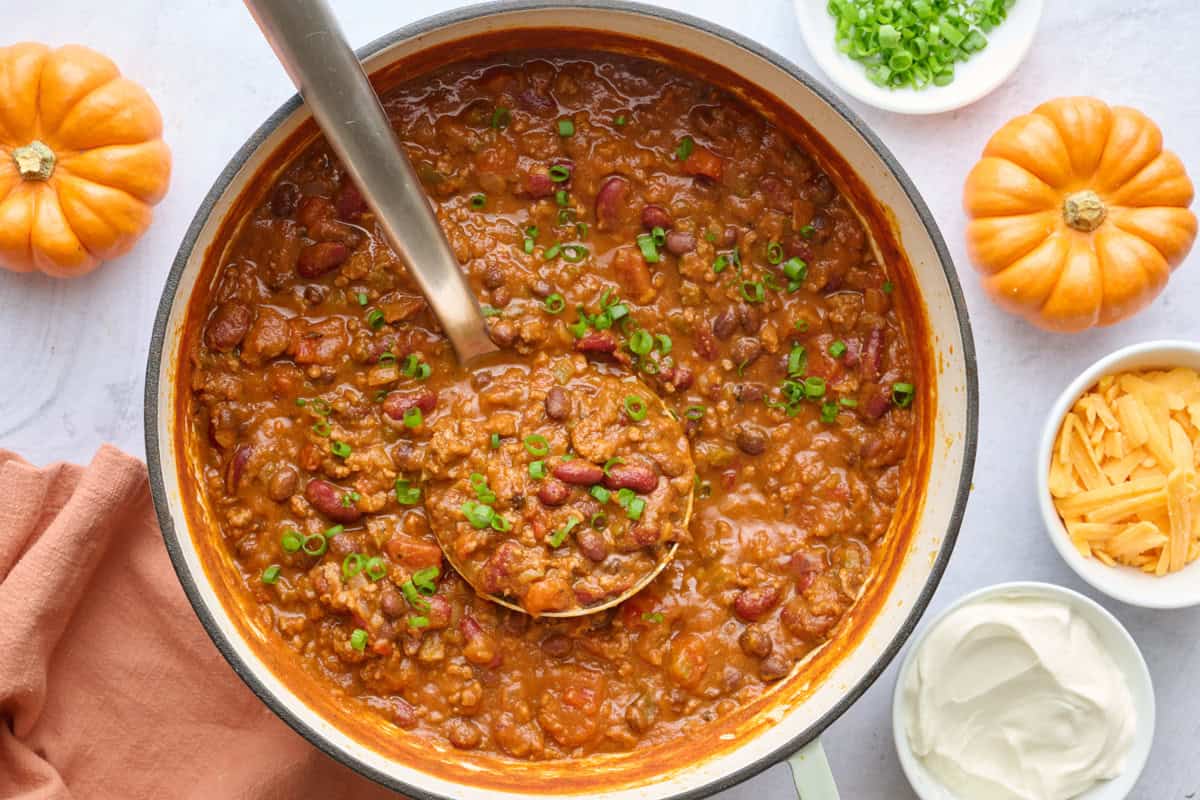
This pumpkin chili is made with a can of pumpkin, black beans, and kidney beans! Top with grated cheese, sour cream, and sliced green onions!
This post may contain affiliate links. Please read our disclosure policy.
Jump to Section
My pumpkin chili is so good!

I recently realized I didn’t have a recipe for what I consider to be the perfect fall chili: Pumpkin Chili! So, I made one! This recipe includes a whole can of pumpkin to make sure the pumpkin flavor stands out among all of the other savory ingredients. I could eat a bowl of this pumpkin black bean chili every night!
Happy Cooking!
– Yumna
Pumpkin Chili Ingredients
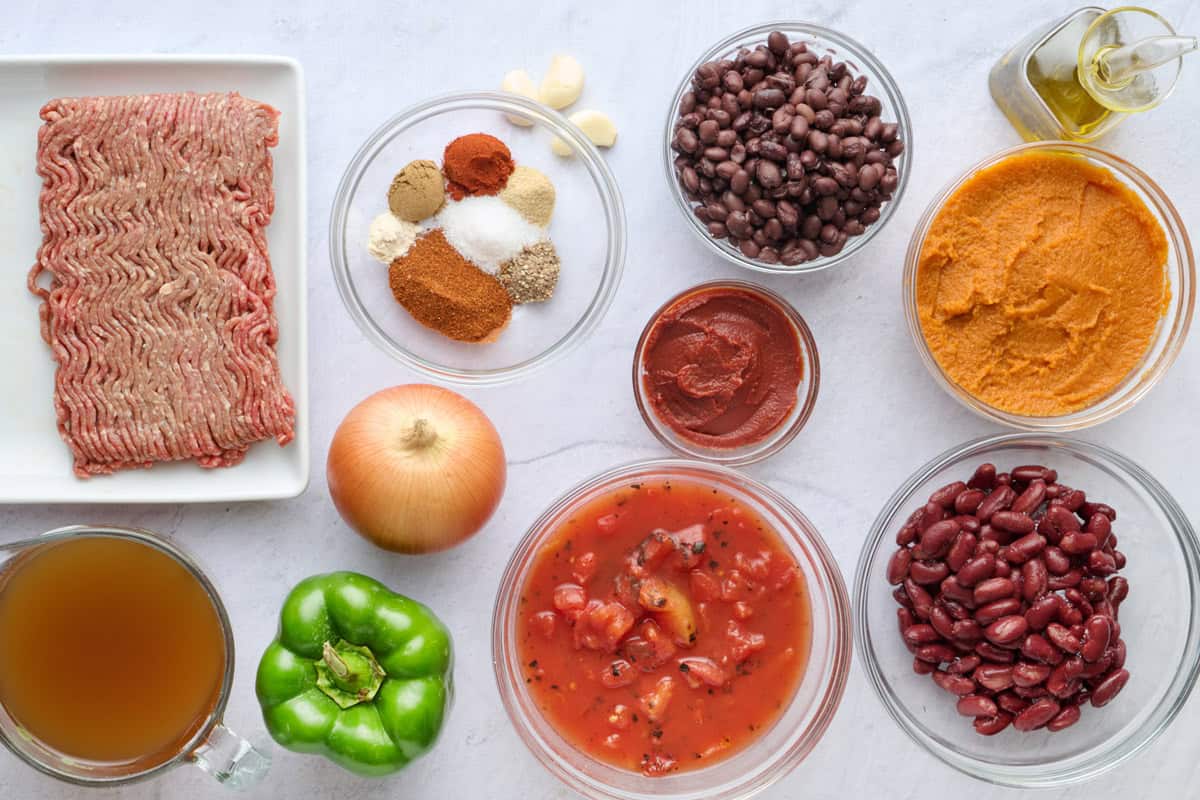
- Pumpkin: Make sure to buy pumpkin puree, not pumpkin pie filling, for this pumpkin chili recipe! Or you can make your own homemade pumpkin puree.
- Ground beef: I usually use lean ground beef, but ground chicken or turkey would also work.
- Vegetables: To make pumpkin chili, you’ll need an onion, garlic, and a green bell pepper!
- Oil: I usually use olive oil, but a high-heat oil like avocado would be fine.
- Beans: You’ll need a can of kidney beans and another of black beans! You can use 2 of either kind of beans, but I prefer the mix.
- Tomatoes: Tomato paste and fire-roasted tomatoes! You can use regular diced tomatoes, but the fire-roasted ones add a smoky flavor.
- Broth: I always have vegetable broth in my pantry, but chicken broth is a good substitute.
- For the chili seasoning: This easy spice blend is made of chili powder, salt, cumin, paprika, onion powder, black pepper, and garlic powder!
How to Make Pumpkin Chili


Pumpkin Chili Recipe
Ingredients
- 2 tablespoons olive oil
- 1 large onion diced
- 1 green pepper seeded and diced
- 3 garlic cloves minced
- 1 pound lean ground beef
- 1 (15-ounce) can pumpkin puree
- 3 tablespoons tomato paste
- Chili seasoning*
- 1 (15-ounce) can kidney beans drained and rinsed
- 1 (15-ounce) can black beans drained and rinsed
- 1 (15-ounce) can fire roasted diced tomatoes
- 2 cups low-sodium vegetable broth
- Optional toppings: Greek yogurt shredded cheddar cheese, green onions
Chili Seasoning*
- 1 tablespoon chili powder
- 1 ½ teaspoon salt
- 1 teaspoon ground cumin
- 1 teaspoon paprika
- ½ teaspoon onion powder
- ½ teaspoon black pepper
- ¼ teaspoon garlic powder
Instructions
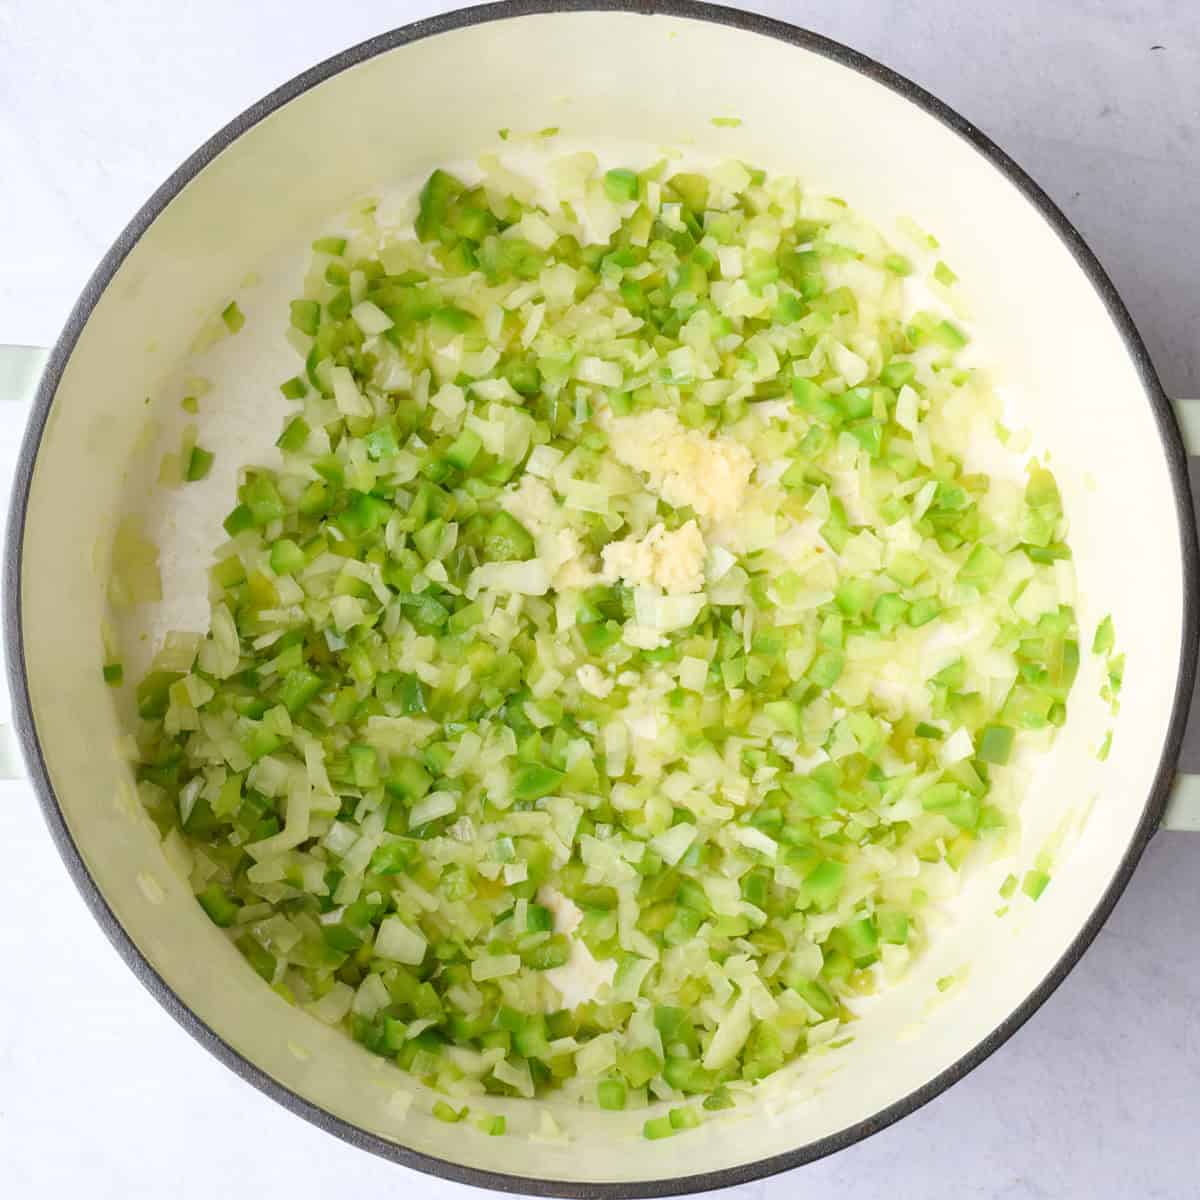
- In a large pot, heat olive oil over medium heat. Add onion and green pepper and cook for 5–7 minutes, or until the vegetables are softened and the onion is translucent.
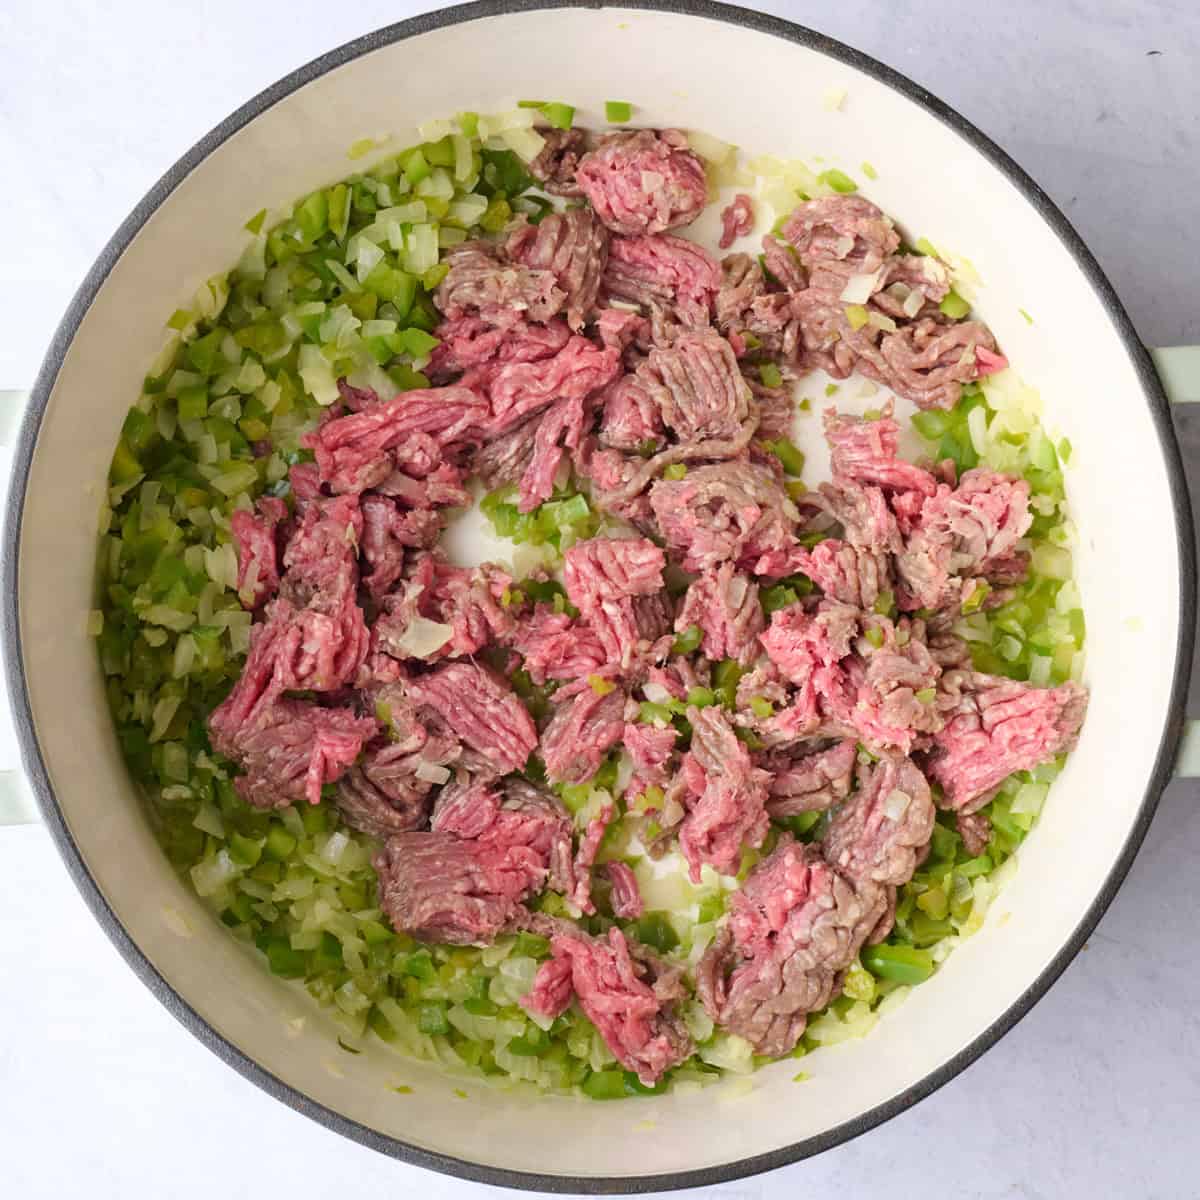
- Add garlic and cook for 30 seconds, or until fragrant. Stir in the ground beef and cook for 5–6 minutes, breaking it up with a spatula, until browned.
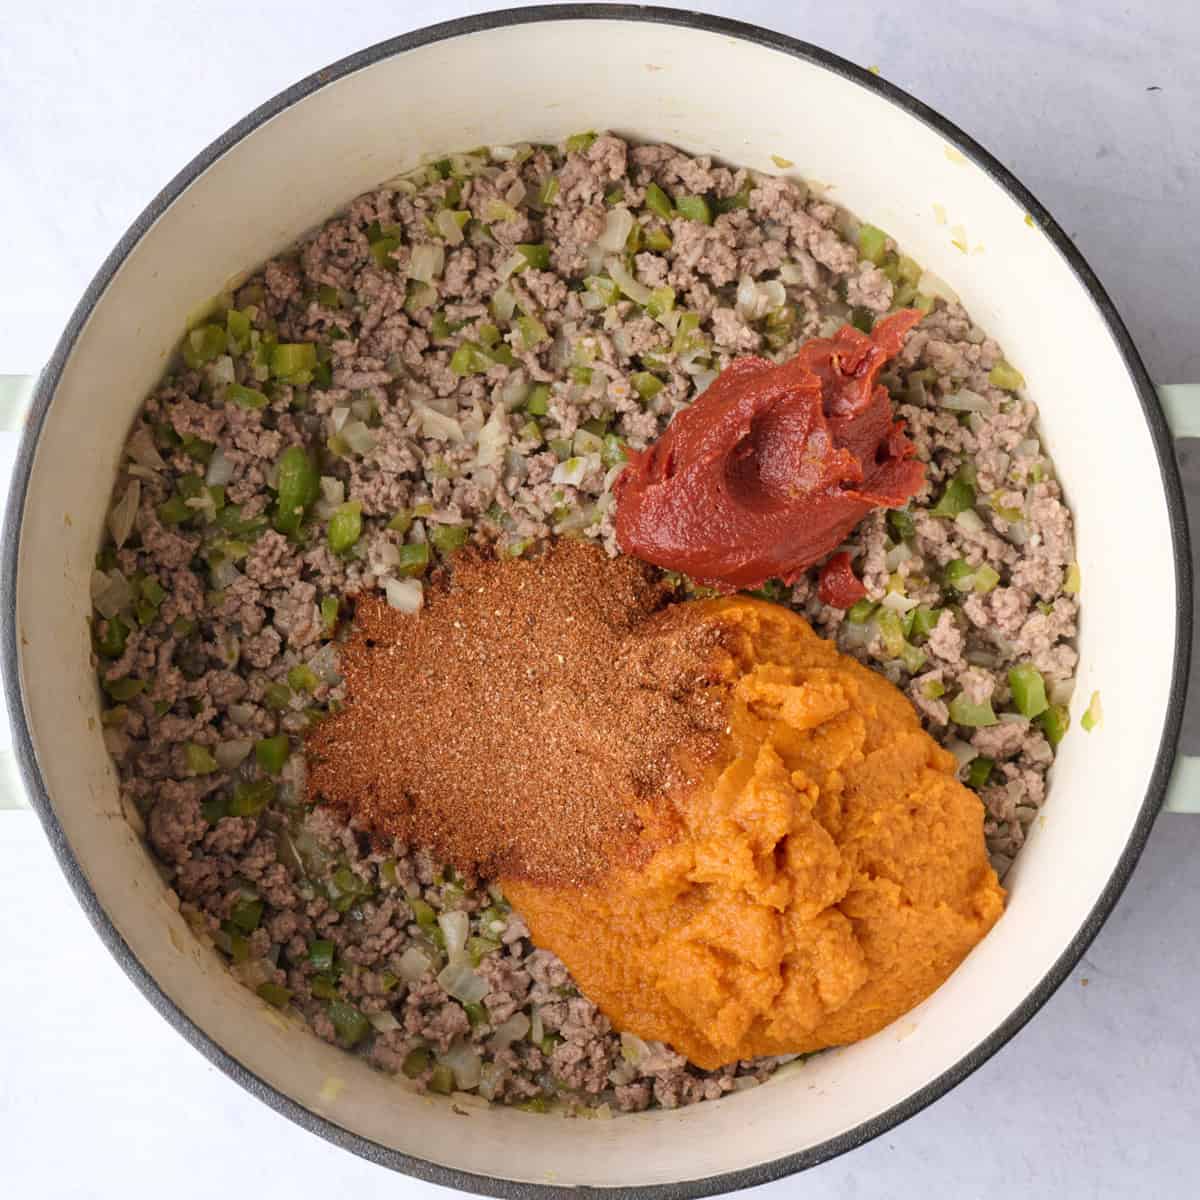
- Add pumpkin puree, tomato paste, and chili seasoning. Cook for 2-3 minutes, stirring constantly, until the tomato paste and pumpkin have darkened.
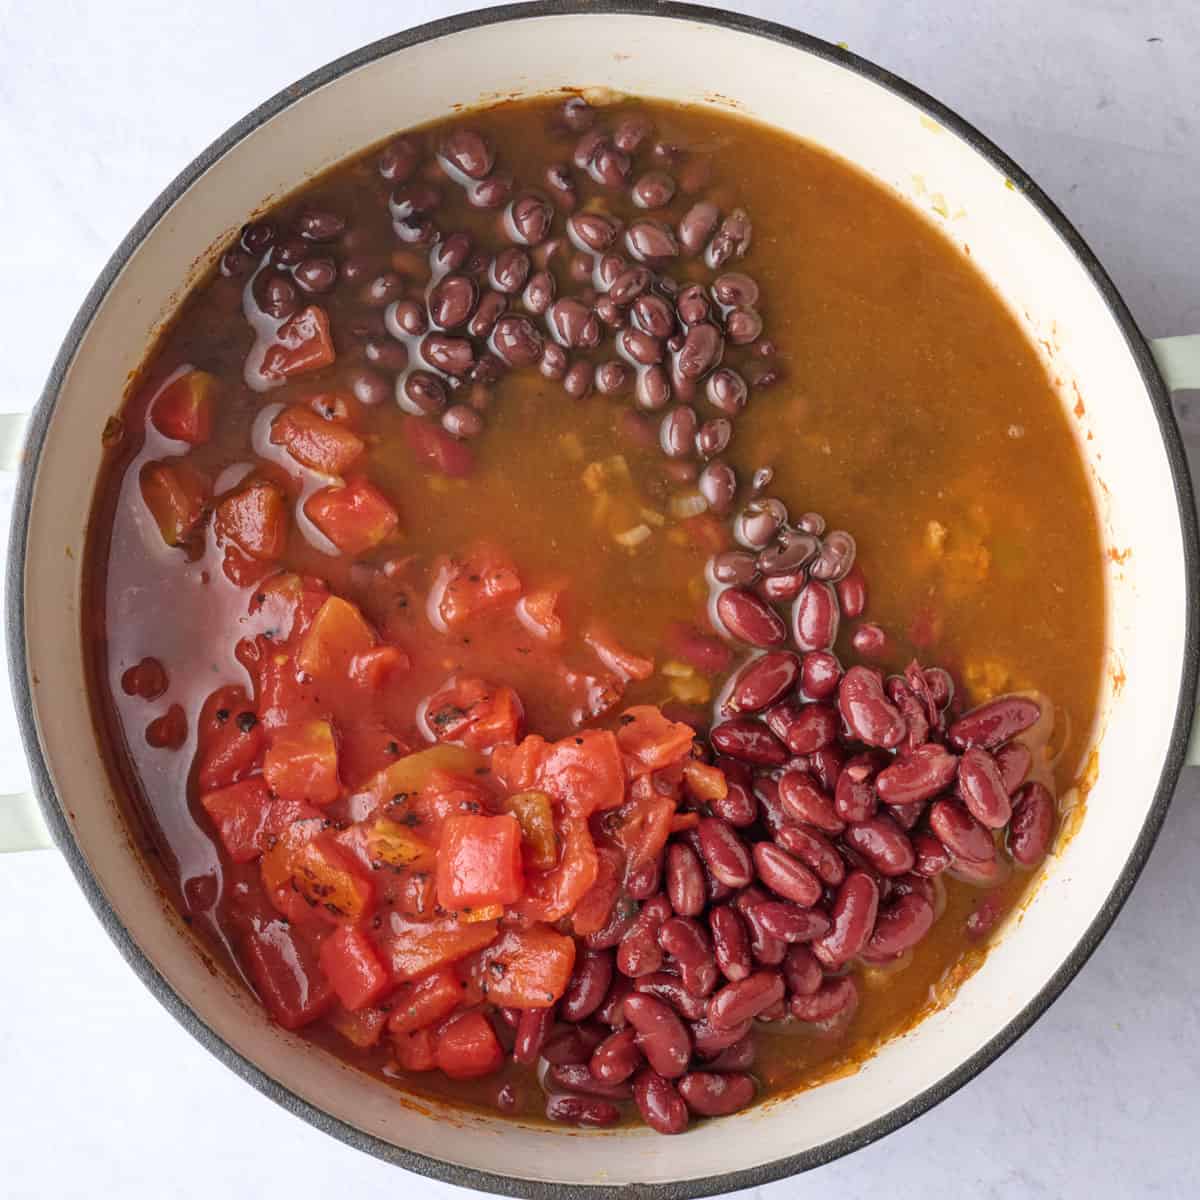
- Stir in beans, tomatoes, and broth and bring the mixture to a boil. Reduce heat to a simmer, cover, and cook for 25 minutes, stirring occasionally. Uncover and continue to cook for 20-25 more minutes, until the chili thickens, stirring occasionally.
- Serve with your favorite toppings.
Equipment
Notes
- My Top Tip: Canned beans come in a thick, salty liquid and you want to get rid of it before cooking with them! I add the beans to a fine mesh strainer or colander and run water over them until any foaming goes away. That’s when the beans are ready!
- Storage: Kept in an airtight container in the fridge, this chili will last 3-4 days! To reheat, do so on the stove or in the microwave, adding a little water as necessary to loosen the chili.
- Freezing: This pumpkin chili freezes well! Place it in an airtight, freezer-safe container and store it in the freezer for up to 6 months. I’d thaw it in the fridge before reheating!
Nutrition
Nutrition information provided is an estimate. It will vary based on cooking method and specific ingredients used.
Recipe Tips
- Taste your chili powder. Some chili powders are way spicier than others. I recommend tasting yours first before making the chili seasoning! If it’s really spicy, just use less.
- Drain and rinse the beans really well. Canned beans come in a thick, salty liquid and you want to get rid of it before cooking with them! I add the beans to a fine mesh strainer or colander and run water over them until any foaming goes away. That’s when the beans are ready!
- Make the chili thicker. If you want a thickkkk chili, I would use a wooden spoon or a potato masher to mash some of the beans! I usually do this when I’m making sheet pan nachos with this chili!
Serving Ideas
- Cornbread. If I have the time, I’ll make a pan of soft, fluffy cornbread to go with this chili!
- Rolls. You could make homemade rolls, too! My skillet dinner rolls are flavored with garlic and herbs.
- Nachos. I especially like using leftovers of this chili for nachos! My sheet pan nachos are great, but so are these bell pepper nachos!
- Salad. My Mexican chopped salad (with a homemade, creamy cilantro dressing!) or Mexican street corn salad would be great sides!
- Grated cheese, sour cream or Greek yogurt, tortilla chips, and thinly sliced green onions. Use whatever cheese you like! My family prefers cheddar, but pepper jack, Monterey jack, or even mozzarella would be delicious.
FAQs
If your chili tastes metallic, it’s probably because you didn’t rinse the canned beans well! The liquid canned beans come in often tastes metallic, which is why I recommend rinsing them before adding them to the chili.
Yes, you can! After step 3 of the recipe, you can transfer the ingredients to a slow cooker, add the rest of the ingredients, and cook the chili on high for about 3 hours.


Comments
Spot on as always! Unbelievably delicious. Big hit for all of us. Thank you so much.
Yay!! So happy you all loved it! Thank you so much!!
I was so intrigued when I saw this chili recipe using a whole can of pumpkin, that I made it tonight. It is truly amazing!!!!! It will definitely be on my rotation in all seasons!
The only changes I made is left out green pepper, and I used ground turkey, and half chipotle chili powder and half regular. This recipe is a keeper! Thank you!!
Love the changes you made! So glad you liked it, Marie. Thank you so much!!
I made this for my family and everyone loves it! Thank you for simple and very tasty recipes.
Yay!! Aww, so glad everyone loved it! Thank you!!