How to Melt Butter
Published Dec 22, 2023
Learning how to melt butter is a kitchen skill that can be used for baking, cooking, and finishing dishes. Use the stovetop or microwave for quick melting!
This post may contain affiliate links. Please read our disclosure policy.
Learn how to melt butter “just right” – it’s a simple kitchen skill, yet it’s crucial for countless recipes. Melting butter might seem trivial, but getting it just right is key to enhancing your dishes. Heat does something amazing to butter and can rapidly change its flavor (think brown butter), but depending on what you need it for, the approach can vary. Whether you’re aiming for a gentle melt for a moist cake batter or seeking that nutty aroma for a sauce, understanding how to melt butter is a must. In this post, I’ll walk you through the steps of melting butter both on the stovetop and in the microwave, ensuring you get it spot-on every time.
Jump to Section
Butter is more than just a cooking fat; it’s a flavor enhancer and texture agent. When melted properly, it seamlessly fits into your recipes, contributing to both taste and texture. However, it does burn and should be melted with care, because it’s also not cheap! This guide will help you melt butter 2 ways on the stovetop or microwave!
Why learn how to melt butter
- Various uses in baking recipes. Many baked goods, from cookies to cakes, call for melted butter. Understanding how to melt butter properly ensures the right texture, flavor, and consistency so your baked goods come out perfectly every time.
- Delicious gateway to other sauces. Melted butter often serves as a base for many savory sauces, such as bechamel sauce, adding richness and depth to dishes like pasta, seafood, and vegetables.
- Adds a nice finishing touch. Melted butter instantly adds a rich finish to a variety of dishes. Whether drizzled over freshly popped popcorn or brushed onto French bread rolls, knowing how to melt butter “just right” is a game changer.
Ingredients to make melted butter
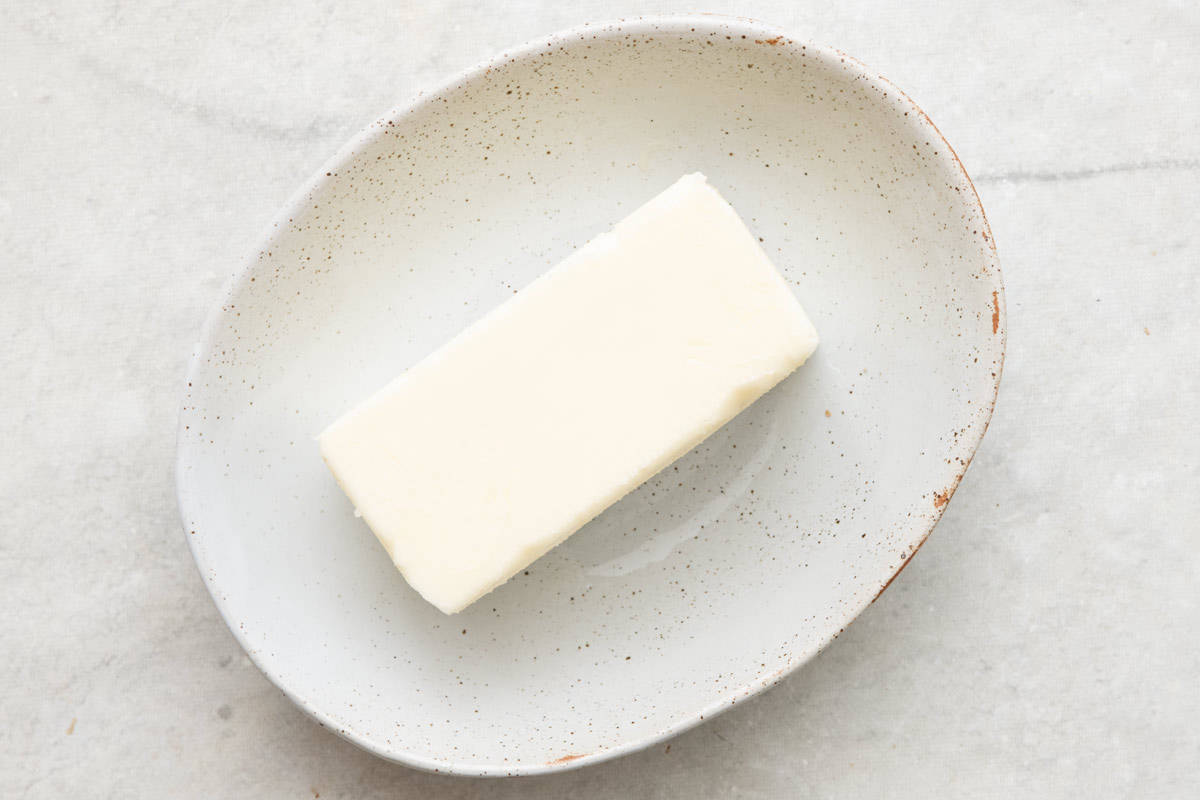
- Butter: You can use salted or unsalted butter, depending on your preference and the recipe you need the butter for. Using unsalted butter gives you more control over the salt content in the recipes, while salted butter is convenient for drizzling on popcorn or rolls.
How to melt butter
You have the choice of using either the stovetop or the microwave to melt butter. They both start with cutting the butter into smaller pieces and end with a rich, velvety, perfectly melted butter. Each method has its perks, so choose one that suits your needs best and follow the simple instructions below!
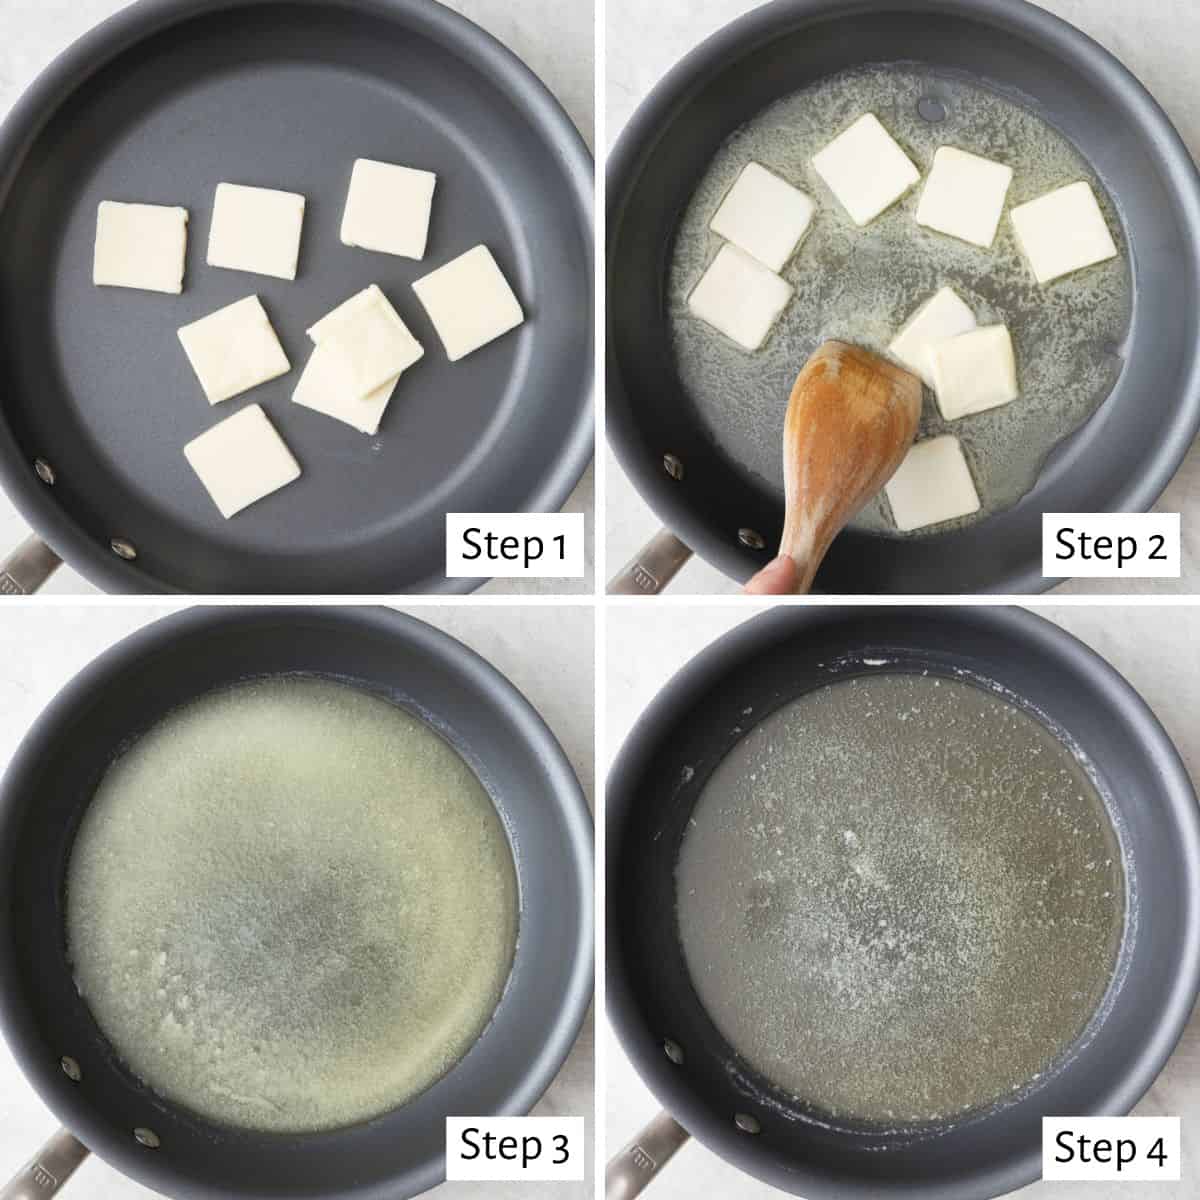
How to melt butter on the stove
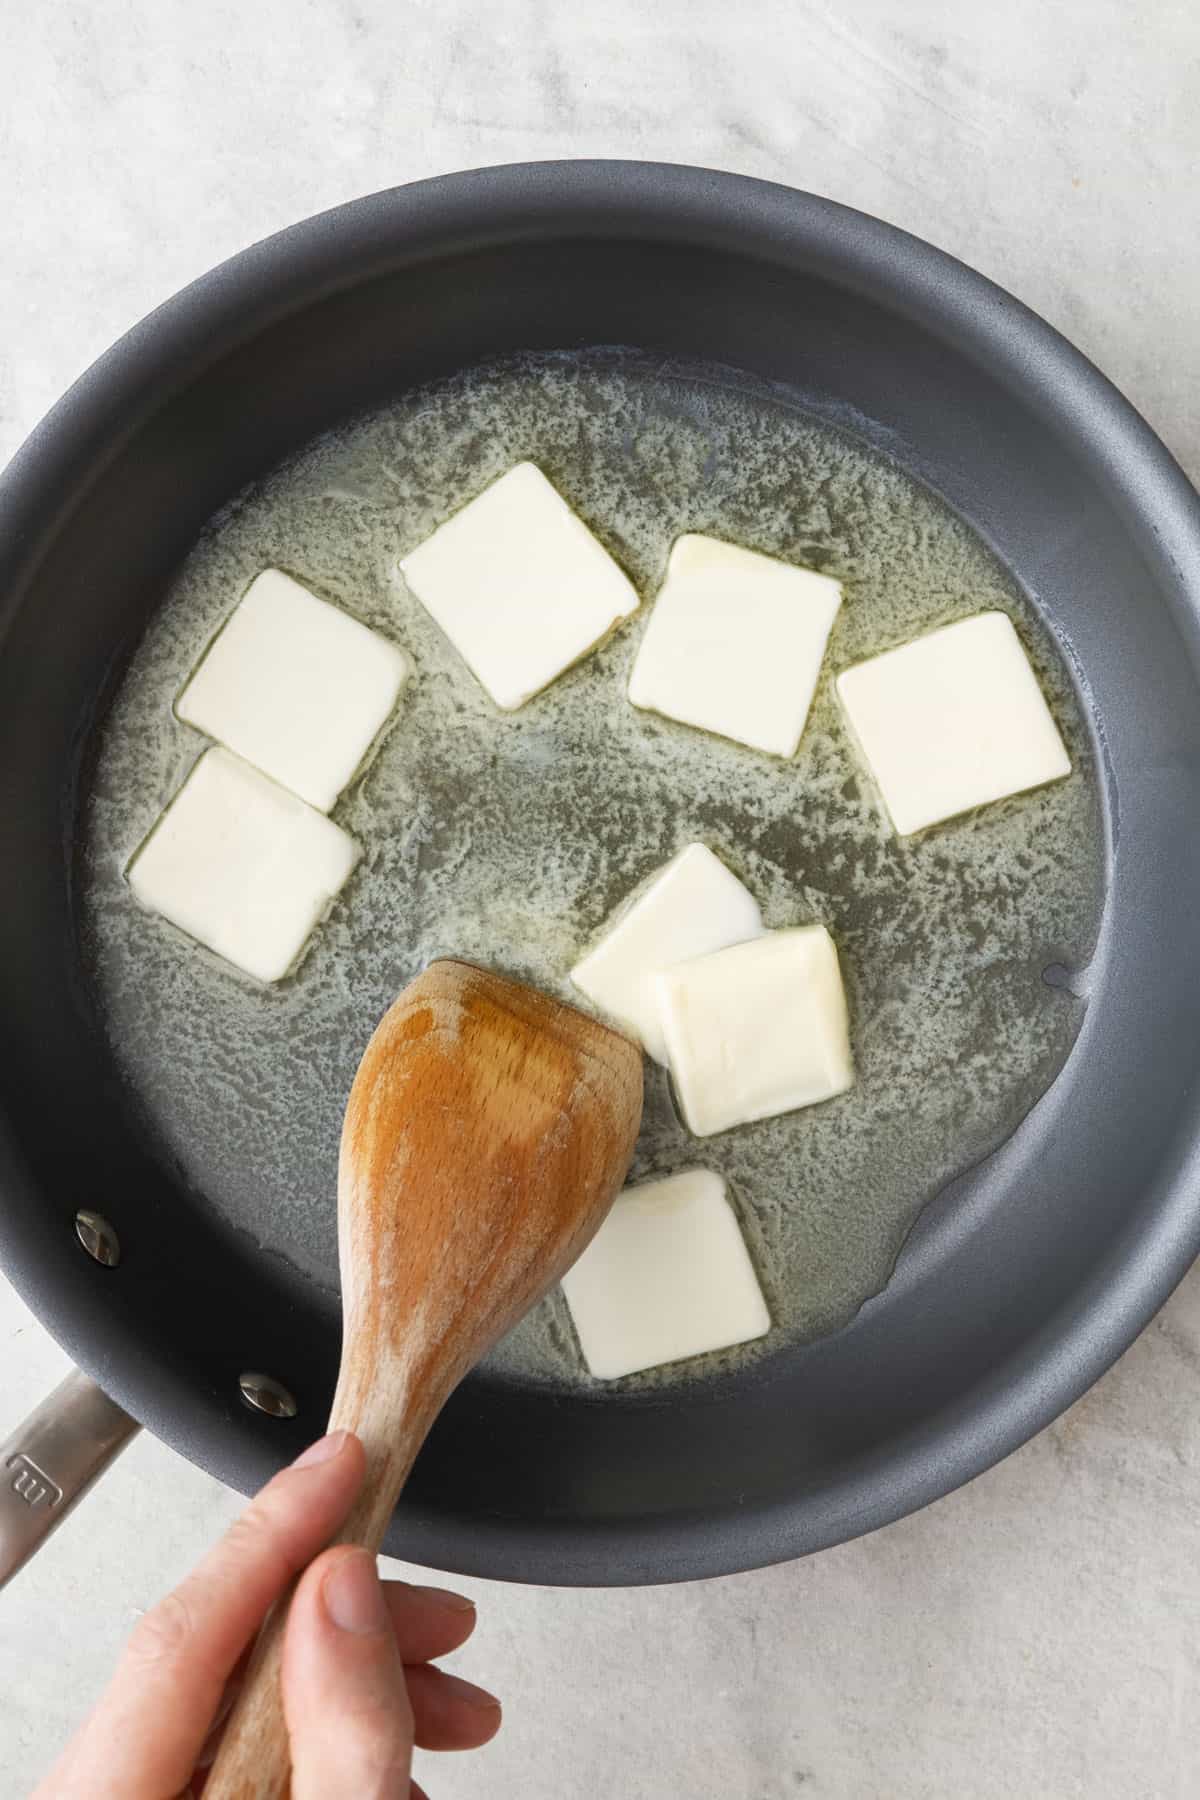
- Place a small saucepan on the stovetop burner and set the heat to low. Cut the butter into smaller pieces and add them to the saucepan.
- As the butter begins to melt, stir it with a wooden spoon or silicone spatula to help it melt evenly and prevent it from sticking to the pan.
- Continue stirring the butter until it has completely melted and has a smooth consistency.
- Remove the saucepan from the heat and use the melted butter as desired.
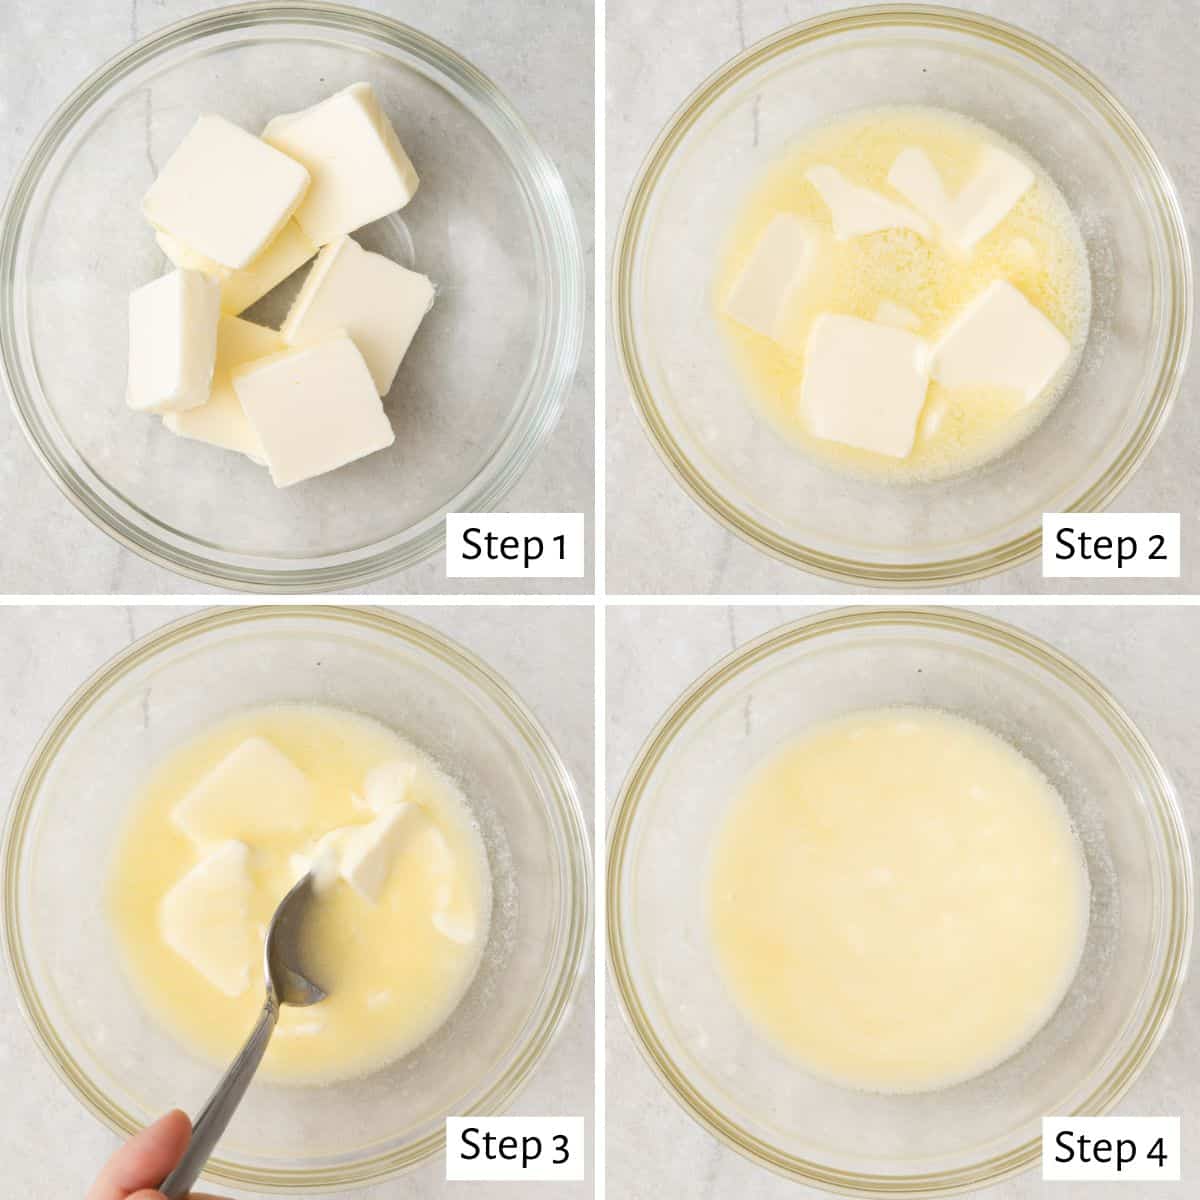
How to melt butter in the microwave
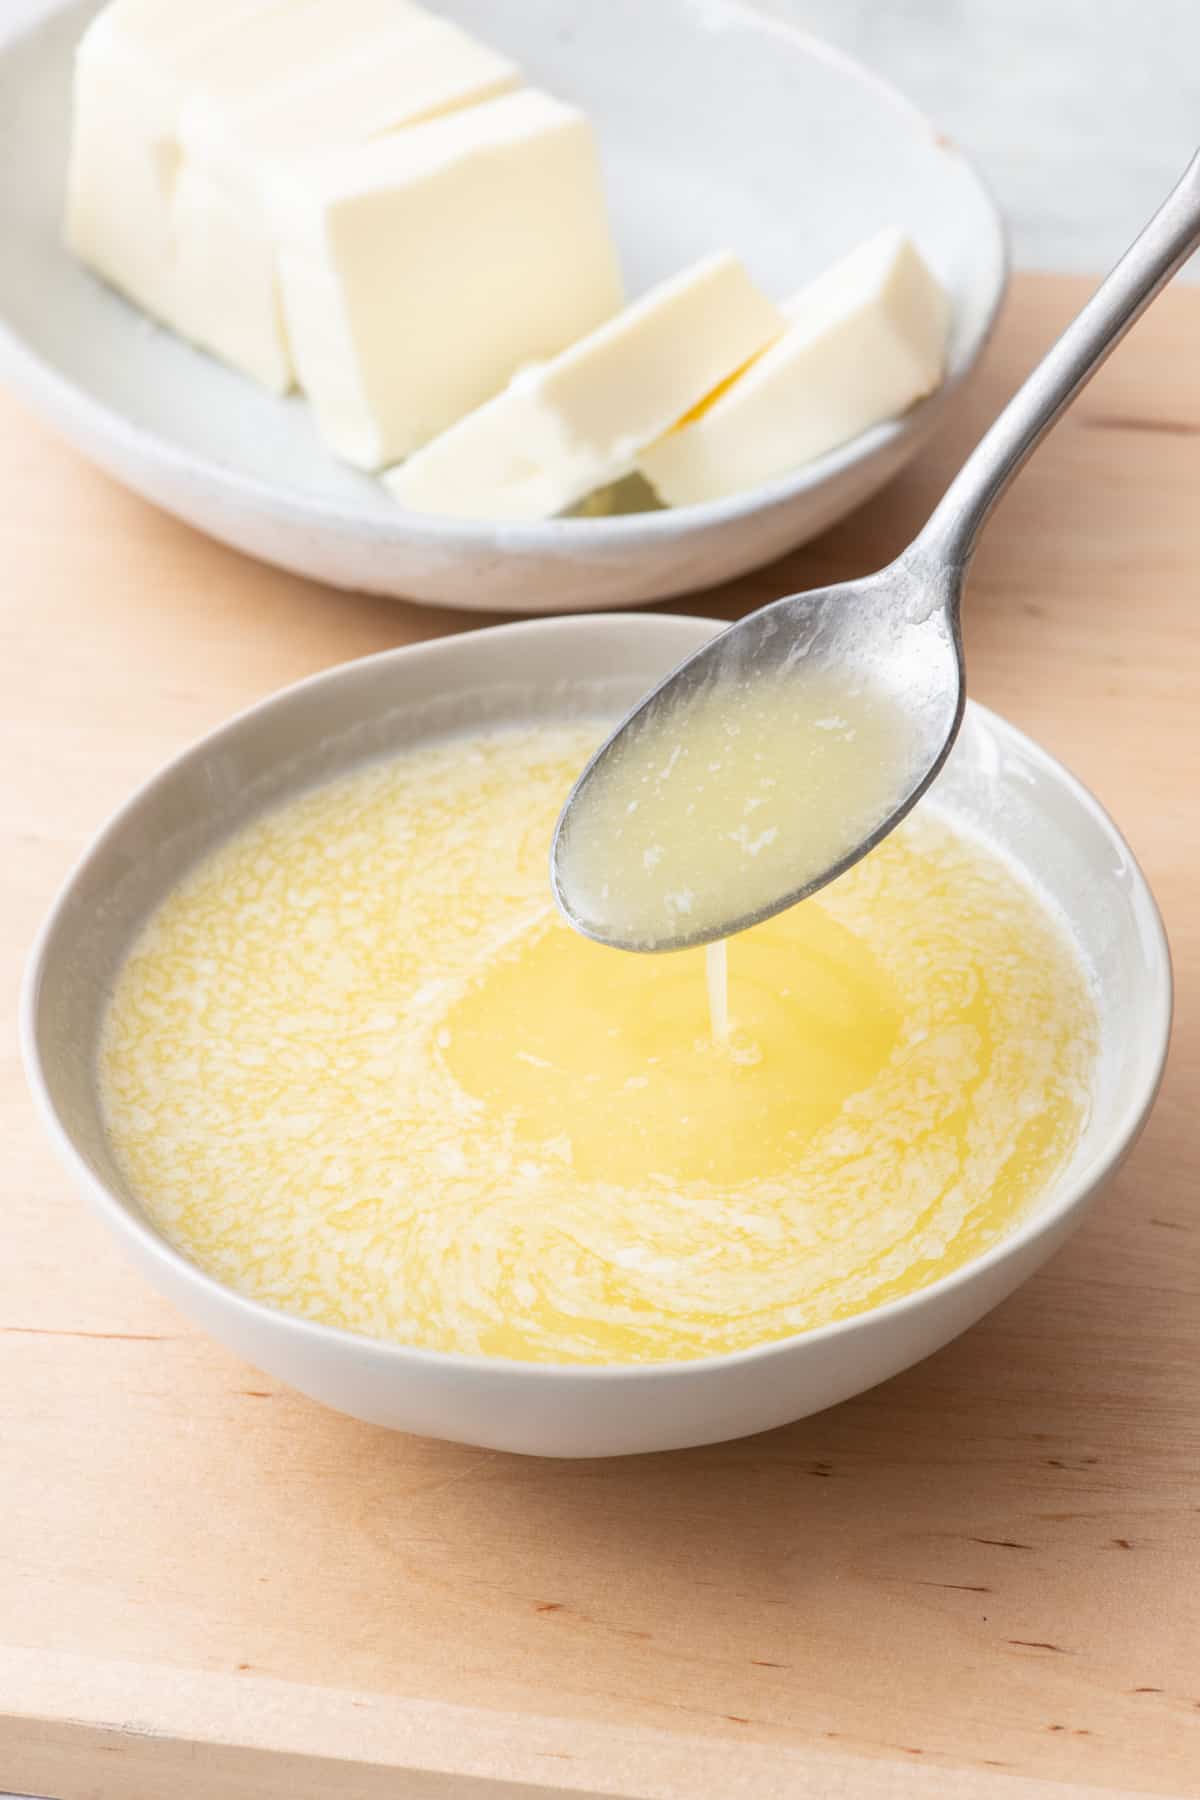
- Cut the butter into smaller pieces and add to a microwave-safe bowl that’s large enough to hold the butter.
- Place the bowl in the microwave and heat on a medium-low power setting using short intervals.
- After each interval, open the microwave and stir the butter with a spoon to help distribute the heat and ensure even melting.
- Repeat until the butter is completely melted and smooth.
Tips for melting butter
- Measure the butter before melting. Even though butter retains the same volume, whether solid or melted, it is more convenient to measure it accurately before melting, thanks to the measurement markers on butter packaging.
- Go low and slow. If using a stovetop, keep the butter on low heat to prevent it from overheating, as this can lead to a burnt taste. Likewise, if your microwave has the option, use a low power setting to gently melt the butter.
- Stir the butter frequently. Unevenly melted butter can cause unwanted chunks of butter in your recipe, so take the time and effort to stir often. Stirring is even more important if using the microwave in order to prevent hotspots and ensure a consistent, smooth texture.
- Cool your butter before adding it to the recipe. If the butter is too hot, it can inadvertently heat other ingredients in your recipe, which can ruin the texture and taste.
Recipes to make with melted butter
- Cranberry Bliss Bars
- Fluffy Cottage Cheese Pancakes
- Easy Skillet Dinner Rolls
- Sweet Potato Rounds
- Greek Yogurt Banana Bread
How to store melted butter
It’s best to use melted butter immediately in the recipe, but if you have leftover melted butter, it is okay for you to refrigerate it in a sealed container. Cool it to room temperature first before transferring it back to the fridge.
How long will melted butter last in the fridge?
Melted butter can last in the fridge for up to a few weeks. Keep in mind, that the butter can lose some texture quality due to the milk solids being heated for too long.
Can I freeze melted butter?
Once the butter has been chilled to its original solid state, you can transfer it to the freezer and freeze for up to 3 months.
Frequently asked questions
Cutting the butter into smaller pieces is necessary for even and quick melting, and it also helps prevent uneven consistency in the finished product.
Certainly! Just apply it with a pastry brush to coat your baking pans with the melted butter.
If the butter is overheated, take it off the heat immediately and let it cool slightly. In some recipes, especially those with robust flavors, slightly browned butter can add depth to the dish. But if there appears to be burnt pieces of milk solids, you may need to start over and adjust the heat as needed to avoid overheating.
Knowing how to melt butter so it’s perfectly rich and luscious will transform your cooking and baking endeavors. Whether pouring it onto homemade rolls or adding it to a baked recipe, properly melted butter ensures a smooth and velvety texture that instantly infuses your dishes with richness.
More cooking tutorials:
- How to Make Butter
- How to Soften Butter
- How to Melt Chocolate
- How to Make Cashew Butter
- How to Make Almond Butter
- How to Make Slurry
If you found this tutorial for How to Melt Butter helpful or if you try any recipe on Feel Good Foodie, then don’t forget to rate the recipe and leave a comment below! It helps others who are thinking of trying out this tutorial and we would love to hear about your experience. And if you snapped some shots, share it on Instagram so we can repost on Stories!
How to Melt Butter
Ingredients
- 1 stick butter salted or unsalted
Instructions
Melting Butter on the Stovetop
- Place a small saucepan on the stovetop burner and set the heat to low.
- Cut the butter into smaller pieces and add to the saucepan. As the butter begins to melt, stir it with a wooden spoon or silicone spatula to help it melt evenly and prevent it from sticking to the pan.
- Stir until the butter has completely melted and has a smooth consistency about 3-5 minutes. then remove the saucepan from the heat. Use the melted butter as desired.
Melting Butter in the Microwave
- Cut the butter into smaller pieces and add to a microwave-safe bowl that’s large enough to hold the butter.
- Place the bowl in the microwave and heat using 15 to 20-second intervals on a medium-low power setting if possible.
- After each interval, open the microwave and stir the butter with a spoon to help distribute the heat and ensure even melting. Repeat until the butter is completely melted and smooth. Use the melted butter as desired.
Equipment
Notes
Nutrition
Nutrition information provided is an estimate. It will vary based on cooking method and specific ingredients used.


