How to Make Garlic Powder
Updated May 10, 2025
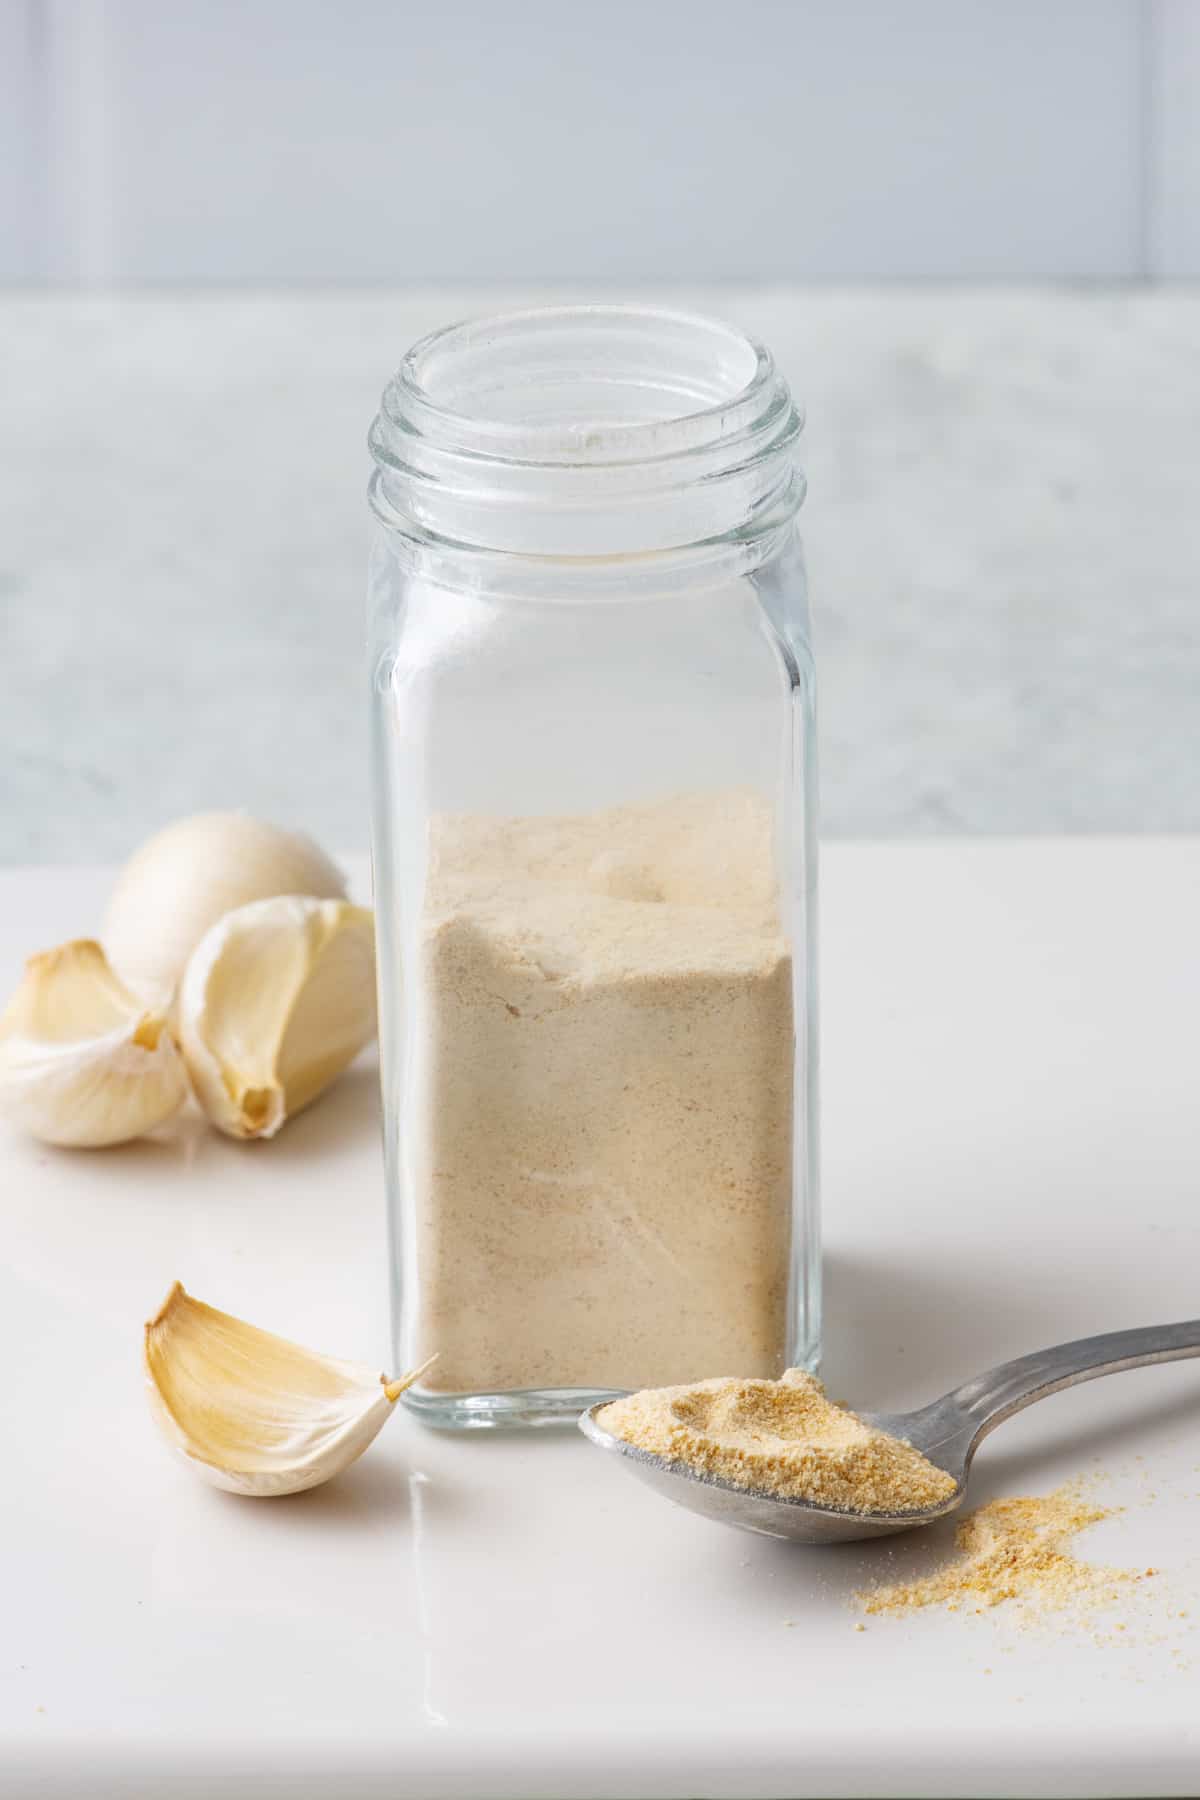
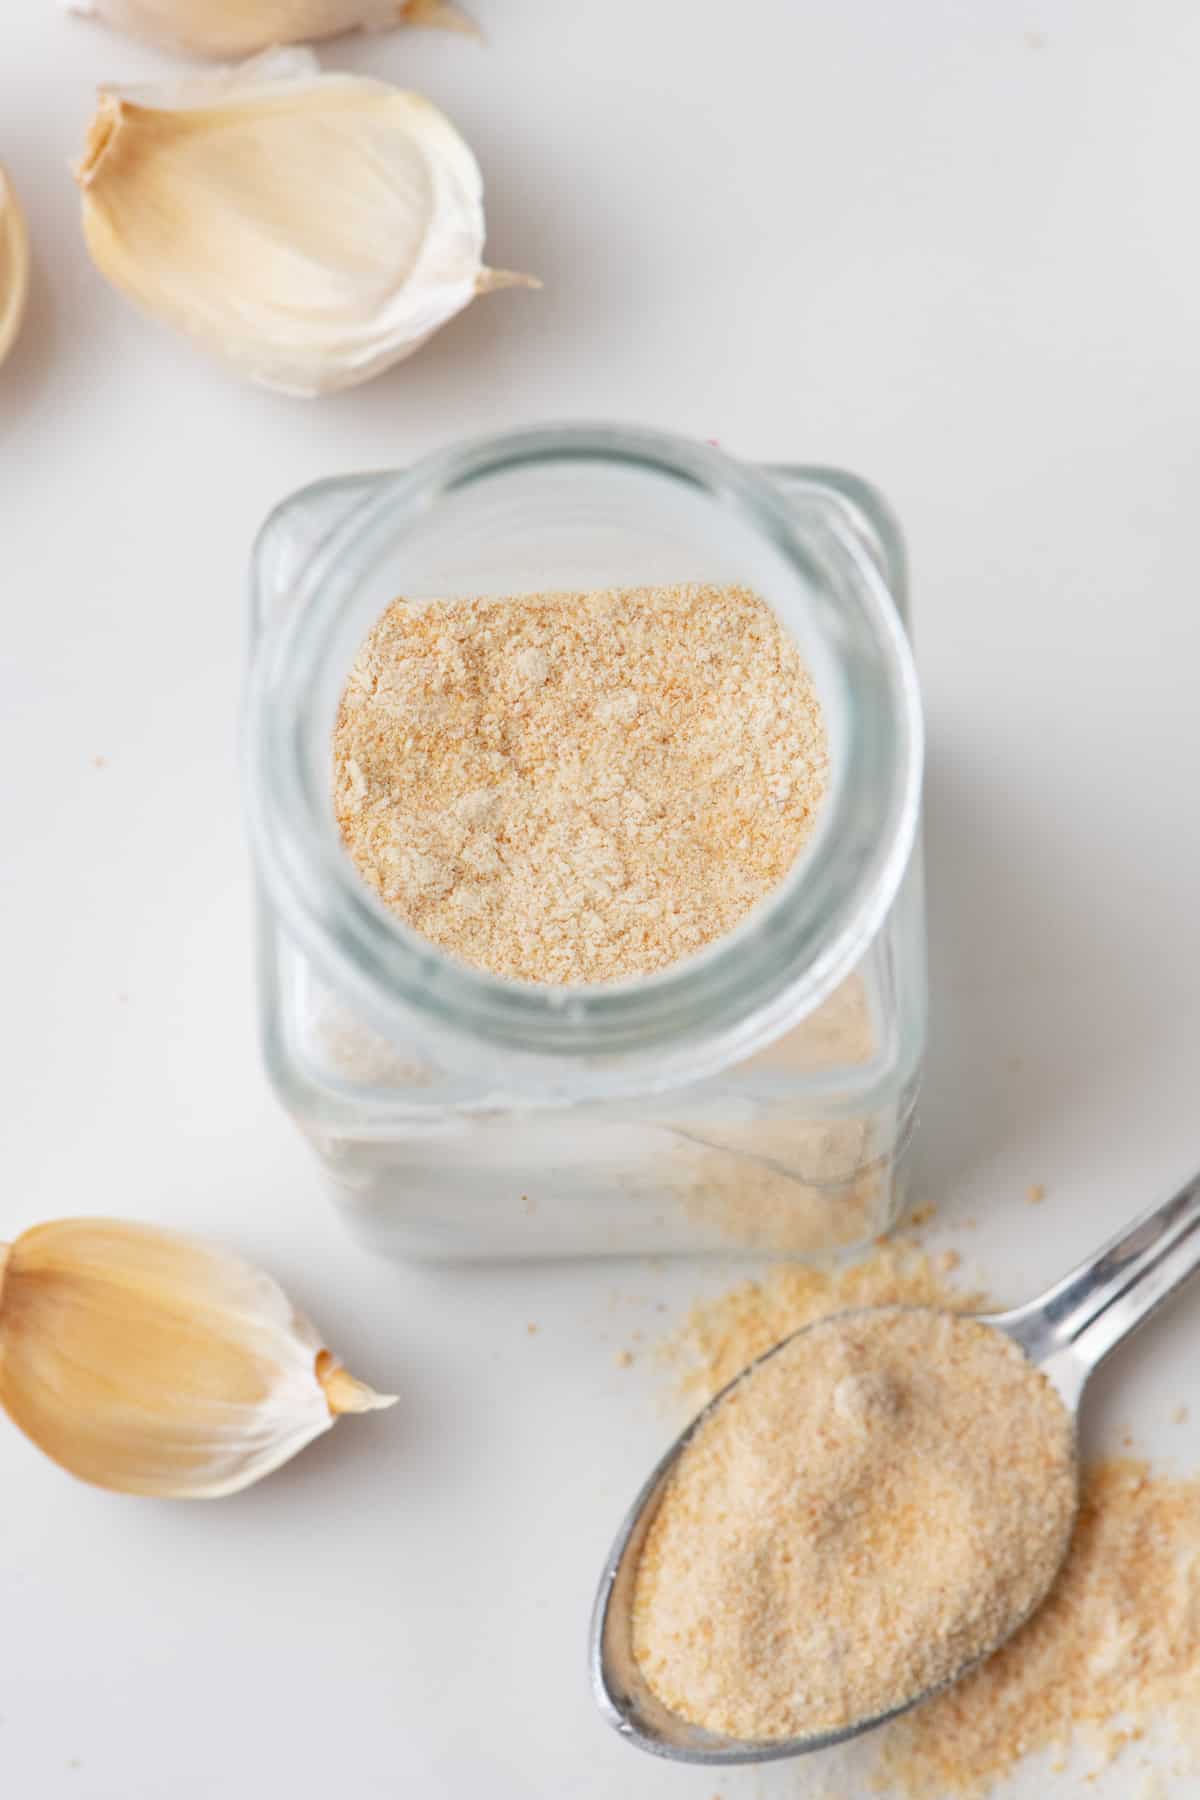
Learn how to make garlic powder in the oven, no dehydrator needed! Homemade garlic powder is a great way to preserve garlic, and it's fresher than store-bought!
This post may contain affiliate links. Please read our disclosure policy.
Jump to Section
Homemade Garlic Powder

Learn how to make garlic powder at home with my simple recipe that doesn’t require a big bulky dehydrator. All you need is an oven and a sheet pan! Once you taste the fresh flavor of homemade garlic powder, you’ll never go back to the store-bought version!
There’s something incredibly fulfilling about creating kitchen staple ingredients right at home and making spice blends and spices, like this garlic powder is one is really worth it! While store-bought versions are convenient, making your own homemade garlic powder guarantees the best freshness and flavor with no added fillers or preservatives. It’s a great way to use up a lot of garlic at once especially if you buy it in bulk or grow it in your garden!
Happy Cooking!
– Yumna
1 Ingredient Garlic Powder
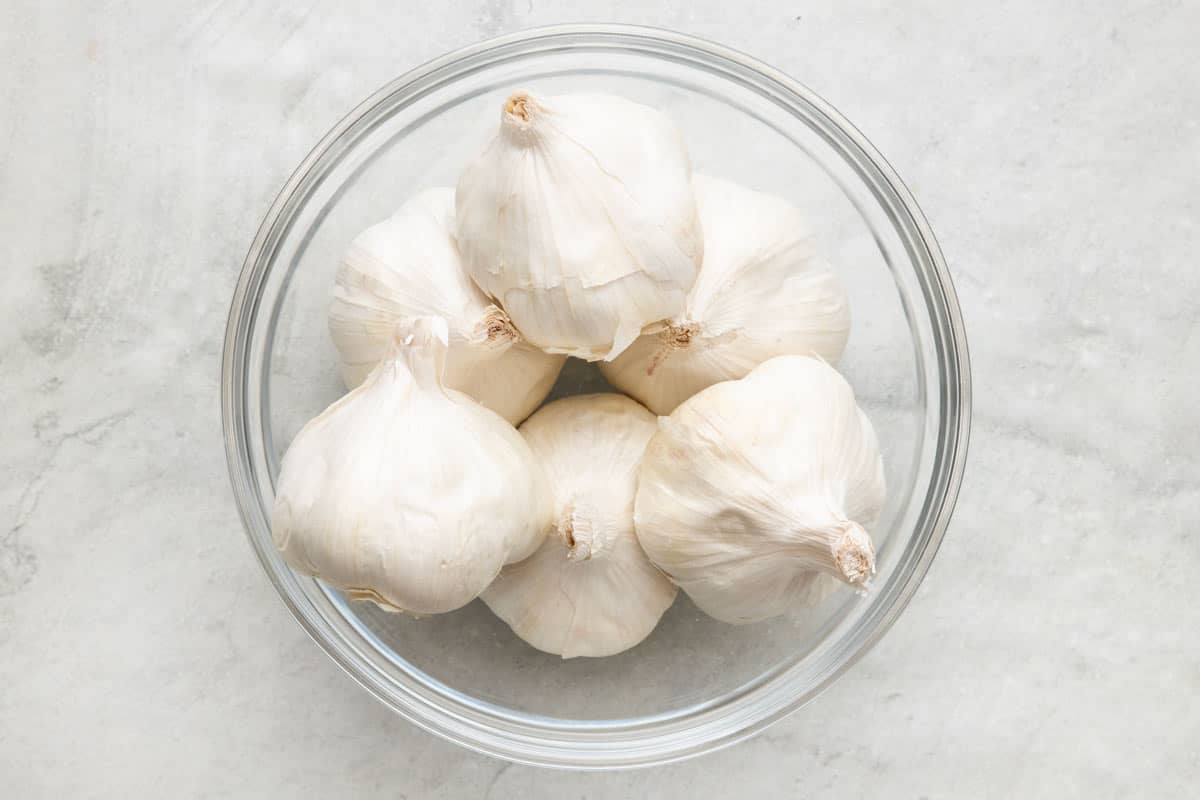
- Garlic: Choose fresh, firm garlic heads, free from mold or sprouting, to make sure you get the best flavor and potency of the homemade garlic powder.
How to Make Garlic Powder





How to Make Garlic Powder from Garlic Cloves
Ingredients
- 6 heads garlic peeled
Instructions
- Preheat the oven to the lowest possible temperature setting, 150°F if possible.
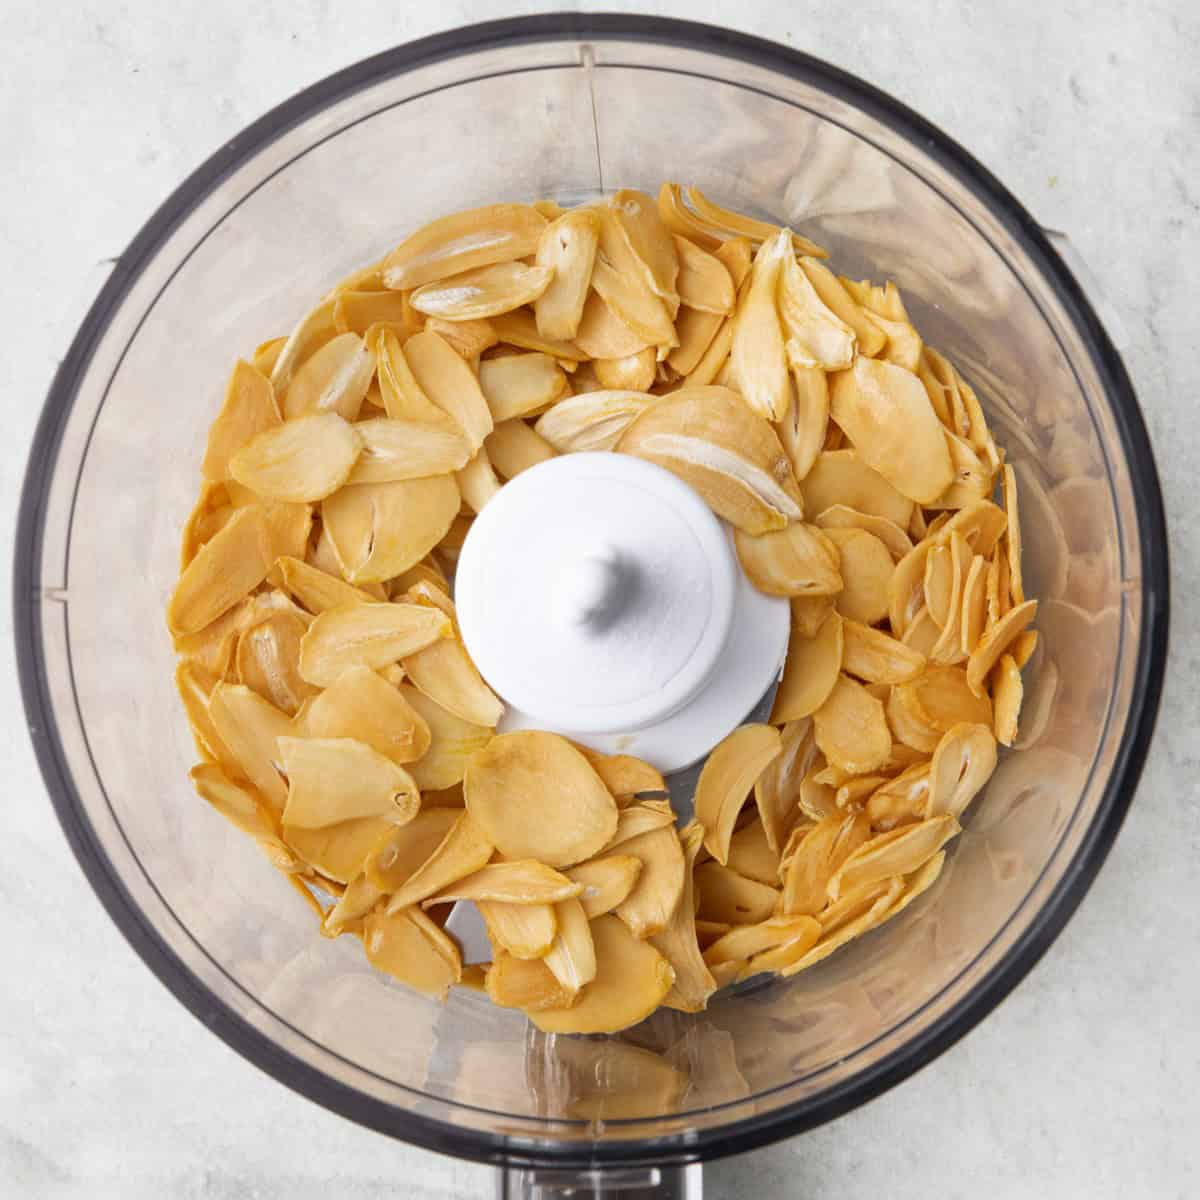
- Slice the peeled garlic cloves thinly into even pieces to ensure even drying. Transfer the garlic slices in a single layer on a baking sheet. Bake in the preheated oven for 2 hours until the garlic is completely dry and crisp and makes a snapping sound when you try to break it.
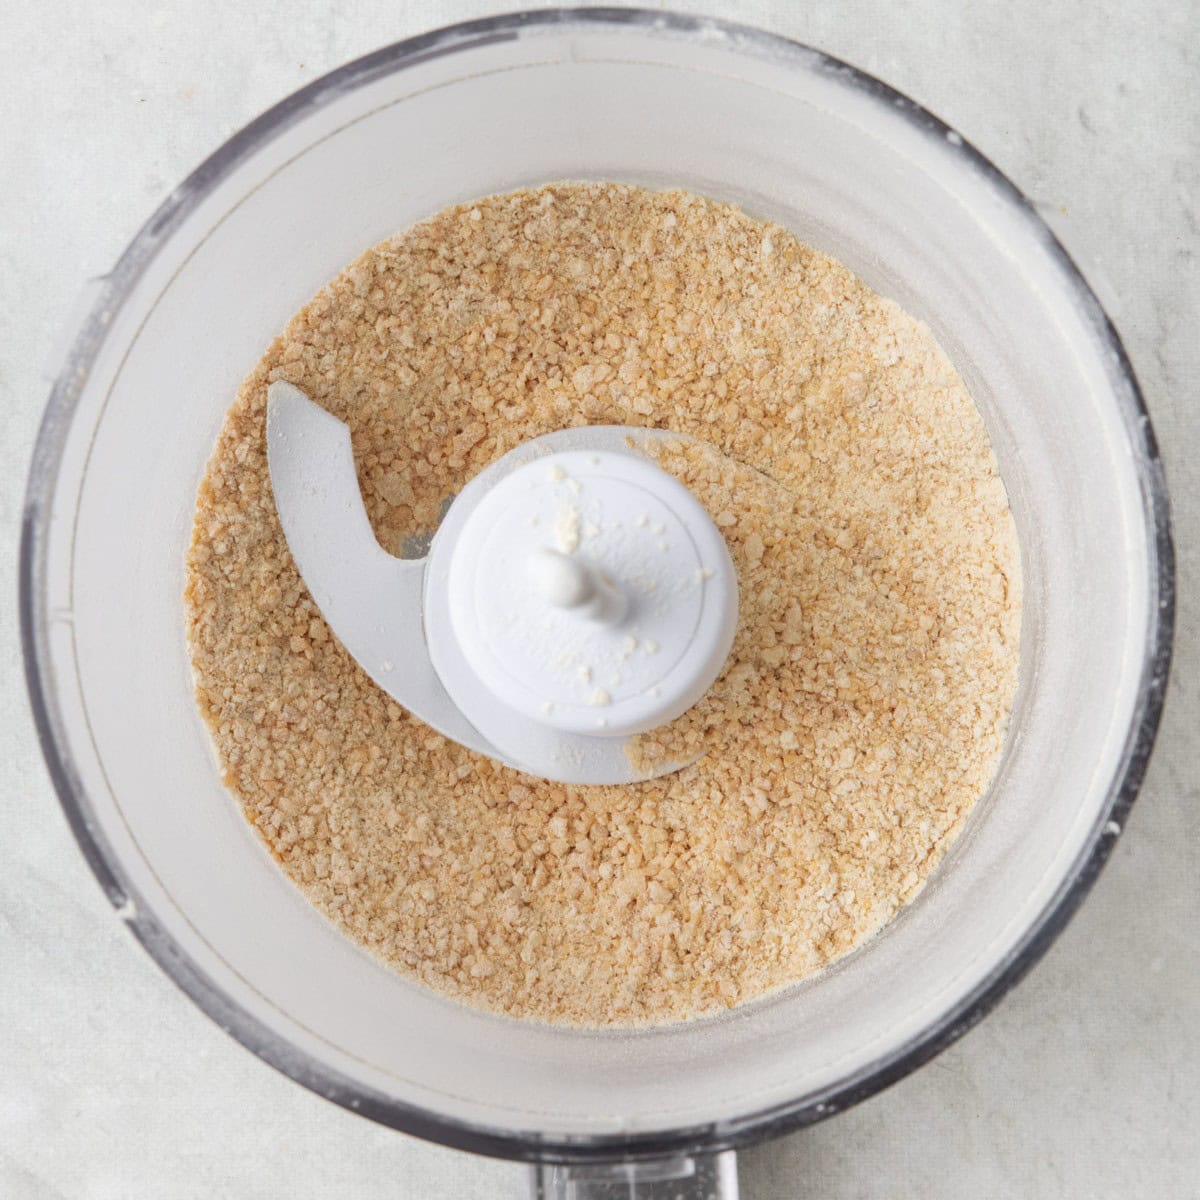
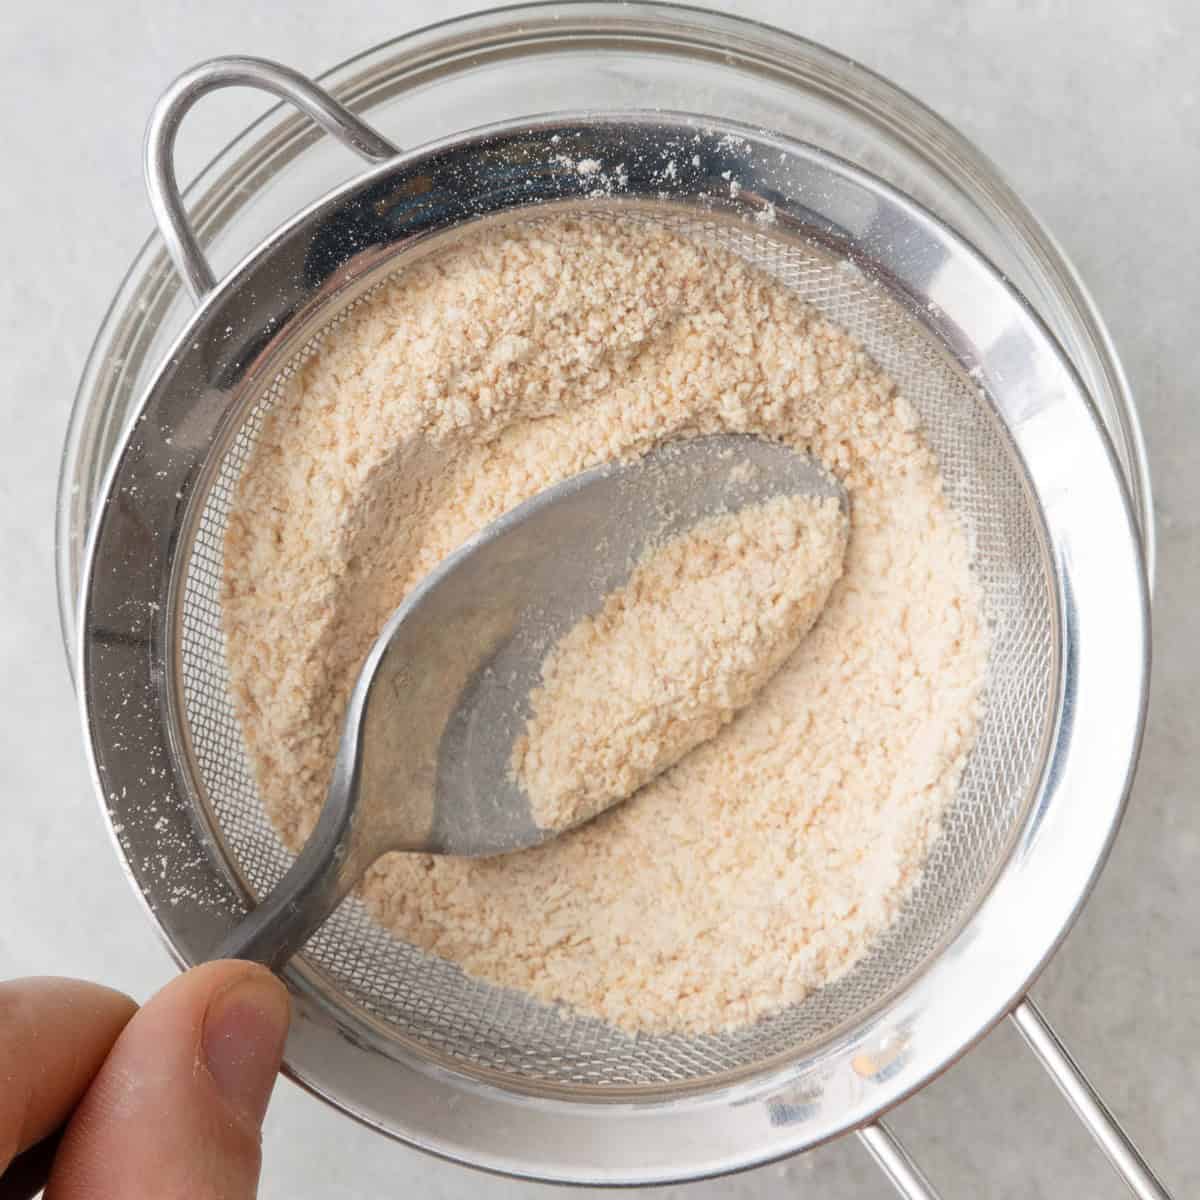
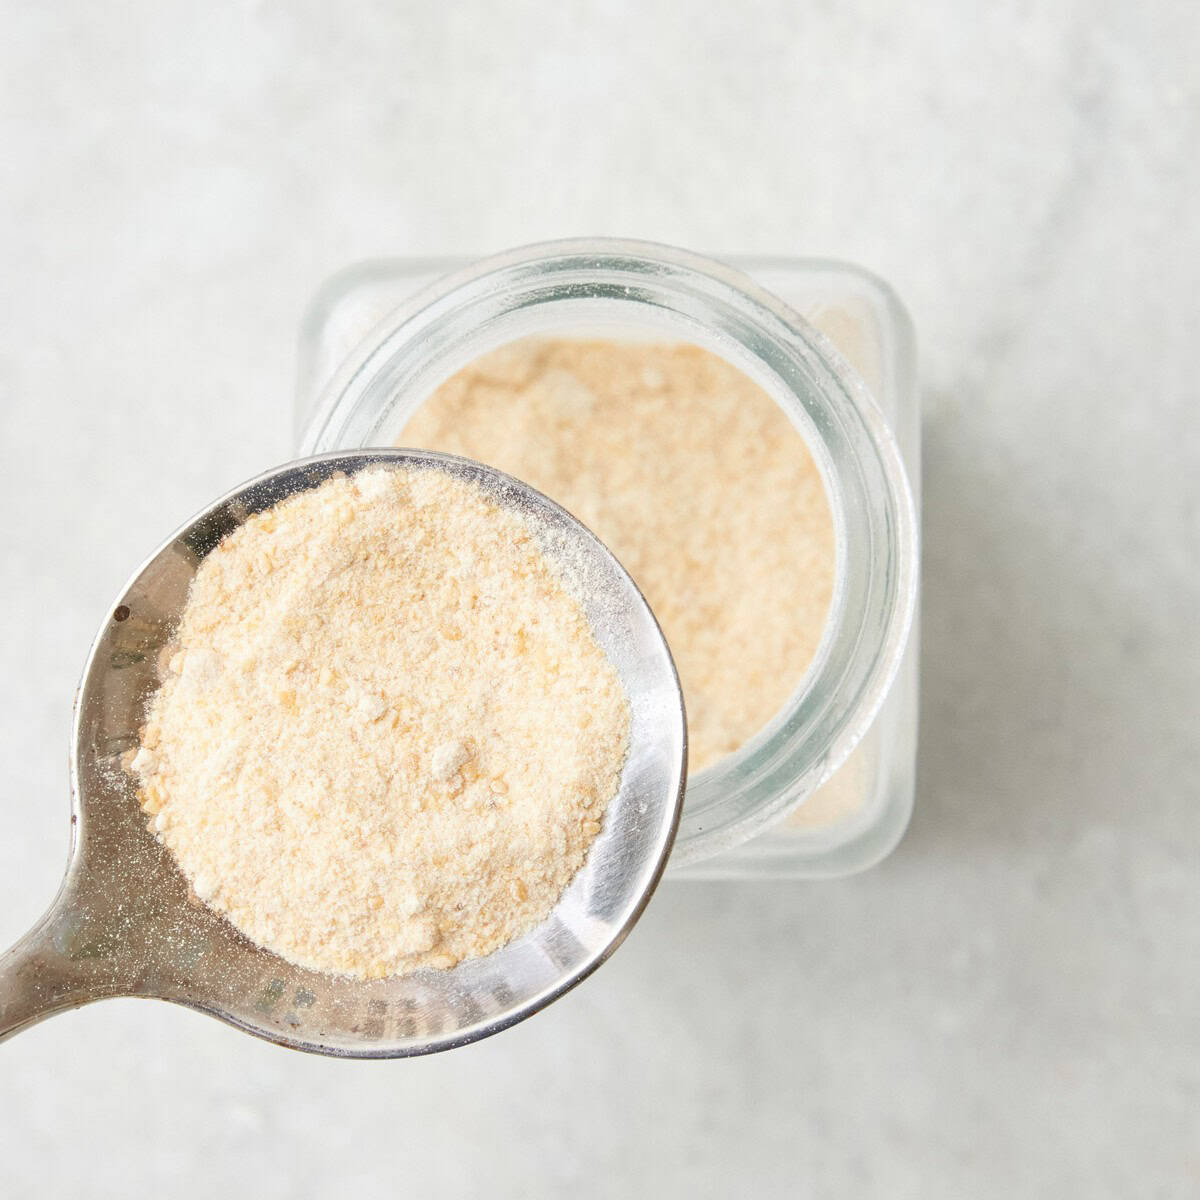
- Allow the garlic to cool completely. Then transfer to a spice grinder or coffee grinder and pulse until the garlic turns into a fine powder. Sift the garlic powder to ensure it’s fine and keep the larger garlic granules for another use.
- Store the garlic powder in an airtight container or spice jar with a teaspoon of uncooked rice to keep the garlic powder from clumping for up to 6 months. You can also mix ¼ teaspoon of salt with the garlic powder to avoid clumping and preserve it longer.
Notes
Nutrition
Nutrition information provided is an estimate. It will vary based on cooking method and specific ingredients used.
If you try this Garlic Powder recipe or any other recipe on Feel Good Foodie, please rate the recipe and leave a comment below! It helps others who are thinking of making the recipe.
Recipe Variations
- Garlic Salt: Quickly whip up homemade garlic salt by using a 1:2 ratio of garlic powder and salt.
- Herbed Garlic: Mix in dried herbs like oregano, basil, or thyme to create a quick Italian seasoning.
- Lemon Garlic Salt: Infuse garlic powder with lemon zest and salt for a citrusy seasoning that’s perfect for seafood, vegetables, and chicken dishes.
- Celery Garlic Salt: Mix garlic powder with celery salt for a delicious blend that goes great with many soups.
Recipe Tips
- Use fresh garlic. Avoid bagged peeled garlic due to its uncertain freshness and potential slimy texture. Go for fresh garlic bulbs for the best homemade garlic powder.
- Dehydrate thoroughly. Ensure the garlic is completely dehydrated to prevent moisture from forming and mold growth.
- Cool the garlic before grinding it. To prevent steam buildup and clumping, make sure to let the dried garlic cool completely before adding it to the processor.
- Shake the jar to break up any clumps. To make sure that your garlic powder remains loose and easy to use, gently shake the jar occasionally to break up any clumps that may have formed.
- Don’t toss the granules. You can regrind them to make more garlic powder or add it to soups, stews, or other dishes and quickly rehydrate them as they absorb moisture.

Homemade Garlic Powder Recipe Ideas
- Grilled Chicken Burger
- Parmesan Crusted Brussel Sprouts
- Air Fryer Cauliflower
- Baked Chicken Nuggets
- Homemade Croutons
FAQs
To keep your garlic powder fresh and clump-free, store it in an airtight container like a spice jar, away from direct sunlight or any source of moisture. When stored properly, garlic powder can last up to a year.
I don’t recommend freezing garlic powder for the same reason as refrigeration. It can cause condensation and introduce moisture into the powder, leading to clumping and loss of flavor and texture.
Not at all! This tutorial shows you how to make garlic powder without a dehydrator. Just set your oven to the lowest setting, dry your peeled and sliced garlic, and grind them into a garlic powder.
When drying garlic for garlic powder, it should become brittle and completely dry. Test a few slices by breaking them between your fingers. If they snap easily and no moisture or softness is left, the garlic is ready for grinding.
If your garlic powder develops clumps, gently break them apart with your fingers or the back of a spoon. You can also regrind the powder to restore its loose texture. In the future, consider adding a teaspoon of rice to absorb moisture and prevent clumping.


Comments
I love the concept, however I’m not sure about the time frame suggested to complete this process. I used a mandolin to slice the garlic into paper thin slices. Right now I’m 3 hours in the oven, convection at 150° they are drying, but not even close to snap crispy yet. Hopeful for a great outcome.
Hi! Sorry to hear that! How long did it end up taking you? I think the difference may be your use of the convection oven so the results will be different.