Homemade Dinner Rolls
Updated Sep 29, 2025
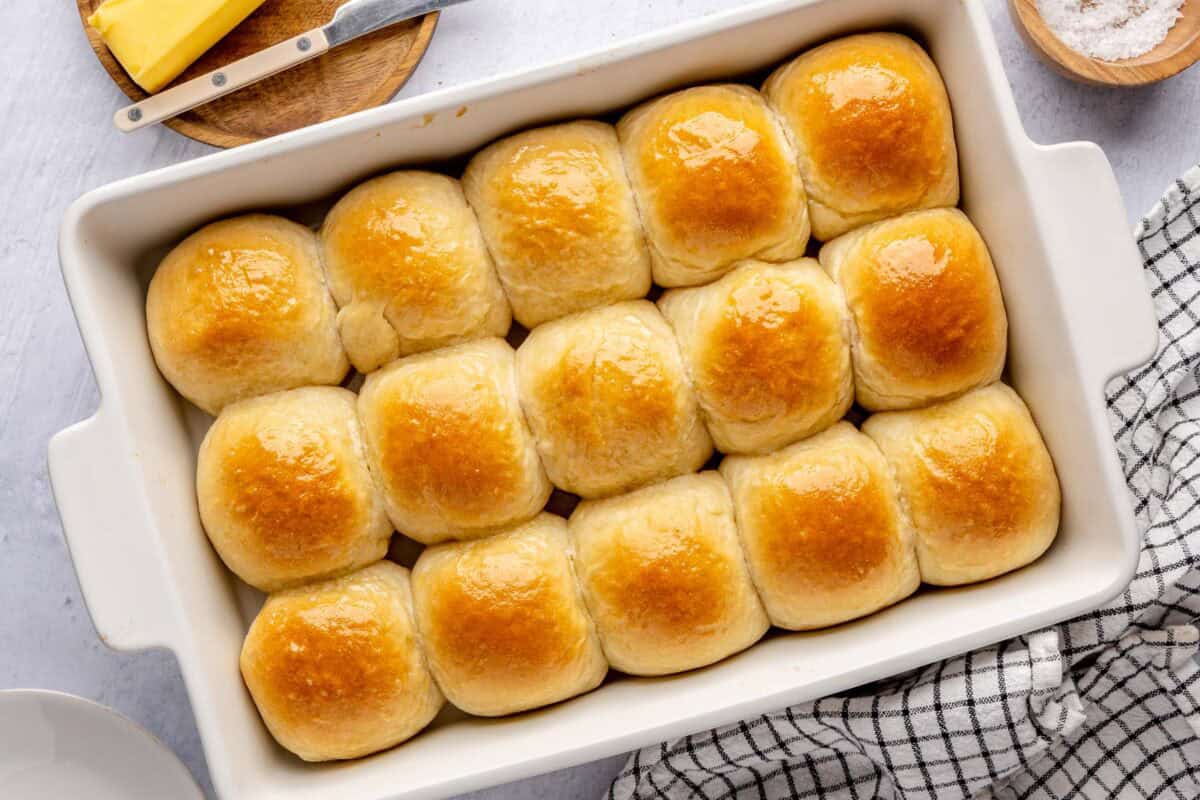
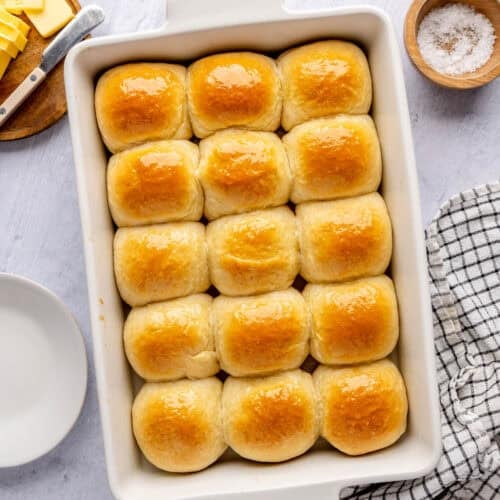
Classic homemade dinner rolls are made from scratch with instant yeast and come out light and fluffy, simple, and easy to make with pantry ingredients.
This post may contain affiliate links. Please read our disclosure policy.

Jump to Section
my homemade dinner rolls are so good

When I first learned how to cook, making anything with yeast was so intimidating. So when I finally worked up the courage to try baking, dinner rolls were the very first bread I made! They turned out pretty good, too (good enough I wanted to keep learning how to bake).
My Homemade Dinner Rolls are what I dreamed of making back then: They’re light, fluffy, and just a little sweet. I don’t think there’s anything better than one of these warm, soft dinner rolls slathered with butter. I want to eat them right now, just writing this!
Happy Cooking!
– Yumna
Homemade Dinner Rolls Ingredients

- Dry ingredients: You’ll need flour, yeast, and salt! Make sure to use instant yeast, which can be mixed with the other dry ingredients and doesn’t need to bloom first. If you want to use active dry yeast, just mix it with the milk and honey to activate the yeast for 10 minutes and then add the other ingredients.
- Wet ingredients: These yeast dinner rolls call for milk, olive oil, an egg, and honey! I use whole milk, but you can use oat or almond milk if you’re dairy-free.
How to Make Homemade Dinner Rolls


Homemade Dinner Roll Recipe
Video
Ingredients
- 3 ½ cups all-purpose flour
- 1 teaspoon salt
- 1 tablespoon instant yeast
- 1 cup whole milk warmed
- 4 tablespoons olive oil plus more for brushing
- 1 large egg
- 2 tablespoons honey
Instructions
- In a large bowl, combine flour, salt and instant yeast. Whisk to evenly distribute everything.
- In a small bowl, combine the milk, olive oil, egg and honey.
- Add wet ingredients to the dry. Stir with a spoon until all of the flour is incorporated. Cover and allow to sit for 10-15 minutes.
- Scrape dough onto a smooth, lightly floured surface. Knead for 8-10 minutes or until smooth and stretchy using a folding motion, adding more flour when needed. The dough is a bit wet so constant motion will help prevent it from sticking.
- Place dough in an oiled bowl or container. Cover with plastic wrap or a tight cover and allow to rise in a warm area until 2.5 times the size, about 90 minutes.
- Scrape dough out onto a lightly floured surface. Cut into 15 even pieces (about 55 grams each).
- Taking one piece at a time, fold the edges into the center, pinch them closed, and then roll the ball in your hands. Place the dough seam side down a 9×13 baking dish and repeat with the remaining pieces.
- Cover the dough balls loosely with plastic wrap. Allow to rise until doubled in size, about 30 minutes.
- While the dough is rising the second time, preheat oven to 375° F. Once doubled in size, uncover the dough and place in the oven on a middle rack.
- Bake for 15-20 minutes until golden brown.
- Remove from the oven and while still hot, brush with olive oil, if desired. Allow to cool for about 10 minutes before enjoying.
Notes
- Pay attention to the temperature of your kitchen. It will drastically impact the rising time of your dough. When it is warmer, the dough rises faster.
- Weigh the rolls. For this dinner roll recipe, I like using a scale to weigh the rolls when I’m making them! That way, they’re all the same size.
- Instead of whole milk, try almond milk, which is what I use in the recipe video! I recommend against coconut milk or rice milk.
Nutrition
Nutrition information provided is an estimate. It will vary based on cooking method and specific ingredients used.
RECIPE VIDEO TUTORIAL
Recipe Variations
- Add herbs. You can try mixing ¼ cup of chopped, fresh herbs into these easy homemade dinner rolls! I think parsley, basil, or chives would be good.
- Make them cheesy. I mean, who can say no to cheese?! Knead ¼ to ½ cup of grated cheddar, parmesan, or mozzarella into the dough!
- Bagel them. Before baking, sprinkle the tops of the quick dinner rolls with everything bagel seasoning! I usually make my own spice blend because it takes just 5 minutes and keeps for a long time!
Recipe Tips
- Don’t skip the resting time after mixing the wet and dry ingredients together. This will make the bread easier to knead and give the flour time to absorb the liquid.
- Use any kind of plant-based milk or regular whole milk will work. However, I recommend against coconut milk or rice milk. Make sure the milk is not too hot (above 115°F) or it will kill the yeast.
- Use a stand mixer if you have one. You can mix and knead the dough in one with a dough hook. You may have to add an additional tbsp of flour and work the dough for up to 15 minutes to get the right consistency with a dough hook!
- Pay attention to the temperature of your kitchen. It will drastically impact the rising time of your dough. When it is warmer, the dough rises faster.
- Weigh the rolls. For this dinner roll recipe, I like using a scale to weigh the rolls when I’m making them! That way, they’re all the same size.
FAQs
There a few reasons why your homemade dinner rolls come out of the oven hard instead of light and fluffy! Check to make sure your yeast isn’t old or expired, which could stop it from rising. You should also make sure the milk isn’t hot when you add it, since heat can kill yeast! (You just want to milk to be warm.) Also, give the dough long enough to rise and avoid overcooking the rolls!


Comments
Finally! A dinner roll recipe that I will use time and time again. I followed the recipe exactly and it came out exactly perfect. I do like to salt and butter rolls at the end. We couldn’t stop eating them! Thank YOU!
Wow, thank you!! So glad you loved it, Cat!
Great recipe, but I am having issues with the texture! The rolls are crusty and hard on the outside, and dense on the inside, not soft and fluffy. The only thing I did different was substitute a half cup of white flour with whole wheat flour, would that change have caused the texture to come out the way it did?
Yes, whole wheat flour make the rolls denser. That is likely the cause!
Hi. Looks easy enough & tasty! Will be trying it tonight. Quick question: Can I omit the honey / sugar altogether? Thank you. Am a big fan, btw.
Thanks, Tina! Since the recipe uses Instant Yeast you don’t need to use sugar or honey, but I do find it helps with the overall final taste. That said, I think they will work out perfectly fine without it!
Hi this is a great recipe. But I had an issue and I forgot to warm up my milk will the dough still be good and how can I fix it ?
Oh no! The milk needs to be warm to activate the yeast, but I have heard that if you add the dough to your oven wrapped in plastic wrap with just the light on (no heat) it can help warm up and activate the yeast. The ideal temperature is between 100ºF and 110ºF, so make sure it doesn’t exceed 115ºF. Good luck! I hope you’re able to salvage them.
I have been baking bread for 65 years, including grinding the grain for the flour. The milk even at room temperature will be okay; it might take a very little more time to rise. The milk can also be warmed in the microwave – lukewarm will do. You can even use the milk at cold temperature – and it will just take longer to rise. Yeast bread dough is not the delicate, finicky thing it has been made out to be. Our pioneer forebears made bread without our moderate conveniences, remember. Cooks using wood-fired ovens used to make bread….. Have I had failures over the years? Yes, of course. However, even ‘failed” homemade bread is good for eating!! Persevere! And enjoy, enjoy!
See All Comments