Apple Tart

Published Aug 19, 2026
Puff pastry apple tart with brown sugar, vanilla, and honeycrisp apples arranged on top. A simple one-crust dessert that comes out looking like a showpiece.
This post may contain affiliate links. Please read our disclosure policy.
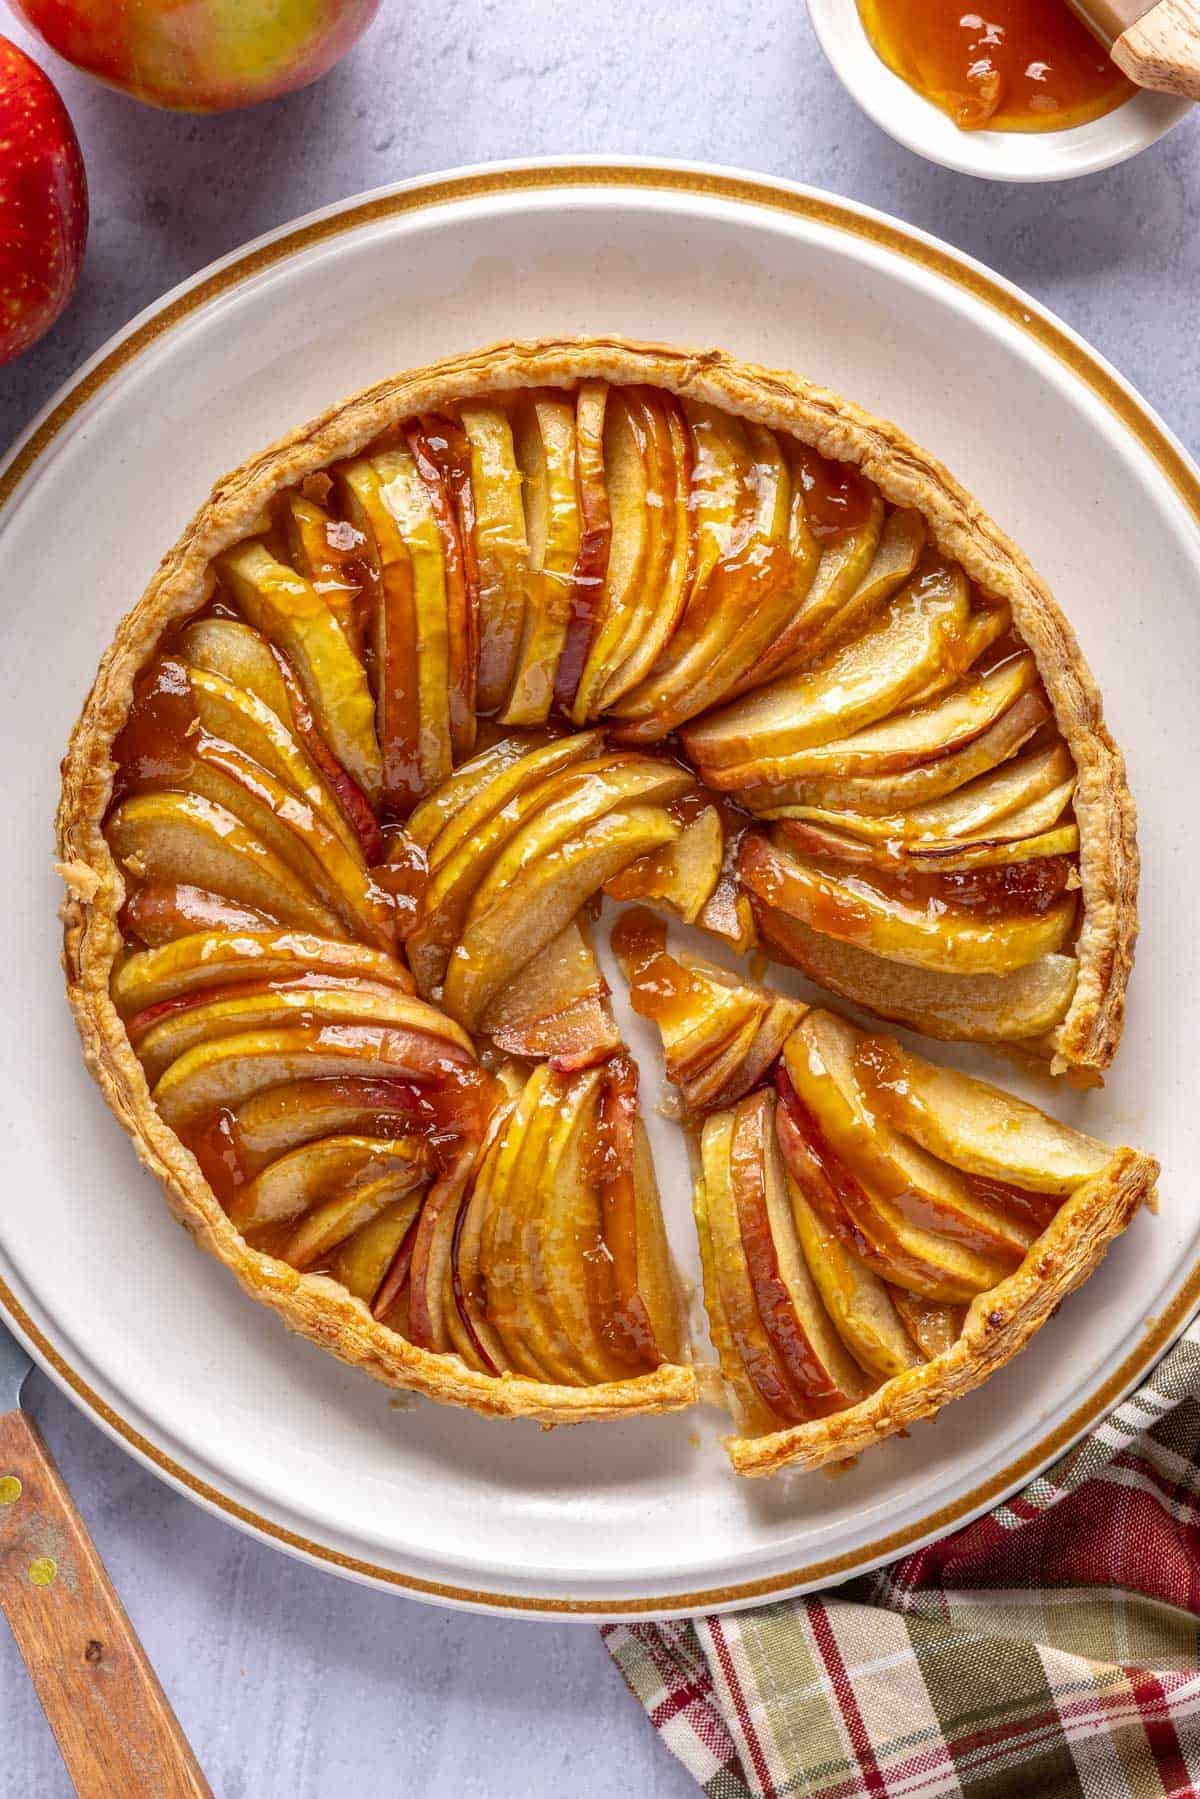
Okay, I’ll say it… an apple tart is the prettiest of all the apple desserts. I know that’s a whole opinion to have, but I stand by it. Apple desserts tend to be pretty beige on beige, and I think that’s why so many of them end up looking kind of blah, but something about fanning the slices out into a pattern here just gets me every time. And laying out the apples is the part I actually look forward to. It’s weirdly relaxing to me.
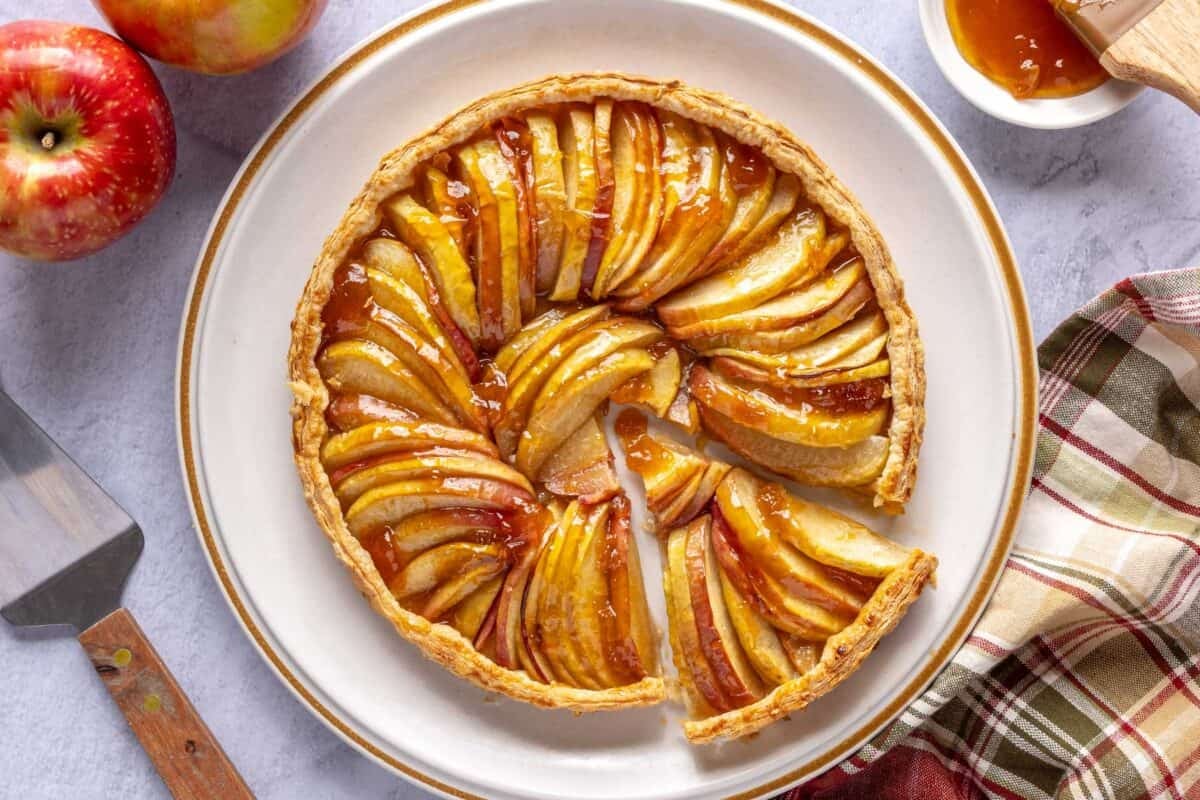
The other reason I love an apple tart is that, to me, it feels about ten times easier than a double-crust apple pie. There’s no rolling out a top and bottom, no crimping, no lattice. It’s one sheet of puff pastry, apples on top, and into the oven!
Recipe Testing Notes

For the past 10 years, I’ve tested every recipe before sharing it with you! These notes give you a peek into the process of developing this apple tart recipe.
Keeping the tart shell from going soggy was my first hurdle. The apples release juice as they bake, and my early tart had a damp, underbaked bottom because of it. Two things fixed it. I poke the pastry all over with a fork so it doesn’t puff up into a dome under the apples, and I brush the bottom with a thin layer of apricot jam, which seals the surface a little so it stays crisper under all that fruit. Chilling the pastry in the fridge until it’s ready to bake helped it come out flaky too.
The apples themselves needed the right cut. Slicing them to an even quarter-inch got them to bake tender at the same rate and made them pliable enough to overlap into a nice design. Honeycrisp held their shape well without falling apart, which is why I reach for them here.
Happy Cooking!
– Yumna
Jump to Section
Apple Tart Ingredients
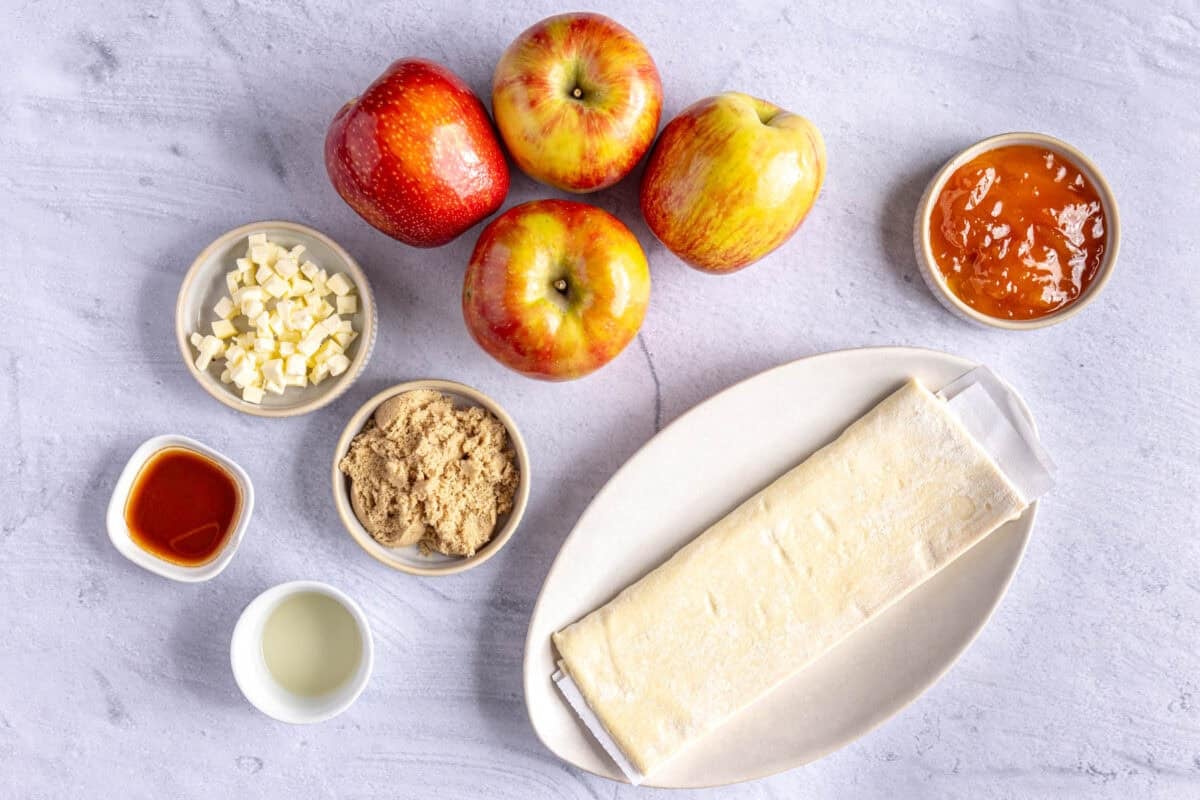
- Apples: Honeycrisp apples hold their shape well while baking and give a nice balance of sweet and tart. Slice them as evenly as possible, about ¼-inch thick, so they bake at the same rate. A mandoline is a great way to get uniform slices. Any crisp baking apple like Pink Lady, Gala, Fuji, or Granny Smith also works for this apple tart.
- Puff pastry: Look for all-butter puff pastry for the best flavor! Let the pastry thaw according to the package directions so it’s easy to unfold without cracking. If it’s a little smaller than your tart pan, gently roll it out until it’s large enough to press into the sides. If you’re gluten-free, some stores carry gluten-free puff pastry.
- Apricot jam: Melt the jam before brushing it onto the pastry so it spreads evenly. You’ll also brush it over the finished apple tart for that glossy bakery-style finish. If you can’t find apricot jam, apple jam or fig jam would be delicious.
- Butter: I’ve tried both unsalted and salted butter for this apple tart puff pastry, and both work! Cut the butter into very small cubes so it melts evenly over the apples as the tart bakes.
- For the apple tart filling: Light brown sugar, lemon juice, and vanilla coat the apples before baking. Dark brown sugar also works and will add more molasses flavor. Fresh lemon juice works best here instead of bottled.
How to Make an Apple Tart
These step-by-step photos walk you through how to make the best Apple Tart. For the full ingredient list and detailed instructions, head to the recipe card below, or skip straight to the → Apple Tart Recipe
1. Prepare the puff pastry
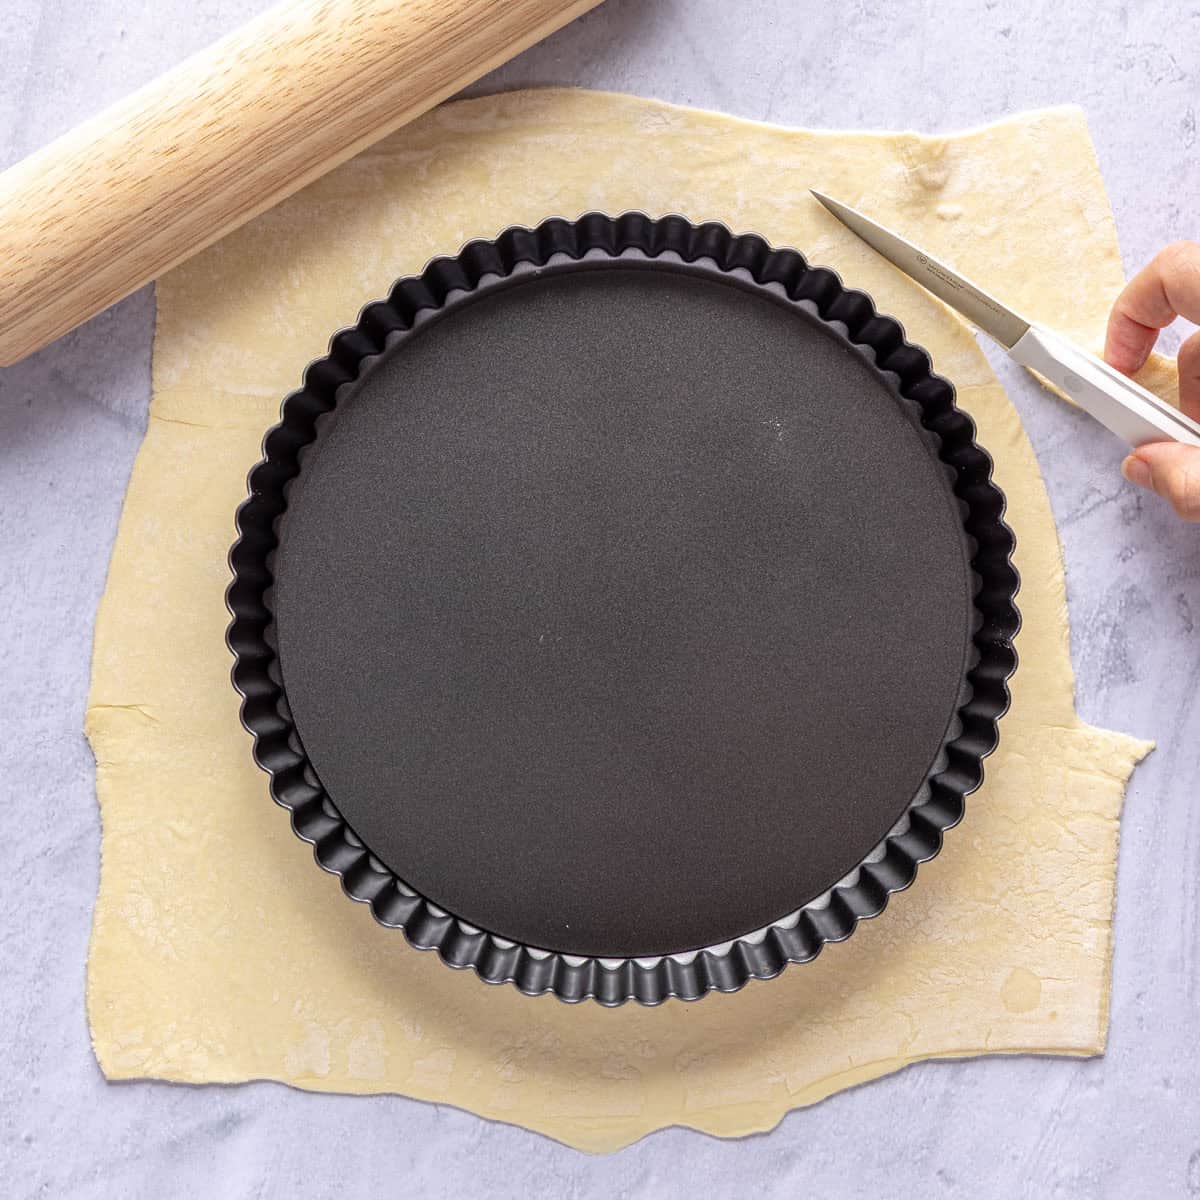
Roll out the puff pastry larger than the tart pan.
2. Brush the puff pastry
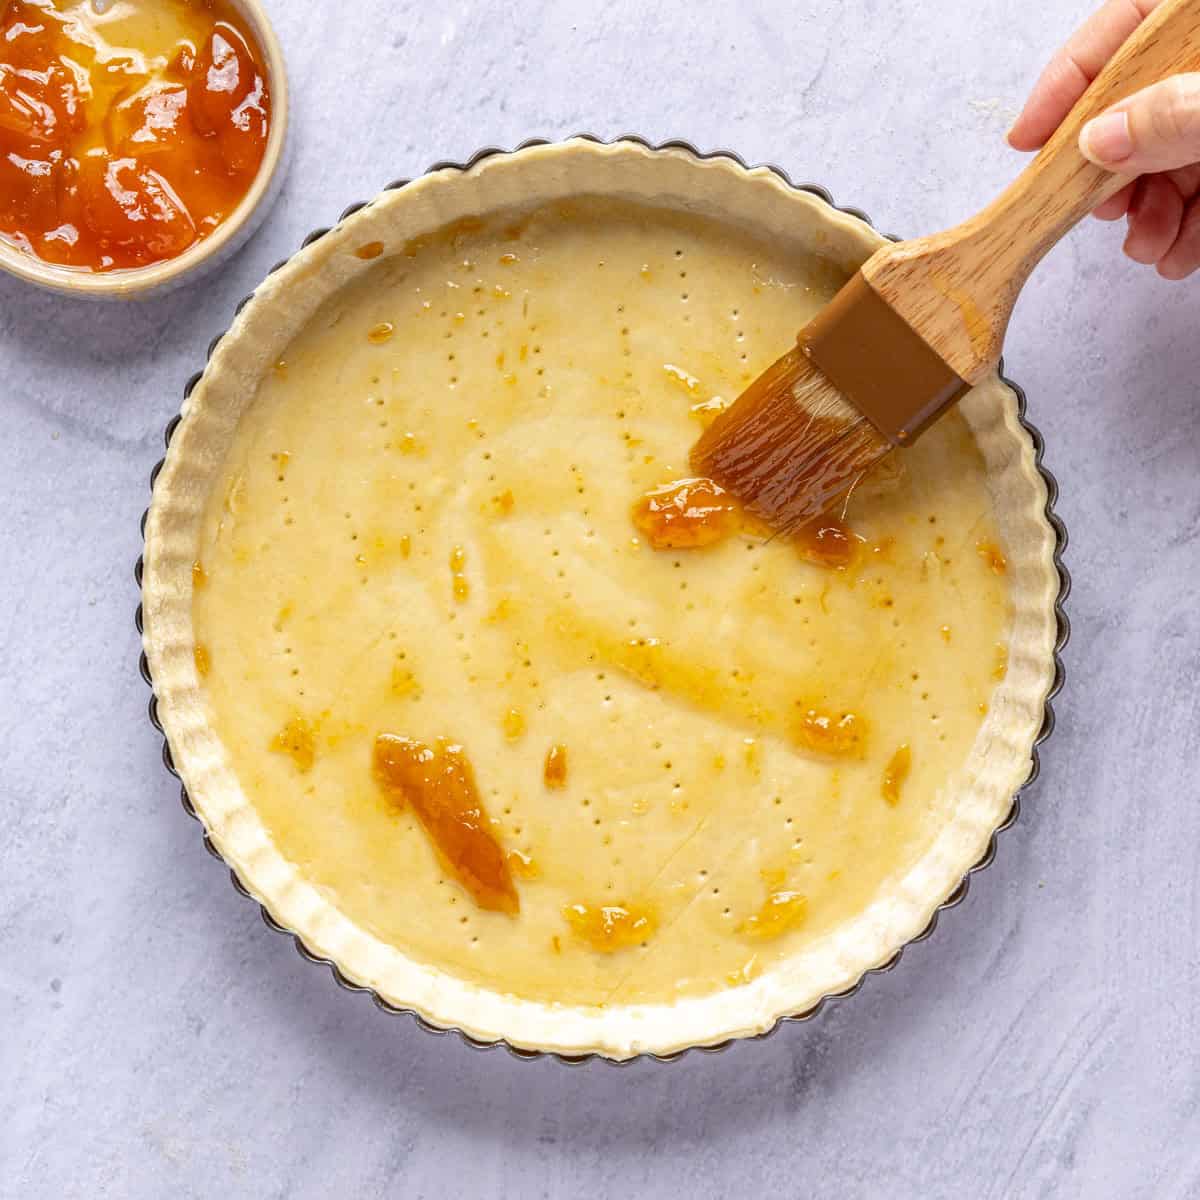
Gently press the pastry into the pan and up the sides and trim away any excess. Prick the bottom all over with a fork, then brush the pastry with some of the melted apricot jam. Place in the fridge until you’re ready to bake.
3. Mix the apple filling
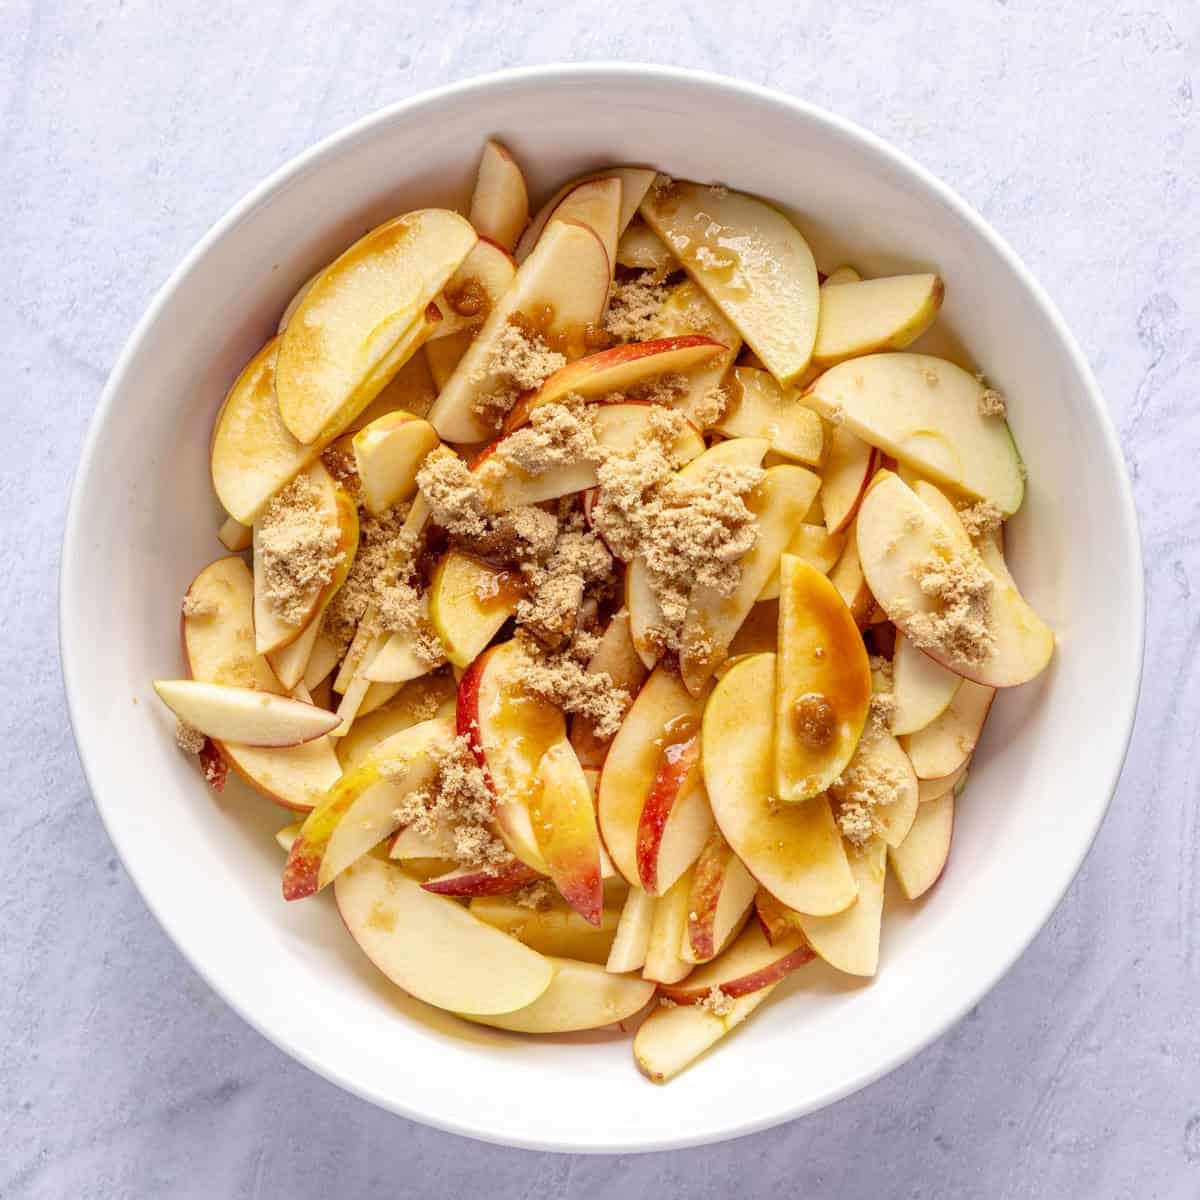
Combine the apple slices with the brown sugar, lemon juice, and vanilla in a large bowl.
4. Coat the apple slices
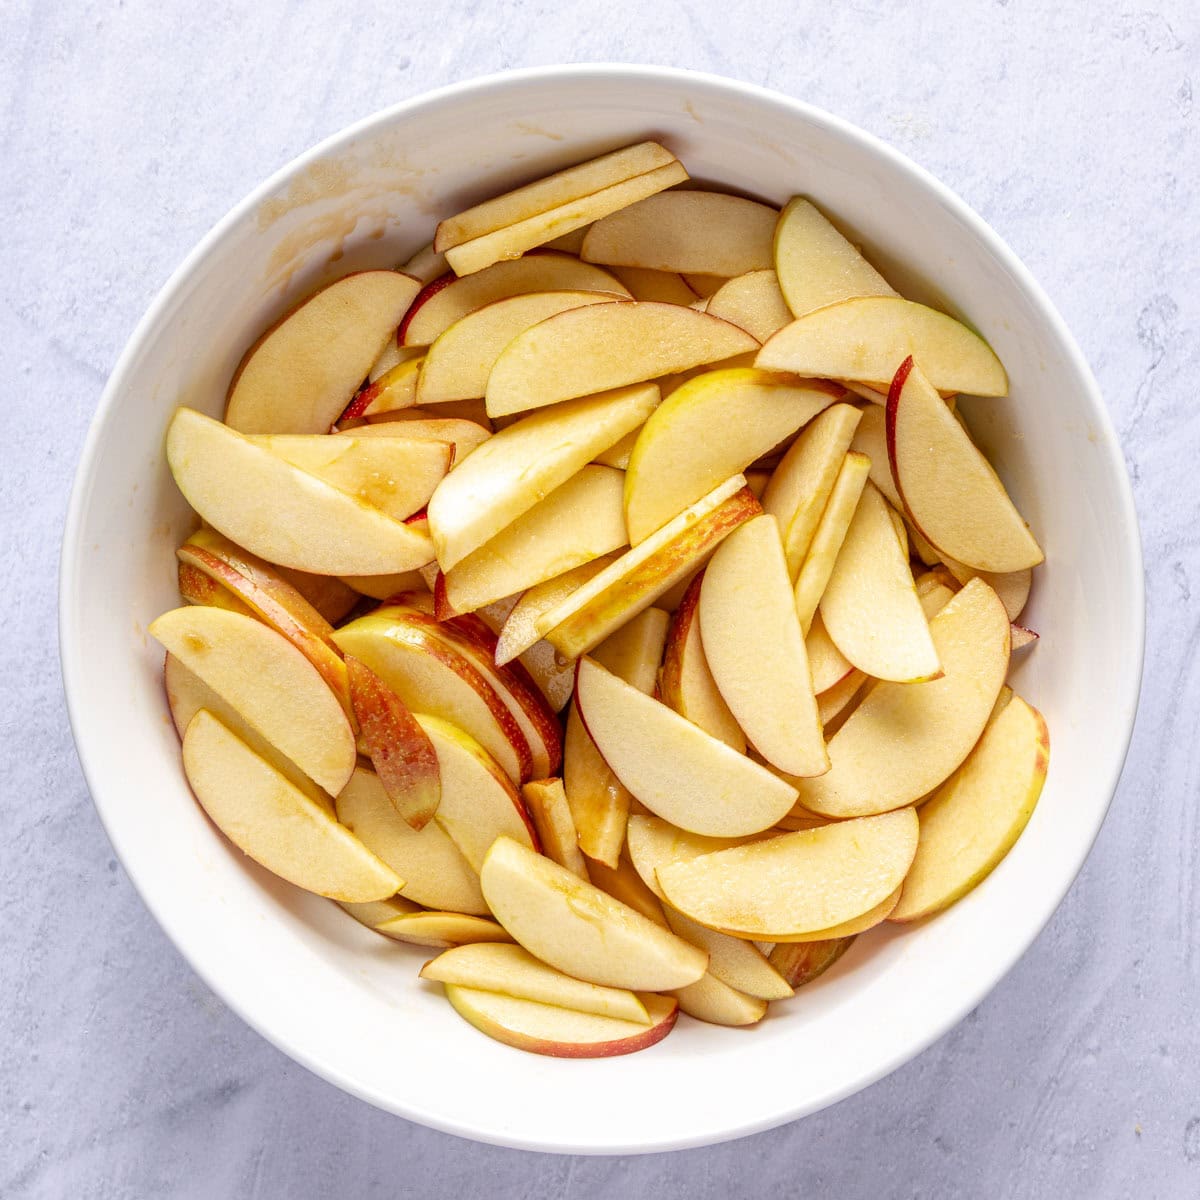
Toss everything together until every slice is evenly coated.
5. Arrange the apples
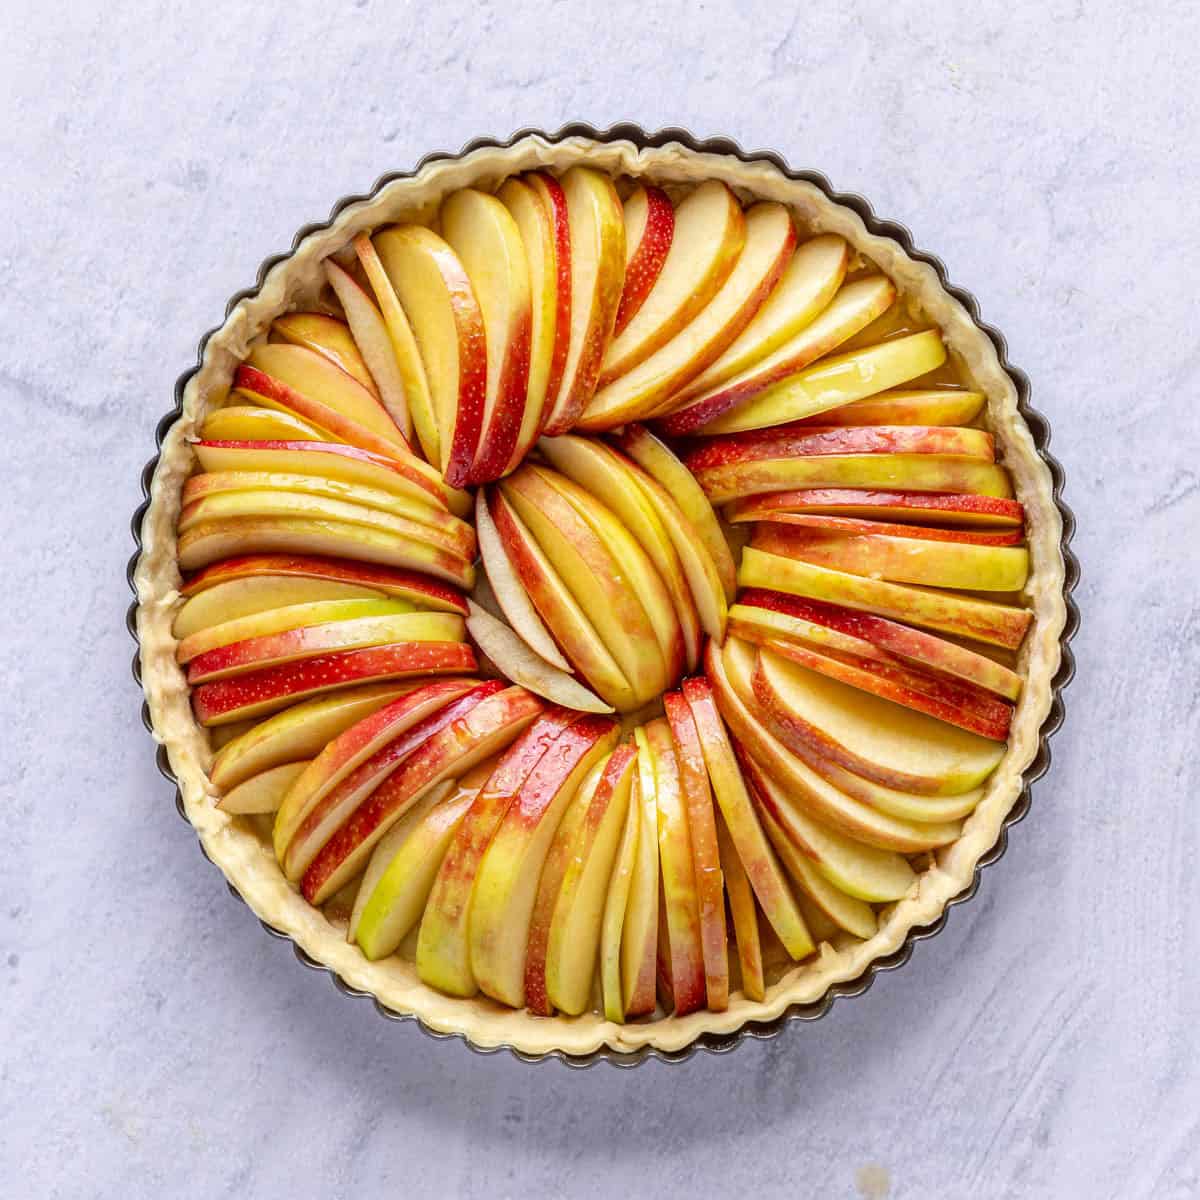
Layer the apple slices around the edge of the puff pastry in a circular pattern, overlapping each piece slightly. Repeat in the center of the tart, then add a second layer of apple slices around the edge and center, arranging them into your desired design. Pour any remaining juices over the apples, then scatter the butter across the top.
6. Bake the apple tart
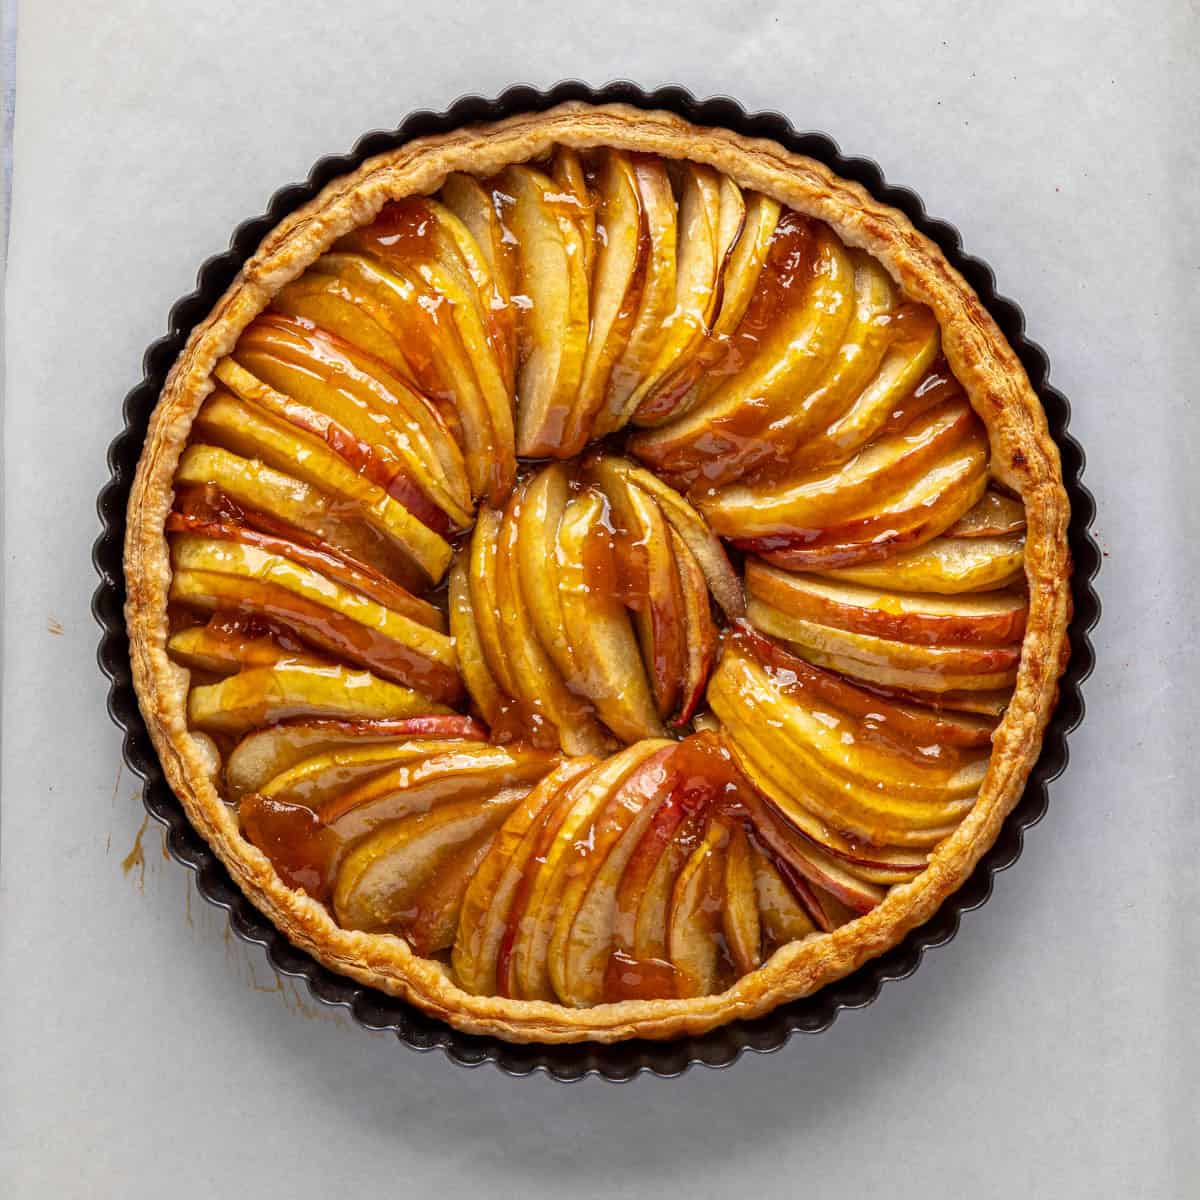
Bake until the pastry is golden and puffed and the apples are tender. Brush with the remaining apricot jam while the apple tart is still warm.
Full Apple Tart Recipe
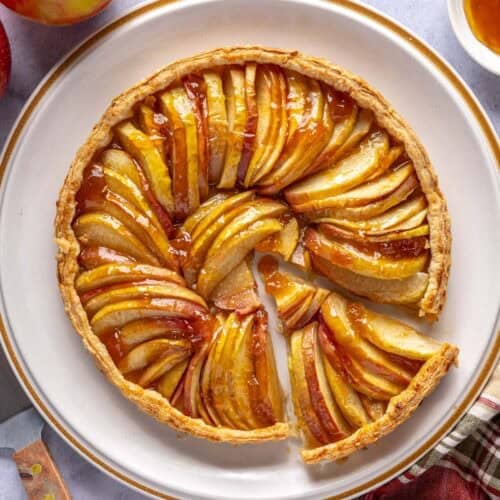
Apple Tart Recipe
Ingredients
- 1 sheet puff pastry
- 3 tablespoons apricot jam melted, divided
- 4 medium apples honeycrisp, cored and sliced into ¼-inch thickness
- 3 tablespoons light brown sugar
- 1 tablespoon lemon juice
- 2 teaspoons vanilla extract
- 2 tablespoons butter cubed small
Instructions
- Preheat the oven to 400°F.
- Roll out the puff pastry larger than a 9-inch tart pan if needed. Gently press the pastry into the pan and up the sides and trim any excess. Poke the bottom of the pastry with a fork, then brush with 1 tablespoon of apricot preserves. Place in the fridge until ready to bake.
- In a large bowl, toss the apple slices with brown sugar, lemon juice, and vanilla until evenly coated.
- Arrange the apple slices around the edge of the puff pastry in a circular pattern, overlapping each piece slightly. Repeat with the center of the tart. Add a second layer of apple slices around the edge and center, arranging them into your desired design.
- Pour any remaining juices over the apples, then dot the top with cubed butter.
- Place the tart pan on a baking sheet and bake for 35–40 minutes, or until the pastry is golden and puffed and the apples are tender. Brush with remaining apricot jam.
Equipment
Notes
Nutrition
Nutrition information provided is an estimate. It will vary based on cooking method and specific ingredients used.
Recipe Variations
- Use pears: Replace half of the apples with 2 ripe but firm pears for a slightly different flavor.
- Top with candied pecans: Sprinkle some candied pecans on top of the apple tart before serving.
- Top with caramel: Drizzling caramel over the baked apple tart before serving gives you that taste of caramel apples in the fall!
- Make mini apple tarts: If you have individual-sized tart pans, you could make small apple tarts! They’ll cook quicker, so start checking them around 18–20 minutes.
Recipe Tips
- Keep the apples tightly overlapped. The apples shrink slightly as they bake, so starting with tightly packed slices keeps the finished tart looking full.
- Don’t forget to poke the puff pastry with a fork. This is called docking! It lets steam escape as it bakes. Without those small holes, the bottom of the pastry can puff up into large air pockets, making it harder for the apples to sit evenly and stay neatly arranged.
- Chill the assembled tart before baking if the pastry gets warm. Cold puff pastry creates better layers and puffs higher in the oven.
- Bake the tart on a sheet pan. It makes transferring the tart easier and catches any juices that bubble over.
Troubleshooting
You may not have pricked the pastry well enough with a fork, or the apples may have released too much liquid. Brushing the pastry with apricot jam also helps create a barrier between the fruit and the crust.
Puff pastry needs to stay cold before baking. If it warms up too much while assembling the tart, refrigerate it for 15 to 20 minutes before baking.
You probably could, but I wouldn’t recommend it. Tart pans usually have removable bottoms, which makes it easy to pop the tart up and out of the pan and slice it once it’s cooled.
I usually roll out puff pastry larger than the tart pan to make sure I have enough pastry to evenly press up the sides of the pan. To trim the excess, I use a paring knife or scissors to remove most of the crust, then a paring knife to cut the crust level with the top of the tart pan.
I do recommend it! It may be tempting to just throw all of the apples into the crust, but arranging them in a circle helps expose more of the apples to the heat of the oven, so they cook faster and more evenly.







Comments
This looks fabulous! Just to confirm, there are 2 identical layers of apples in this tart? ie bottom layer arranged the same way as the top layer, as shown?
I love your cookbook btw! ❤️
Yes, there are two layers of apples, with slightly overlapping slices around the edge and in the center! You can arrange both layers the same way, but the bottom one doesn’t need to look quite as pretty. And thank you, I’m so happy you’re enjoying the cookbook!
Could you use peaches rather than apples?…..or would the pastry get too soggy? Thanks.
Hi! I haven’t tested this tart with peaches, but it should work! I’d use ripe but still firm peaches so they hold their shape and don’t release too much liquid. Slice them about ¼-inch thick, and if they seem especially juicy, pat the slices dry before arranging them on the pastry. I’d also skip pouring any accumulated juices from the bowl over the tart, since peaches tend to release more moisture than apples. The apricot jam on the pastry will help create a little barrier, and baking until the pastry is deeply golden should keep the bottom from getting soggy. Hope you enjoy!