How to Make Natural Easter Egg Dye
Updated Mar 13, 2026
Learn how to make natural Easter egg dye using ingredients like beets, turmeric, onion skins, cabbage, blueberries, vinegar, and baking soda.
This post may contain affiliate links. Please read our disclosure policy.

Jump to Section
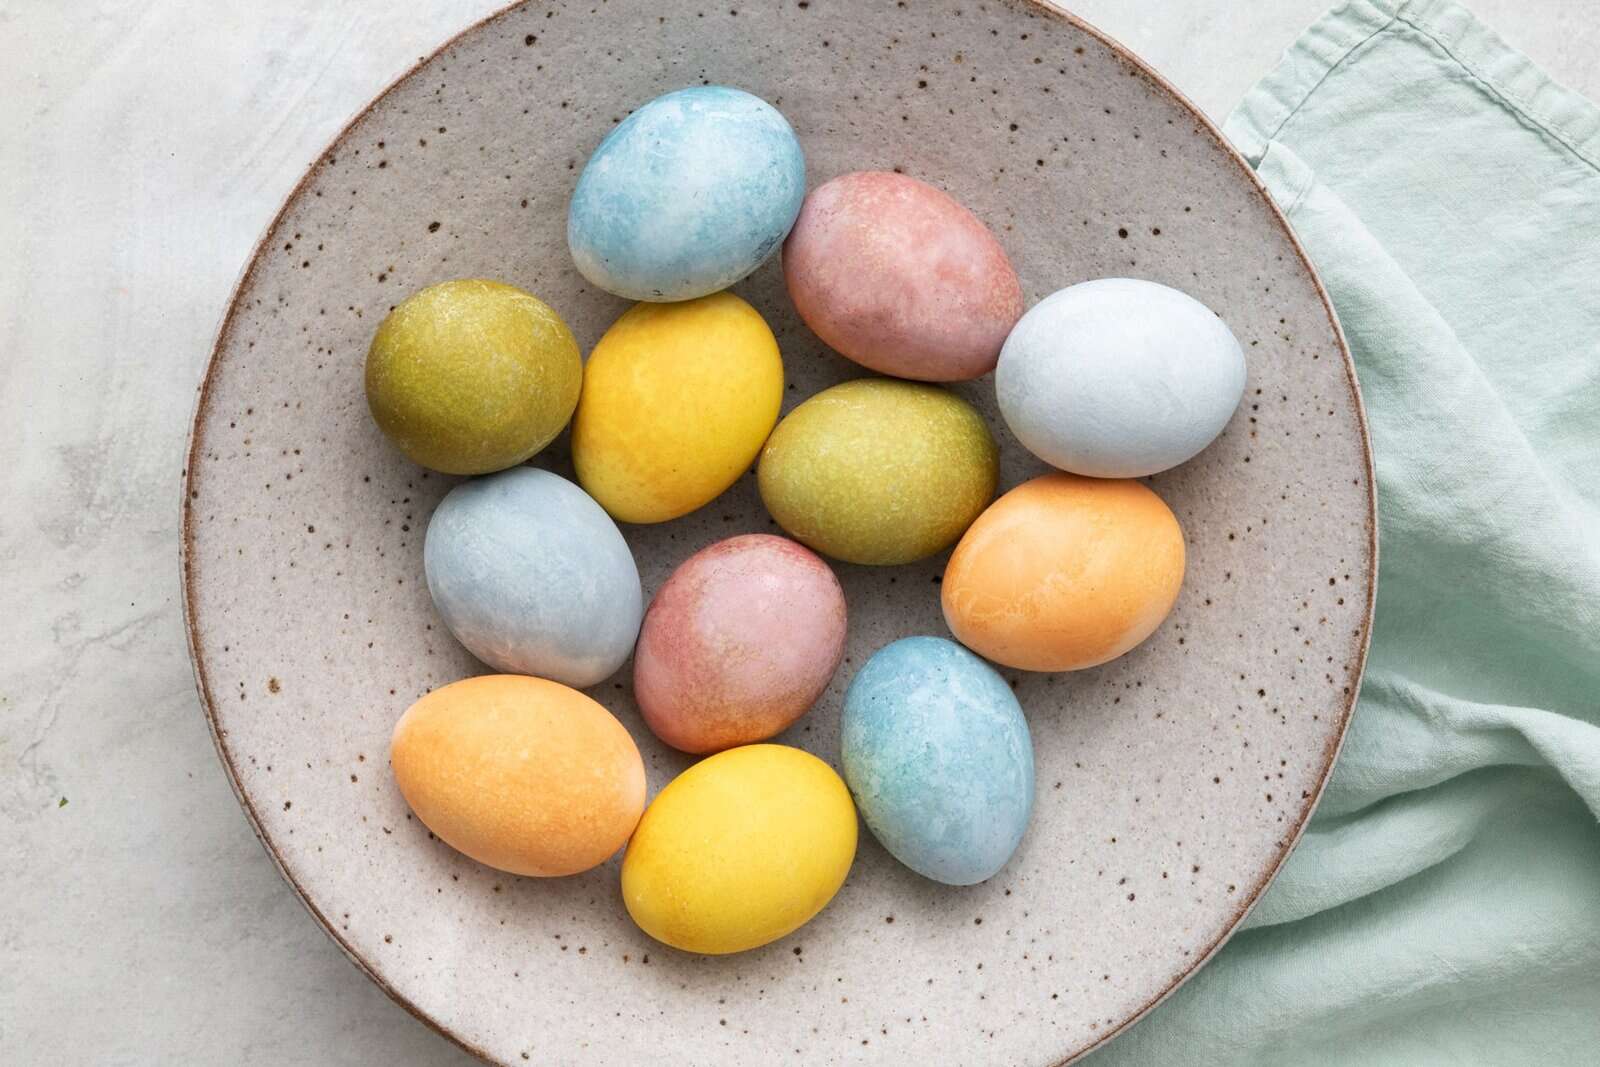
Naturally Dyed Easter Eggs are soo easy to do!

I like dyeing Easter eggs every year, but once we started actually eating the eggs afterward, I wasn’t as excited about using the little dye tablets from the kits. That’s what made me start playing around with natural Easter egg dye made from things like fruit, vegetables, and spices.
For this tutorial on naturally dying Easter eggs, I tested the natural dyes several times and went through multiple batches of eggs to see what actually worked. I wanted to make sure the colors were noticeable and as close as possible to what you’d expect, like beet for pink, turmeric for yellow, onion skins for orange, and cabbage or blueberries for blue tones.
One thing I learned during all that testing is that natural Easter egg dye just doesn’t get as bright as the artificial kind. The colors are softer and a little more muted. But honestly, I’m okay with that. I think they still look really pretty, almost a little rustic, and I like knowing the color came from simple ingredients.
Happy Cooking!
– Yumna
Naturally Dyed Easter Eggs Ingredients
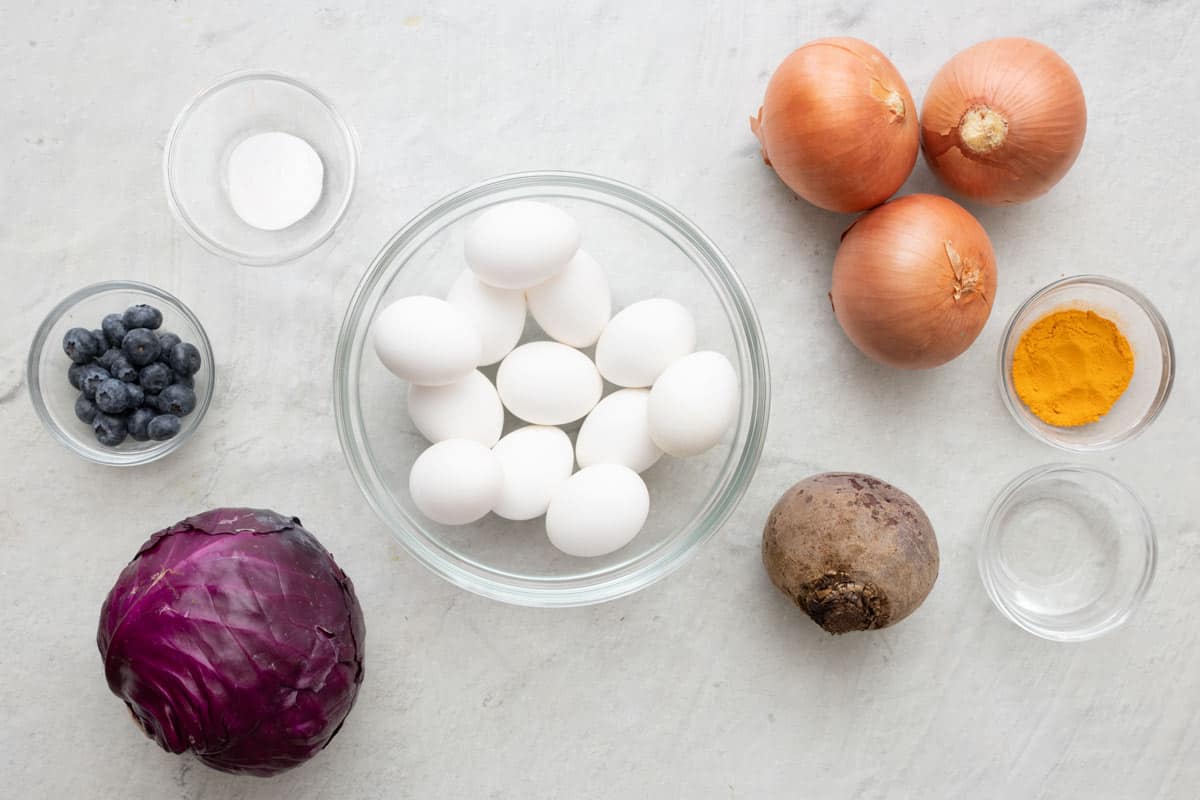
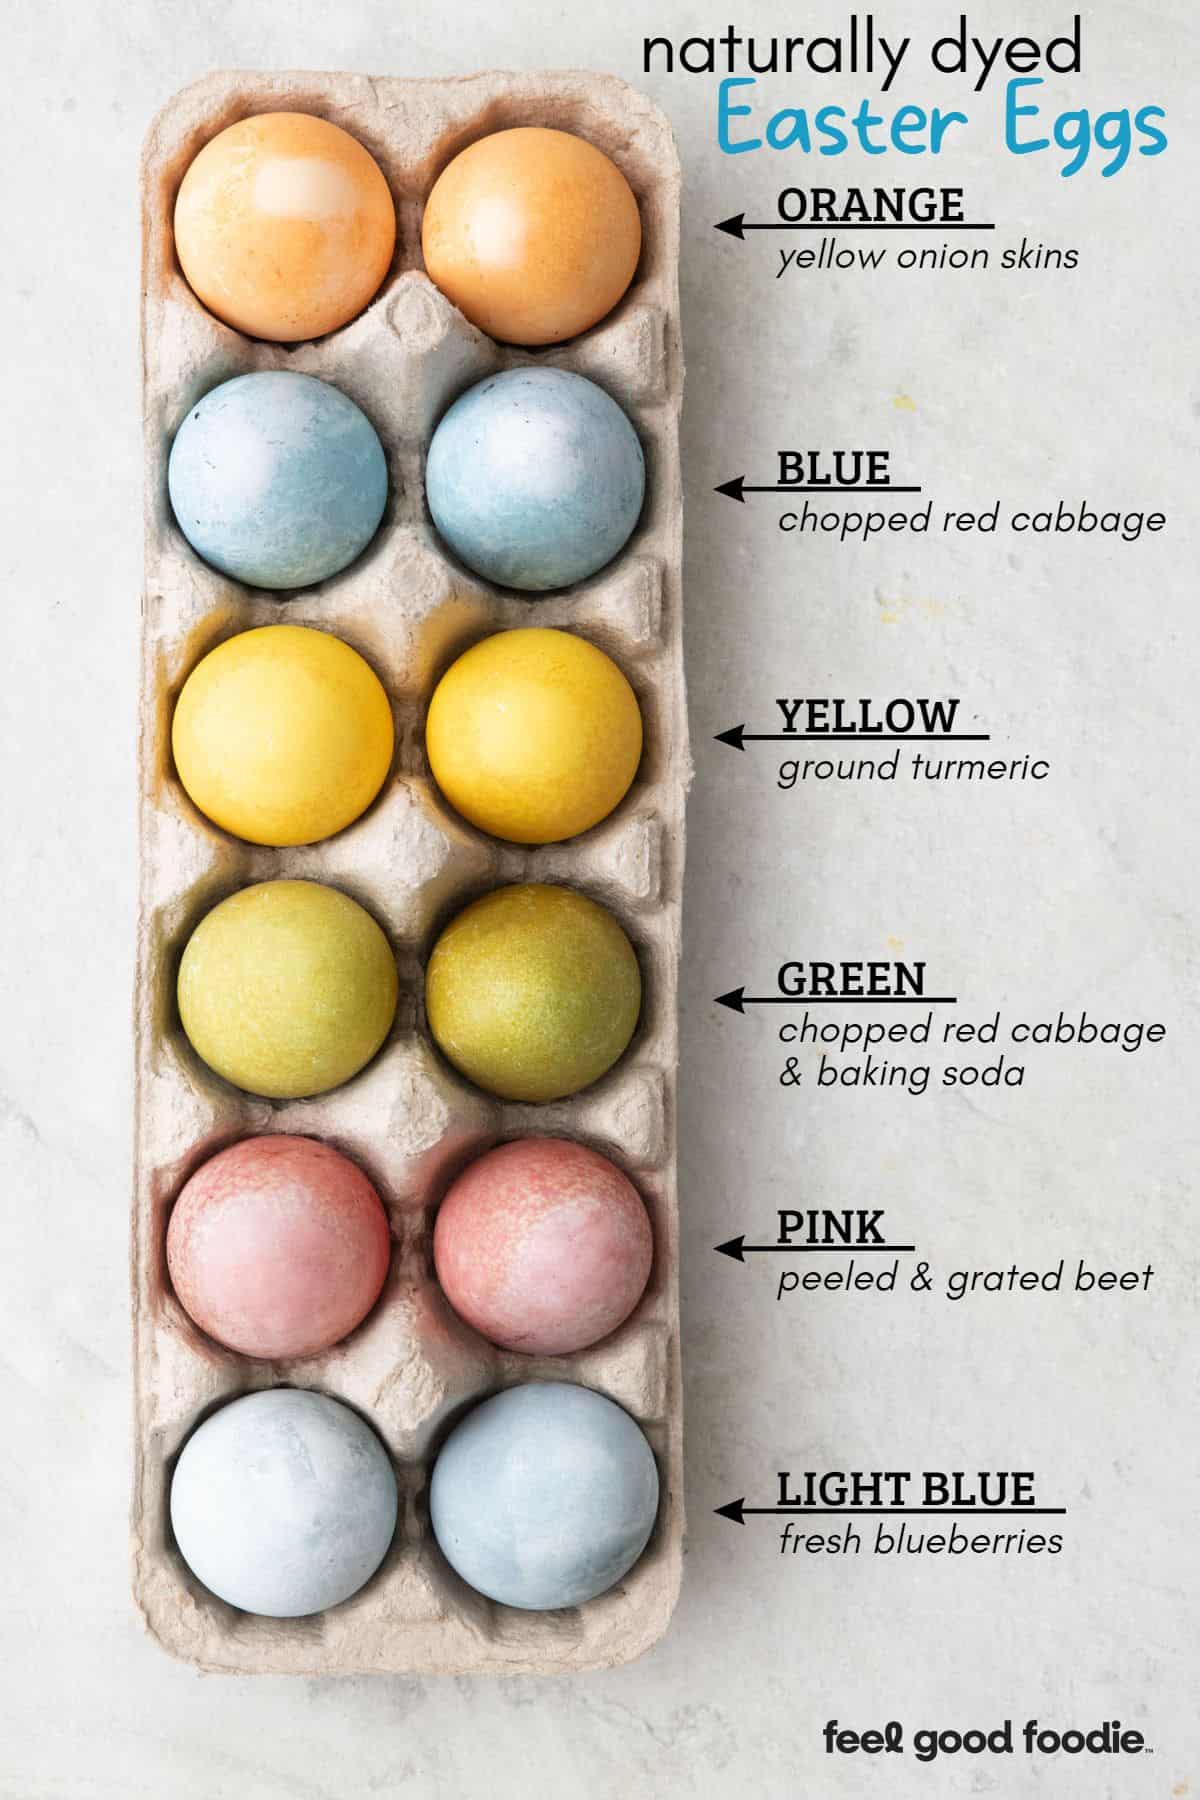
Each color requires hot water with white vinegar or baking soda added to help the colors stick to the shells. Below represents the additional natural ingredients to make dye for easter eggs and whether to add vinegar or baking soda.
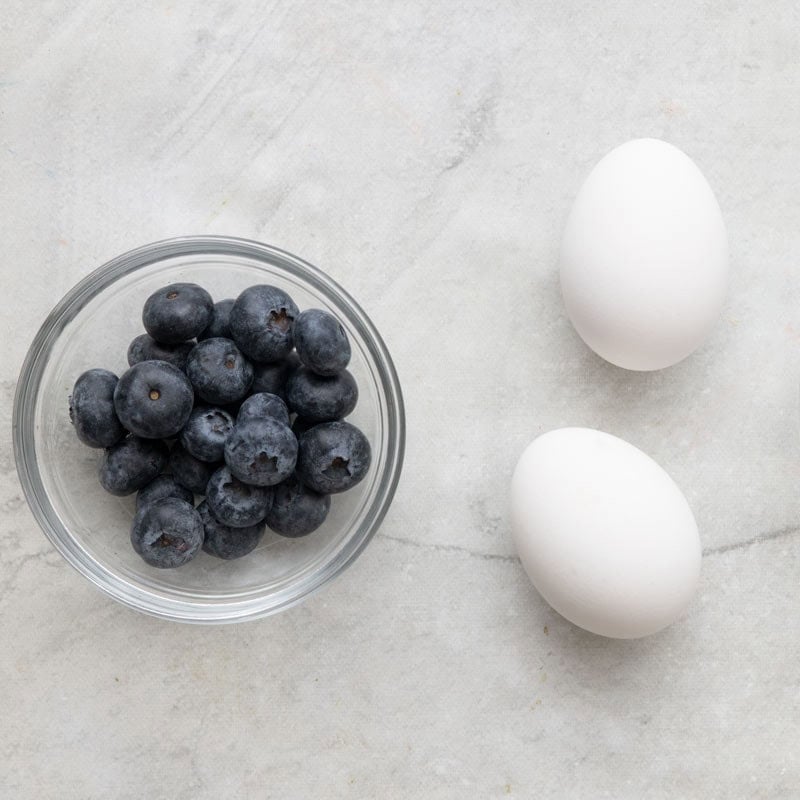
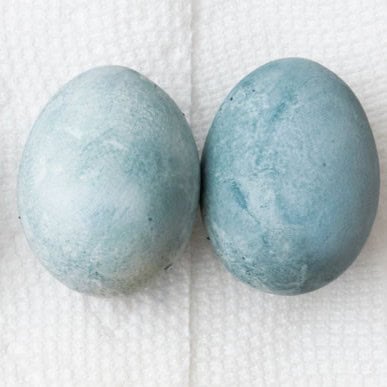
- Light blue: fresh blueberries + vinegar
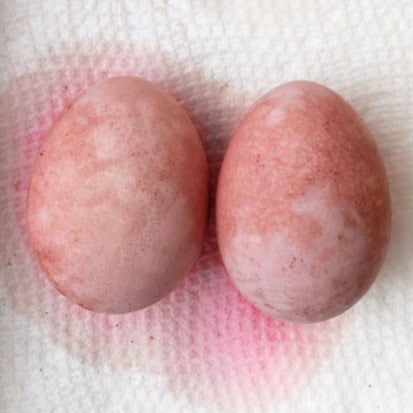
- Pink: peeled and grated beet + vinegar
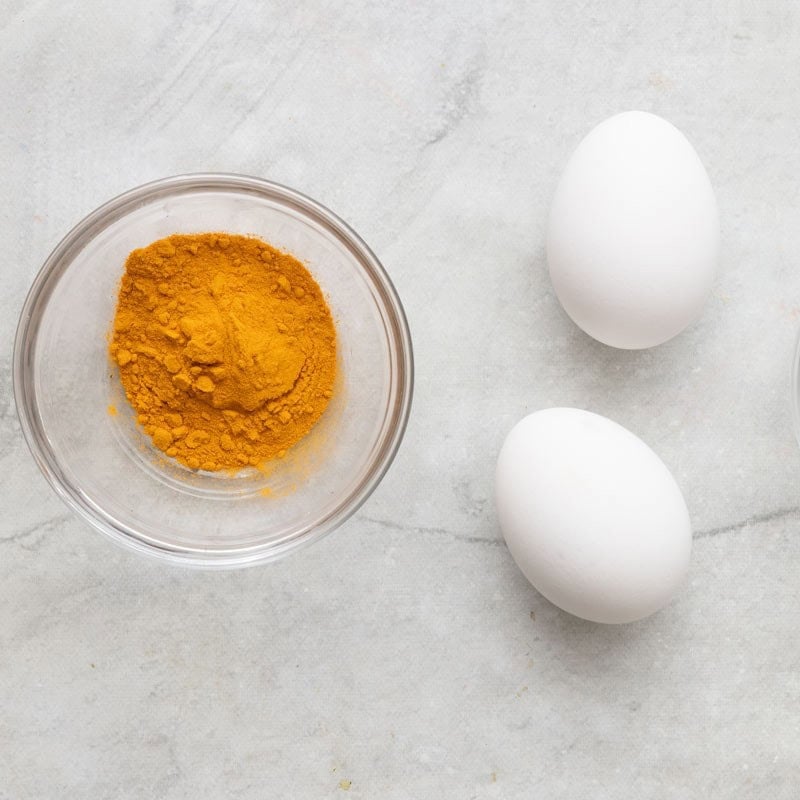
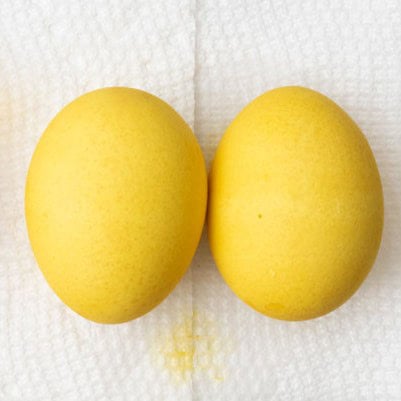
- Yellow: ground turmeric + vinegar
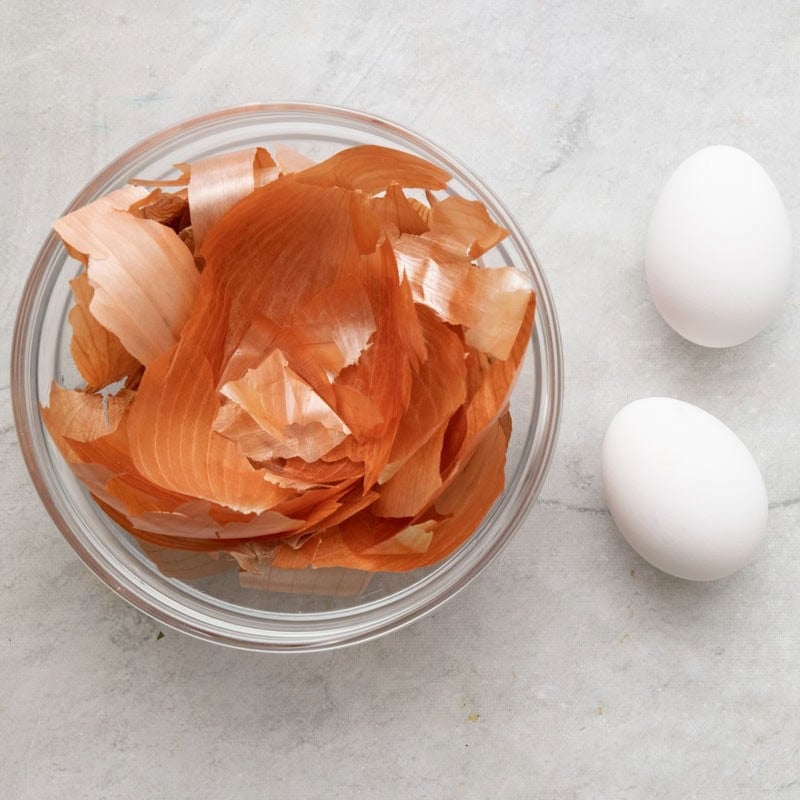
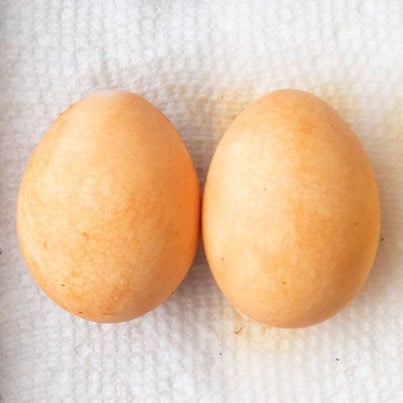
- Orange: yellow onion skins + vinegar
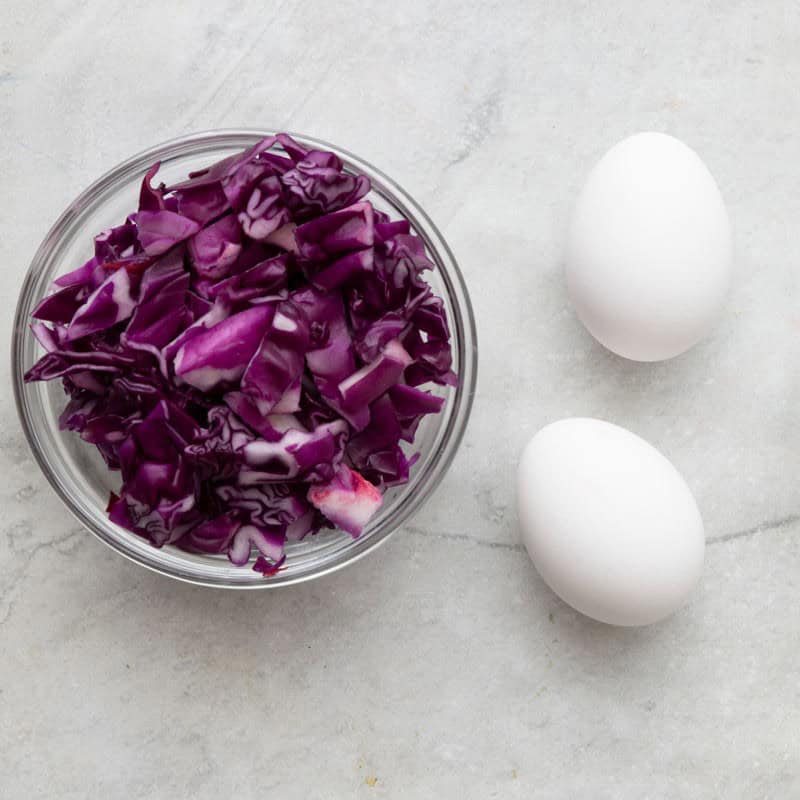
- Blue: chopped red cabbage + vinegar
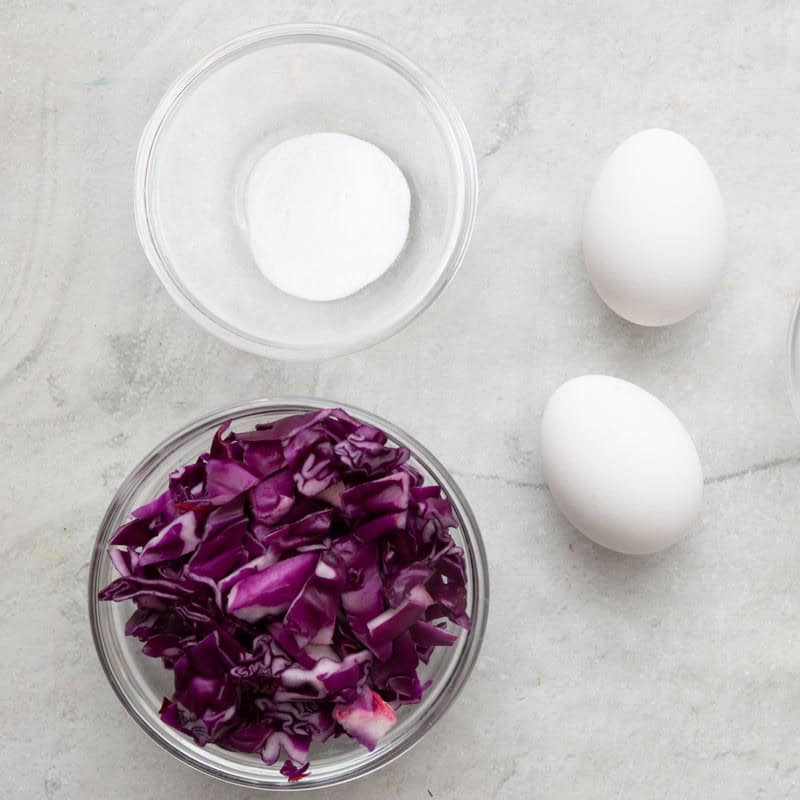
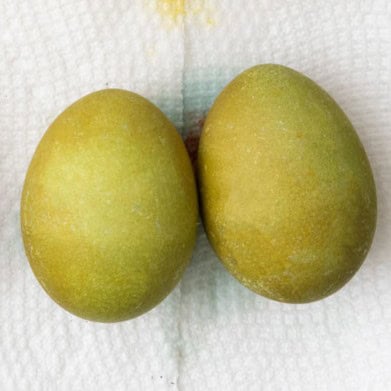
- Green: chopped red cabbage + baking soda (Adding baking soda instead of vinegar shifts the cabbages ph so the dye goes from blue to green.)
How to Make Naturally Dyed Easter Eggs
It’s so easy to make natural food dyes in just a few steps. First, you’ll need hard boiled eggs, I like to make Instant Pot Hard Boiled Eggs or Air Fryer Hard Boiled Eggs, but you can always go traditional with Stove-Top Boiled Eggs, or even make Hard Boiled Eggs in the Oven. While the eggs cook, grab a large-rimmed sheet pan to place the bowls of dyes on and clear a space in the fridge for them to sit in the dye. You’ll also need 2 small pots for boiling ingredients for certain colors. Read on to learn how to naturally dye eggs for Easter!
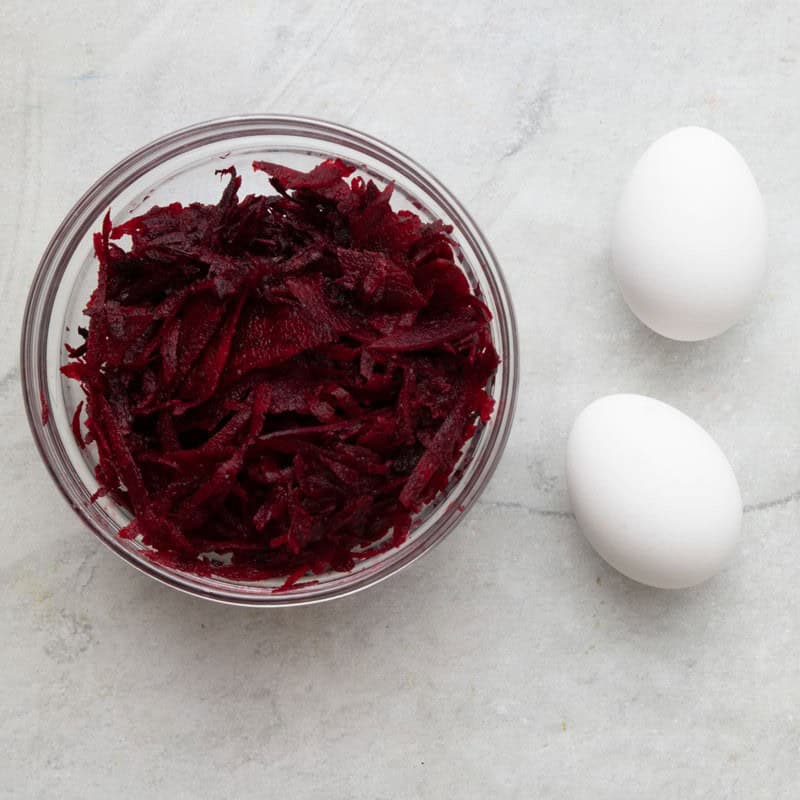
For Pink Eggs
For Orange Eggs
For Yellow Eggs
For Green Eggs
For Light Blue Eggs
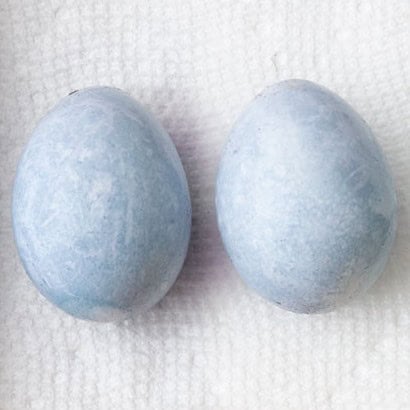
For Blue Eggs

How to Dye Easter Eggs Naturally
Video
Ingredients
- 1 dozen eggs hard-boiled
For Pink:
- 1 small beet peeled and grated
- 2 tablespoons white vinegar
For Orange:
- 3 yellow onions skins only
- 2 tablespoons white vinegar
For Yellow:
- 2 teaspoons turmeric
- 2 tablespoons white vinegar
For Light Blue:
- ¼ cup blueberries smashed
- 2 tablespoons white vinegar
For Green:
- 1 cup red cabbage chopped
- 1 tablespoon baking soda
For Blue:
- 1 cup red cabbage chopped
- 2 tablespoons white vinegar
Instructions
For pink, orange, yellow and light blue:
- Bring a large kettle of water to a boil. You may need to refill this and bring it to a boil again depending on the size of your kettle.
- Set out one high-rimmed, heatproof bowl for each color on a rimmed sheet pan. Place the ingredients for each color in separate bowls. Each color will be enough to color 2 to 3 eggs. Mix the ingredients in each bowl to combine the color agent with the vinegar.
- Transfer the cooked eggs to the bowls, adding as many eggs as you want of a specific color to the bowl.
- Cover the eggs with boiling water until they are fully submerged. Let sit for at least 4 hours, or up to overnight in the fridge for deeper hues. Remove eggs from the dye and let dry for a few minutes on a paper-towel lined sheet pan.
For blue and green:
- Add water to a pot with ingredient for each color. Set out a high-rimmed, heatproof bowl for each on a rimmed sheet pan. Bring to a boil and simmer for 10 minutes. Then transfer the water with the ingredient to a bowl before submerging the eggs.
- Remove eggs from the dye and let dry for a few minutes on a paper-towel lined sheet pan.
Equipment
Notes
Nutrition
Nutrition information provided is an estimate. It will vary based on cooking method and specific ingredients used.
Tutorial Tips
- Let the eggs soak. Natural ingredients can take a lot longer to dye than store-bought dyes. The longer you soak them, the more vibrant color they will produce.
- Use vinegar or baking soda. This helps your dye solution color stick to the eggshells.
- Boil some ingredients if needed. A few of the natural dye ingredients may require a quick 10-minute boil to concentrate the dye solution before soaking the eggs, such as blueberries and red cabbage.
- Use tongs to remove the eggs from the dye. To prevent staining your hands, lift the eggs out of the bowl with something like tongs or a slotted spoon.
- Have fun and experiment! Try different ingredients and combinations to create varying color shades and hues.
Recipes to Make with Hard Boiled Eggs
FAQs
It depends on the natural ingredient you are using to dye the eggs, but generally, it is recommended to use hot water to make the dye solution.