This post may contain affiliate links. Please read our disclosure policy.
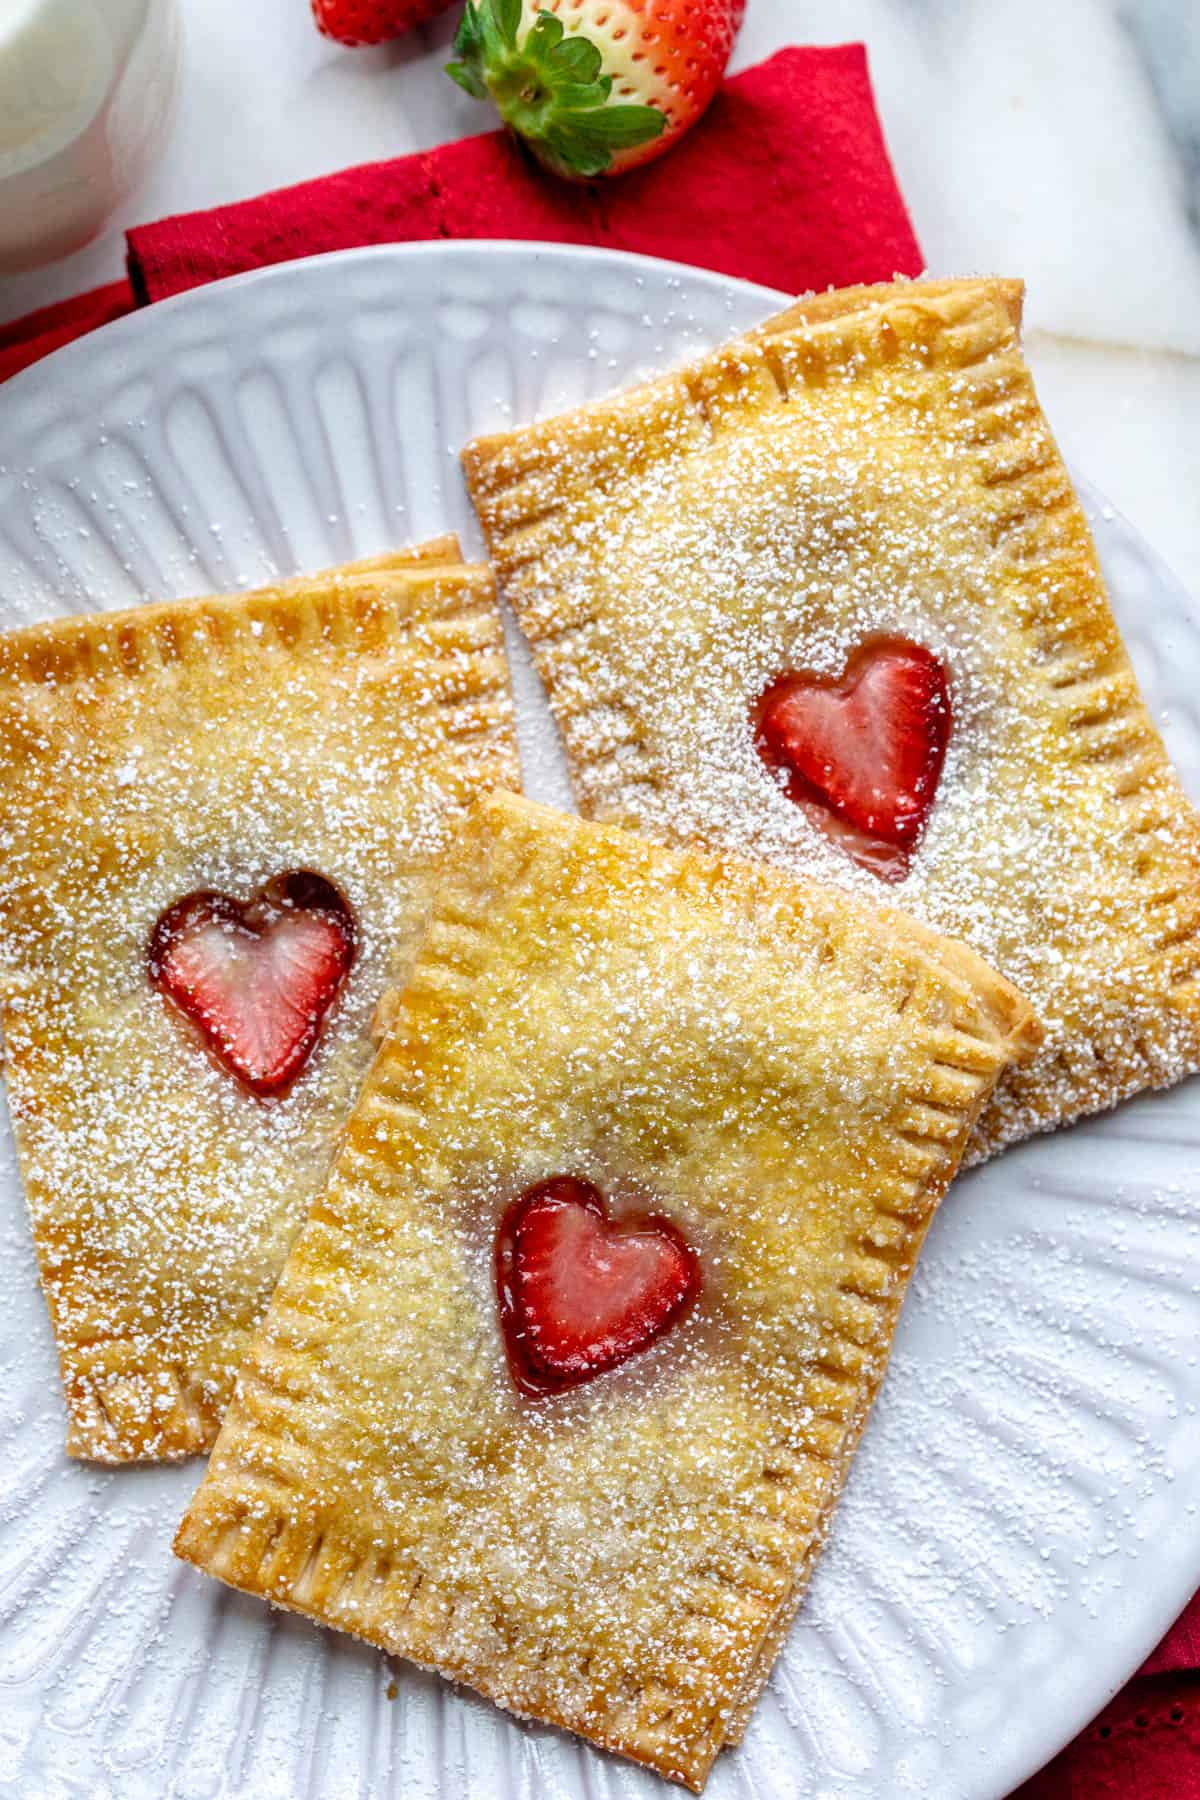
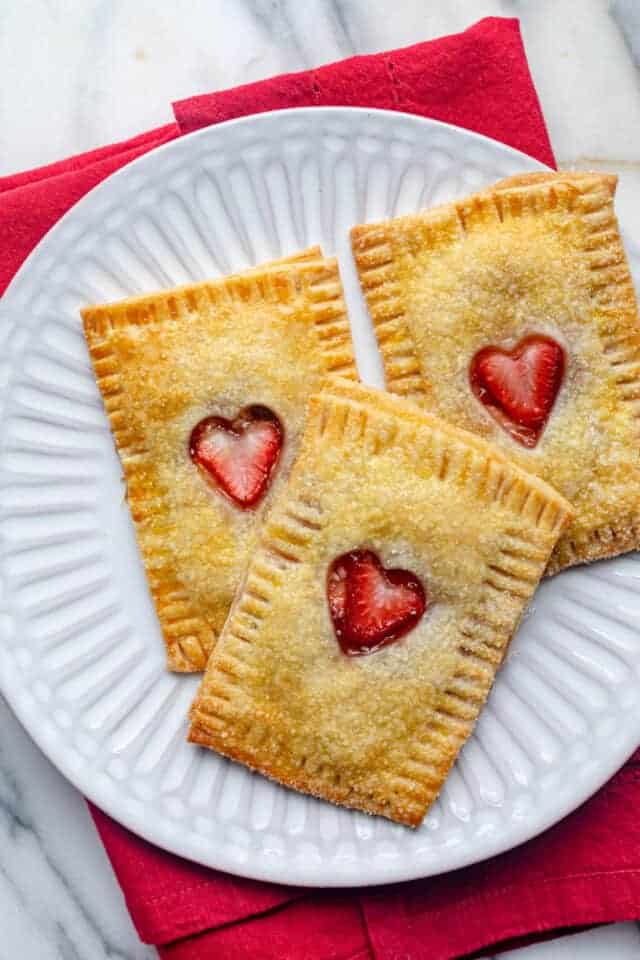
Celebrate Valentine’s Day with your kiddos with these adorable Homemade Pop Tarts with heart cut-outs. You can surprise your family with this sweet breakfast idea that’s easier than you think to make! You’ll just need a few ingredients!
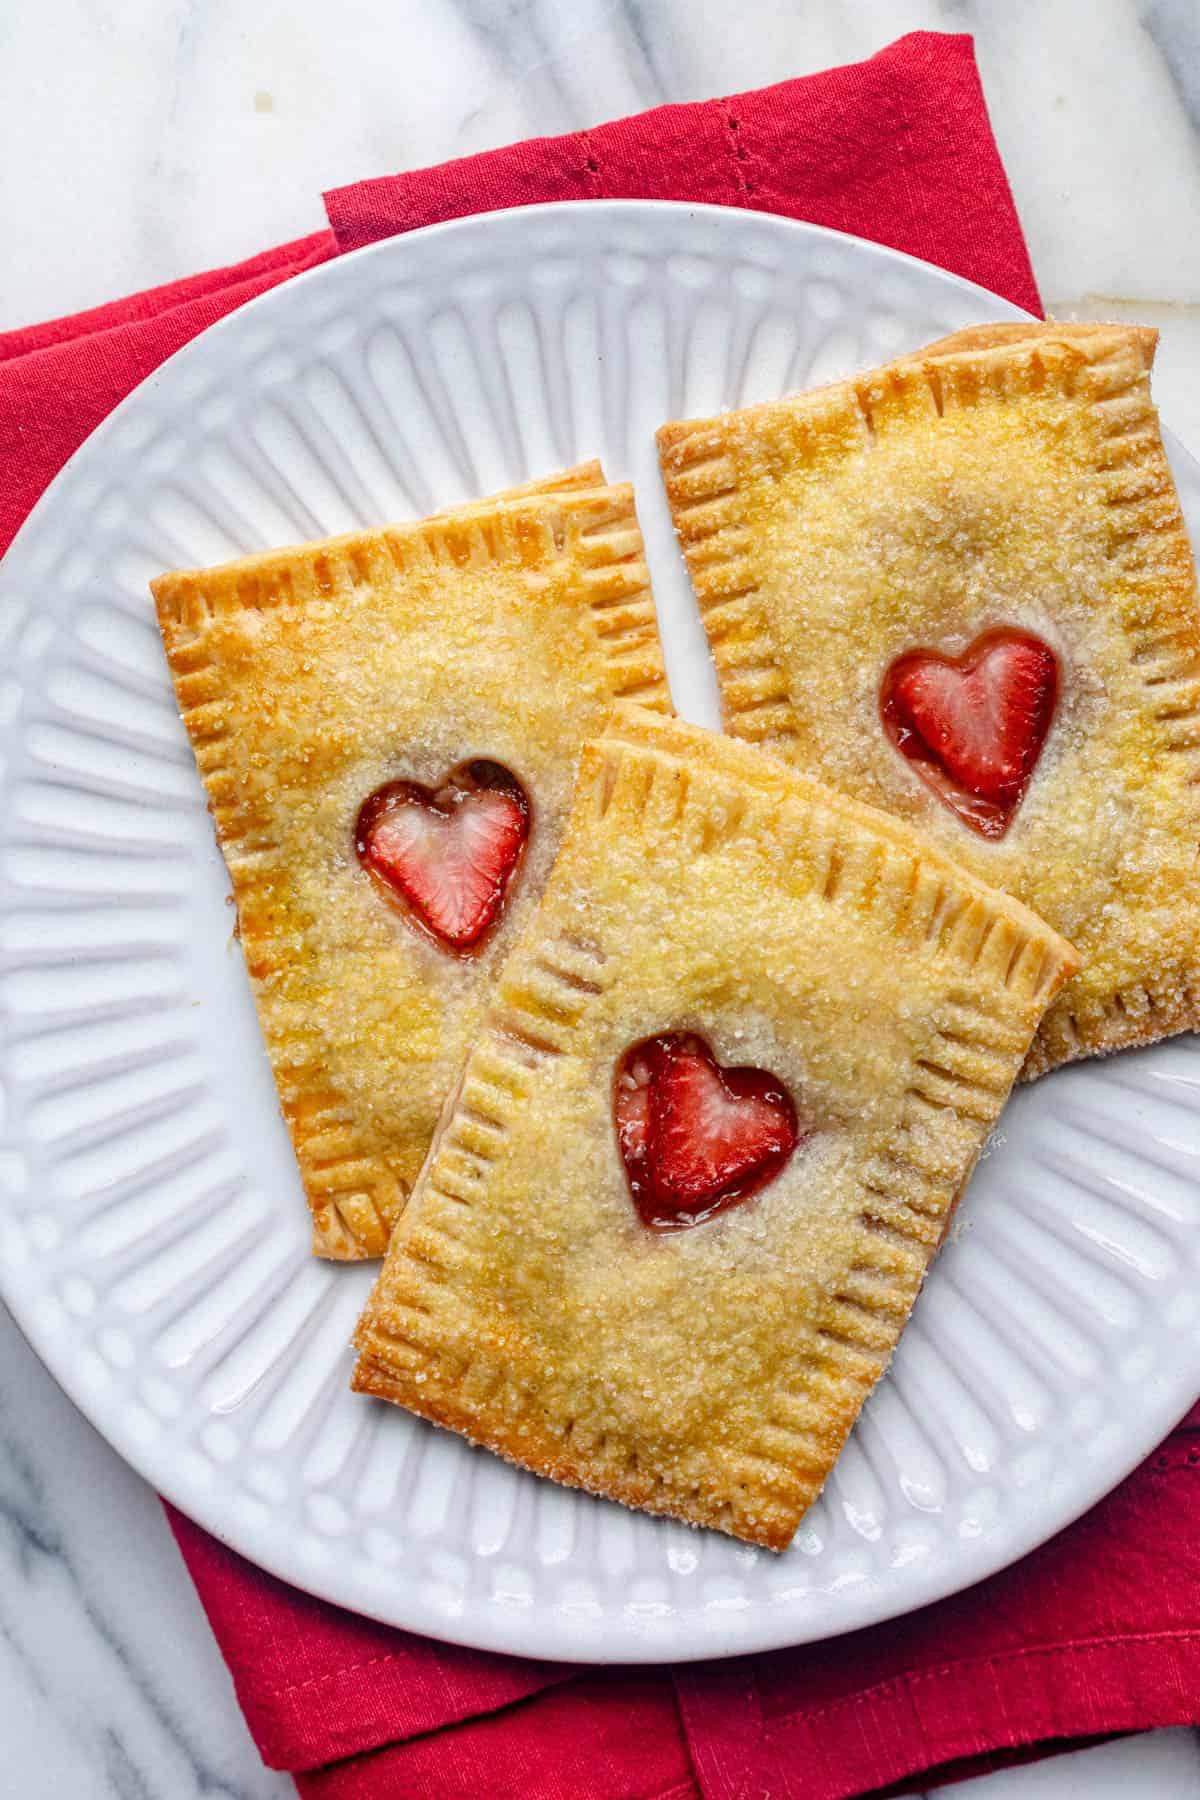
These homemade pop tarts are a fool-proof recipe that is fun to make, especially if you’re making them with kids. They are hard to mess up! You can use store-bought refrigerated pie dough, and each one will give you about 6 pop tart rectangles.
Ingredients & substitutions
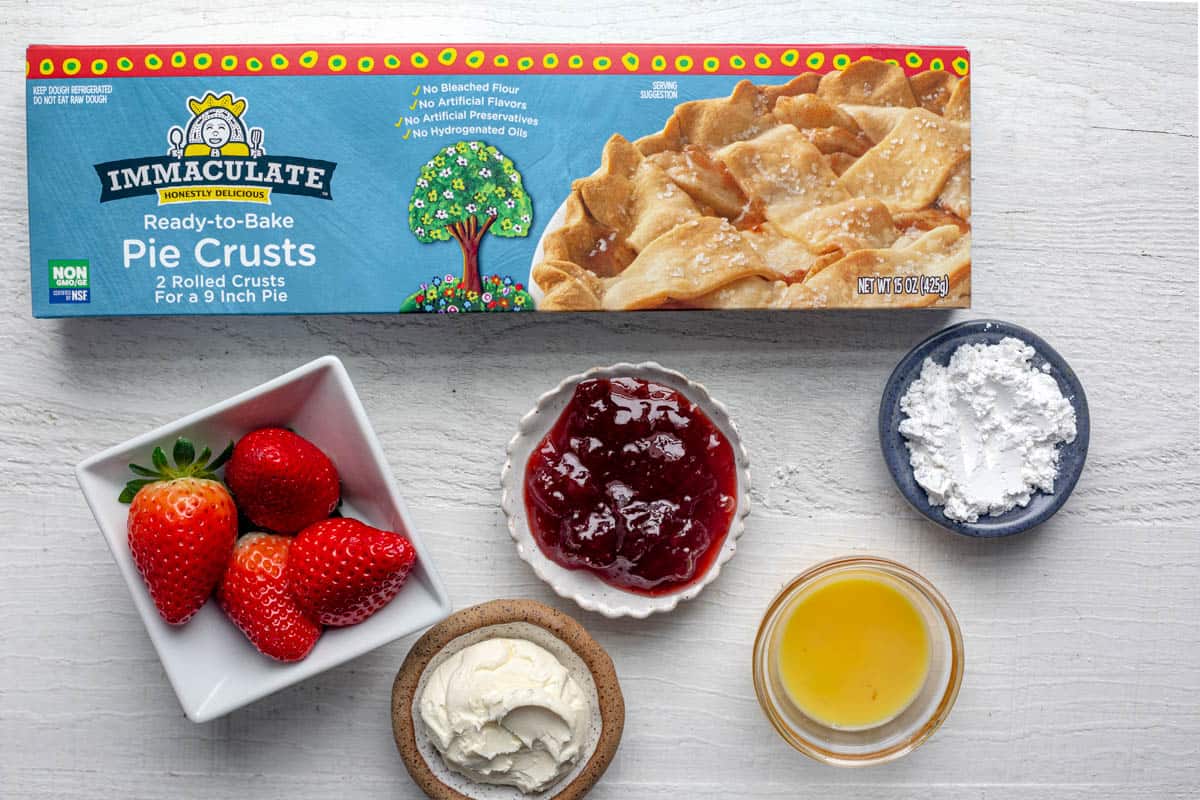
- Pie crusts: Pre-made pie crusts makes these strawberry pop tarts super easy to make.
- Egg yolk: Brush the tarts with egg yolk for a glazed finish.
- Cream cheese: For a creamy filling. I used full fat for best flavor, but you can use low fat if you prefer.
- Sugar: I use powdered sugar in this recipe which is really fine and combines well with the cream cheese. Don’t forgot to save some to sprinkle on top of the poptarts for serving!
- Vanilla extract: For sweetness and flavor.
- Strawberry jam: For the sweet filling. Use your favorite brand or make a tasty homemade chia seed jam.
- Fresh strawberries: I cut fresh strawberries into hearts to make these perfect to serve for Valentine’s Day.
How to make homemade pop tarts
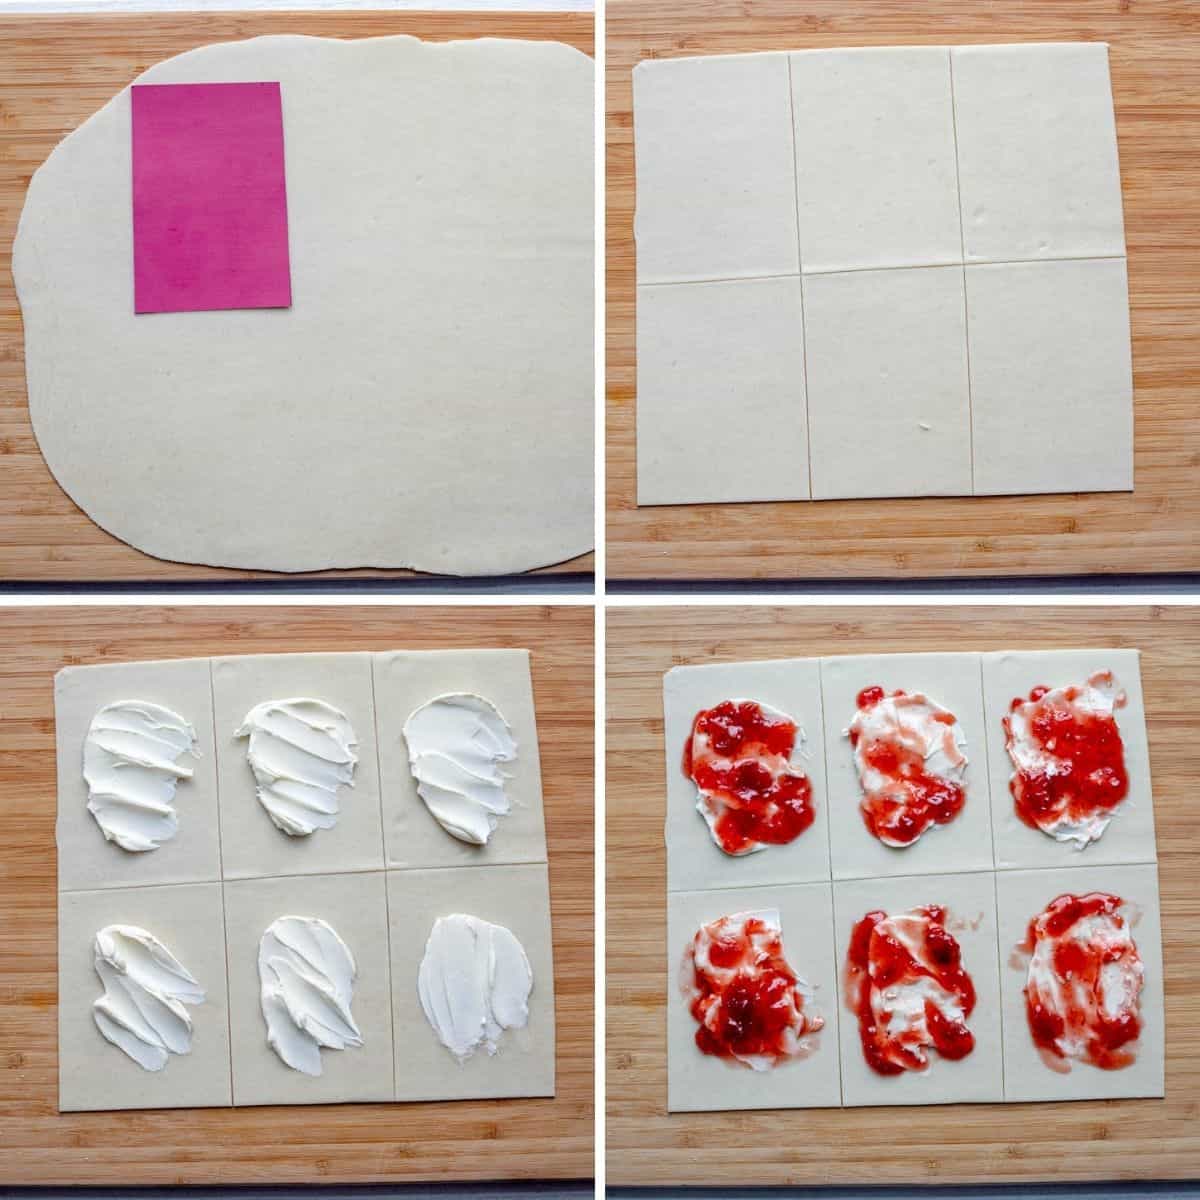
- Roll out the pie crust. Use a stencil of a pop tart to guide you for cutting.
- Cut into equal sized rectangles the size of pop tarts
- Add the cream cheese mixture onto the middle of each square.
- Add the strawberry jam on top.
- Next, add a heart shaped strawberry slice on top of the jam.
- Finally, add another cut-layer of the pie crust (with a cute strawberry cut-out if you wish) on top to seal it.
- Now, you can brush egg wash around it and use a fork to crimp the edges and secure the filling inside.
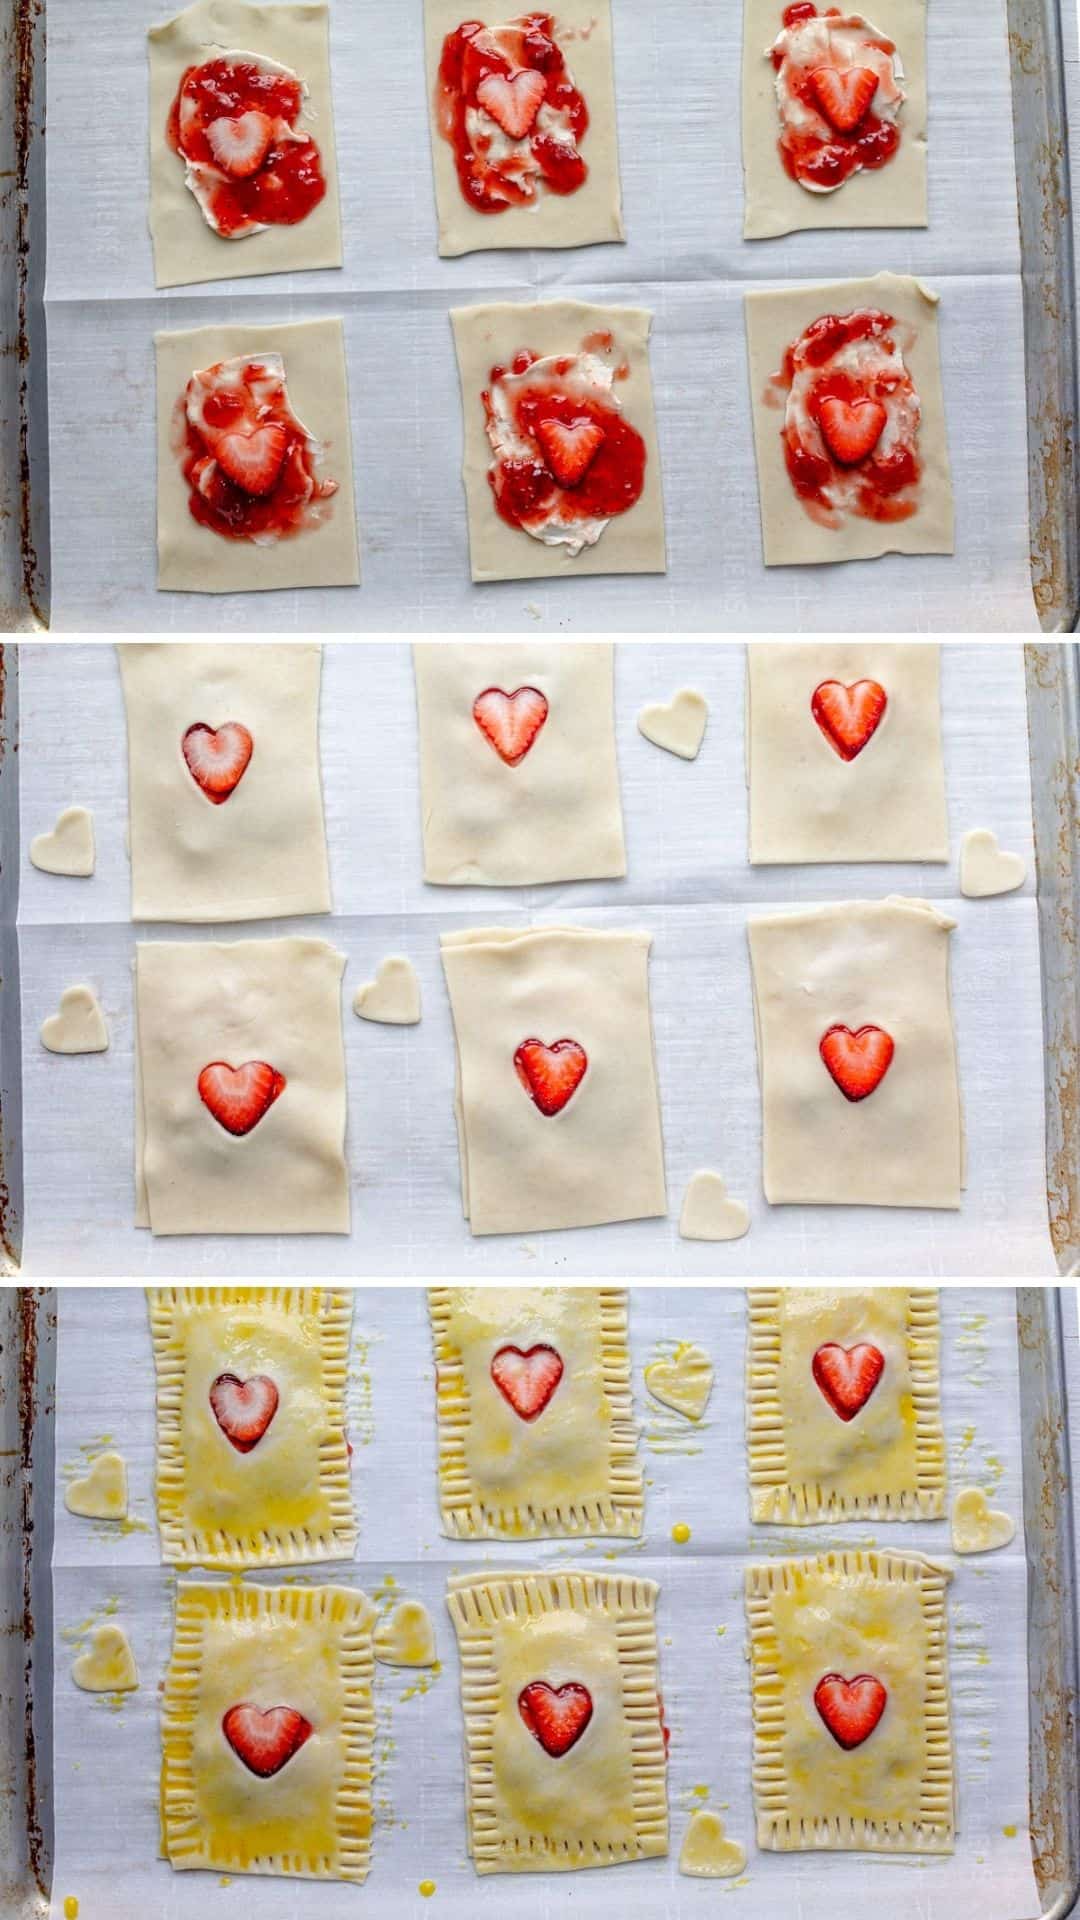
They only need about 12 minutes in the oven until they’re perfectly golden, and the crust is a flaky delicious hot mess!
Tips to make this recipe
- Let the pie crusts come up to room temperature before using. This will make them more pliable and easier to roll and cut out. I like to take my crusts out of the fridge about 15 minutes before using them.
- Use softened cream cheese. This will be easier to combine with the powdered sugar than if it’s straight out of the fridge. You can also use whipped cream cheese.
- Seal the edges of the pop tarts really well. I find the easiest way to do this is to press all around the edges with a fork. If there is a gap between the two layers of pastry, the jam can leak out.
- To thicken the jam, you can add a teaspoon of cornstarch to it, but it’s not necessary unless you’re using homemade jam that’s not thick.
Frequently Asked Questions
Once your homemade pop tarts have completely cooled, transfer them to an airtight container. They will keep for a couple of days at room temperature and up to a week in the fridge.
Yes, these strawberry pop tarts will freeze well and keep for up to 3 months. Freeze them individually on a baking sheet before transferring to a freezer safe container, or wrap them individually in plastic wrap.
Yes! If strawberry jam isn’t your thing, you can easily make this with any other flavor. Blackberry, grape and apricot are all great choices. Nutella also works great!
More easy dessert ideas
If you’ve tried this healthy-ish feel good Homemade Pop Tarts recipe or any other recipe on Feel Good Foodie, then don’t forget to rate the recipe and leave me a comment below! I would love to hear about your experience making it. And if you snapped some shots of it, share it with me on Instagram so I can repost on my stories!
Homemade Pop Tarts
Video
Ingredients
- 2 whole refrigerated pre-made pie crusts
- 1 egg yolk
- 1 teaspoon water
- ¼ cup cream cheese
- 2 tablespoon powdered sugar
- 1/4 teaspoon vanilla extract
- 1/4 cup strawberry jam
- 6 slices strawberries cut into heart shapes
- granulated sugar for sprinkling
Instructions
- Preheat the oven to 350°F, and line a baking sheet with parchment paper.
- In a small bowl, create the egg wash by whisking together 1 egg yolk with 1 teaspoon of water; set aside.
- In a larger bowl, make the cream cheese filling by whisking together cream cheese, powdered sugar and vanilla extract; set aside.
- Roll out the pie crust to about ⅛ or 1/16 inch thickness and cut each pie crust into 6 rectangles the size of poptarts – 3 inches x 4.5 inches.
- Place 6 of the rectangles on the parchment paper, spread 2 tablespoons of the cream cheese filling in the center of each, leaving space around the edges.
- Then add a tablespoon of strawberry jam to each, then place a strawberry heart on top in the middle.
- With the remaining 6 rectangles, cut out a heart in the center the same size as the strawberry hearts. Add on top of the other rectangles, lining up the strawberry hearts in the center.
- Seal the edges with the tips of a fork and brush with the egg wash mixture, then sprinkle with cane sugar.
- Bake for 12-14 minutes, or until golden brown. Transfer to a cooling rack. Let cool for 5 minutes.
Notes
Nutrition
Nutrition information provided is an estimate. It will vary based on cooking method and specific ingredients used.


I’m a klutz in the kitchen and it’s taking me a lot longer than 10 minutes to assemble these. The pie crust I got cracked as I unrolled it and I had to try and seal the cracks. Then I could only get 4 perfect rectangles from one sheet of dough and had to piece together the scraps to make more makeshift rectangles and got 7 rectangles from each sheet.
I had enough filling. It’s taking a lot longer than 14 minutes to bake these. Maybe I didn’t roll the dough thin enough.
I’m making these right now for my grandkids, but am confused how to get 12 tablespoons of filling out of 1/4 cup cream cheese? (only 4T in 1/4c) HELP!
Hi, Betty! The recipe says to spread 2 tablespoons of the cream cheese filling in the center of each. Hope this helps!
“Jammy and delicious.” and easy to follow directions.
“I love the filling—no frosting needed!
Thank you for sharing all your recipes ideas!
I’m so happy to hear that! Thank you!
Definitely fun to make & yummy to taste. Good job
????????oh my, these look amazing. Will you be my valentine????
Aww thank you Maya!!