How to Pit Cherries
Updated Jan 07, 2026
How to pit cherries 4 ways using the poke, slice-and-twist, tear, and press methods. Simple step-by-step techniques with tools you already have.
This post may contain affiliate links. Please read our disclosure policy.
Jump to Section
Pitting Cherries Doesn’t Have To Be Hard!

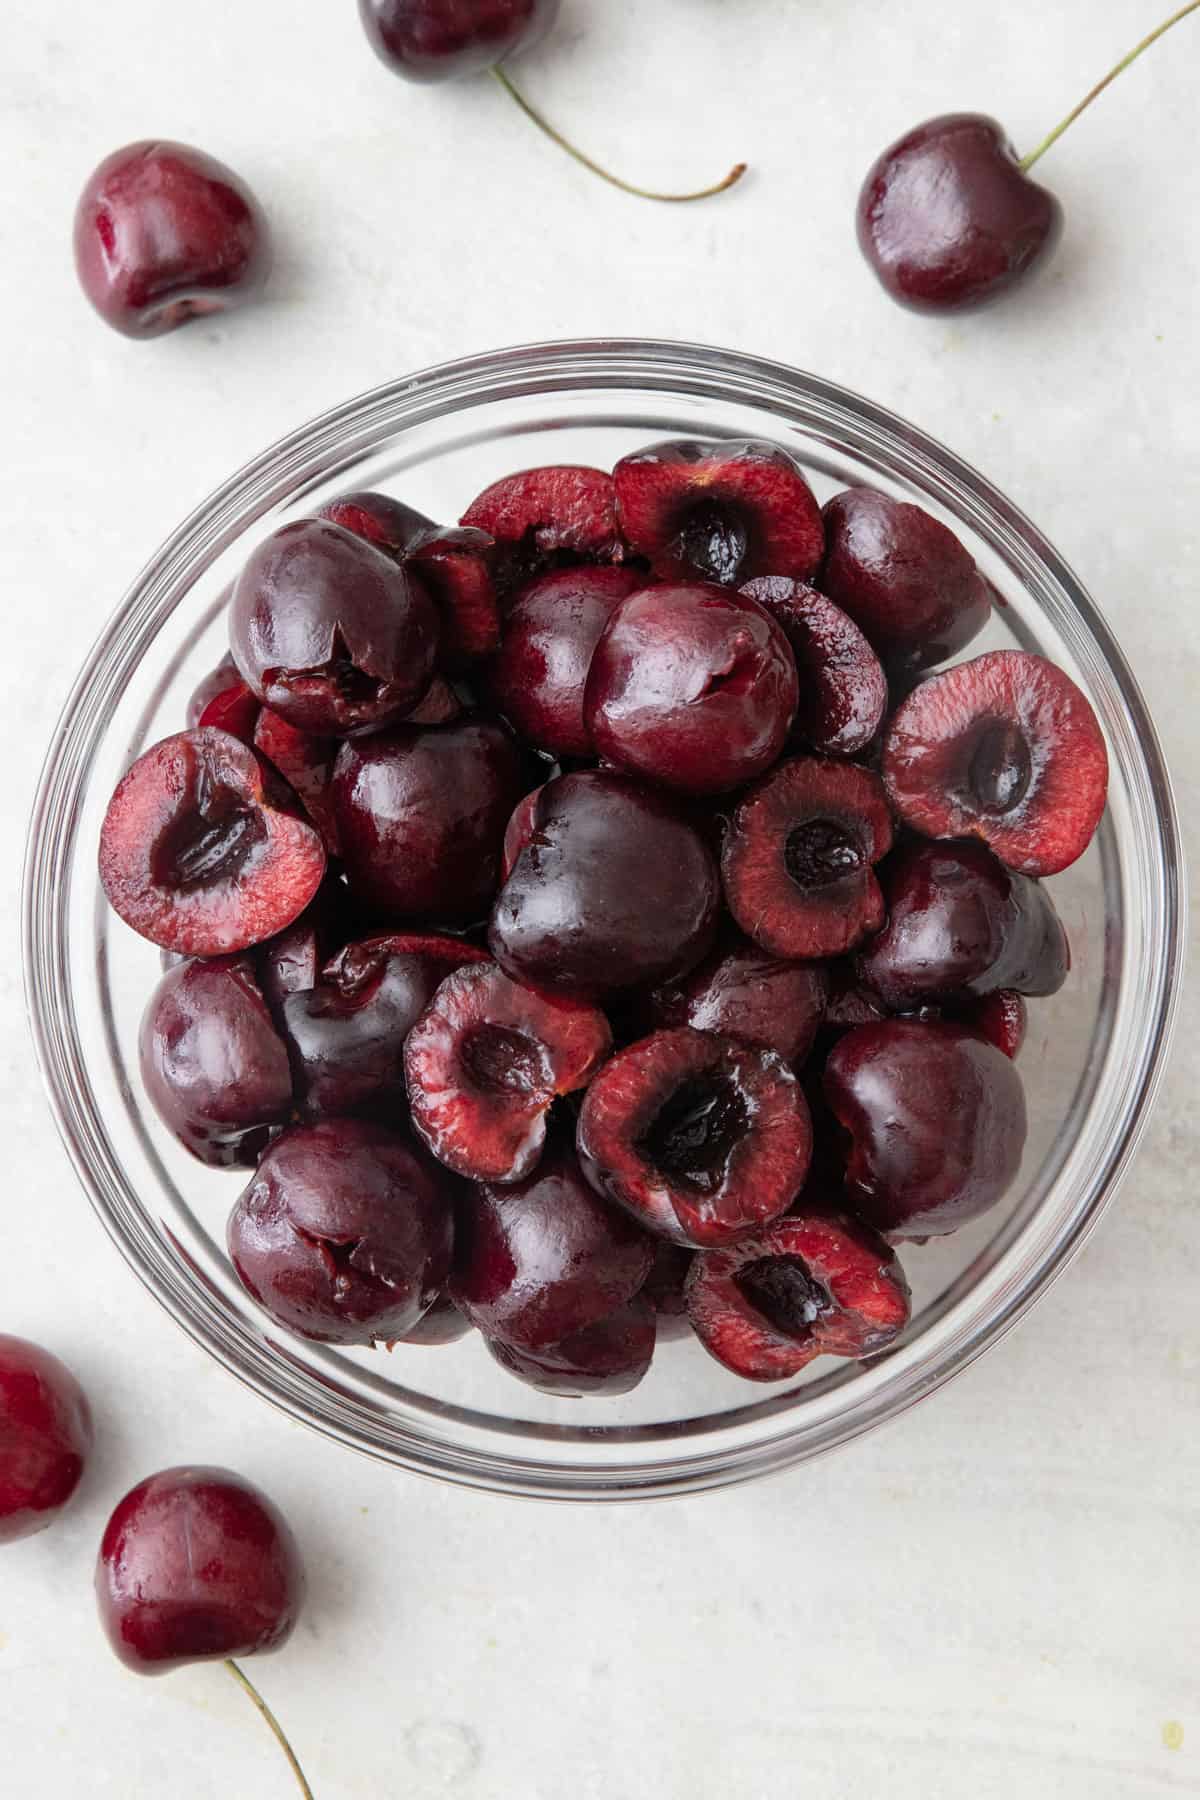
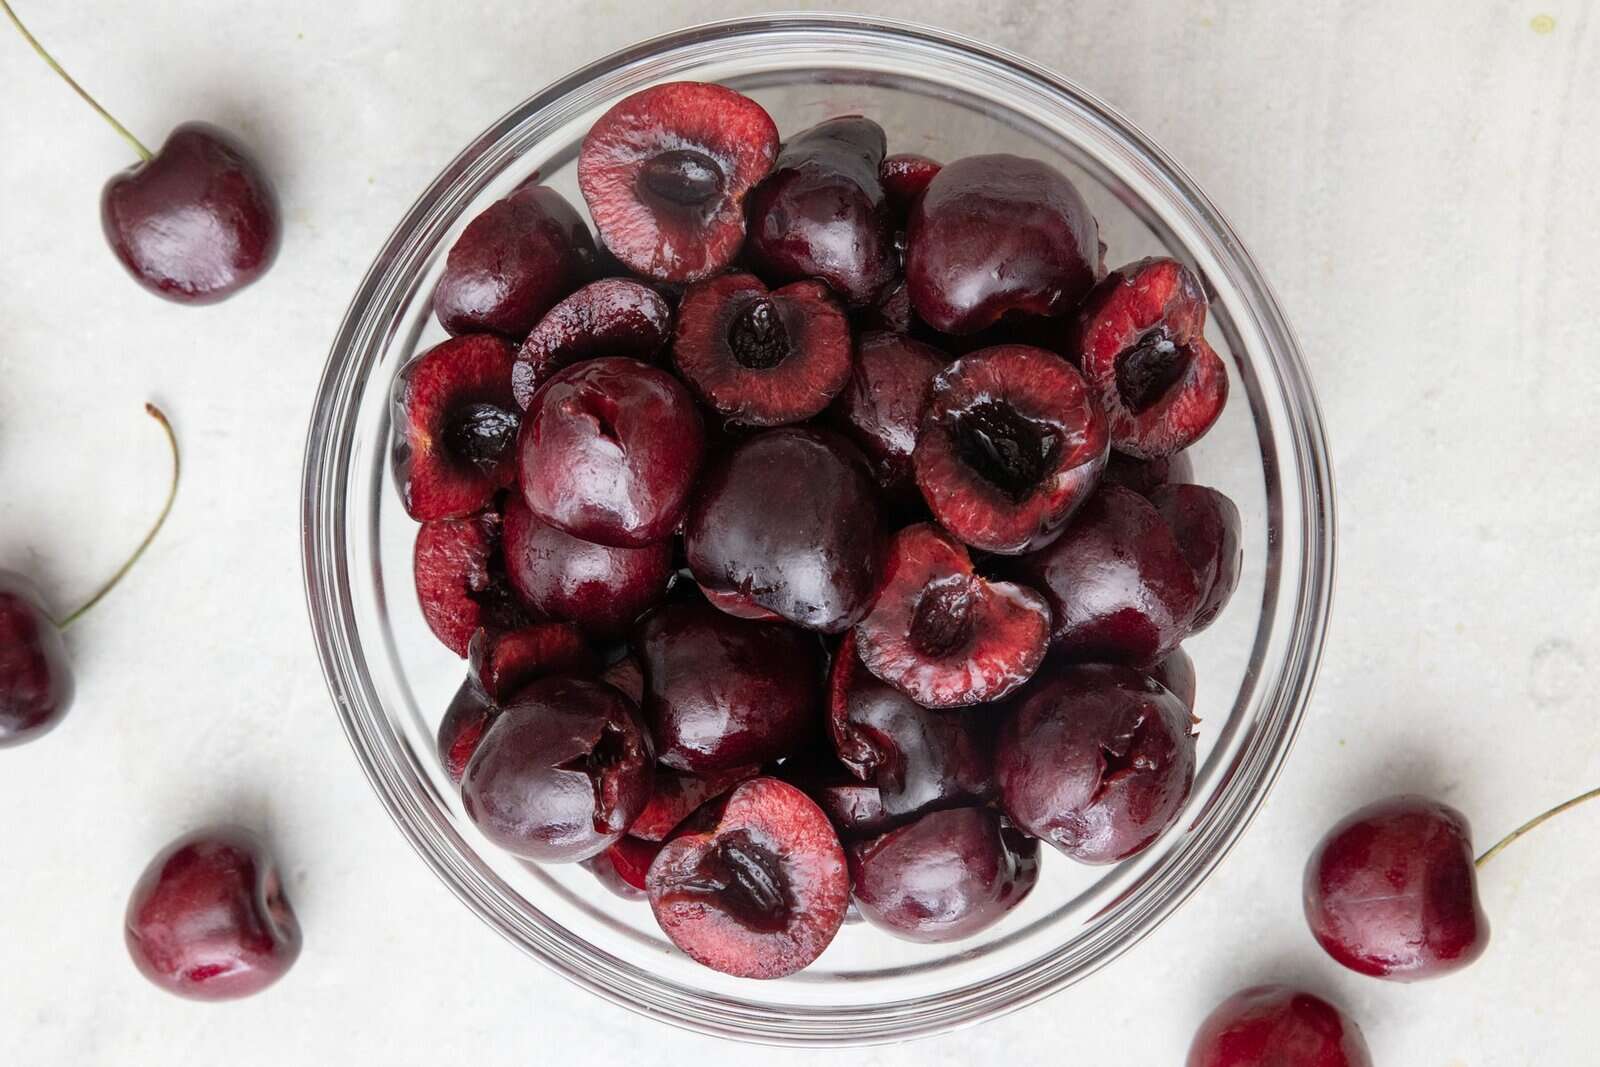
Pitting cherries isn’t hard, but it can be a little annoying if you don’t know an easy way to do it. I usually need pitted cherries for baking, smoothies, or just because I want them ready to snack on. You don’t need a cherry pitter for this, and I rarely use one. Below are four ways I pit cherries using things I already have, like a straw or knife, depending on how many cherries I’m working with and how neat I want them to look.
Happy Cooking!
– Yumna
How to Pit Cherries – 4 Ways
There isn’t one “right” way to pit cherries, and I don’t use the same method every time. It really depends on how many cherries I’m working with and how neat I need them to be. Below are four methods I actually use, from quick and messy to a little more controlled. I’ll walk through each one step by step so you can pick what works best for you
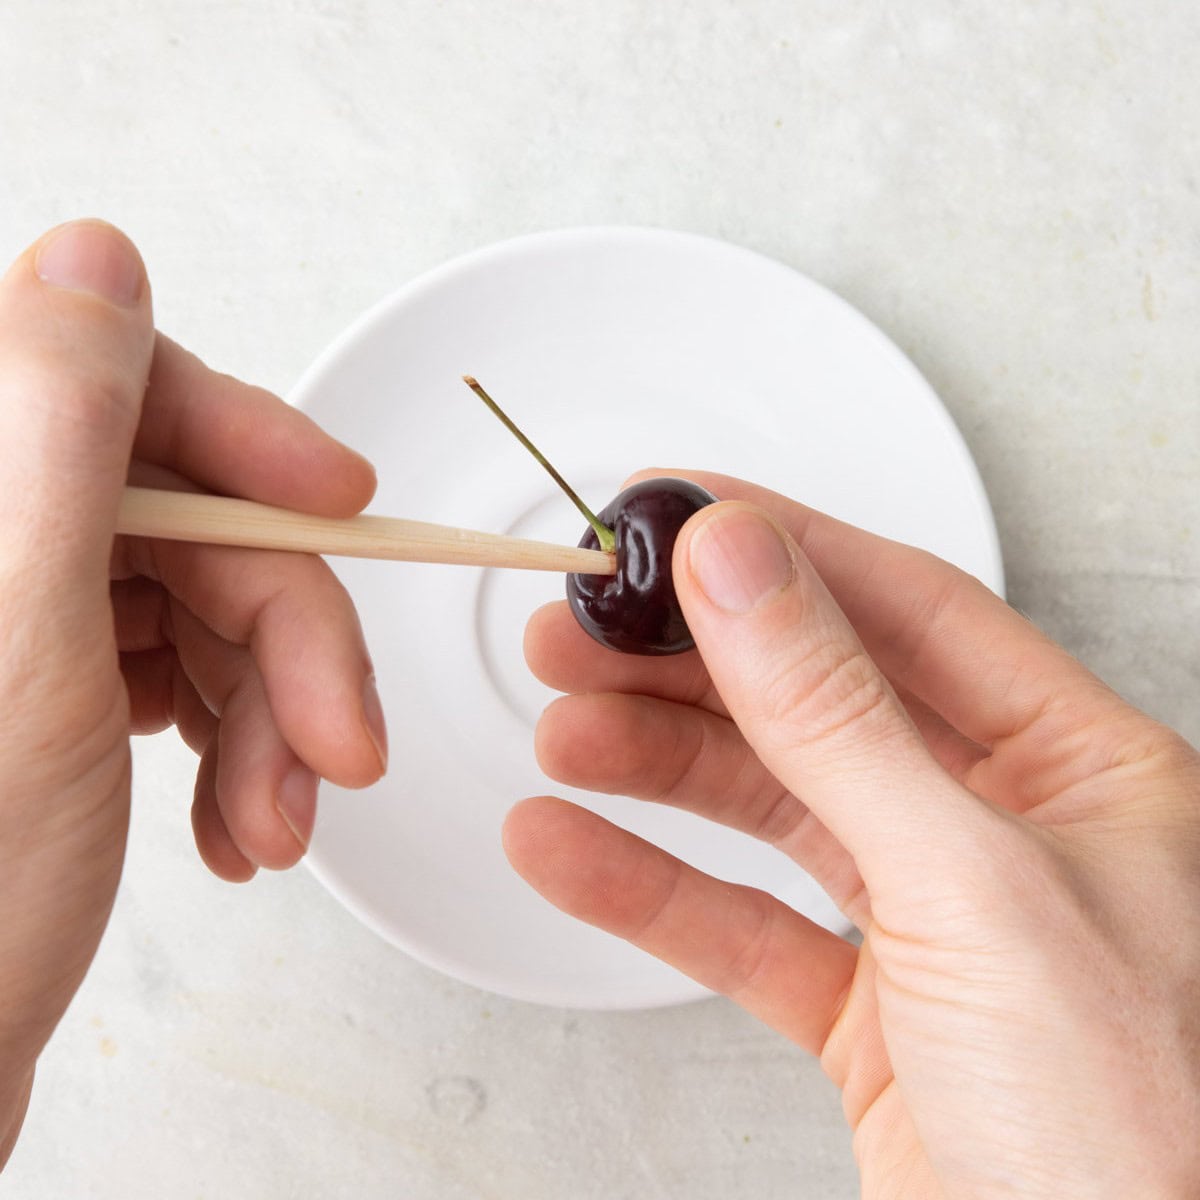
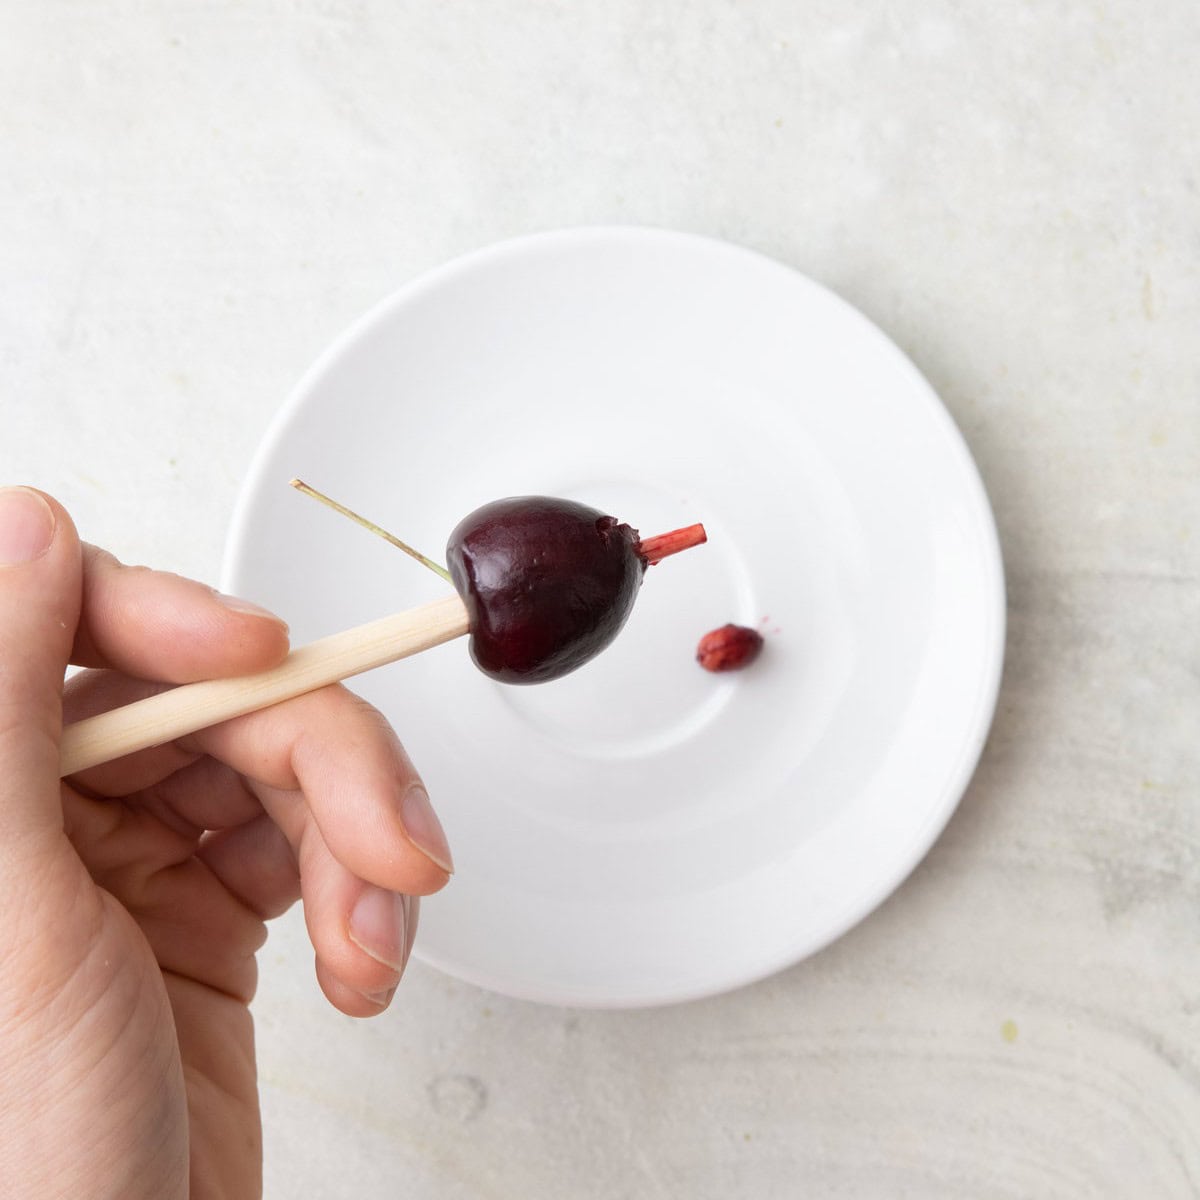
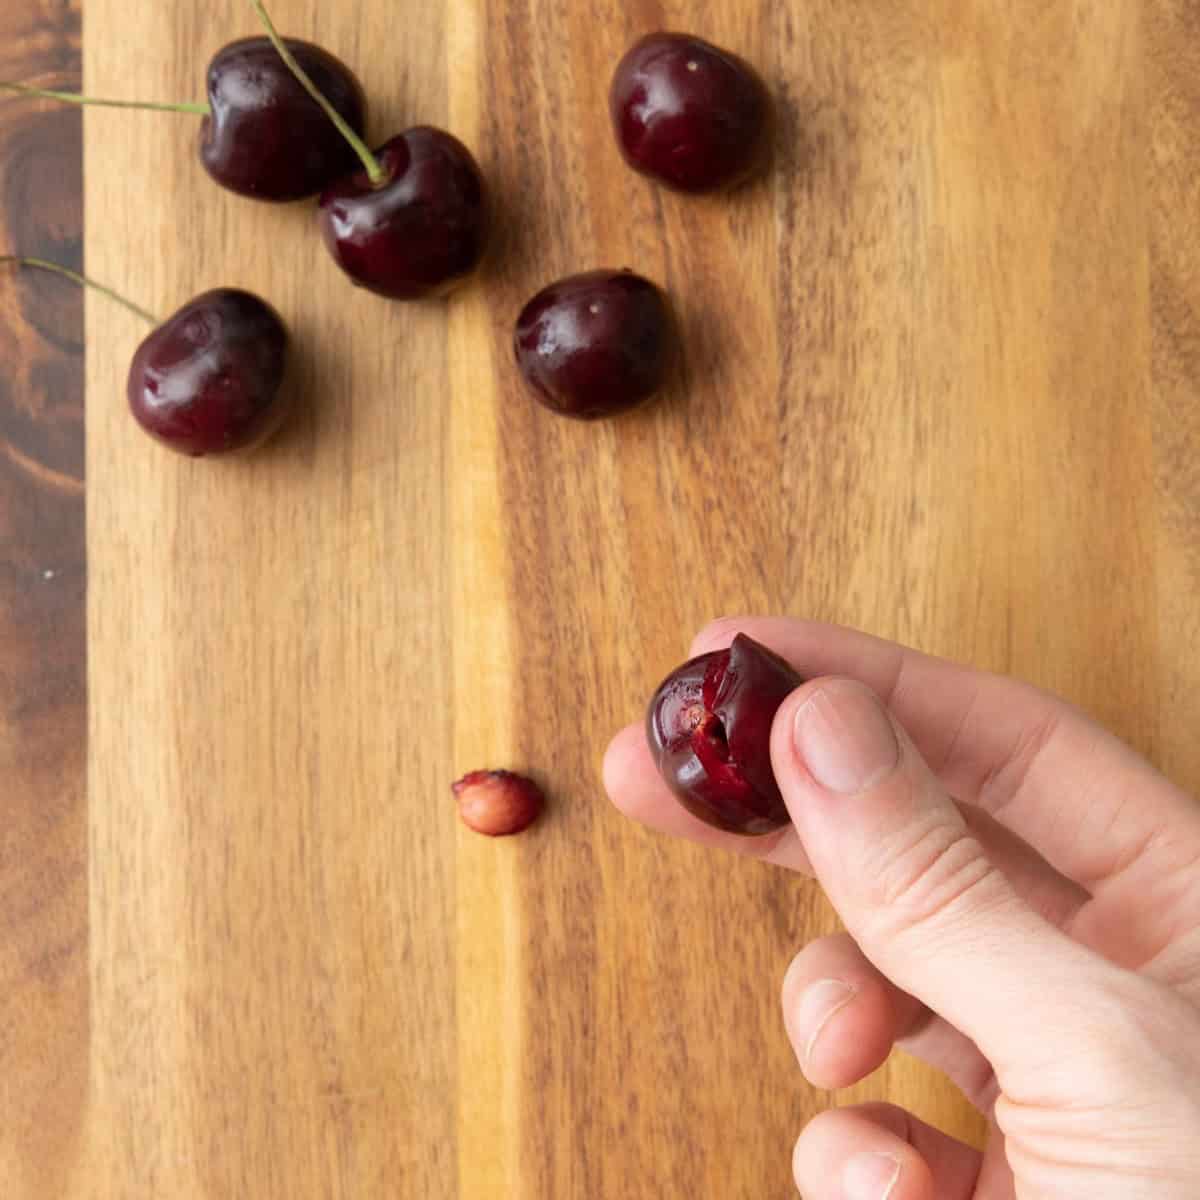
Poke Method
Best when you want the cherries mostly intact, like for fruit salads, snacking, or anything where using them in their whole form matters. It’s a little messy but fast once you get the hang of it.
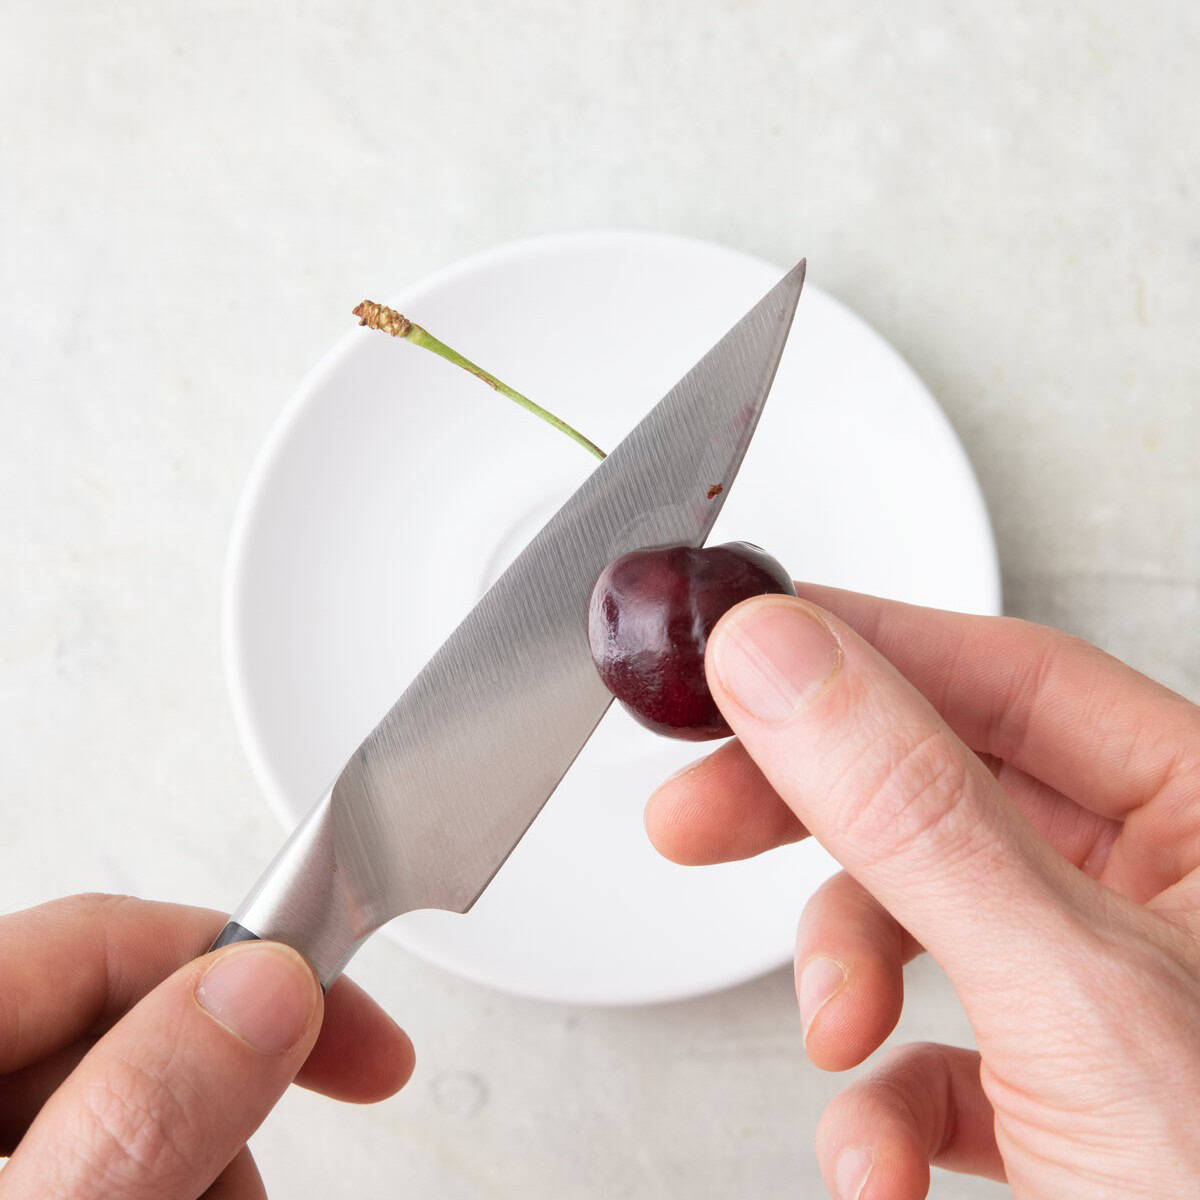
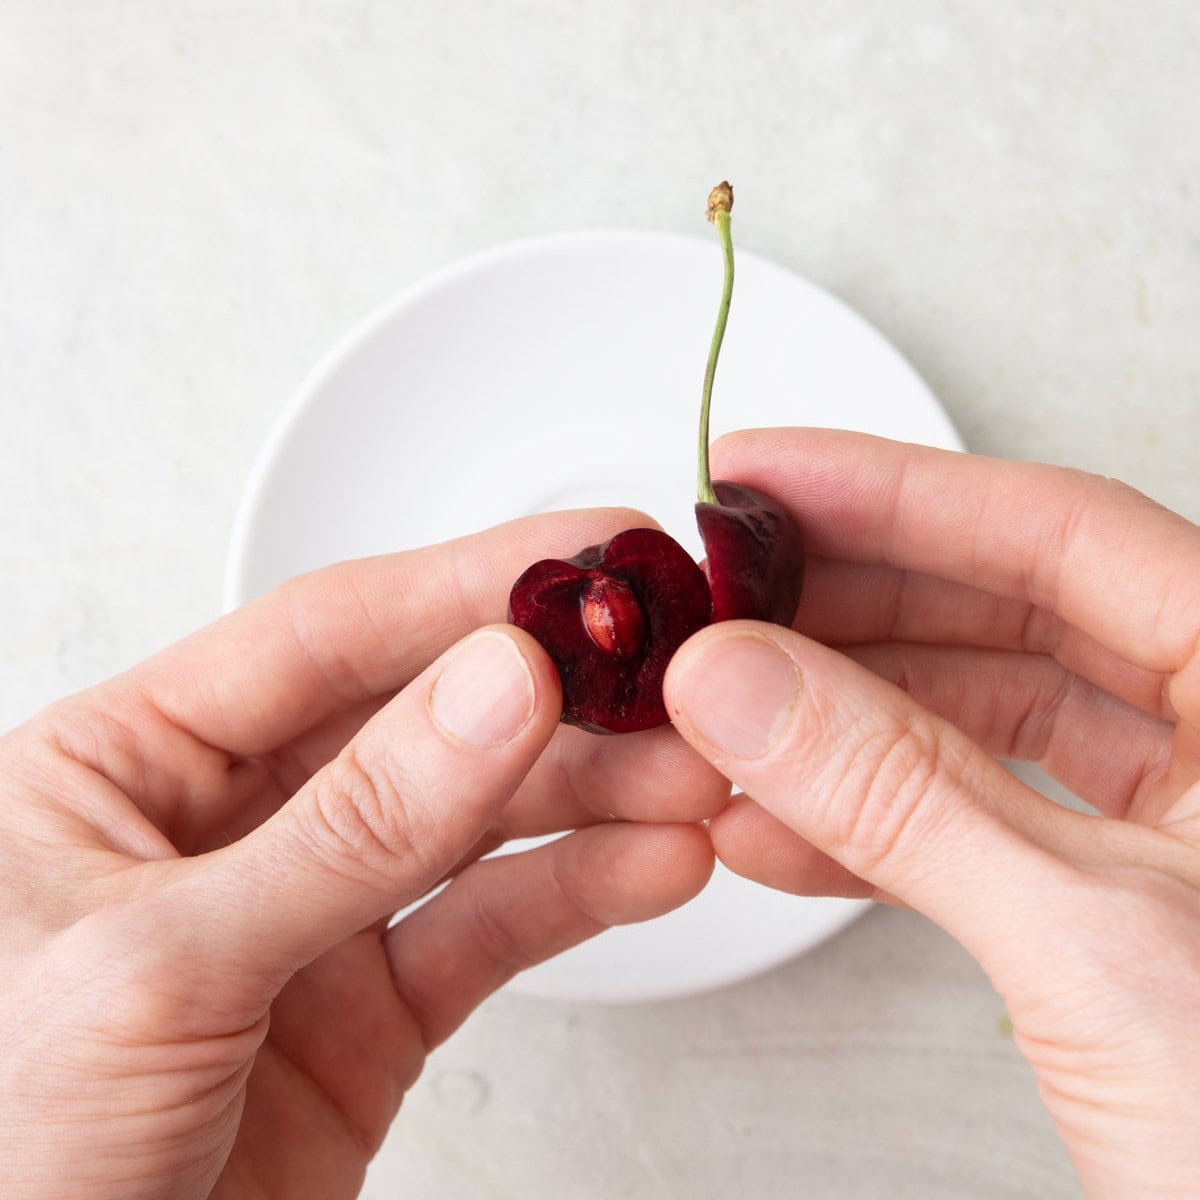
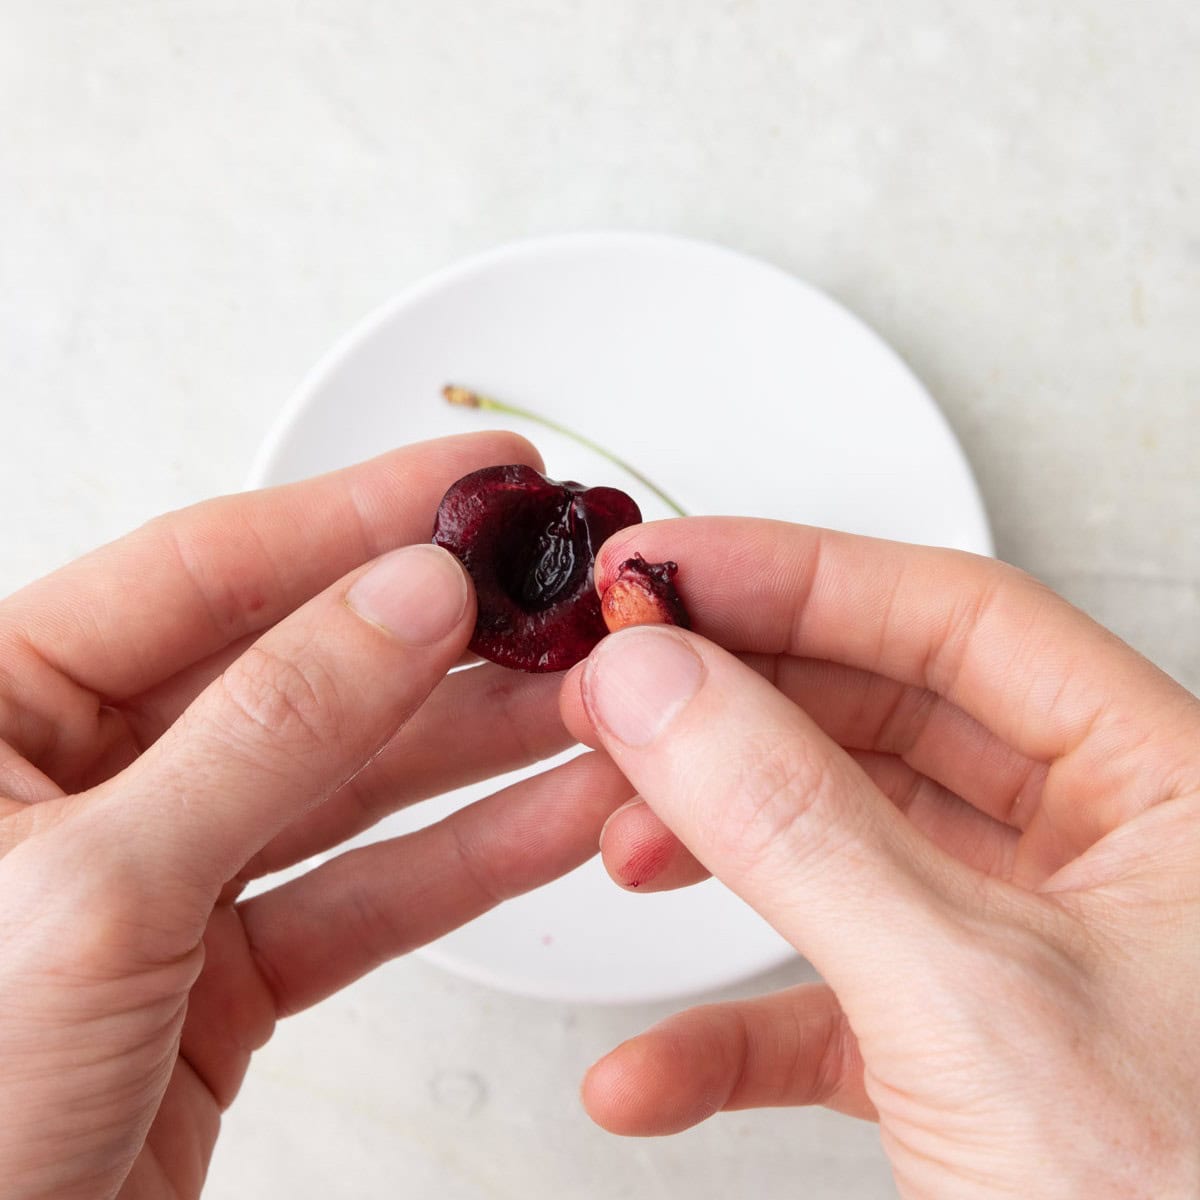
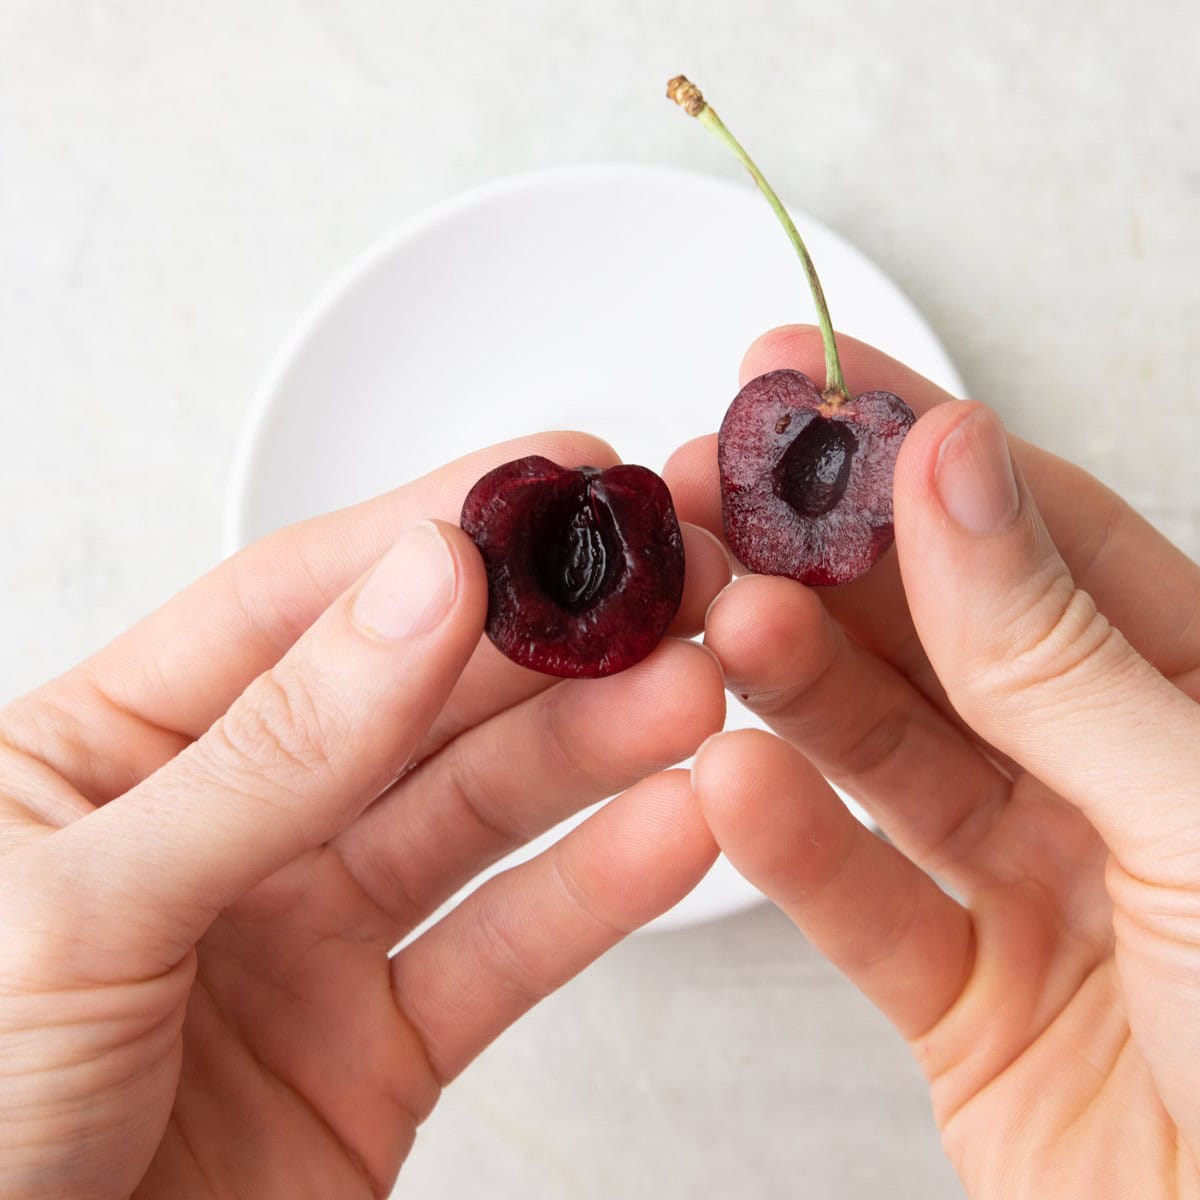
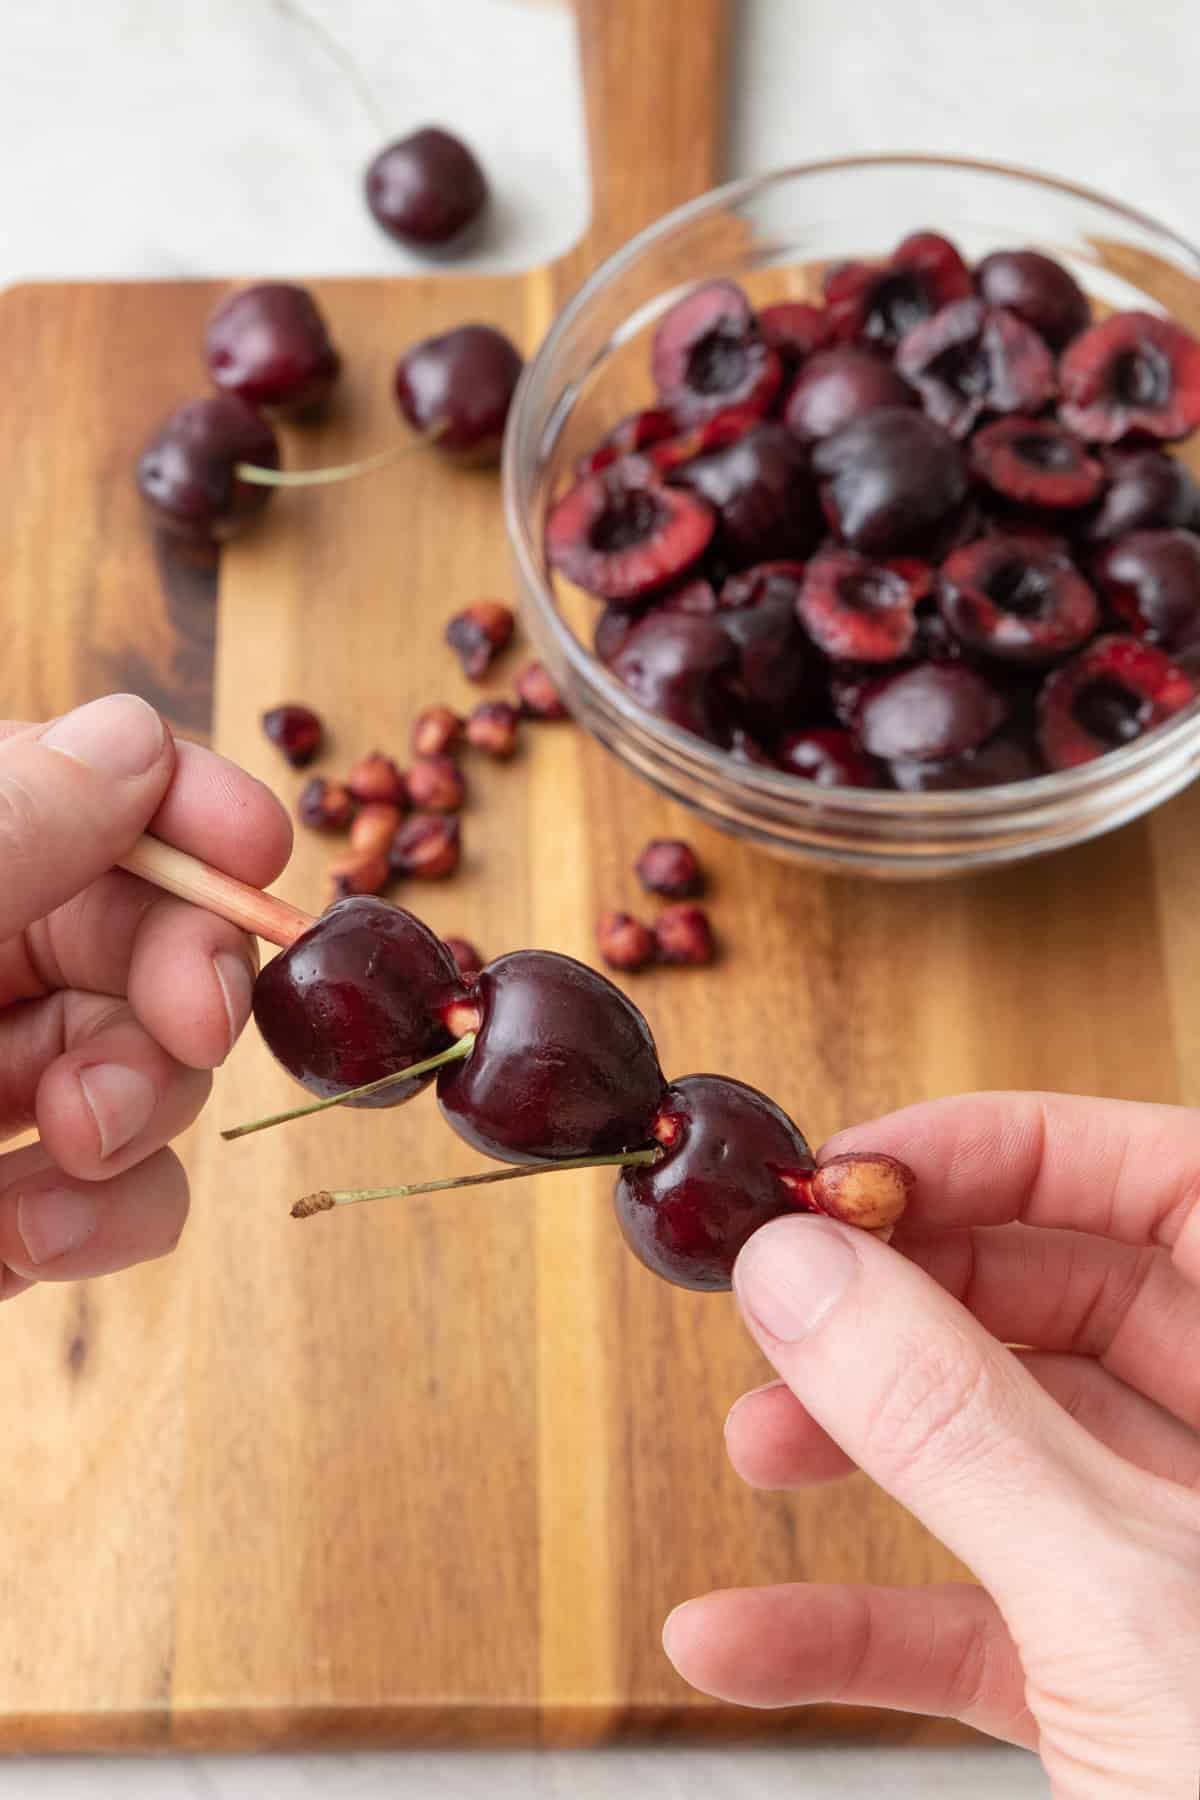
Slice and Twist Method
This is the most controlled option and works well for baking, like cherry pie, cherry cobbler, cherry bars, or galettes, where you don’t mind cutting the cherries and want clean pit removal.
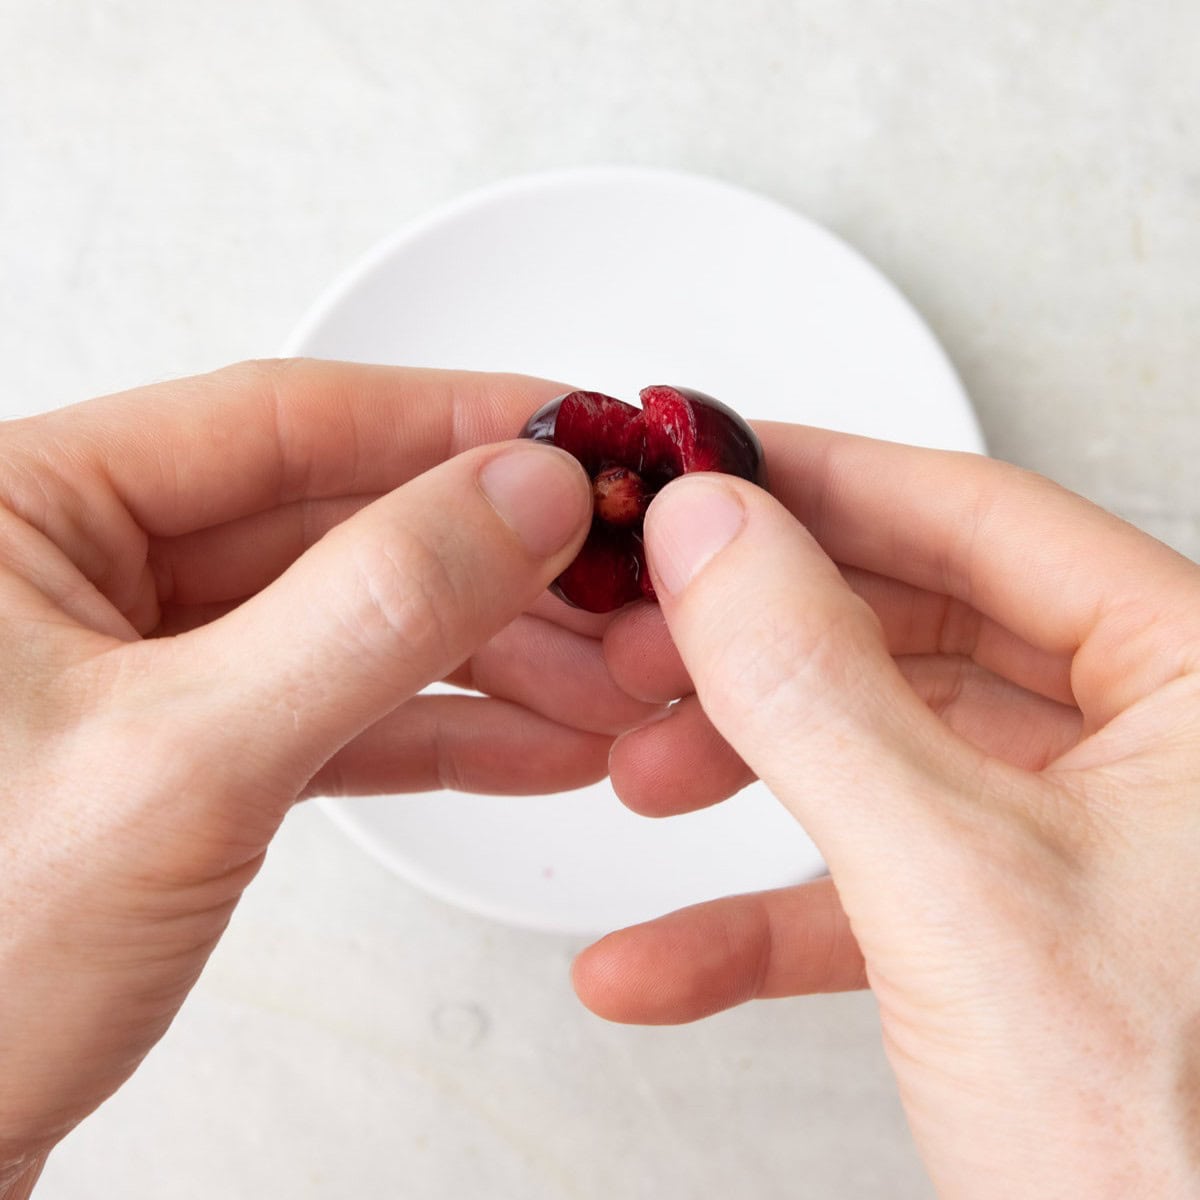
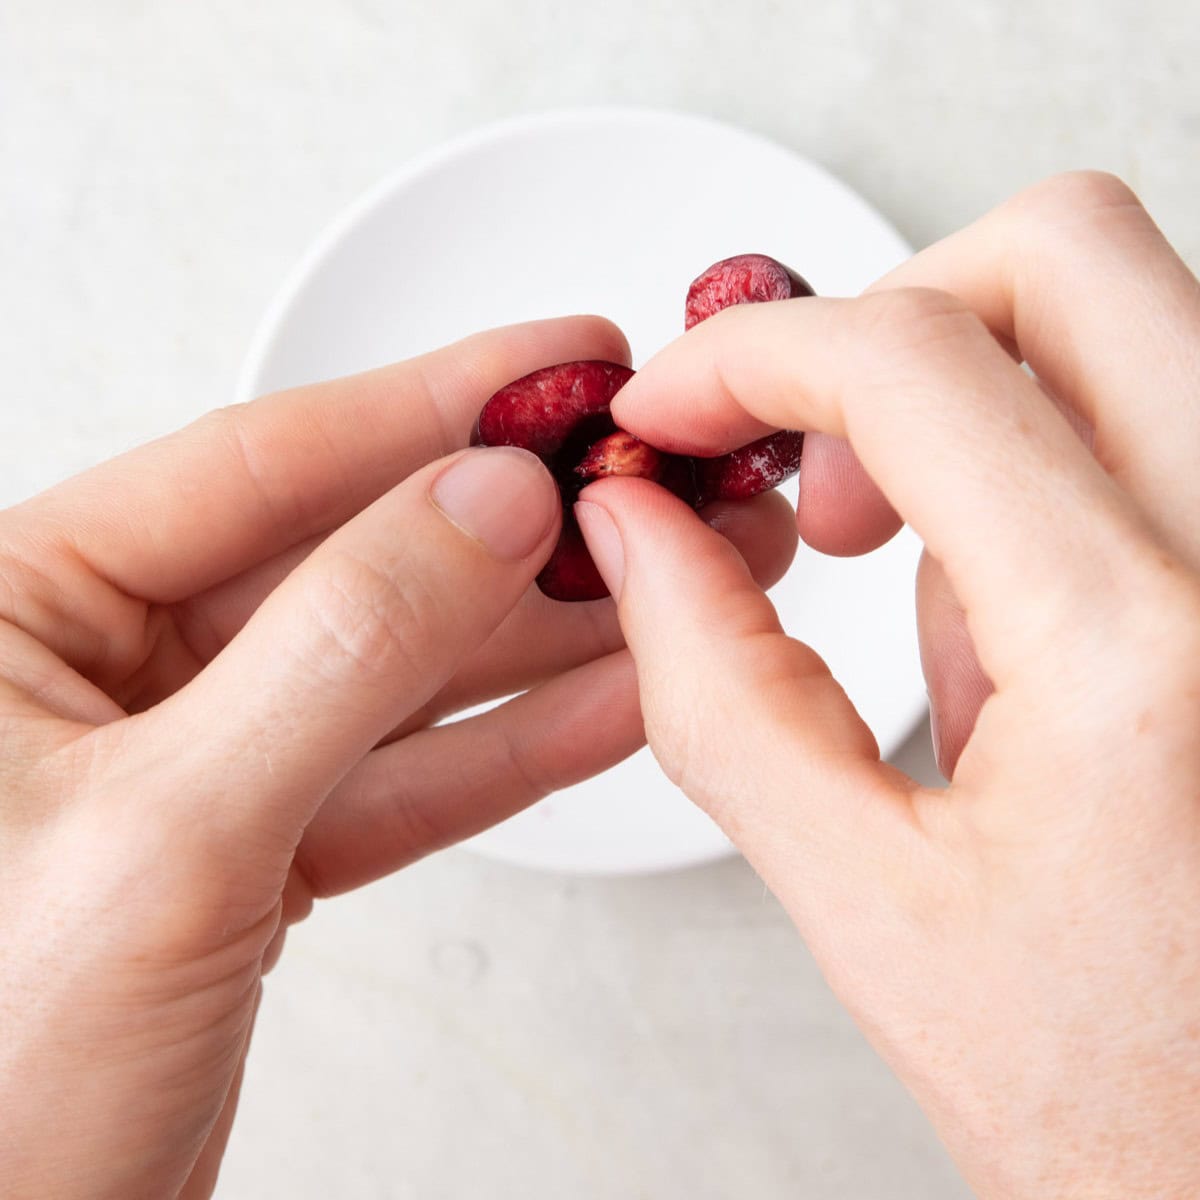
Tear Method
Good for quick jobs like cherry smoothies, sauces, or jam, where the cherries are getting blended or cooked down anyway. It’s fast but not pretty.
Press Method
Best when you’re in a hurry and don’t care much about how the cherries look. I use this for cooking or freezing cherries that will be used later.

How to Pit Cherries Without A Cherry Pitter
Ingredients
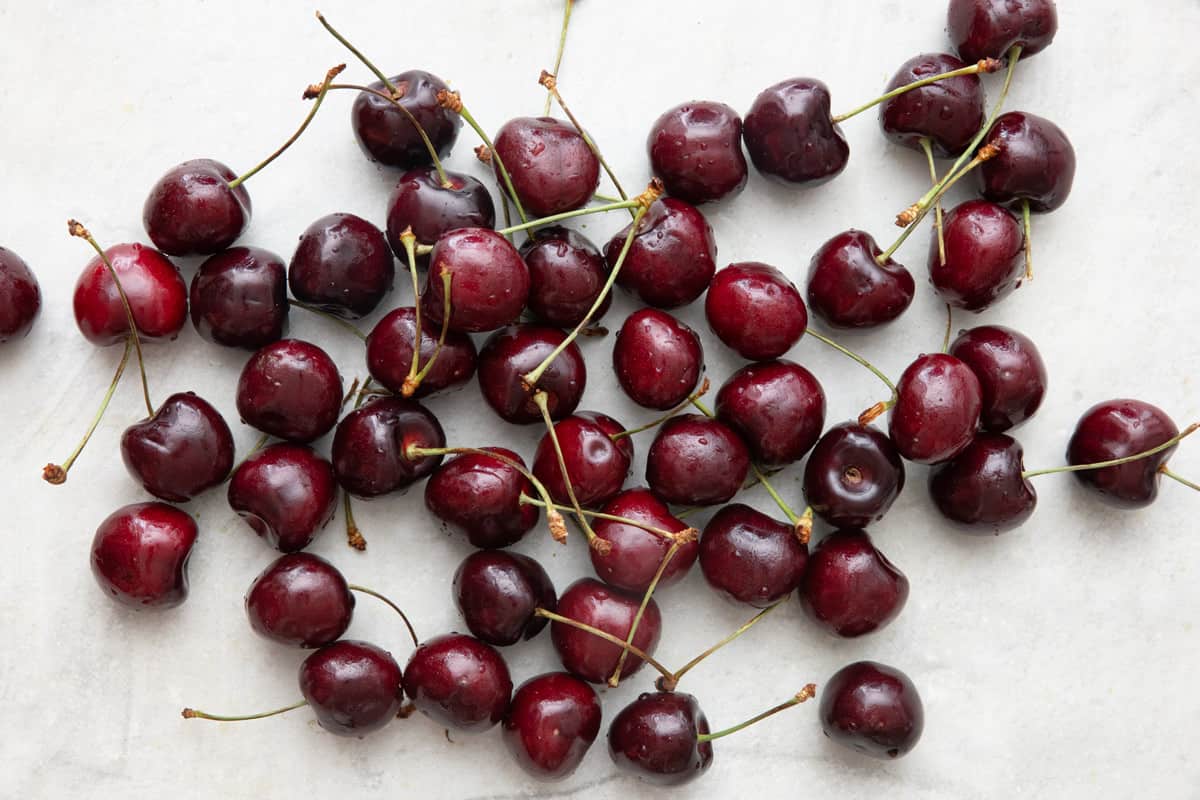
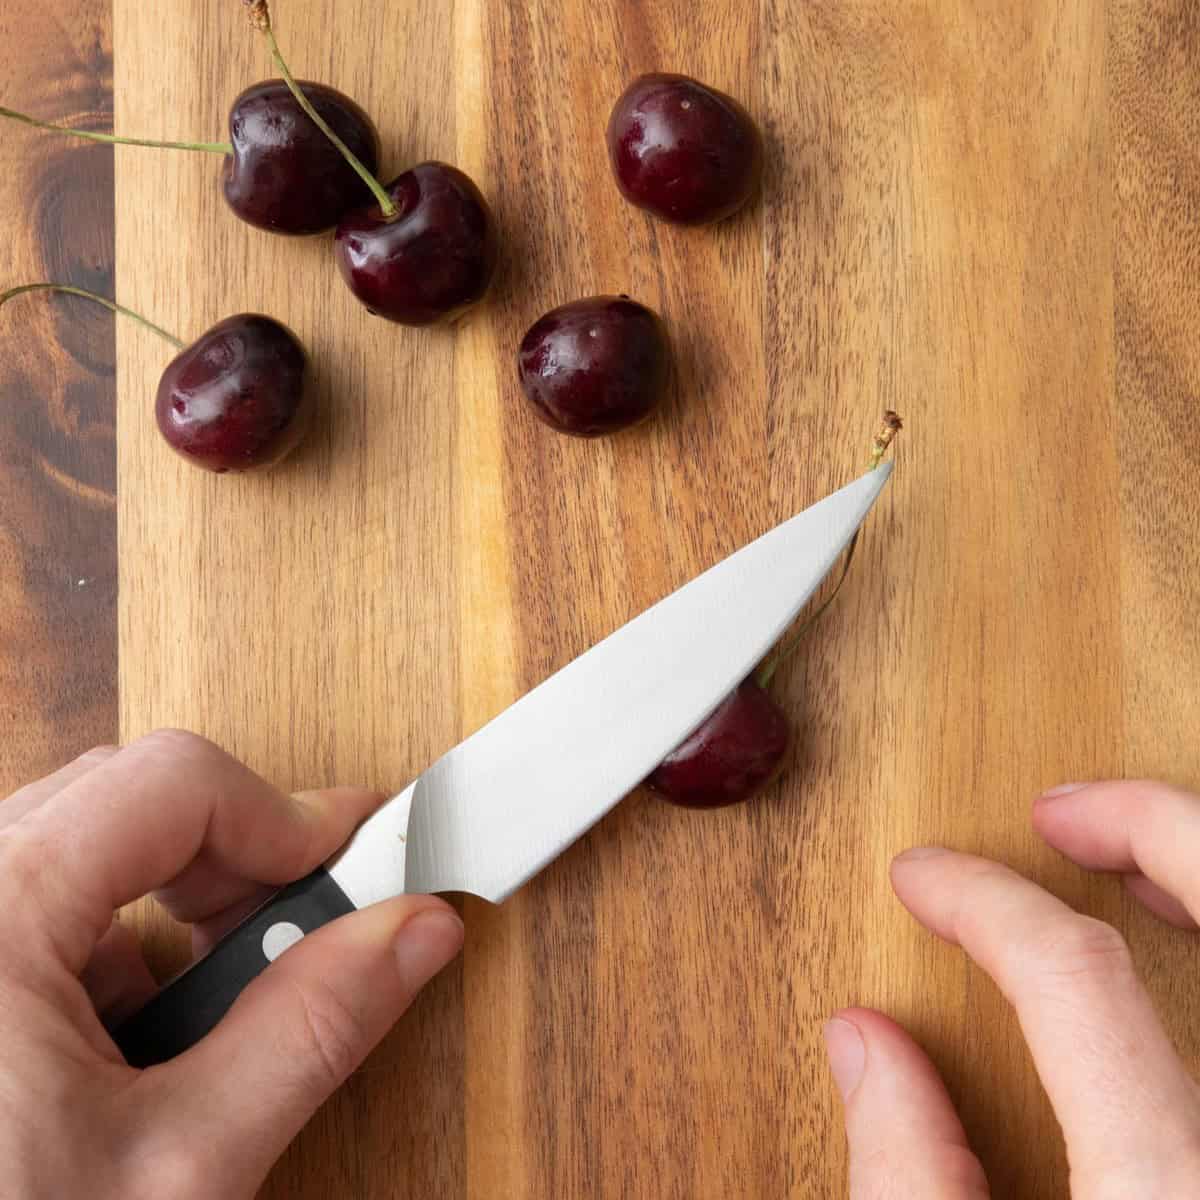
- 1 pound cherries stems removed
Instructions
Poke Method
- Hold the cherry with the stem side facing up. Place a straw, chopstick or thin pastry tip on the stem side. Firmly but carefully push through the tip straight down until the pit pops out from the bottom. You can also place the cherry on the top of an empty bottle with a narrow opening, instead of between your fingers.
Slice and Twist Method
- Hold the cherry with the stem side facing up. Use a paring knife to cut around the cherry lengthwise, rotating the cherry as you cut around. Twist the two cut cherry halves, then remove the pit with your fingers.
Tear Method
- Hold the cherry with the stem side facing up. Place your thumbs on the stem side and your index fingers on the opposite side. Firmly but carefully pull the cherry apart, ripping it half. Remove the pit with your fingers.
Press Method
- Place the cherry on a cutting board. Use the flat side of a paring knife to press down on the cherry firmly but carefully. This will loosen the pit and then you can remove the pit with your fingers.
Equipment
Notes
- My Top Tip: Chill cherries before pitting. Pop your cherries in the freezer for about 10 minutes before pitting them. This will firm them up slightly, making them easier to handle without squishing.
- Storage: Store pitted cherries in an airtight container in the fridge for up to 4 days.
- Freezing: them for future recipes. Simply spread the pitted cherries in a single layer on a baking sheet and freeze until firm. Once frozen, transfer them to a freezer-safe ziptop bag and freeze for up to 3 months.
Nutrition
Nutrition information provided is an estimate. It will vary based on cooking method and specific ingredients used.
Tutorial Tips
- Use a bottle. If using the poke method, you can also set the cherry on top of a clean bottle. Steady it on top, then poke and the pit should land inside.
- Wear kitchen gloves. To prevent your hands from getting stained by cherry juice, wear disposable kitchen gloves.
- Try different kinds of cherries. Any variety of cherries will work, but sweet cherries like Bing, Ranier, or Black cherries are best for their large size. Tart cherries like Morellos tend to be a little softer than the sweet varieties so it may be a little tedious pitting them.
Recipes to Make with Cherries


Comments
I used the straw method and it was easy peasy! I finally found a use for the metal straw that my friend gave me since I do not use straw in my drinks. Thank you for this hack!😊
Awesome! So happy it worked for you, Leah!