This post may contain affiliate links. Please read our disclosure policy.
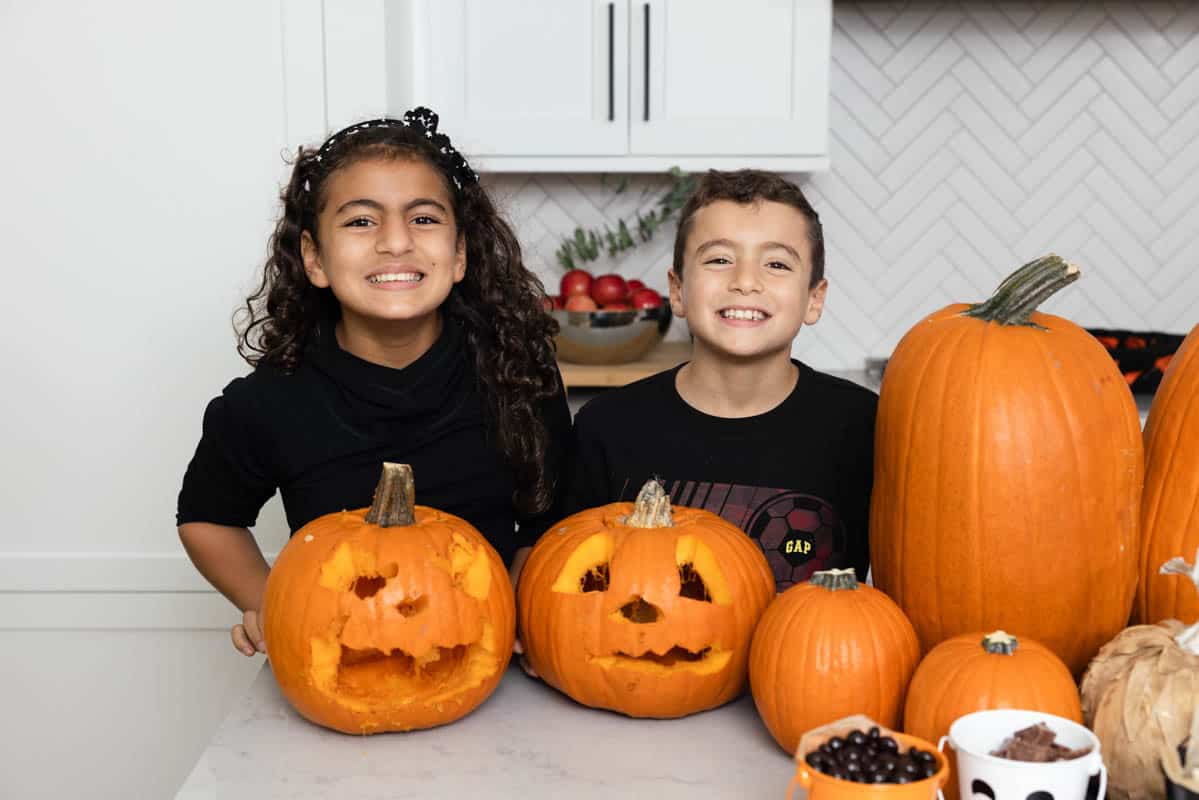
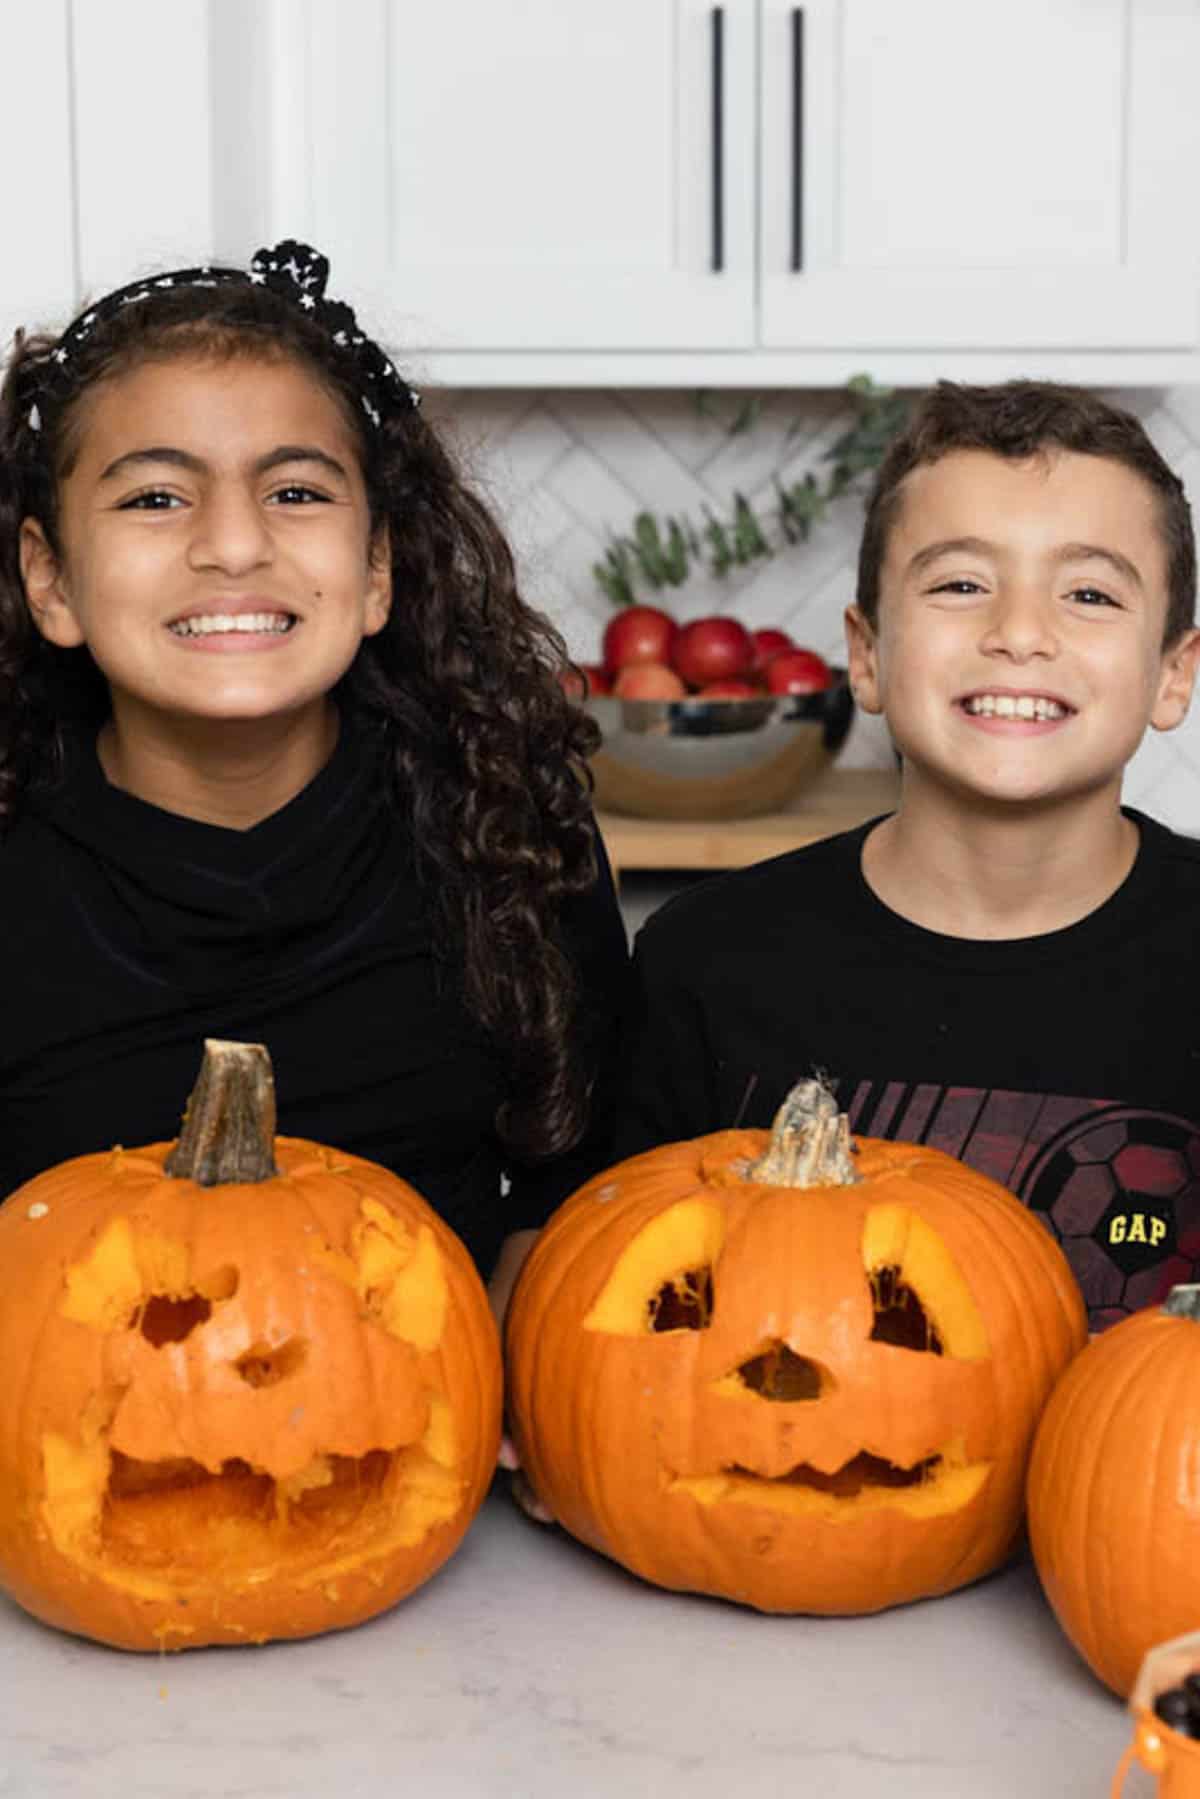
Follow these tips on how to carve a pumpkin and be on your way to creating the scariest (or cutest) jack-o-lantern in the neighborhood.

How to carve a pumpkin
- First, protect your table with old newspapers or a plastic tablecloth.
- Find the smoother, “right” side of the pumpkin to decorate. Pumpkins grow laying on their side and ground-facing side tends to be bumpier and less pretty.
- Think about your design. Consider the shape of your gourd- tall and skinny or plump and squat – and what designs suit it. Look for templates online of favorite characters or motifs, but, remember, there is nothing wrong with the classic, grinning jack-o-lantern.
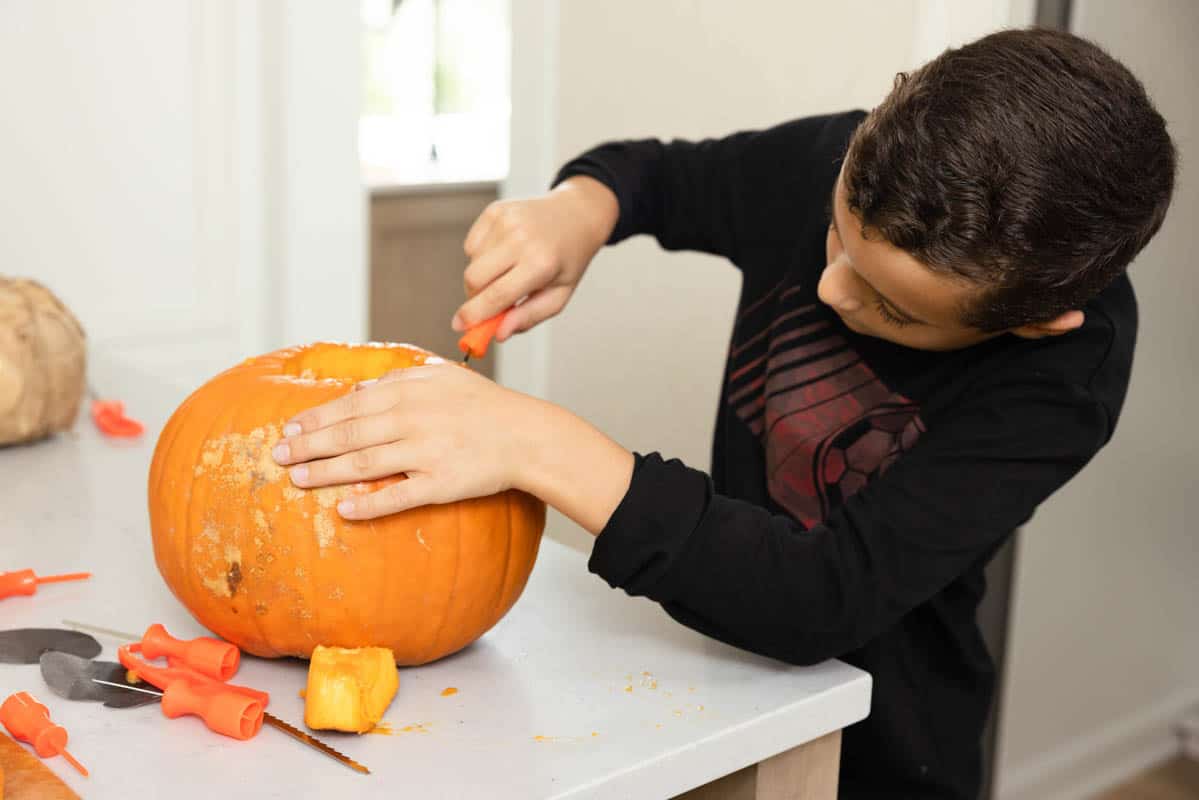
- Decide whether you want to cut a hole out the bottom or top of the pumpkins. Use a serrated knife – think steak knife or bread knife – or special pumpkin cutter to make your hole.
- Scoop out the guts. Ice cream or cookie scoops make good tools, as do sturdy measuring cups with handles. Try a small bench scraper or large metal spoon to scrape all the guts out of big pumpkin.
- Transfer your design to the pumpkin. See below for various methods
- Cut and illuminate!

Ways to transfer your design to a pumpkin
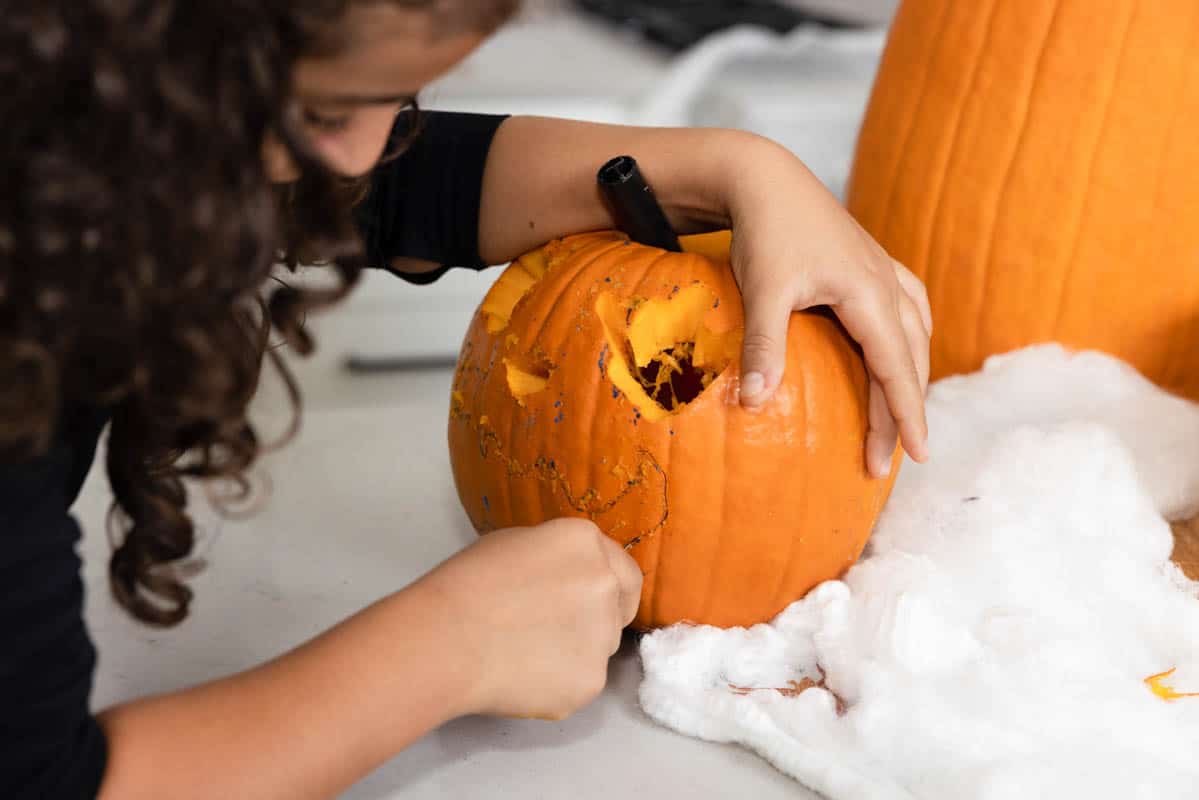
- Draw directly on the gourd with a water-based marker.
- Create a design on paper or find one online. Tape the paper to the pumpkin, and then, using a sharp point, like a push pin or steak knife, make a series of tiny pin pricks along the design. Remove the paper and use the pin pricks as a cutting guide.
- Do your design on paper. Cut out the shapes that you will be cutting out of the pumpkin. Tape those onto the pumpkin with scotch tape or painters tape. Cut around the shapes.
- Use cookie cutters to first punch in a shape and then finish cutting out with a knife.
Tips for carving pumpkins
- Make sure to cut the top at an angle. This helps prevent the lid from dropping inside the pumpkin when you put it back on top.
- Create an intentional divot or tab in the back of your pumpkin top. This makes the lid easier to align when taking on and off to relight.
- Consider cutting the bottom of the pumpkin instead of the top. This is a tip I got from Good Housekeeping that suggests cutting the bottom helps avoid the sides of the top caving in later.
- Sketch out your design on paper first. This helps to avoid mistakes when making your carvings on the pumpkin.
- Punch a smoke hole in the top – ideally on the backside behind the stem. This hole keeps the candle lit, by drawing the smoke out of the pumpkin like a chimney – great tips via Scout Life magazine.
- Remember to save the seeds – if you want to roast and eat them later.

Frequently asked questions
Both work. On one hand, what you have in your kitchen is right there. On the other hand, the kits you buy at the store may be safer for children to use. However, they are usually not terribly sturdy or long-lasting.
It depends on your climate. For those in warmer climes, the cut pumpkin starts to rot within two days. If it is below freezing where you live, maybe 10 days? The average is about five days. The lesson: do not carve too far in advance.
There are a few tricks. You can try coating the inside and cut parts with petroleum jelly or make a dilution of 1 teaspoon bleach to 1 gallon of water (or a weak dilution of Castille soap and water – safer for wildlife.) Spray these all over the jack-o-lanterns daily.
Is Halloween really Halloween if you don’t carve a pumpkin?
More halloween resources & recipes:
- How to Throw an Easy Halloween Party
- 10 Must Try Halloween Recipes
- Mummy Pizza
- Dirt Pudding Cups
- 3 Easy Halloween Snacks
- 4 Banana Halloween Recipes
- Frankenguac
- Candy Corn Parfait
If you find this guide for How to Carve a Pumpkin useful, we’d love to hear from you! Please leave a comment below! It helps to create a dialogue with others who find this article. And if you snapped some shots of any of these tips and tricks, please share them on Instagram so we can repost on Stories!


